How do you paint a seascape with acrylic paint?
Short answer
Painting a seascape with acrylics involves layering colors from the background to the foreground. Start by establishing the horizon line, then build the sky and water using thin washes followed by opaque, textured highlights. Acrylic paint dries rapidly, allowing for quick adjustments and the layering of foam, waves, and atmospheric depth.
On this page
How to prepare your canvas for acrylic seascapes
A successful seascape begins with a properly primed surface. Most store-bought canvases are pre-gessoed, but applying an additional layer of acrylic gesso ensures the surface is smooth and non-absorbent. This prevents the paint from sinking into the fabric, which keeps your colors vibrant and allows for easier blending. If you prefer a toned background, mix a small amount of burnt sienna or ultramarine blue into your gesso to create a neutral mid-tone base.
Before you begin, organize your workspace to manage the fast-drying nature of acrylics. Keep a spray bottle of water nearby to mist your palette and canvas, keeping the paint workable for longer periods. Use a flat brush to cover large areas like the sky and sea, then transition to smaller round or filbert brushes for details. A well-prepared workspace reduces frustration and allows you to focus on the fluid movement of the water.
How to mix colors for realistic water
Capturing the complex colors of the ocean requires a diverse palette. While many beginners rely solely on a single tube of blue, professional results come from mixing various shades. Use a combination of ultramarine blue, phthalo blue, and viridian green to simulate the depth of the sea. Adding small amounts of titanium white or yellow ochre helps create the murky, natural tones found in shallow water or near the shoreline.
- Start with a base of ultramarine blue for deep, open ocean areas.
- Mix in phthalo blue and a touch of green for the middle ground.
- Add white and a hint of yellow to create the lighter, translucent colors of breaking waves.
- Use burnt umber or raw sienna to represent sand or rocky outcrops at the base of your composition.
By layering these mixtures, you create the illusion of light filtering through the water. Always mix more paint than you think you need, as replicating an exact shade later can be difficult.
How to paint waves and foam
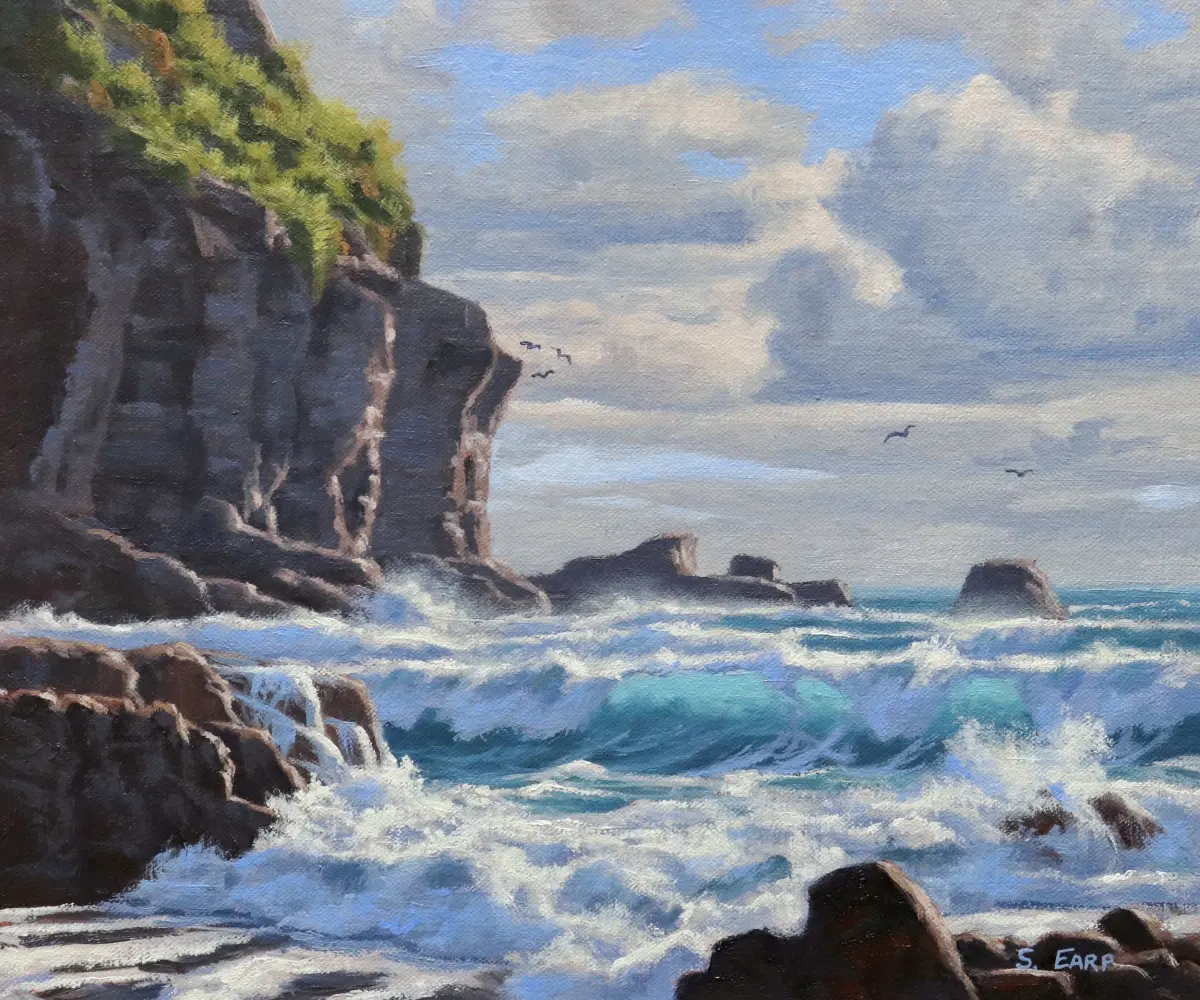
The movement of waves is defined by light and shadow. To create the illusion of a crashing wave, paint the dark, shadowed side of the swell first, then apply lighter, opaque highlights along the crest. Use a dry-brush technique to suggest the spray and foam, dragging a stiff, mostly dry brush across the canvas to create broken, textured marks. This mimics the chaotic, airy nature of sea foam.
When painting the foam, avoid using pure white immediately. Instead, use a very pale blue-grey for the initial foam shapes, then add pure titanium white only on the brightest highlights where the sun catches the water. This creates a sense of three-dimensional volume. Remember that waves follow the curve of the ocean, so your brushstrokes should always follow the rhythmic, circular motion of the water’s surface rather than moving in straight, rigid lines.
Common mistakes when painting seascapes
One frequent error is placing the horizon line exactly in the middle of the canvas, which can make the composition feel static or divided. Instead, follow the rule of thirds by placing the horizon line either one-third from the top or one-third from the bottom. This creates a more dynamic balance and draws the viewer's eye toward either the vast sky or the intricate details of the shoreline.
Another mistake is failing to account for atmospheric perspective. As objects move toward the horizon, they should appear lighter, cooler in tone, and less detailed. Beginners often paint the distant water with the same intensity and contrast as the foreground, which flattens the image. To fix this, add a small amount of white or light grey to your distant colors to push them back into the background. Finally, avoid over-blending your paint; acrylics look best when distinct, intentional brushstrokes remain visible to convey the energy of the sea.
How to add finishing touches and textures
The final stage of your painting is where you add the details that bring the scene to life. Use a fine-liner brush to add glints of light on the water's surface or to define the sharp edges of rocks. If you want to add physical texture, consider using a modeling paste before you begin painting. This thick, white substance can be applied with a palette knife to create raised areas that mimic the rough texture of crashing waves or jagged coastal cliffs.
- Use a fan brush to create soft, wispy clouds in the sky.
- Apply a thin glaze of transparent blue over dry areas to deepen the shadows.
- Use a palette knife to scrape back paint for sharp, clean edges on rocks.
- Apply a final varnish once the painting is completely dry to protect the surface and unify the sheen across the entire piece.
By carefully layering these final elements, you provide the necessary contrast and clarity that transform a simple sketch into a professional-grade seascape painting.
Key facts
- Acrylic paint dries within 10 to 20 minutes, allowing for rapid layering of ocean waves and foam.
- Use a "wet-on-wet" technique to blend colors smoothly for a realistic horizon line.
- Titanium white is essential for creating the highlights and sea foam on top of darker water tones.
- A flat brush is ideal for blocking in large areas of sky and sea, while a fan brush creates delicate spray.
- Adding a small amount of water or acrylic medium prevents the paint from becoming too thick and tacky.
- Paint the horizon line slightly lower than the center of the canvas to create a sense of vastness.
The bottom line
Painting a seascape with acrylics requires a methodical approach, starting with the sky and moving toward the foreground. By utilizing layering techniques and varying your brushwork, you can effectively capture the depth and movement of the ocean. Remember that acrylics dry quickly, so keep your brushes moist and work in sections to maintain control over your colors, resulting in a vibrant and professional-looking maritime composition.
People also ask
Should I paint the sky or the ocean first?
It is generally best to paint the sky first, working from the top down to the horizon line. This allows you to overlap the ocean slightly, ensuring a seamless transition where the water meets the sky.
How do I make the water look transparent?
Use thin, translucent glazes of blue and green over a lighter base layer to simulate depth. Avoid using too much opaque white, which can make the water look solid and flat.
What colors are necessary for a basic seascape palette?
You need ultramarine blue, phthalo blue, titanium white, burnt umber, and a yellow ochre or cadmium yellow. These primary colors allow you to mix a wide range of natural ocean and sky tones.
How can I fix a mistake if the paint dries too fast?
Since acrylics are permanent once dry, simply let the area dry completely and paint over the mistake with a new layer. Because acrylics are opaque, the new paint will easily cover the error.
Do I need to seal my painting when it is finished?
Yes, applying a varnish after the paint has cured for at least 24 hours protects the surface from dust and UV damage. Use a matte or gloss varnish depending on the desired finish.
How do I create the effect of crashing waves?
Use a stiff-bristled brush to "dry brush" white paint onto the tops of your waves. Keep your brush strokes horizontal and irregular to mimic the chaotic movement of water hitting the shore.
This answer was created with the help of AI research tools and reference sources. Spotted an error? Let us know — we correct mistakes quickly. See our editorial policy.