How do you paint a lake reflection with acrylic paint?
Short answer
Painting a lake reflection requires applying darker, vertically oriented strokes beneath the horizon line to mirror the landscape above. By using a dry brush technique and blending colors horizontally, you create the illusion of water movement. Maintaining consistent color values between the subject and its reflection is essential for realistic results.
On this page
How to prepare the canvas for water reflections
Before applying paint, establish a clear horizon line to separate the sky from the water. A common mistake is placing the horizon exactly in the middle of the canvas, which can make the composition feel static. Instead, position the horizon line slightly above or below the center to create a more dynamic visual balance. Use a flat brush to apply a base layer of color, ensuring the water area is slightly darker than the sky to provide depth.
Once the base is dry, map out the primary shapes of your landscape elements. Keep the edges soft where the land meets the water to avoid a harsh, cut-out appearance. If you are painting a sunset or sunrise, use a gradient technique by blending lighter colors near the horizon and transitioning to deeper, richer tones as you move toward the bottom of the canvas. This foundational work ensures that your reflections have a logical starting point.
How to paint realistic lake reflections
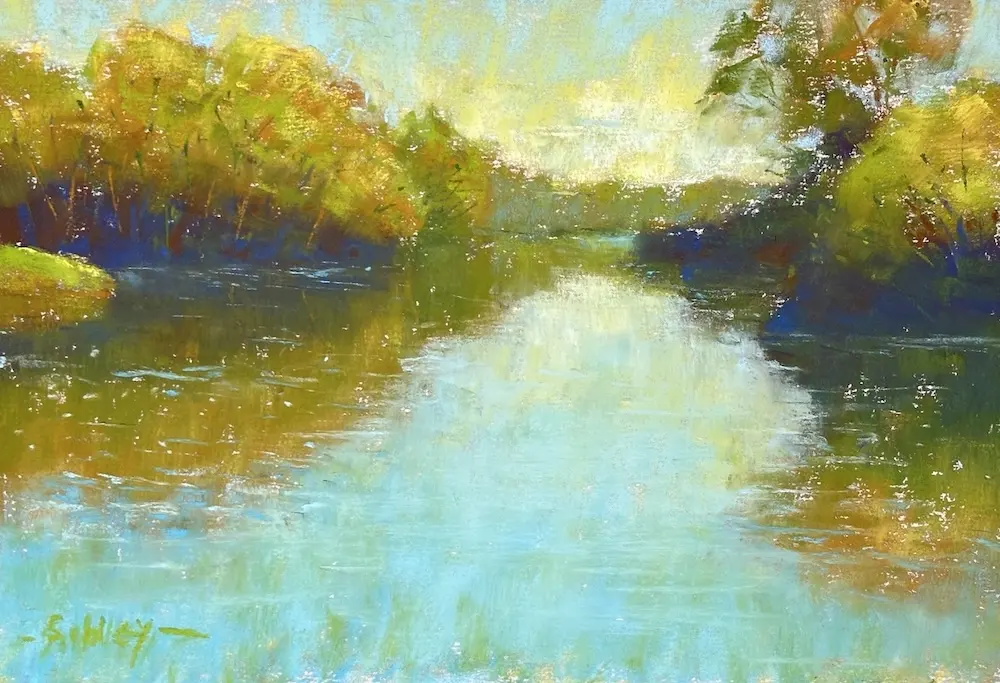
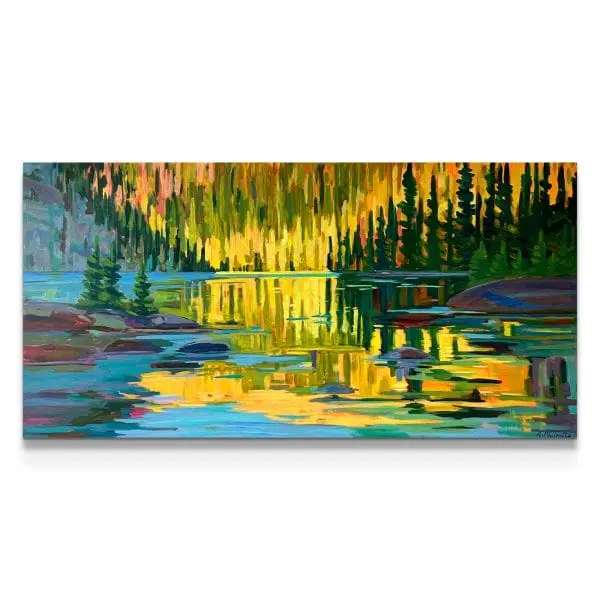
The key to a convincing reflection is the verticality of your brushstrokes. While the sky and mountains are painted with varied textures, the reflection must be composed of downward, straight strokes that mimic the shapes above. Work in thin, translucent layers to allow the base color to peek through, which adds a sense of transparency to the water.
- Paint the main subject, such as a mountain or tree, with its full detail.
- Use a slightly dampened brush to pull the bottom edge of these colors downward.
- Keep the reflection slightly less saturated and darker than the original object.
- Add horizontal highlights to suggest ripples or calm surface movement.
If the water is meant to be perfectly still, use a very soft, clean brush to gently blur the vertical strokes. This technique mimics the mirror-like quality of a glass-calm lake.
Best acrylic painting techniques for water
Acrylic paint dries rapidly, which is both an advantage and a challenge for painters. To keep your colors blendable for longer periods, use a retarder medium or a fine mist of water to keep the surface workable. When painting ripples, use a "dry brush" technique where you load a small amount of paint onto a stiff brush and lightly drag it across the surface. This creates broken, sparkling lines that represent light hitting the crests of small waves.
- Use a fan brush for creating soft, distant foliage reflections.
- Employ a palette knife for sharp, bright highlights on water ripples.
- Apply glazing medium to create deep, translucent shadows in the water.
- Layer colors from darkest to lightest to build realistic depth and volume.
Focus on the interaction between light and shadow. The darkest parts of your reflection should align directly beneath the darkest parts of the object above.
Why reflections look distorted on water
Reflections are rarely perfect copies of the objects they mirror. Wind, currents, and the angle of the viewer cause the image to stretch or break into segments. If you want to depict a windy day, use horizontal, jagged strokes to disrupt the vertical lines. By breaking up the reflection into smaller, irregular shapes, you suggest movement and a lack of perfect clarity on the water's surface.
Another factor is the perspective of the viewer. Objects closer to the horizon line will appear more compressed, while those closer to the foreground will appear elongated. Observe how the light source shifts the color intensity; reflections often appear cooler in temperature than the objects themselves. By paying attention to these subtle distortions, you move beyond simple mirroring and create a landscape that feels physically present and authentic to the observer.
Common mistakes when painting lake reflections
A frequent error is painting the reflection with the exact same intensity and color as the object above. In reality, water absorbs light, meaning the reflection should almost always be a few shades darker and less vibrant than the original subject. If you make the reflection too bright, the water will look like a solid surface rather than a liquid body. Another mistake is forgetting to ground the reflection; ensure the reflection connects seamlessly to the base of the object at the water's edge.
Avoid over-blending your strokes, as this can make the water look like plastic or oil. Keep some of your brushwork visible to provide texture and life to the painting. If you find your reflection looks too stiff, add a few horizontal "anchor" lines to indicate the water level. These lines help the eye understand the plane of the water, preventing the composition from feeling like it is floating in space. Patience with your layering process will ultimately result in a more professional and convincing final scene.
Key facts
- Acrylic paint dries rapidly, so work in small sections to keep edges blendable.
- Reflections are always darker and slightly less saturated than the objects they mirror.
- Use horizontal brushstrokes to create the appearance of a flat, calm water surface.
- Add a tiny amount of white to your sky color to create the base for the water.
- Pull vertical "streaks" down from the shoreline to represent ripples or depth.
- Apply a final thin glaze of water-thinned color to unify the reflection with the lake.
The bottom line
Painting a lake reflection requires a disciplined approach to color and texture. By mirroring your landscape with slightly darker, muted tones and using consistent horizontal strokes, you establish a convincing water surface. Remember that reflections are not perfect copies; they are distorted by the movement of the water. Mastering the balance between soft blending and sharp, vertical highlights will bring depth and realism to your painting.
People also ask
How do I make water look like it is moving?
Use broken, horizontal brushstrokes to suggest ripples and uneven light. Adding subtle, jagged white highlights where the light hits the peaks of waves creates the illusion of motion.
Should I paint the reflection before or after the landscape?
Paint the landscape first, allowing it to dry completely. Then, paint the water surface over the lower portion of the canvas before adding the reflection details on top.
Why does my reflection look like it is floating?
This happens when the transition between the shoreline and the water is too distinct. Ensure the colors at the base of your objects bleed slightly into the water line.
What brushes are best for painting water?
Use a flat, synthetic brush for broad strokes across the water surface. A small, round detail brush is essential for adding the crisp, vertical lines of a reflection.
How do I fix a reflection that looks too muddy?
Let the layer dry, then apply a thin, transparent glaze of a lighter color over the area. This can lift the tone and restore the clarity of the water.
Can I use a palette knife for water effects?
Yes, a palette knife is excellent for creating sharp, horizontal lines that mimic the flat plane of a lake. It provides a crisp edge that is difficult to achieve with a brush.
This answer was created with the help of AI research tools and reference sources. Spotted an error? Let us know — we correct mistakes quickly. See our editorial policy.