How do you paint reflections in water in watercolor?
Short answer
Painting reflections in watercolor requires observing the water's surface as a mirror that distorts and simplifies the subject above. By using horizontal brushstrokes, maintaining consistent color values, and allowing for wet-on-wet blending, artists can create the illusion of depth. The key is to keep reflections slightly darker and softer than the original objects.
On this page
How to paint realistic water reflections
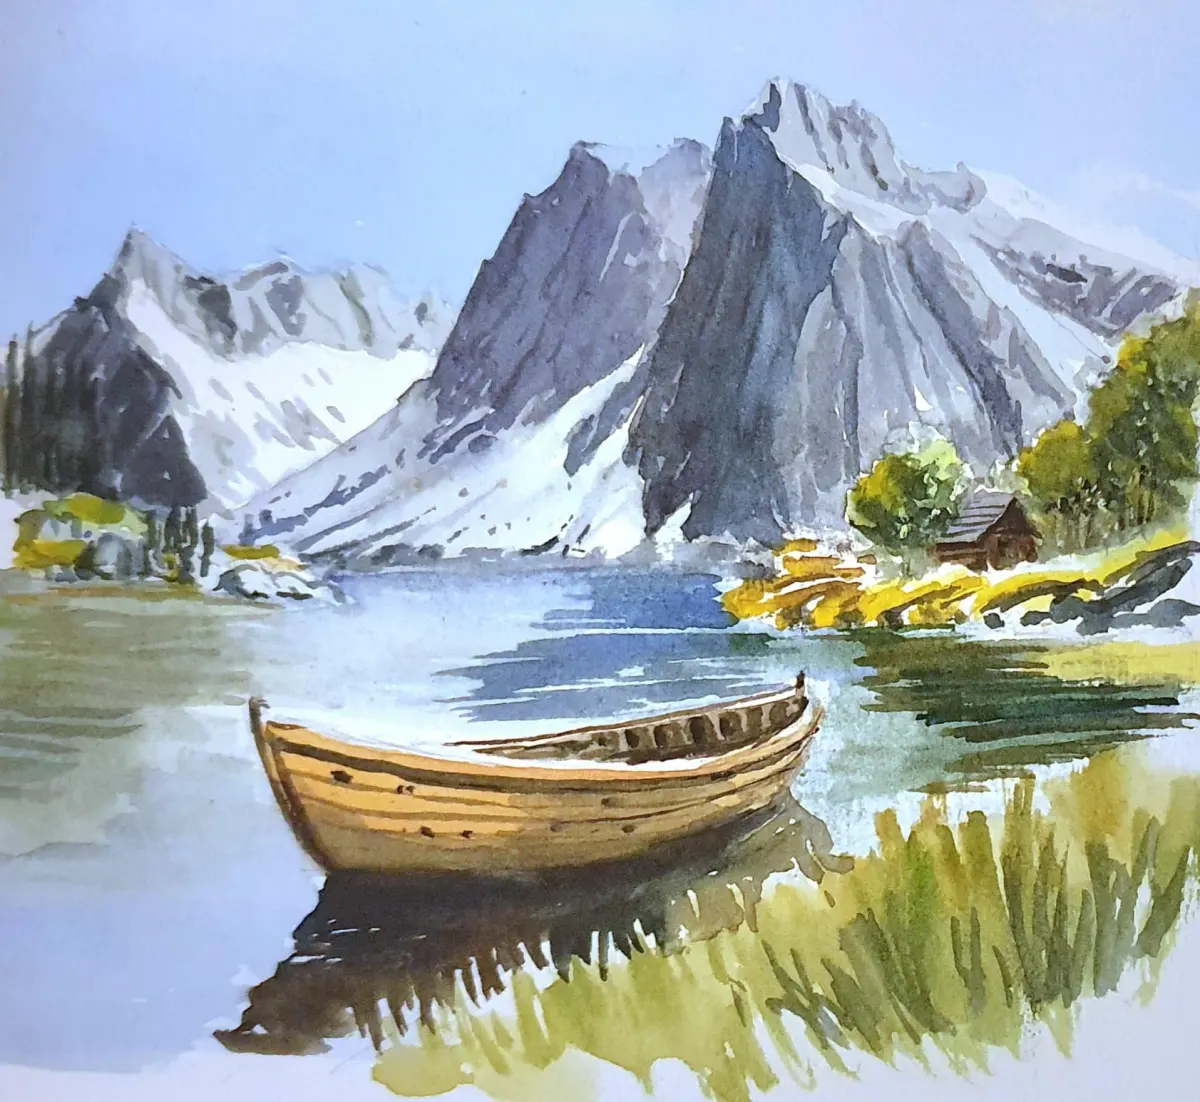
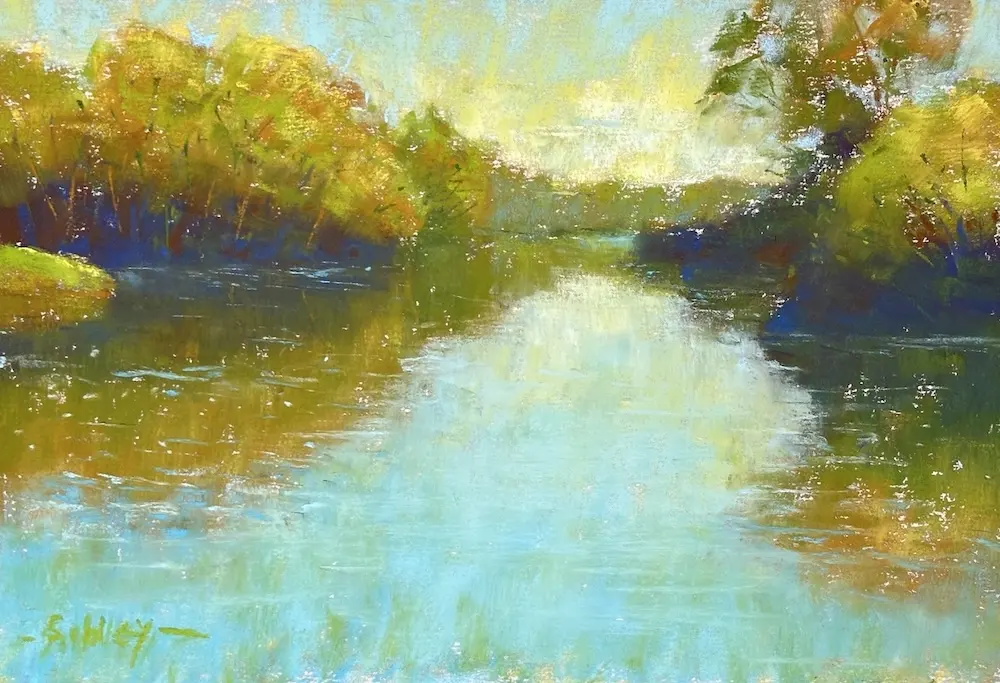
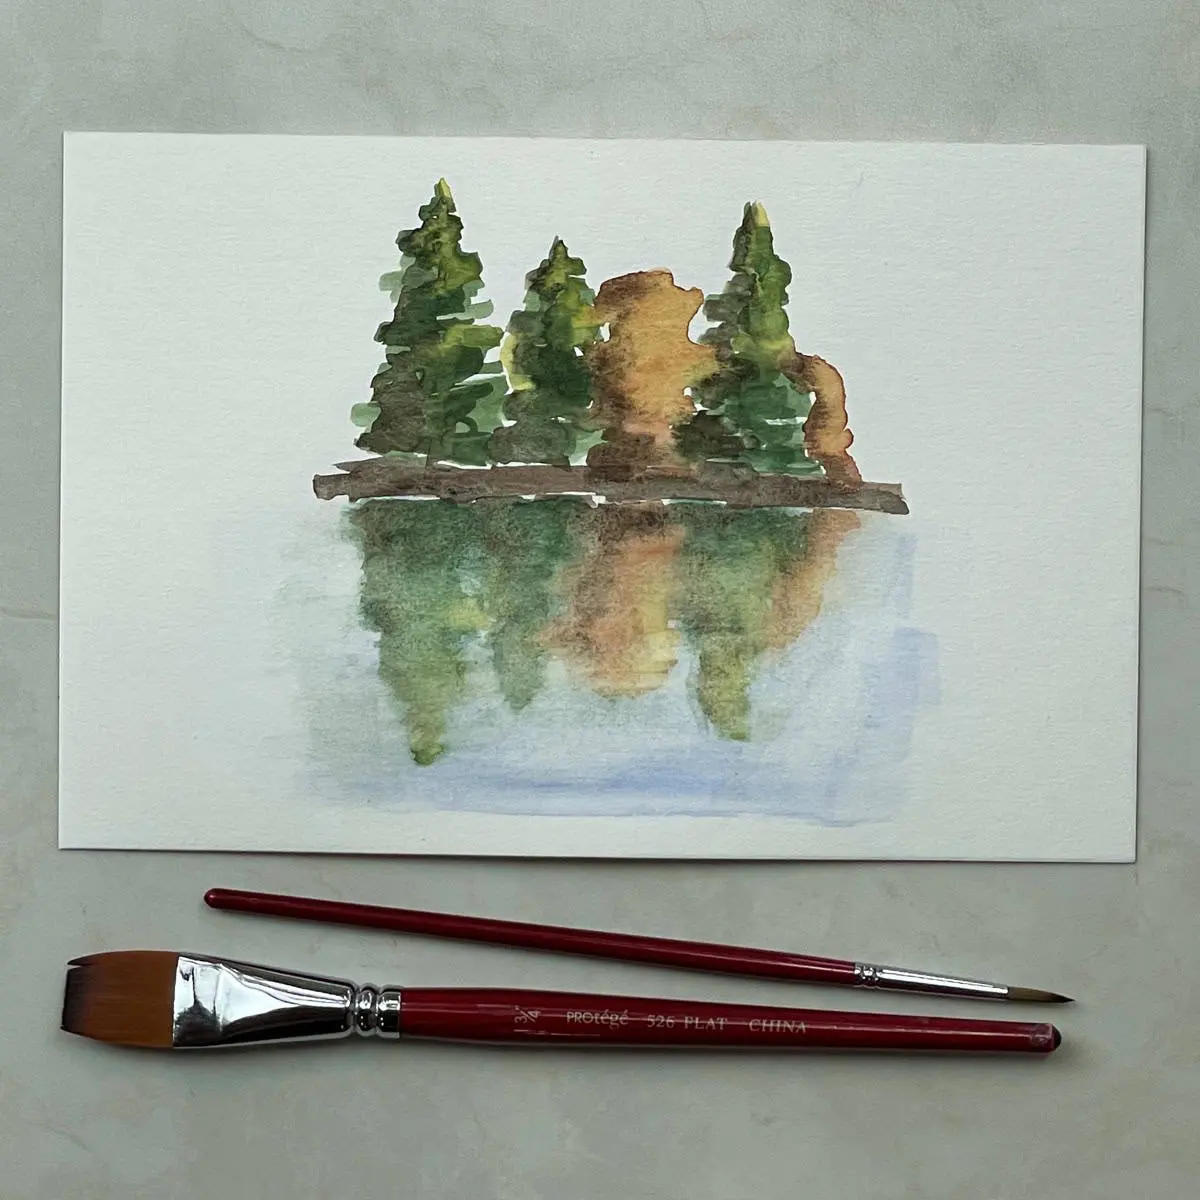
To capture a convincing reflection, you must first understand that water acts as a mirror, but one that is often moving or textured. The reflection is essentially a vertical inversion of the subject above the horizon line. Begin by painting the subject above the water line, then translate those shapes downward into the water area using slightly muted or darker pigments. Because water is rarely perfectly still, you should soften the edges of these shapes to suggest movement and fluidity.
The most effective method involves working while the paper is still damp. By applying paint in horizontal strokes, you mimic the flat plane of the water surface. If you are painting a calm lake, use smooth, horizontal washes, but for moving water, introduce slight irregularities or "wiggles" in your strokes. Remember that the reflection will rarely be as sharp or detailed as the object itself, so simplify the shapes significantly.
Best watercolor techniques for reflections
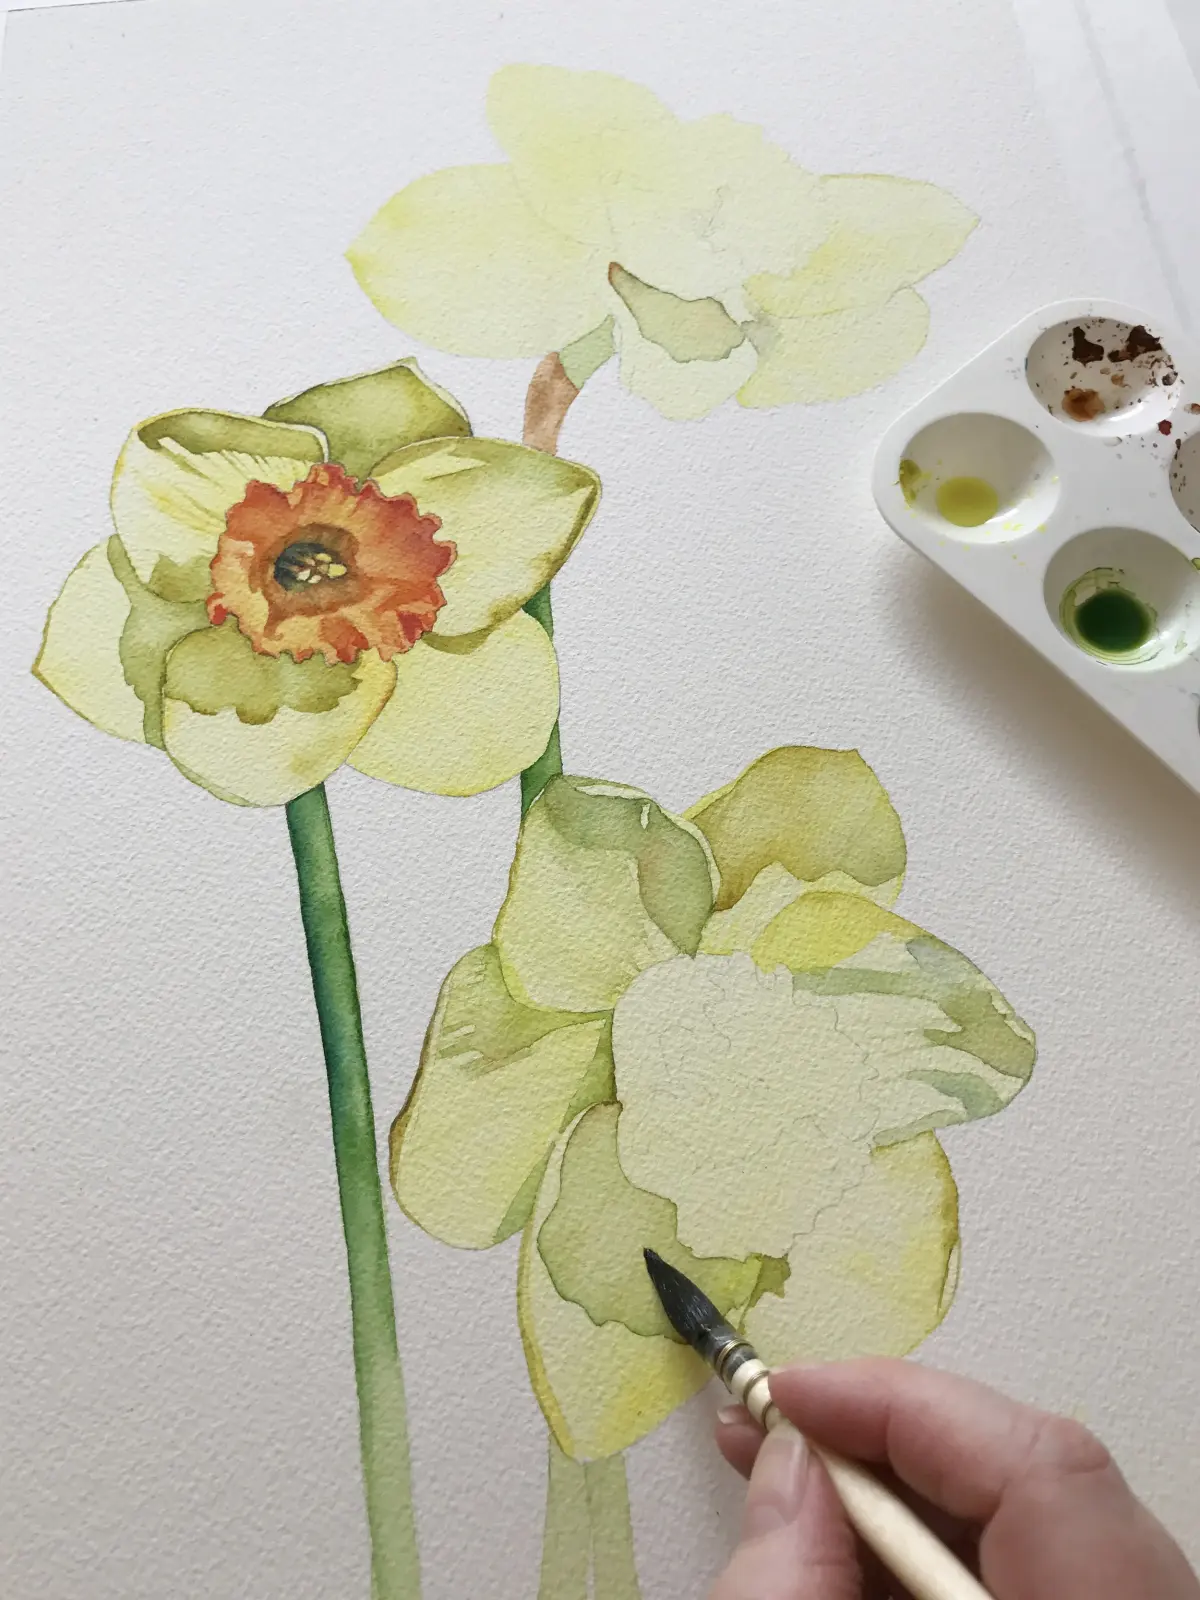
Mastering the wet-on-wet technique is essential for creating the soft, diffused look of a reflection. By wetting the paper in the area where the water will be before adding pigment, you allow the colors to bleed and merge naturally, which mimics the way light scatters on a liquid surface. This technique prevents hard, distracting edges that would make the water look like solid glass.
Follow these steps to achieve a professional-looking water surface:
- Establish the horizon line clearly to separate the sky or land from the water.
- Apply a light base wash of the water's color across the entire area.
- While the base is damp, drop in the darker tones of the reflected objects using horizontal motions.
- Use a clean, damp brush to lift out highlights or create ripples if the paint becomes too dark.
- Once the first layer is dry, add thin, horizontal dark lines to represent the most intense ripples or shadows.
Why reflections look darker than the subject
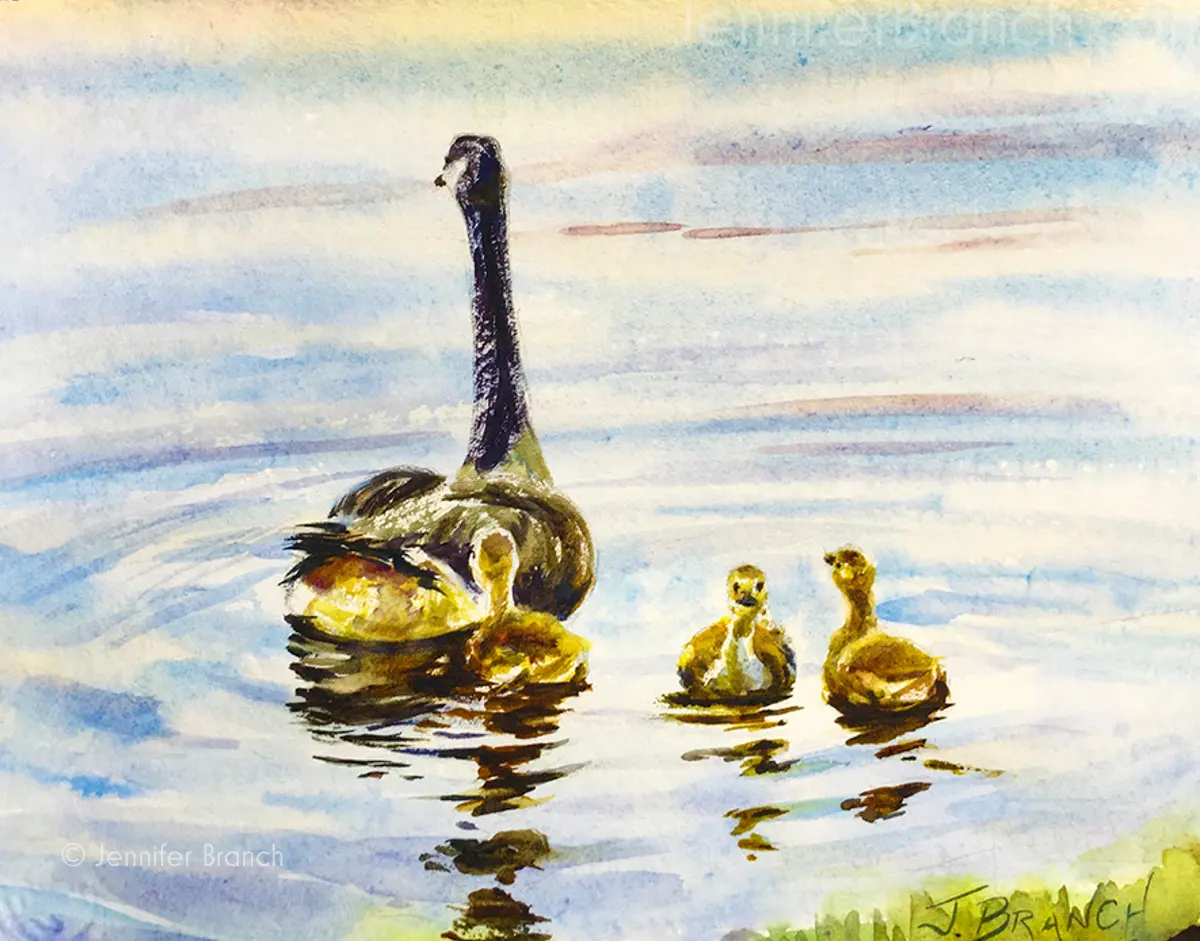
Many beginners mistakenly paint reflections with the exact same brightness as the objects they represent. In reality, light is lost when it hits the surface of the water, meaning reflections are almost always darker and lower in contrast than the original subject. By choosing a slightly deeper shade of your original color, you create an immediate sense of depth and realism that ground the painting.
Additionally, reflections often take on the color of the sky or the surrounding environment. If you are painting a landscape, the water will likely pick up the cool blues of the sky or the warm tones of the sunset. Incorporating these ambient colors into your reflection helps unify the entire piece. Avoid using pure black for shadows; instead, mix a deep, chromatic dark using complementary colors like burnt sienna and ultramarine to keep the water looking vibrant and alive.
Common mistakes when painting water
One of the most frequent errors is painting reflections with vertical strokes. Because water is a horizontal plane, any vertical brushwork will immediately flatten the image and make it look like a curtain rather than a pool of water. Always keep your brush moving from side to side to reinforce the perspective of the water surface. If you find your brushwork looking too busy, simplify your shapes and allow more negative space between your strokes.
Another mistake is overworking the paper. Watercolor thrives on spontaneity, and if you continue to scrub the surface, the pigments will become muddy and lose their transparency. If you make a mistake, it is often better to lift the paint while it is still wet or start over on a fresh sheet. Patience is required; let each layer dry sufficiently before adding the final, crisp horizontal lines that define the water's surface ripples.
How to add texture to water
Adding texture is the final step in bringing your water to life. Once your base layers have dried, you can use a dry-brush technique to suggest sparkling light or small ripples. By using a brush with very little water and a thick consistency of paint, you can drag the bristles across the textured surface of the paper. This creates broken, uneven lines that look like light catching the tops of small waves.
Consider these tips for adding detail:
- Use a white gouache or an opaque white watercolor for the brightest highlights on ripples.
- Keep your highlights thin and sparse to avoid overwhelming the reflection.
- Vary the length and thickness of your horizontal lines to create a sense of perspective, with larger, more defined strokes closer to the foreground.
- Use a fan brush for subtle, soft ripples if you are aiming for a more impressionistic style.
- Always observe how the light source hits the water, as this will dictate where your brightest highlights should be placed.
Key facts
- Reflections are typically darker and slightly less saturated than the object being reflected.
- Paint reflections using vertical, downward strokes to mimic the liquid movement of water.
- Use a "wet-on-dry" technique for crisp, mirror-like reflections or "wet-on-wet" for soft, rippling effects.
- Leave small gaps of white paper between the object and its reflection to represent the waterline.
- Horizontal lines drawn across the reflection help suggest the flat surface of the water.
- Always paint the reflection at the same time as the subject to ensure color consistency.
The bottom line
Painting reflections requires careful observation of light, color, and movement. By mirroring the subject with vertical strokes and grounding it at the waterline, you create a sense of depth and realism. Remember to keep your brushwork loose and use horizontal lines to suggest surface ripples. With practice, these techniques will allow you to capture the serene, shifting nature of water in your watercolor compositions.
People also ask
Should I paint the reflection upside down?
Yes, reflections are a mirrored image of the object above. You should paint them in reverse, ensuring the tallest parts of the object are at the bottom of the reflection.
How do I create the illusion of ripples in water?
Use a dry brush technique with horizontal strokes across your reflection. This breaks up the solid color and mimics the texture of moving water.
What colors work best for water reflections?
Use the same palette as your subject but add a touch of blue or gray to cool the tones. This helps the reflection appear deeper and more integrated into the water.
Can I use masking fluid for reflections?
Masking fluid is excellent for preserving white highlights on the water surface. Apply it before painting to keep those areas bright and sparkling.
Why does my reflection look like it is floating?
You likely forgot to ground the object at the waterline. Ensure the base of your subject meets the water clearly before the reflection begins.
How do I fix a muddy reflection?
Avoid overworking the paper, as watercolor becomes muddy when layers are agitated too much. If it happens, lift the color with a damp brush or sponge while it is still wet.
This answer was created with the help of AI research tools and reference sources. Spotted an error? Let us know — we correct mistakes quickly. See our editorial policy.