How do you paint a still life with acrylic paint?
Short answer
Painting a still life with acrylics involves arranging a composition, sketching the basic shapes, and layering colors from dark to light. Because acrylics dry rapidly, you must work efficiently, blending colors on the canvas or using a retarder to extend drying time. Focus on capturing light, shadow, and texture to create depth.
On this page
How to prepare for a still life painting
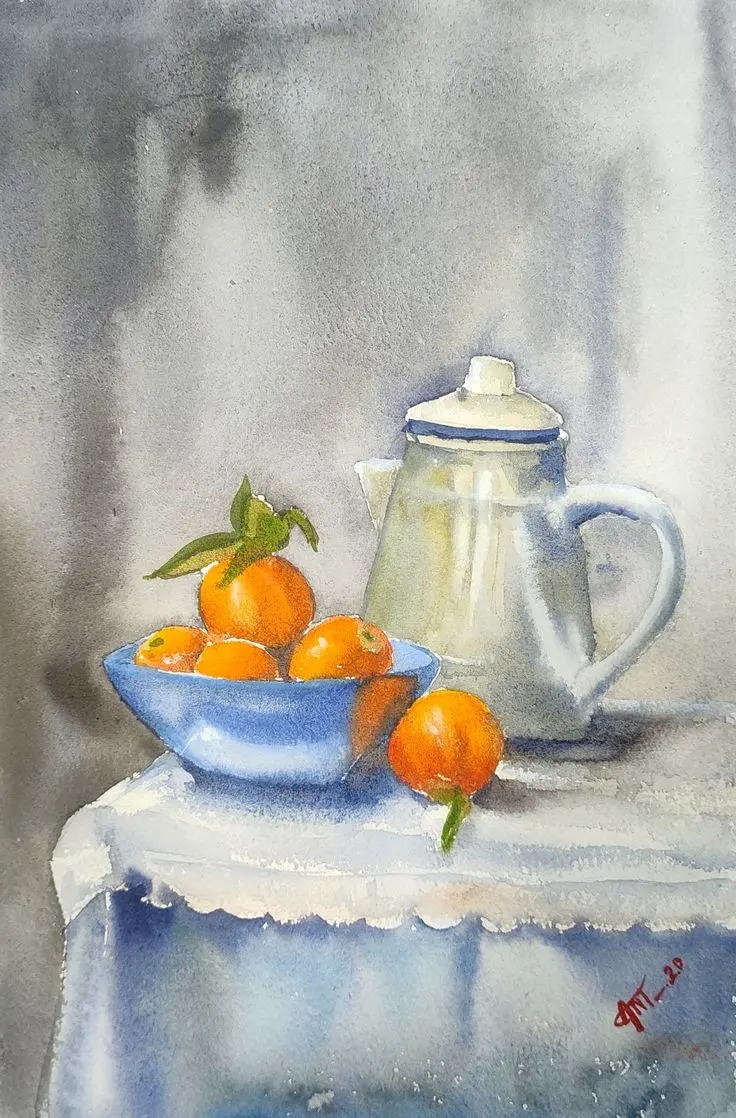
Successful still life painting begins with a thoughtful arrangement of objects. Choose items with varying heights, textures, and colors, such as a piece of fruit, a ceramic vase, and a folded cloth. Place these objects on a stable surface and illuminate them from a single side to create clear highlights and deep shadows. A strong light source is essential for defining the three-dimensional form of your subjects.
Before applying paint, prepare your workspace and materials. You will need a set of acrylic paints, a variety of synthetic brushes, a palette, and a surface such as a stretched canvas or heavy-duty paper. It is helpful to have a water container for rinsing brushes and a spray bottle to keep your paints moist on the palette. Setting up your materials in advance allows you to focus entirely on the artistic process without interruptions.
Best acrylic painting techniques for beginners
Acrylic paint is highly versatile, allowing for both thin, watercolor-like washes and thick, textured applications known as impasto. Beginners should start by blocking in the main shapes using thinned paint, which helps establish the composition without committing to heavy layers early on. Once the foundation is set, you can build up the color intensity and refine the details.
To achieve a professional look, follow these fundamental steps:
- Sketch the composition lightly with a pencil or a diluted neutral paint color.
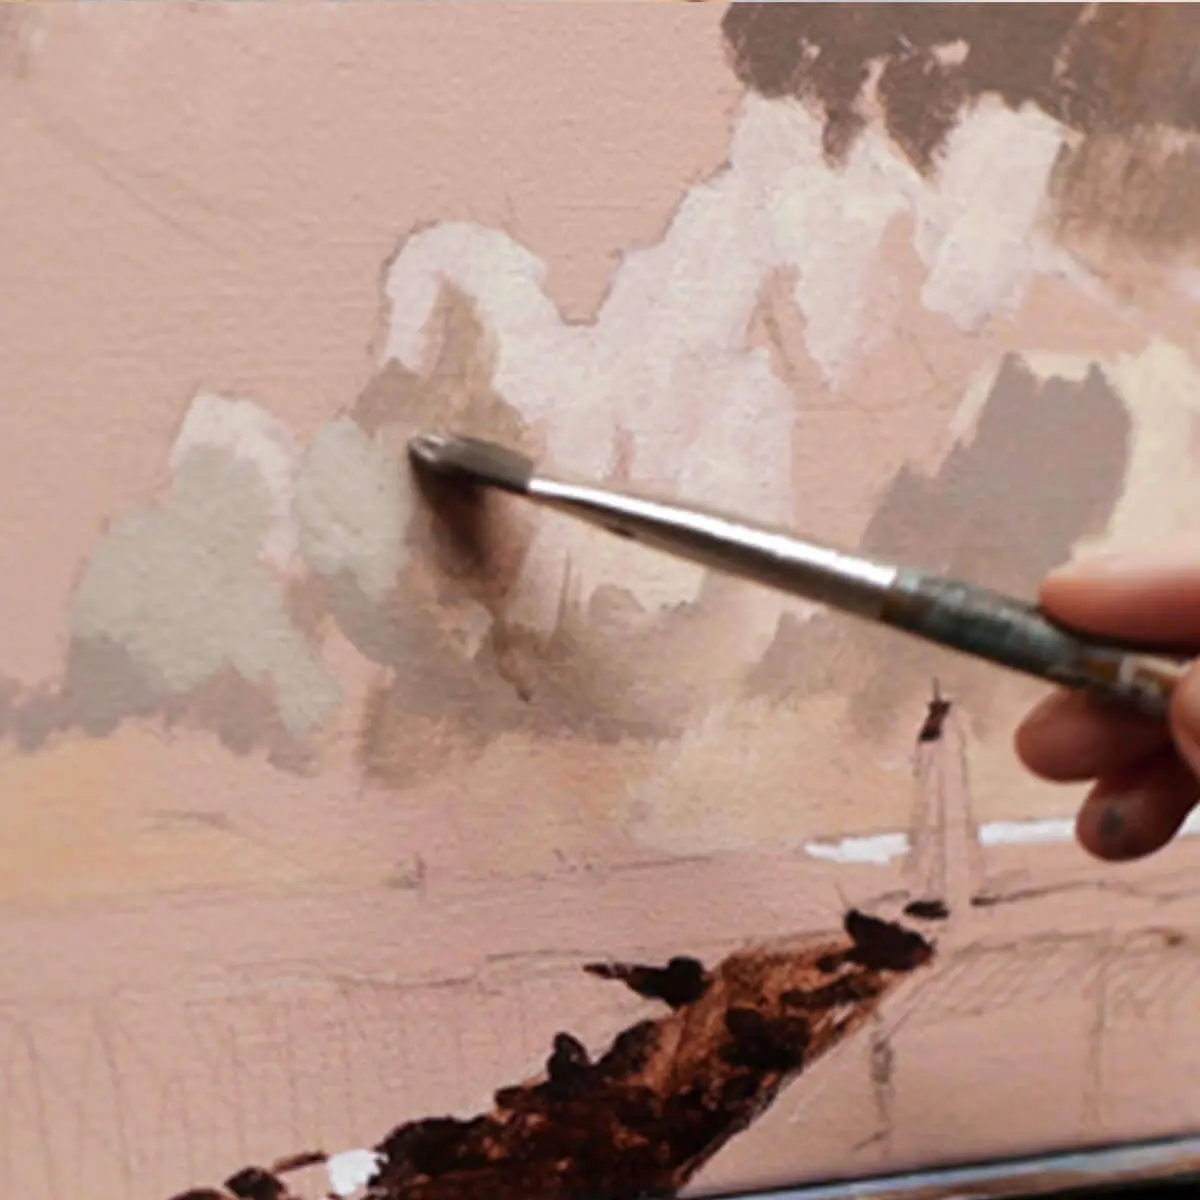
- Apply a thin "underpainting" to establish the mid-tones and shadow areas.
- Gradually add lighter colors and highlights to create volume and depth.
- Use small brushes to add final details like reflections or sharp edges.
Experimenting with these techniques will help you understand how acrylics behave on different surfaces. Remember that acrylics dry slightly darker than they appear when wet, so adjust your color mixtures accordingly.
How to manage drying time in acrylics
The most distinct characteristic of acrylic paint is its rapid drying time. While this allows for quick layering, it can make traditional blending difficult. To combat this, many artists use a "retarder" medium, which is a liquid additive that slows the evaporation process. Alternatively, you can keep your paint workable by lightly misting your palette with water throughout the session.
If you find that your paint is drying too quickly, consider these strategies:
- Use a stay-wet palette, which features a damp sponge under parchment paper to keep paints hydrated for hours.
- Work in small sections rather than trying to cover the entire canvas at once.
- Mix enough paint for each color area beforehand to avoid having to recreate a specific shade mid-stroke.
- Keep your brushes wet, as dried acrylic can permanently damage bristles.
Mastering these methods ensures you have enough time to blend colors smoothly and refine transitions between lights and darks.
Common mistakes when painting still life
One frequent error is failing to observe the light source consistently. If the light shifts during your painting session, the shadows will move, making the final result look disjointed. It is best to complete your study in a single sitting or use a consistent artificial lamp to ensure the lighting remains constant. Another common mistake is using too much water, which can break down the binder in the acrylic paint and make the finish look chalky or weak.
Avoid these pitfalls to improve your results:
- Over-blending: Excessive brushing can create a muddy appearance rather than a clean, vibrant surface.
- Ignoring negative space: Focus on the shapes between objects as much as the objects themselves.
- Using poor-quality brushes: Cheap brushes often lose bristles, which can get stuck in your wet paint.
- Neglecting edges: Ensure that some edges are sharp while others are soft to create a sense of focus and distance.
How to finish and preserve your painting
Once your painting is complete, allow it to cure fully for at least 24 to 48 hours before applying any final treatments. Acrylic paint is durable, but it can attract dust and grime over time. Applying a protective varnish is the best way to safeguard your work. Varnish comes in various finishes, including matte, satin, and gloss, allowing you to choose the look that best suits your style.
When varnishing, use a wide, soft-bristled brush and apply the liquid in long, even strokes. Work in a dust-free environment to prevent particles from settling into the wet finish. Once the varnish is dry, your painting will be protected from environmental factors and UV light, ensuring that the colors remain vibrant for years to come. Proper storage, away from extreme heat or humidity, will further extend the life of your finished still life masterpiece.
Key facts
- Acrylic paint dries within 10 to 20 minutes, allowing for rapid layering and quick corrections.
- Use a synthetic-bristle brush, which is more durable and better suited for the viscosity of acrylics than natural hair brushes.
- Apply a thin layer of gesso to your canvas or board first to prevent the paint from soaking into the surface.
- Keep a spray bottle of water nearby to mist your palette, as acrylics will harden permanently once dry.
- Start with a monochromatic underpainting to establish the light and shadow values before adding color.
- Clean your brushes immediately after use with soap and water, as dried acrylic acts like plastic and can ruin bristles.
The bottom line
Painting a still life with acrylics is an accessible process that rewards careful observation and efficient layering. By managing your drying times with water or mediums and building your composition from dark values to light highlights, you can create depth and texture. Remember to prioritize proper brush care and surface preparation, as these foundational steps ensure your artwork remains vibrant and durable for many years.
People also ask
How do I keep acrylic paint from drying too fast on my palette?
Use a stay-wet palette, which consists of a damp sponge topped with parchment paper to maintain moisture. You can also mix in a small amount of acrylic retarder medium to extend the working time of the paint.
Should I paint the background or the objects first?
It is generally best to paint the background first to establish the overall environment and lighting. Once the background is set, you can layer the foreground objects on top without worrying about painting around delicate edges.
How do I fix a mistake in an acrylic painting?
Because acrylic paint is opaque, you can simply wait for the area to dry and paint over the mistake with a new layer. If the error is large, scrape it off with a palette knife before it fully cures.
Do I need to varnish my finished still life?
Applying a varnish protects the painting from dust, ultraviolet light, and physical damage. Wait at least 24 to 48 hours for the paint to fully cure before applying a non-yellowing acrylic varnish.
What is the best way to blend colors with acrylics?
Since acrylics dry quickly, use a "wet-on-wet" technique by applying two colors side-by-side and blending them on the canvas while both are still damp. Adding a glazing medium can also help smooth out transitions between colors.
Can I use acrylics on surfaces other than canvas?
Acrylic paint is highly versatile and adheres well to wood, heavy paper, metal, and plastic. Ensure the surface is clean and properly primed with gesso to guarantee the paint sticks securely over time.
This answer was created with the help of AI research tools and reference sources. Spotted an error? Let us know — we correct mistakes quickly. See our editorial policy.