How do you draw still life objects?
Short answer
Drawing still life involves observing stationary objects to translate three-dimensional forms onto a two-dimensional surface. Success relies on establishing accurate proportions, identifying light sources, and layering values to create depth. By breaking complex shapes into simple geometric primitives, artists can capture the structural essence and texture of any chosen composition.
On this page
How to set up a still life composition
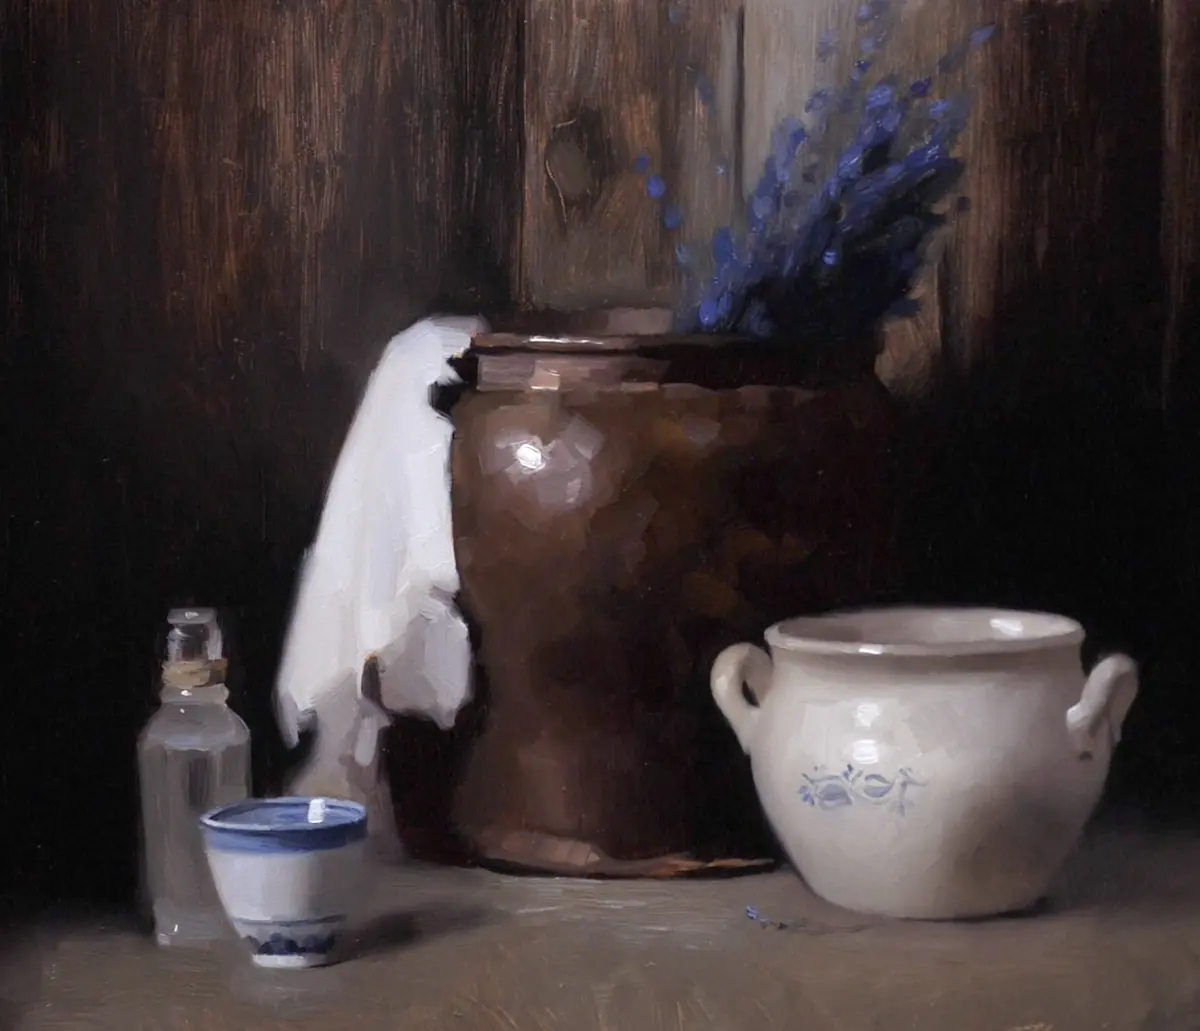
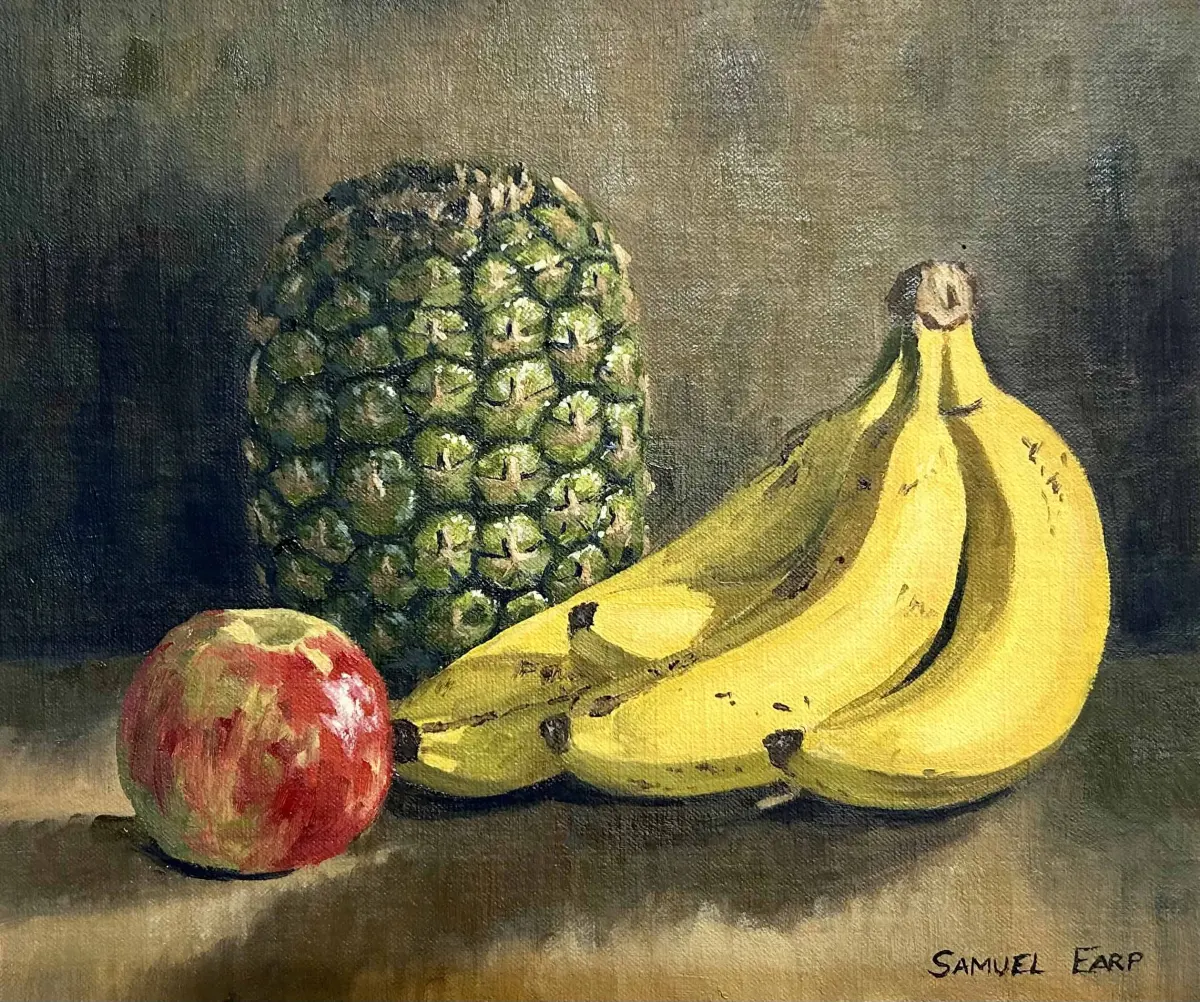
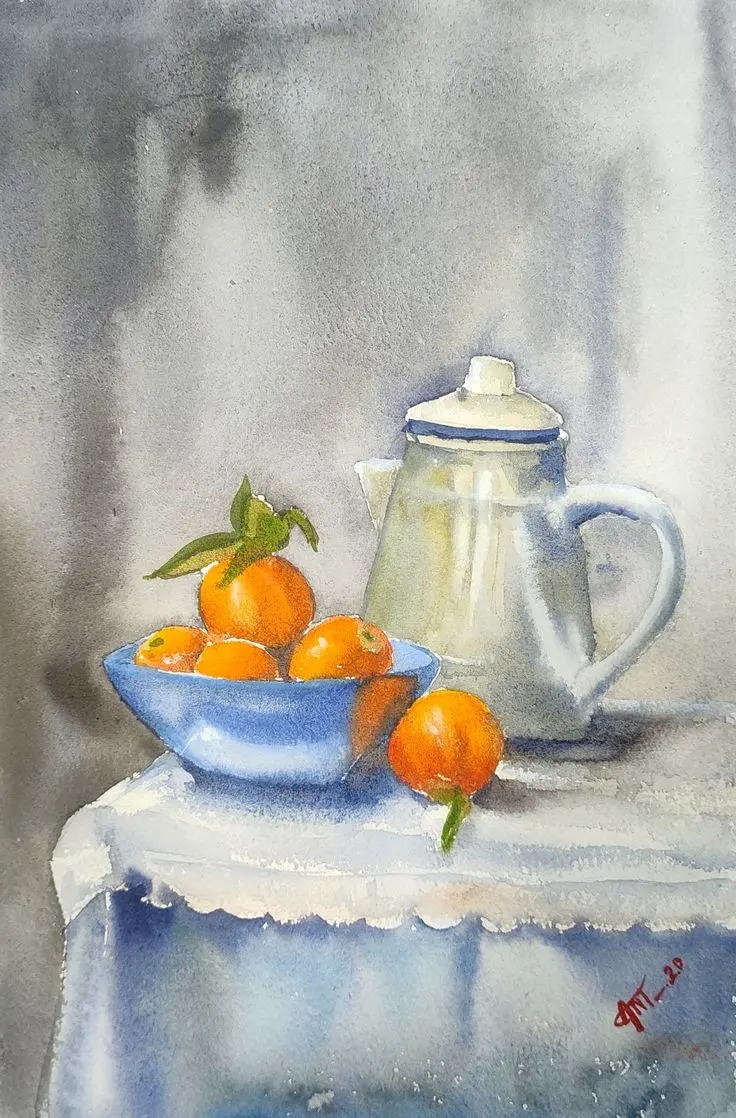
A compelling still life begins with thoughtful arrangement and lighting. Select three to five objects of varying heights, textures, and shapes to create visual interest. Avoid placing items in a perfectly straight line, as this creates a static, uninspired look. Instead, cluster them slightly to encourage the viewer's eye to move across the arrangement.
Lighting is arguably the most critical component of your setup. Position a single, strong light source to one side of the objects to create clear highlights and deep, cast shadows. This contrast is essential for defining form and volume. You can experiment with different angles; a low light source creates dramatic, long shadows, while a light placed higher up emphasizes the top planes of your subjects.
- Choose a focal point to anchor the composition.
- Arrange objects so they overlap slightly to create depth.
- Secure a steady light source that does not shift during your session.
- Use a neutral background, such as a draped cloth, to minimize visual noise.
- Check your arrangement from the specific angle you intend to draw from.
Best drawing techniques for beginners
When starting, prioritize the "envelope" method to map out your composition. This involves drawing light, loose lines that connect the outermost points of your objects to establish the overall silhouette. Do not focus on details yet; instead, concentrate on the relative sizes and distances between the items. This ensures your proportions remain accurate before you commit to permanent marks.
Once the outline is set, break complex forms down into basic geometric shapes like spheres, cylinders, and cubes. For example, a teapot can be viewed as a sphere with a cylinder attached for the spout. Understanding these underlying structures helps you apply shading correctly later. Use light pressure with your pencil during this stage so that you can easily erase or adjust lines as you refine the drawing.
- Use a 2B or HB pencil for initial sketching to keep lines light.
- Practice "sighting" by holding your pencil at arm's length to measure relative proportions.
- Keep your hand loose and avoid pressing too hard on the paper surface.
- Frequently step back from your drawing to gain a fresh perspective on the overall balance.
How to shade and create depth
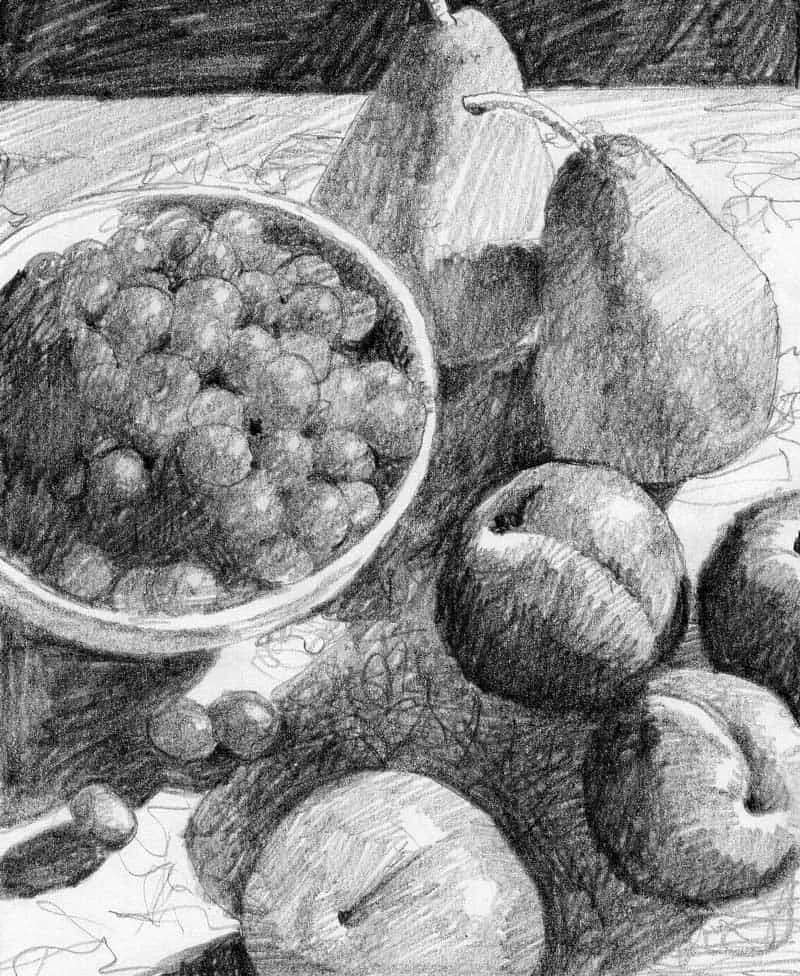
Shading is what transforms a flat outline into a solid, three-dimensional object. Identify the light source immediately and map out where the highlights, mid-tones, core shadows, and reflected light fall on each object. The core shadow is the darkest part of the object, located just before the light wraps around to the reflected light side.
To achieve a realistic look, use a range of values rather than just dark and light. Practice creating a value scale from one to ten, with one being white paper and ten being the darkest mark your pencil can make. Layer your graphite gradually, starting with light strokes and building up to the darkest shadows. Avoid smudging with your fingers, as this introduces oils that can damage the paper and create muddy, inconsistent textures.
- Identify the brightest highlight and leave that area of the paper blank.
- Apply a light base tone across the entire shaded side of the object.
- Gradually build darkness in the core shadow area using cross-hatching or circular strokes.
- Add the cast shadow on the surface, ensuring it is darkest near the base of the object.
- Soften edges where the light transitions into shadow to create a realistic, rounded appearance.
Common mistakes when drawing still life
One of the most frequent errors is "symbol drawing," where the artist draws what they think an object looks like rather than what they actually see. For example, people often draw a perfect circle for an apple because they know it is round, ignoring the subtle bumps or flattened sides. To overcome this, squint at your subject to blur the details and focus purely on the shapes and values.
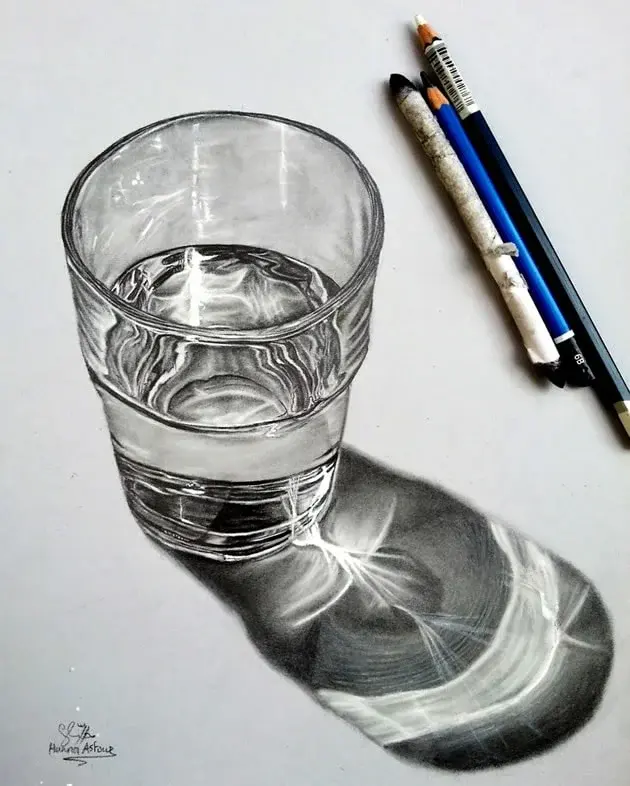
Another common mistake is failing to account for the cast shadow's relationship to the object. The cast shadow should follow the contours of the surface it falls upon and grow lighter and softer as it moves away from the object. Beginners also often neglect the background, leaving it stark white. Adding a subtle tone to the background or the surface plane helps ground the objects, preventing them from appearing as if they are floating in space.
- Drawing objects too small or too large for the paper frame.
- Using a single, uniform line weight, which makes the drawing look flat.
- Ignoring the reflected light that bounces off the table into the shadow side.
- Forgetting to check the negative space between objects to verify proportions.
How long does it take to improve
Skill development in still life drawing is a cumulative process that rewards consistent practice over intensity. A beginner might spend two hours on a single study, while a professional could complete a complex composition in half that time. The goal is not speed, but the development of "an artist’s eye," which is the ability to perceive spatial relationships and light values accurately.
Dedicate at least thirty minutes to drawing three times a week to see noticeable progress within a few months. During these sessions, focus on different challenges, such as rendering metallic surfaces, fabric folds, or glass transparency. Keep your early sketches in a dedicated portfolio to track your growth over time. By comparing your current work to drawings from six months prior, you will identify specific areas where your control and observational accuracy have improved significantly.
Key facts
- Use a single, strong light source to create consistent shadows and clear highlights on your objects.
- Simplify complex forms into basic geometric shapes like spheres, cubes, and cylinders before adding detail.
- Establish the composition by sketching light "envelope" lines to define the outer boundaries of your arrangement.
- Vary your pencil pressure to create a full range of values from deep, dark shadows to bright, white highlights.
- Keep your eye level consistent throughout the drawing to prevent perspective distortion of the objects.
- Use a viewfinder or crop your view to help frame the subject and balance the negative space.
The bottom line
Drawing still life is an exercise in observational discipline that requires breaking complex forms into geometric foundations. By controlling your lighting, establishing accurate proportions, and carefully rendering the interplay of light and shadow, you transform simple objects into a cohesive composition. Focus on the relationships between items rather than individual details, and you will achieve a realistic, balanced representation of your chosen subject matter.
People also ask
What is the best lighting for a still life setup?
A single, focused light source positioned to the side of your objects is ideal. This creates distinct shadows and highlights, which help define the three-dimensional volume of your subjects.
Should I use a grid to draw still life objects?
Grids are helpful for beginners to maintain accurate proportions and spatial relationships. However, practicing freehand sketching improves your observational skills and hand-eye coordination more effectively over time.
How do I make objects look like they are sitting on a surface?
Always draw the surface plane, such as a table edge, and include the cast shadows beneath each object. These elements anchor the items to the ground and prevent them from appearing to float.
What pencils should I use for shading?
A range of pencils, such as an HB for initial sketching and 2B through 6B for shading, provides versatility. Softer leads allow for darker, richer tones, while harder leads are better for light construction lines.
How can I improve the texture of my drawings?
Use varied mark-making techniques, such as cross-hatching, stippling, or smooth blending, to mimic different surfaces. Observe how light interacts with materials like glass, metal, or fabric to determine the appropriate texture application.
What is the most common mistake when drawing still life?
The most frequent error is focusing on individual details before establishing the overall proportions and structure. Always build the entire drawing simultaneously rather than finishing one object completely before starting the next.
This answer was created with the help of AI research tools and reference sources. Spotted an error? Let us know — we correct mistakes quickly. See our editorial policy.