How do you shade a still life?
Short answer
Shading a still life involves identifying a single light source to create consistent highlights, midtones, and shadows. By observing the form of your objects, you can apply graphite or charcoal in layers to build volume. Use a full range of values, from stark white to deep black, to achieve convincing three-dimensional depth.
On this page
How to identify light and shadow
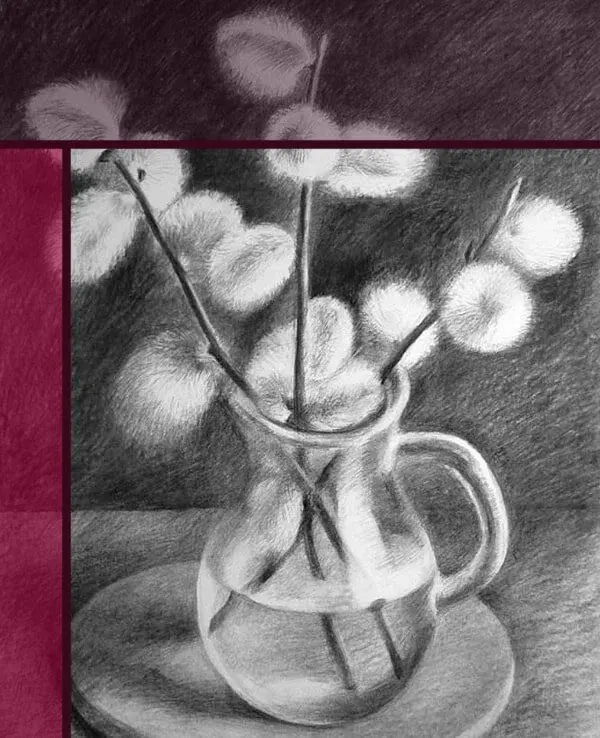
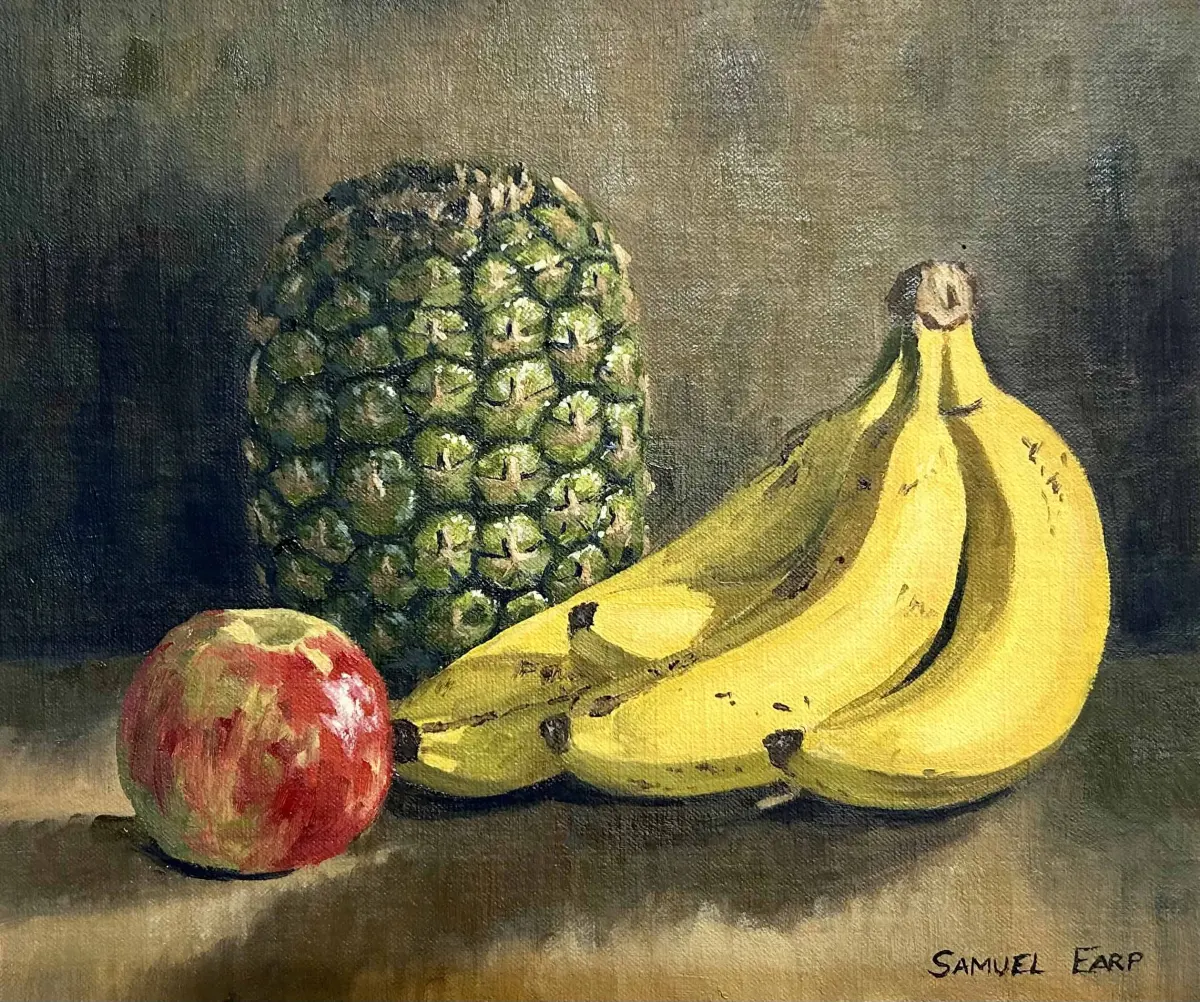
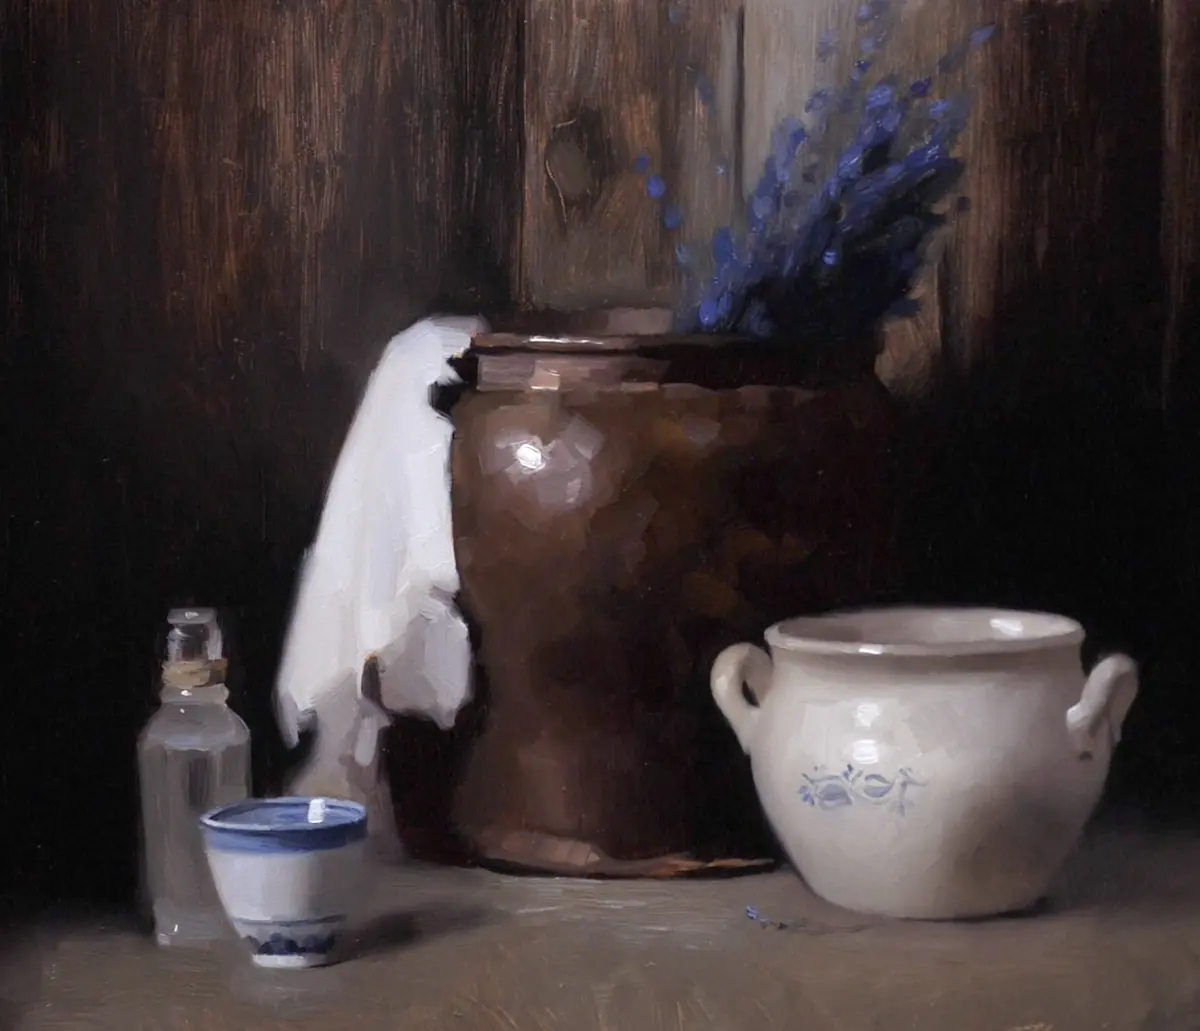
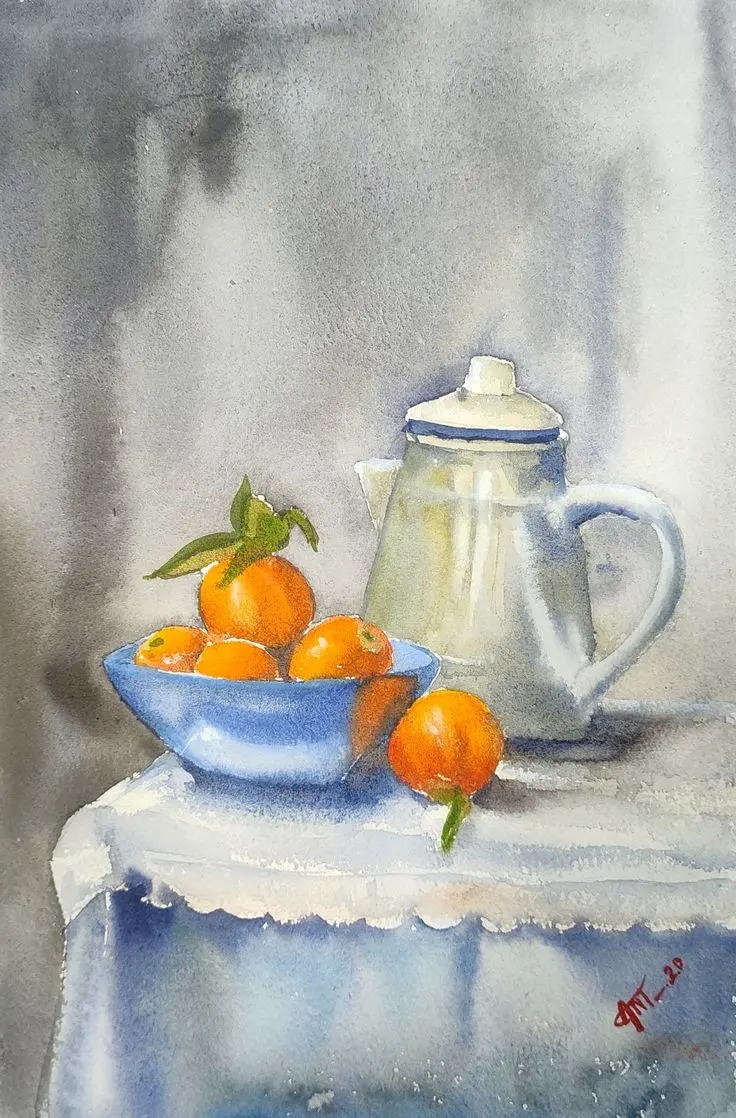
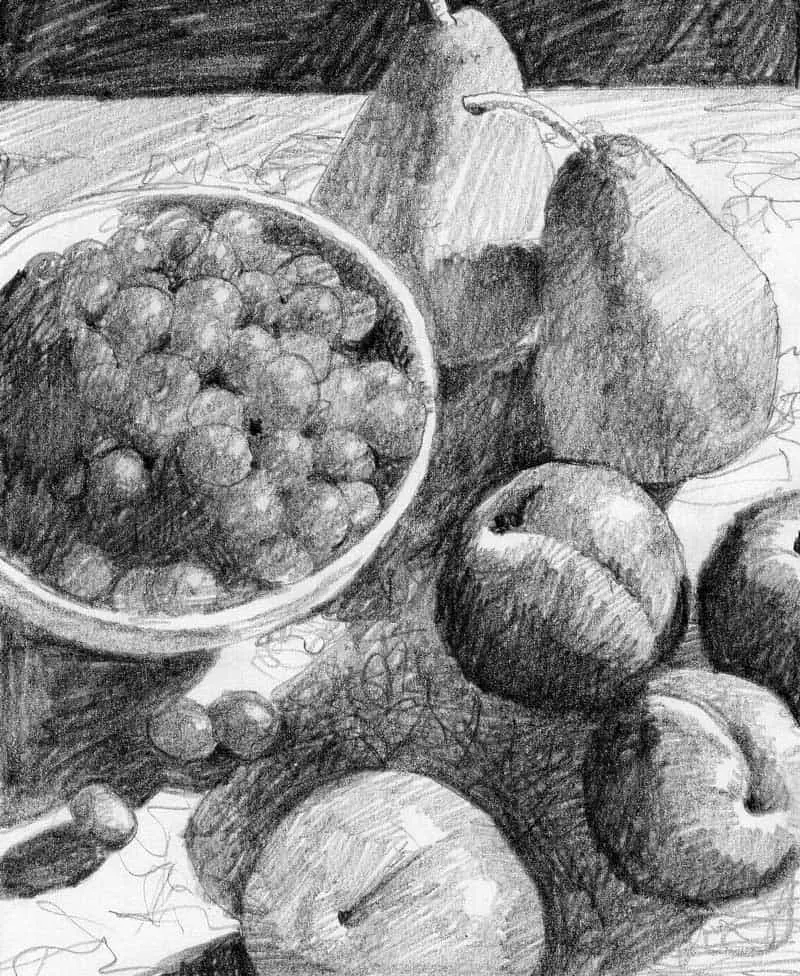
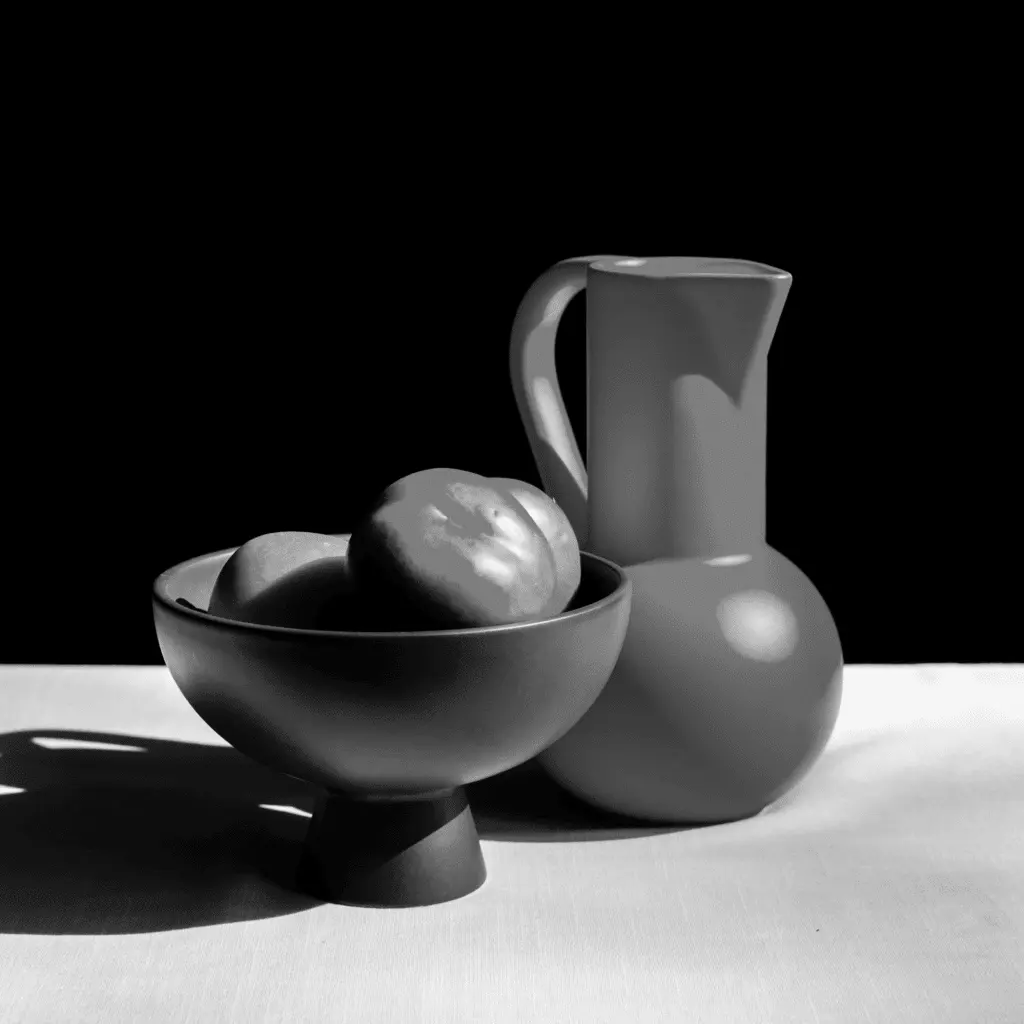
To shade effectively, you must first establish the direction of your light source. Place your still life objects under a single, strong lamp to ensure shadows are predictable and clear. Look for the "highlight," the brightest spot on the object, and the "core shadow," the darkest area where light fails to reach. Between these points, you will find midtones that describe the object's local color and texture.
Understanding the anatomy of a shadow is essential for realistic rendering. Light follows predictable paths, creating distinct zones on the surface of any form. Master these five key areas to ensure your drawing looks professional and grounded:
- Highlight: The point where light hits the surface directly.
- Light tone: The area receiving indirect or glancing light.
- Core shadow: The darkest part of the object, usually found at the turn of the form.
- Reflected light: A subtle glow caused by light bouncing off the table or nearby surfaces.
- Cast shadow: The dark shape projected onto the surface by the object itself.
Best tools for shading beginners
Beginners should start with a basic set of graphite pencils, typically ranging from 2H to 6B. H-grade pencils are harder and produce lighter, sharper lines, while B-grade pencils are softer and darker, ideal for deep shadows. A kneaded eraser is also vital; it can be molded into precise shapes to lift graphite and create highlights or soften harsh edges without damaging the paper.
Choosing the right paper is equally important for long-term progress. Heavyweight, acid-free drawing paper with a slight "tooth" or texture helps hold layers of graphite, allowing for smoother blending. Avoid standard printer paper, as it is too thin and smooth to support multiple layers of shading. When you are ready to experiment, consider using charcoal or conté crayons, which provide a broader range of rich, velvety blacks that graphite cannot always achieve on its own.
Step-by-step process for shading objects
- Begin with a light contour sketch to map out the placement and proportions of your objects.
- Identify your light source and lightly mark the boundaries of the cast shadows with a hard pencil.
- Apply a light, even layer of graphite to the shadow side of the object, keeping your strokes consistent.
- Gradually build up the darkness in the core shadow using softer pencils, pressing harder only when necessary.
- Use a blending stump or a piece of soft tissue to smooth out transitions between midtones and shadows.
- Lift out highlights using your kneaded eraser to give the object a sense of volume and luster.
Patience is the most valuable tool during this process. Do not rush to make the entire drawing dark at once. Instead, work in layers, slowly increasing the density of your marks. This method allows you to maintain control over the subtle gradients that define the rounded or angular nature of your subject matter.
Why shading looks flat or muddy
Shading often appears flat when an artist fails to use the full spectrum of available values. If your drawing lacks a true black or a crisp white, it will appear gray and lifeless. To avoid this, push your shadows to be as dark as possible and keep your highlights clean. Squinting at your subject can help you simplify the complex details into clear, distinct shapes of light and dark.
Muddy shading often occurs due to over-blending or using the wrong pressure. When you rub graphite too aggressively, it loses its crispness and becomes a dull, smeared mess. To fix this, avoid using your fingers to blend, as natural skin oils can leave marks that prevent further layering. Instead, rely on controlled hatching or cross-hatching techniques to create depth. These methods keep the surface of the paper clean and allow the texture of the drawing to remain visible and vibrant.
Common mistakes when shading still life
One frequent error is failing to connect the cast shadow to the object. If there is a visible gap between the base of the object and the shadow it casts, the item will appear to float rather than sit firmly on the table. Always ensure the darkest part of the cast shadow is located directly beneath the object, as this is where the light is most obstructed.
Another mistake is ignoring the influence of reflected light. Beginners often make shadows solid black, which makes the object look like a flat cutout. In reality, light bounces off the table and hits the underside of the object, creating a subtle, lighter band within the shadow. Including this detail is the secret to making a drawing look truly three-dimensional. Finally, avoid outlining your objects with thick, heavy lines. In nature, edges are defined by changes in value and color, not by dark borders. By focusing on the transition between light and dark, you will achieve a much more natural and sophisticated result.
Key facts
- Identify a single, consistent light source to ensure shadows fall in the same direction across all objects.
- Use a range of graphite pencils, such as 2H for light outlines and 4B or 6B for deep, dark shadows.
- Establish the "core shadow," which is the darkest area on the object itself, to create immediate three-dimensional volume.
- Always include a "cast shadow" on the surface beneath the object to anchor it firmly in space.
- Apply "reflected light" within the shadow side of an object to prevent it from looking like a flat, black hole.
- Use a kneaded eraser to lift highlights or soften transitions between light and shadow for a smoother appearance.
The bottom line
Shading a still life effectively requires a disciplined focus on light and shadow. By establishing a single light source, you can define the core shadows on your objects and the cast shadows on the surface. Balancing these dark areas with reflected light and bright highlights creates the illusion of depth. With consistent practice and careful observation of tonal values, you will transform simple shapes into realistic forms.
People also ask
What is the difference between a core shadow and a cast shadow?
A core shadow is the darkest area located on the object itself, usually where the light no longer hits the surface. A cast shadow is the shape projected onto the table or surrounding environment by the object blocking the light.
Should I use my fingers to smudge or blend my shading?
It is generally best to avoid using fingers, as natural skin oils can damage the paper and create uneven, muddy patches. Use a paper blending stump or a soft tissue instead to maintain control over the texture.
How do I know how dark to make my shadows?
Compare your darkest shadows to the deepest black in your reference setup. If your drawing looks flat, push the contrast by darkening the core shadows and cast shadows while keeping the highlights bright.
What is the purpose of a highlight?
A highlight is the point where the light source hits the object most directly, creating a bright spot that defines the object's texture. It is essential for making objects look shiny, rounded, or polished.
Why does my drawing look cartoonish instead of realistic?
This often happens because the transitions between light and shadow are too abrupt or lack mid-tones. Focus on creating a smooth gradient of gray tones rather than jumping directly from white to black.
Is it better to shade with lines or solid blocks of color?
Both techniques work, but cross-hatching creates a dynamic, rhythmic texture, while smooth blending creates a soft, photographic appearance. Choose the style that best fits the mood and texture of the objects you are depicting.
This answer was created with the help of AI research tools and reference sources. Spotted an error? Let us know — we correct mistakes quickly. See our editorial policy.