How do you draw a crying face?
Short answer
Drawing a crying face requires focusing on the tension in the eyebrows, the shape of the lower eyelids, and the path of tears. By emphasizing the contraction of facial muscles around the eyes and mouth, you can effectively convey deep emotion while maintaining the structural integrity of the human skull.
On this page
How to structure the facial anatomy for crying
When drawing a crying face, the most critical step is capturing the muscular tension that occurs during distress. The eyebrows do not simply droop; they pull together and upward at the inner corners, creating a distinct "frown" shape that wrinkles the skin between the brows. This movement forces the upper eyelids to lower slightly, narrowing the eyes and creating a sense of intense focus or pain.
To maintain anatomical accuracy, follow these structural guidelines:
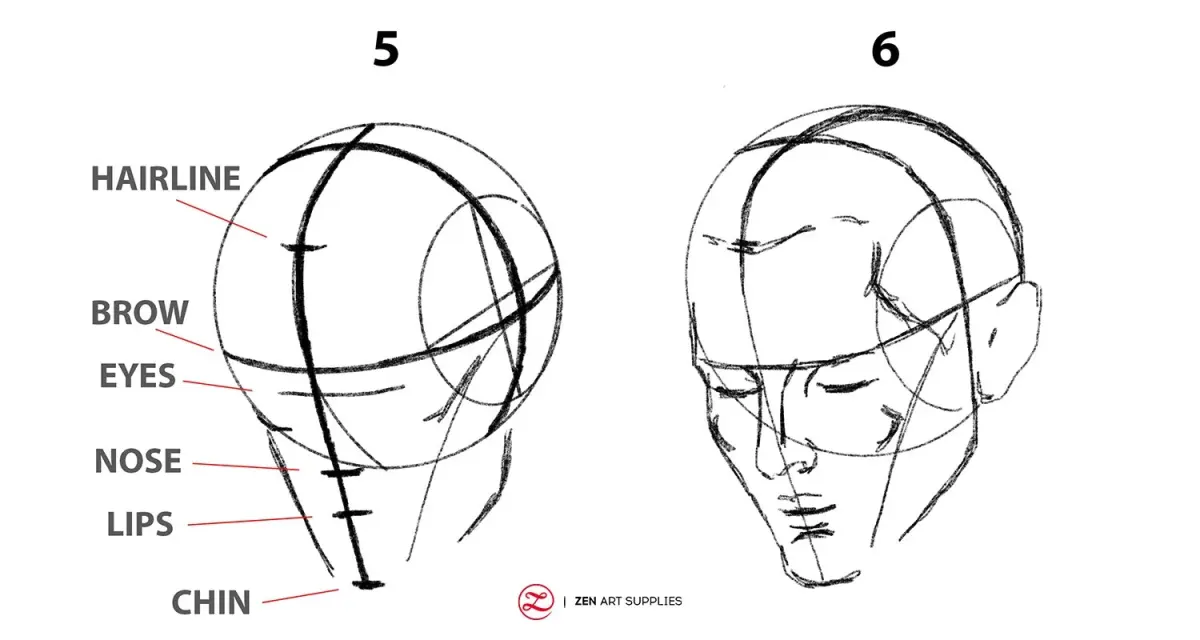
- Draw a standard head circle and jawline, but lower the brow ridge slightly to account for the facial contraction.
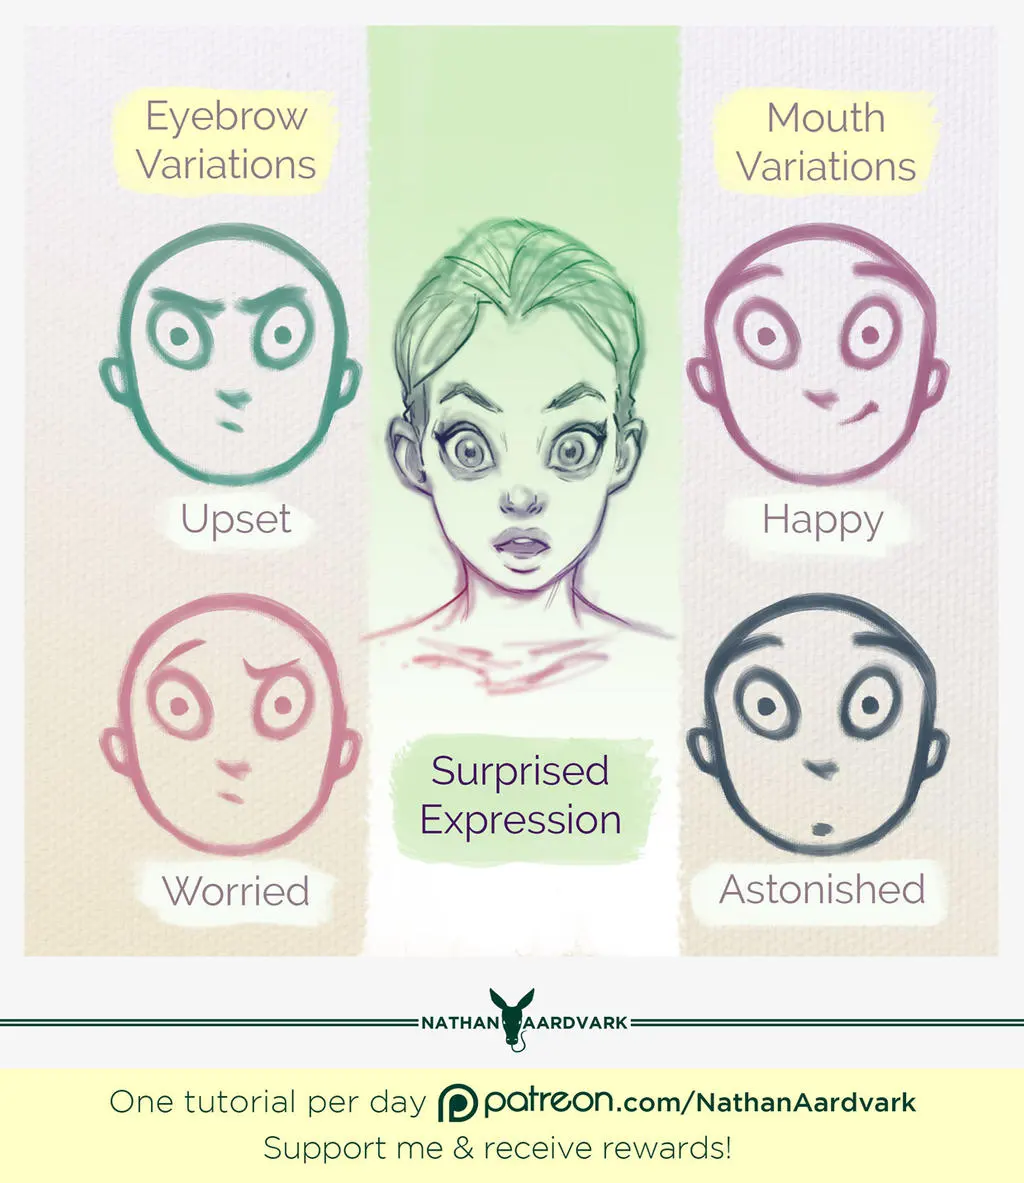
- Position the inner corners of the eyebrows higher than the outer corners to create a V-shape.
- Ensure the pupils remain centered or slightly raised to convey the character looking upward or inward, which is common in expressions of sorrow.
- Keep the bridge of the nose straight, as the distortion happens primarily in the soft tissue around the eyes and mouth.
How to draw realistic tears and eye moisture
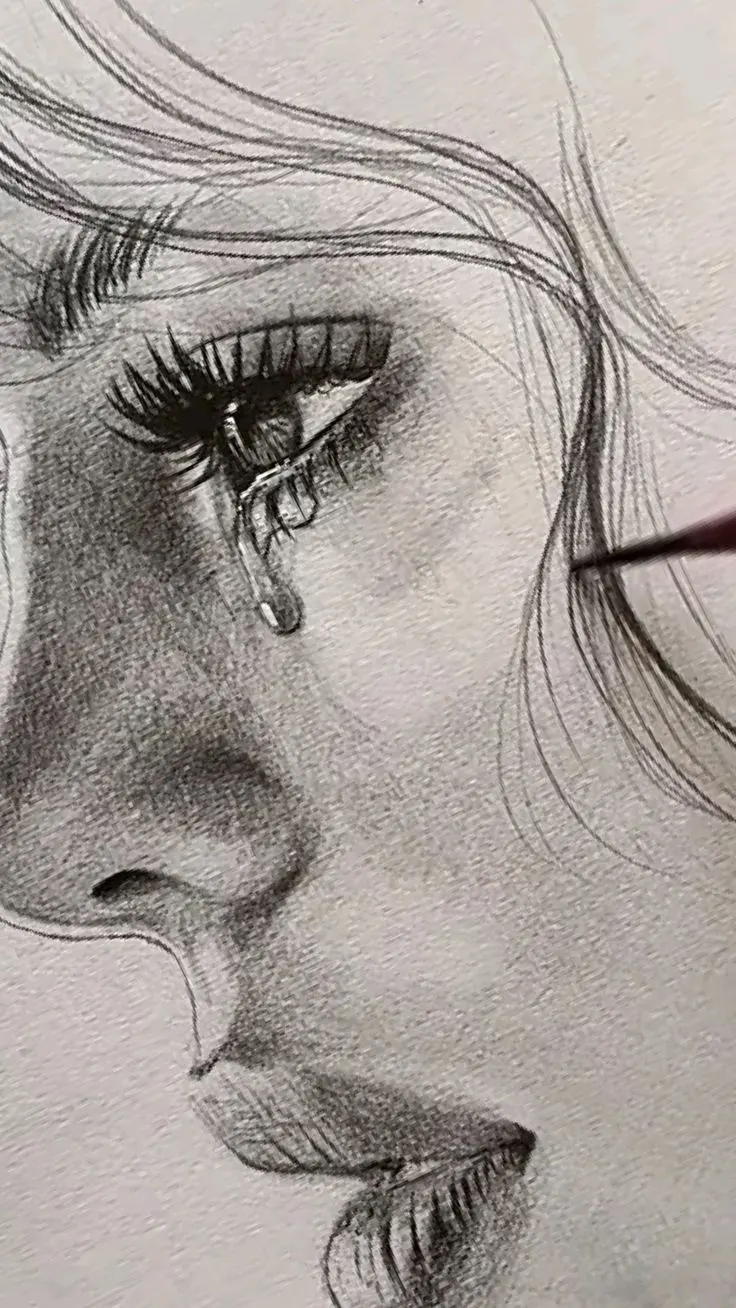
Tears are not merely lines on a face; they are reflective volumes of water that distort the skin underneath. To draw them convincingly, start by adding a thin, shiny highlight along the lower eyelid rim to represent pooled moisture. This suggests the eyes are glassy before a single tear even escapes. When a tear finally rolls down, it should follow the contours of the cheekbone rather than falling in a perfectly straight line.
Use these techniques to enhance the realism of your tears:
- Keep the tear path narrow near the eye and slightly wider as it descends due to gravity.
- Add a small, bright white highlight on the edge of the tear to show light refraction.
- Use a soft eraser to lift a thin line of skin color through the center of the tear, which simulates the way water magnifies the skin beneath it.
- Vary the length of the tear tracks to show that some are fresh while others have dried or branched out.
Why the mouth shape changes during crying
The mouth is the second most expressive feature when illustrating sadness. In a crying expression, the corners of the mouth are pulled downward by the depressor anguli oris muscles, while the chin often puckers or dimples from the tension. This action can cause the lower lip to tremble or push upward against the upper lip, creating a subtle horizontal bunching of the skin.
Avoid the common mistake of drawing a simplistic, exaggerated "U" shape for the mouth. Instead, observe how the lips lose their defined Cupid's bow and become more compressed. If the character is sobbing, the mouth should be slightly parted to allow for gasping, which creates a more dynamic and believable emotional state. Focus on the shadows cast by the bottom lip, as this depth helps ground the mouth within the overall structure of the face.

Best tools for shading emotional expressions
Shading is essential for conveying the depth of a crying face, as tears and puffiness create complex light patterns. Graphite pencils with varying hardness, such as 2B for shadows and 4H for light sketching, are ideal for beginners. Use a blending stump or a soft tissue to smooth out the transition between the tear tracks and the surrounding cheek skin, ensuring the moisture looks integrated rather than pasted on top.
When applying shadow, focus on these areas:
- The deep creases created by the bunched eyebrows.
- The area directly beneath the lower eyelid, which often appears puffy or swollen.
- The shadow cast by the nose onto the upper lip, which deepens when the face is contorted.
- The underside of the chin, which helps define the jawline during a downward-looking expression.
By layering these shadows, you create a three-dimensional effect that makes the sorrow feel tangible.
Common mistakes when drawing crying faces
One of the most frequent errors is drawing tears that look like solid, opaque white streaks. Tears are transparent, so the skin tone or shadow underneath must remain visible through the water. Another mistake is ignoring the overall posture of the head; a crying person rarely holds their head perfectly upright. Tilting the head downward or resting the chin on a hand adds a natural, weighted quality to the sorrow that makes the drawing more impactful.
Avoid these pitfalls to improve your work:
- Do not draw every single wrinkle, as this can age the character unintentionally; focus only on the primary expression lines.
- Ensure the eyes are not too wide, as this looks like surprise rather than sadness.
- Avoid perfectly symmetrical tear tracks, as real crying is messy and uneven.
- Remember that the nose often turns red or swells during crying, which can be suggested by adding a slight pinkish or darker tone to the tip.
Key facts
- Tears typically emerge from the inner corner of the eye, near the tear duct, rather than the center.
- The lower eyelid often pushes upward, creating a slight "puffy" fold or crease just beneath the lash line.
- Eyebrows generally slant inward and upward at the center, creating a furrowed shape that signals distress.
- A crying mouth often features downturned corners and a slightly stretched, trembling appearance.
- Adding highlights to the tear tracks—thin, vertical white lines—creates the illusion of moisture reflecting light.
- Avoid drawing perfectly straight lines for tears; make them slightly wavy to suggest gravity pulling them down the cheek.
The bottom line
Drawing a convincing crying face relies on capturing the subtle muscle contractions around the eyes and mouth. By focusing on the inner tear ducts, adding highlights to represent moisture, and ensuring tear tracks follow the natural contours of the cheekbones, you can create a realistic emotional impact. Remember that less is often more; subtle details like red-toned shading and slightly wavy lines convey genuine sorrow effectively.
People also ask
How do you make eyes look watery without drawing full tears?
Add a small, bright white dot or thin crescent shape along the bottom rim of the iris. This creates a "glassy" effect that mimics the way light reflects off a thin layer of moisture.
What is the most common mistake when drawing a crying face?
Beginners often draw tears that are too thick or perfectly straight, which makes them look like plastic rather than liquid. Keep tear tracks thin and slightly irregular to maintain a natural look.
How should the nose look when someone is crying?
The tip of the nose and the area around the nostrils should be shaded with a slightly reddish or darker tone. Crying causes blood vessels to dilate, leading to the characteristic redness associated with weeping.
Does the shape of the face change when crying?
Yes, the muscles around the eyes and mouth contract, which can cause the cheeks to bunch up. Drawing these subtle folds helps convey the physical effort of intense emotion.
How do you draw a "sobbing" expression versus a "sad" one?
A sobbing expression requires more extreme muscle contraction, such as a more open mouth and tighter, squinting eyes. A sad expression is usually more subdued, focusing on the downward curve of the lips and brows.
Should tears always follow the same path?
Tears follow the contours of the face, so they should curve slightly around the cheekbone. If the head is tilted, the path of the tear should adjust to follow the pull of gravity relative to the chin.
This answer was created with the help of AI research tools and reference sources. Spotted an error? Let us know — we correct mistakes quickly. See our editorial policy.