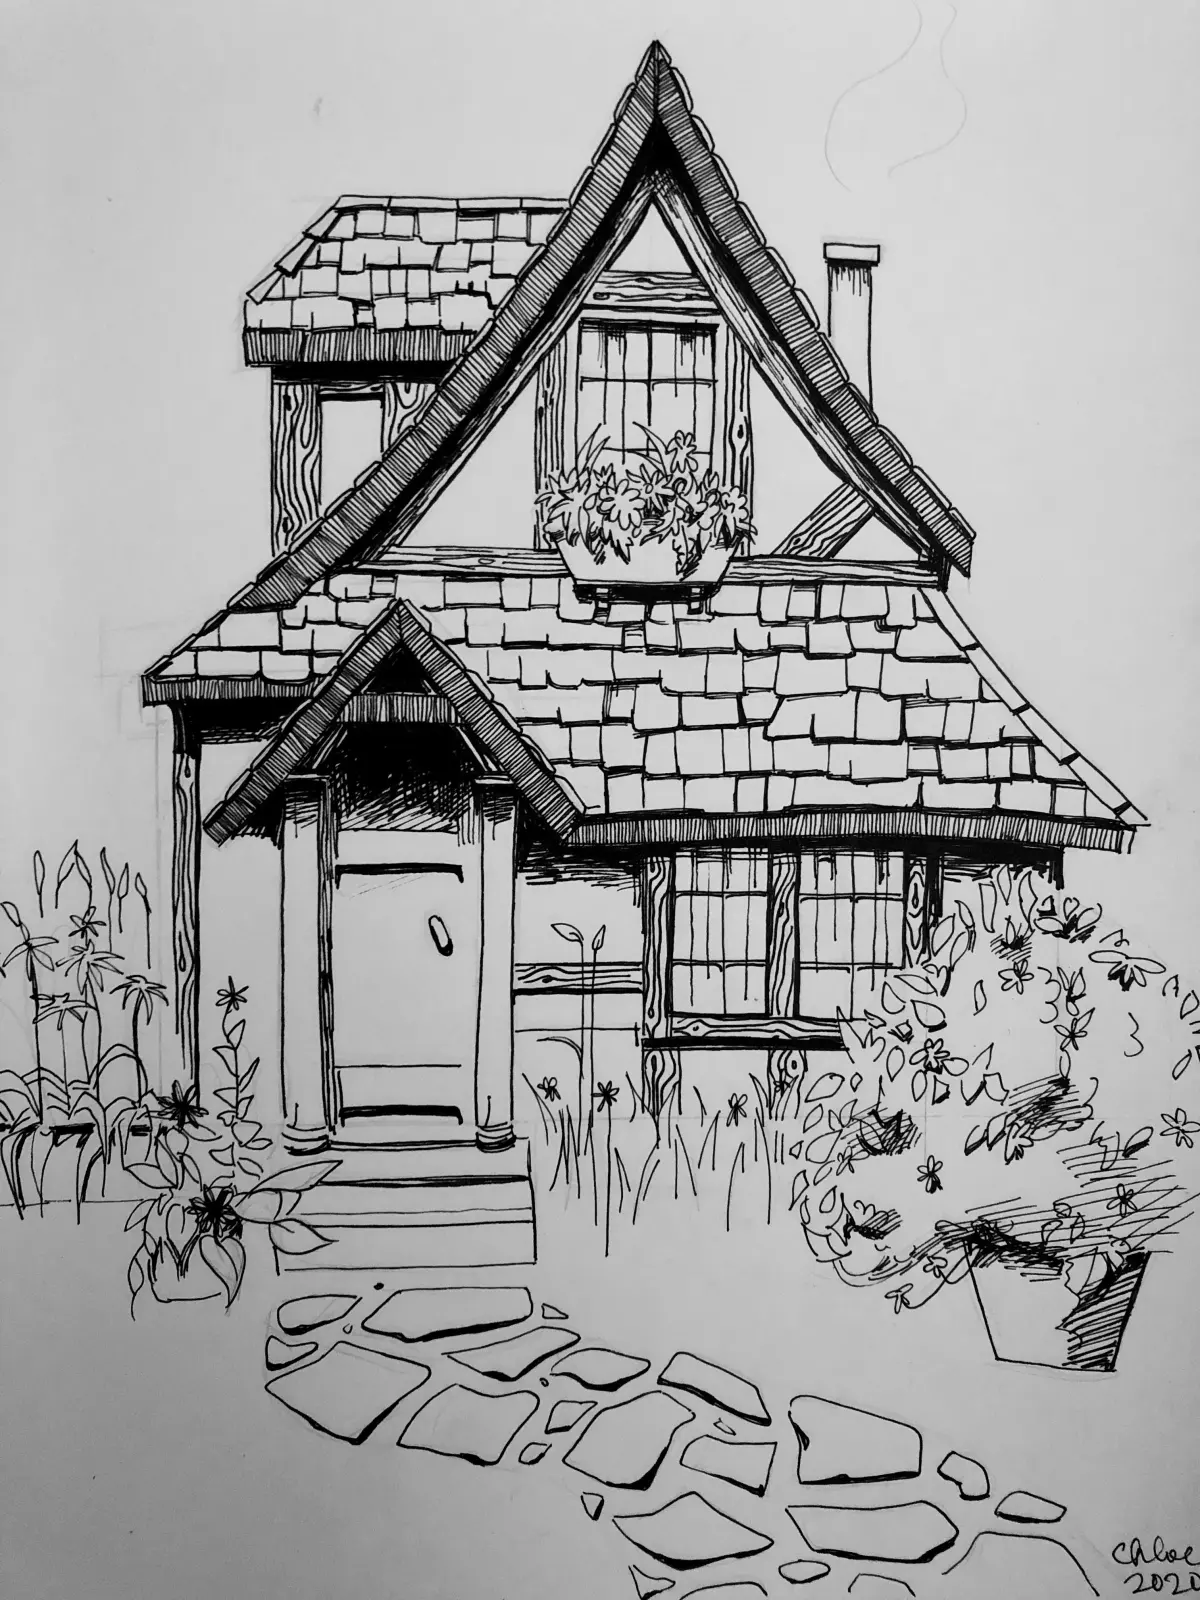
How do you draw a door?
Short answer
Drawing a door involves establishing a rectangular frame, adding depth with perspective lines, and detailing hardware like handles and hinges. Whether drawing a flat 2D icon or a 3D architectural sketch, the process relies on geometric shapes and vanishing points to create the illusion of a functional entryway within a wall.
On this page
How to draw a basic door in perspective
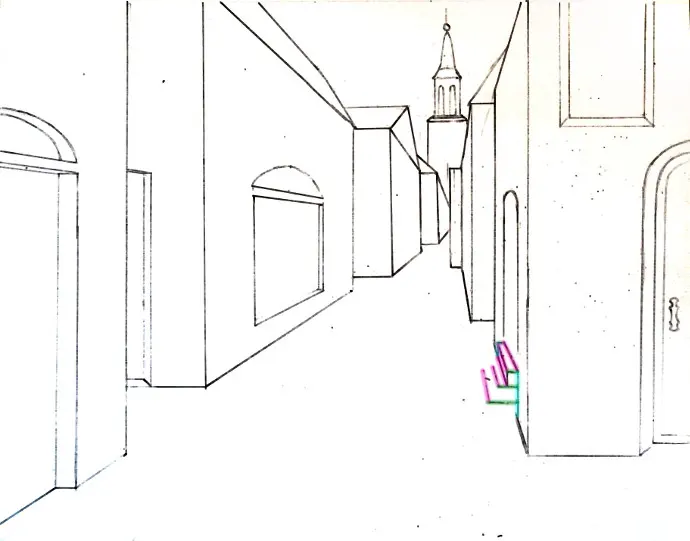
To draw a door that looks realistic, you must first understand the concept of a vanishing point. If the door is on a wall parallel to your line of sight, use a simple rectangle. If the wall is angled, draw a vertical line for the hinge side and two horizontal lines receding toward a single vanishing point on the horizon line. This creates the necessary depth for the door frame.
When sketching, start by lightly drawing the frame, which is the casing surrounding the door panel. A standard door is typically twice as tall as it is wide, maintaining a ratio of roughly 2:1. Once the frame is established, draw the door panel slightly smaller than the frame to account for the gap where the door swings. Using a ruler for these initial lines ensures the structure remains stable and anatomically correct.
- Draw a vertical line for the hinge side of the door.
- Add horizontal lines at the top and bottom to define the height.
- Connect the lines to form a rectangle.
- Draw a secondary, smaller rectangle inside the first to create the door panel.
- Add a small circle or oval on the opposite side of the hinges for the handle.
Best tools for drawing doors
Beginners should utilize graphite pencils, specifically an HB for light sketching and a 2B for darker, final outlines. A mechanical pencil is often preferred for architectural drawings because it provides a consistent line width, which is essential for the precise geometry required in door design. Using a high-quality eraser is equally important for removing construction lines that define the perspective.
For those interested in more professional results, technical pens with varying nib sizes allow for clean, crisp lines. A 0.5mm pen is ideal for the main structure, while a 0.2mm pen works well for fine details like wood grain or intricate panel molding. Combining these tools with a metal ruler or a T-square ensures that your lines remain perfectly straight, preventing the common issue of wobbly or distorted door frames.
- Graphite pencils (HB, 2B) for sketching and shading.
- Technical pens (0.1mm to 0.5mm) for permanent outlines.
- A metal ruler or T-square for precise horizontal and vertical lines.
- A kneaded eraser to lift graphite without damaging the paper surface.
- A compass or circle template for drawing circular knobs or decorative glass inserts.
How to add depth and detail
Adding depth transforms a flat drawing into a three-dimensional object. To achieve this, draw a thin line along the thickness of the door panel, connecting the front face to the back. This "thickness" line should follow the same perspective as the rest of the door, helping the viewer perceive that the door has physical volume rather than being a mere sticker on the wall.
Detailing the door panel is the next step in creating a realistic appearance. Most interior doors feature recessed panels, which are typically arranged in a two-over-two or single-panel configuration. By drawing smaller rectangles within the door panel and adding subtle shading to the edges, you create the illusion of depth. Remember to place the door handle at a standard height, which is usually 36 inches from the floor, to maintain proper scale.
Common mistakes when drawing doors
One of the most frequent errors is neglecting the hinge side. A door must be attached to a frame, and the hinges should be clearly visible on one side of the panel. Beginners often forget to draw the gap between the door and the frame, which makes the door look like it is fused to the wall. Always leave a thin, consistent margin around the door panel.
Another common mistake is inconsistent perspective. If the top and bottom lines of the door do not converge toward the same vanishing point as the surrounding walls, the door will appear to be floating or tilted. Ensure that all horizontal elements of the door are parallel to the floor or angled correctly toward the vanishing point. Checking your angles frequently during the sketching process will prevent these structural inaccuracies from ruining the overall composition.
Why doors look distorted in drawings
Distortion often occurs when the artist fails to account for the viewer's eye level. If your eye level is set too high or too low, the door will appear to stretch or compress vertically. To fix this, always mark your horizon line before beginning the drawing. The door handle and the top of the door frame should relate logically to this horizon line to maintain a natural appearance.
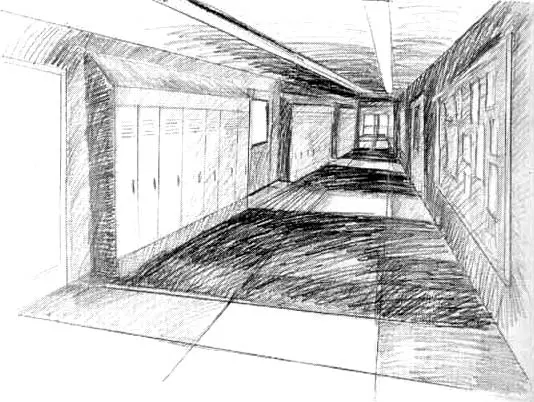
Furthermore, improper shading can make a door look flat or concave. Light typically hits a door from a specific angle, usually from above. By applying darker shading to the side of the door opposite the light source and adding a small shadow where the door meets the floor, you ground the object in its environment. These subtle tonal shifts are what separate a novice sketch from a professional architectural rendering, providing the necessary weight and presence for the door.
Key facts
- A standard door is typically 80 inches tall and 36 inches wide.
- Use a vanishing point to create a realistic sense of depth in perspective drawings.
- Always draw the door frame slightly larger than the door itself to account for clearance.
- Include a door handle at a standard height of 36 to 42 inches from the floor.
- Use parallel vertical lines for the door edges to ensure the structure looks stable.
- Add a slight shadow along the hinge side to define the separation between the door and the wall.
The bottom line
Drawing a door is an exercise in perspective and structural proportion. By mastering the basic rectangle, applying consistent vanishing points, and adding essential details like hardware and frames, you can create a realistic representation. Focus on maintaining vertical alignment and proper scale to ensure the door looks functional. With practice, these fundamental techniques will allow you to integrate architectural elements into any drawing with confidence and precision.
People also ask
How do I draw a door in one-point perspective?
Place a vanishing point on your horizon line and draw lines from the corners of your door frame toward that point. This technique ensures the door appears to recede into the distance correctly.
Where should I place the hinges on a door drawing?
Hinges are typically placed on the vertical edge opposite the handle. Draw three small rectangles along the edge to represent the hinges for a standard interior door.
Should I draw the door open or closed?
Drawing a closed door is easier for beginners as it involves simple rectangles. An open door requires drawing an arc on the floor to show the path of the swing.
How do I make a door look three-dimensional?
Add a thin line along the thickness of the door edge to show its depth. Shading the side opposite the light source will further enhance the three-dimensional effect.
What is the best way to draw a door handle?
Start with a small circle or oval on the door face. Add a subtle shadow underneath the handle to give it weight and make it appear attached to the surface.
Can I draw a door without a frame?
While possible, adding a frame provides essential context and scale. A simple border around the door helps define where the wall ends and the entryway begins.
This answer was created with the help of AI research tools and reference sources. Spotted an error? Let us know — we correct mistakes quickly. See our editorial policy.