How do you draw a cottage step by step?
Short answer
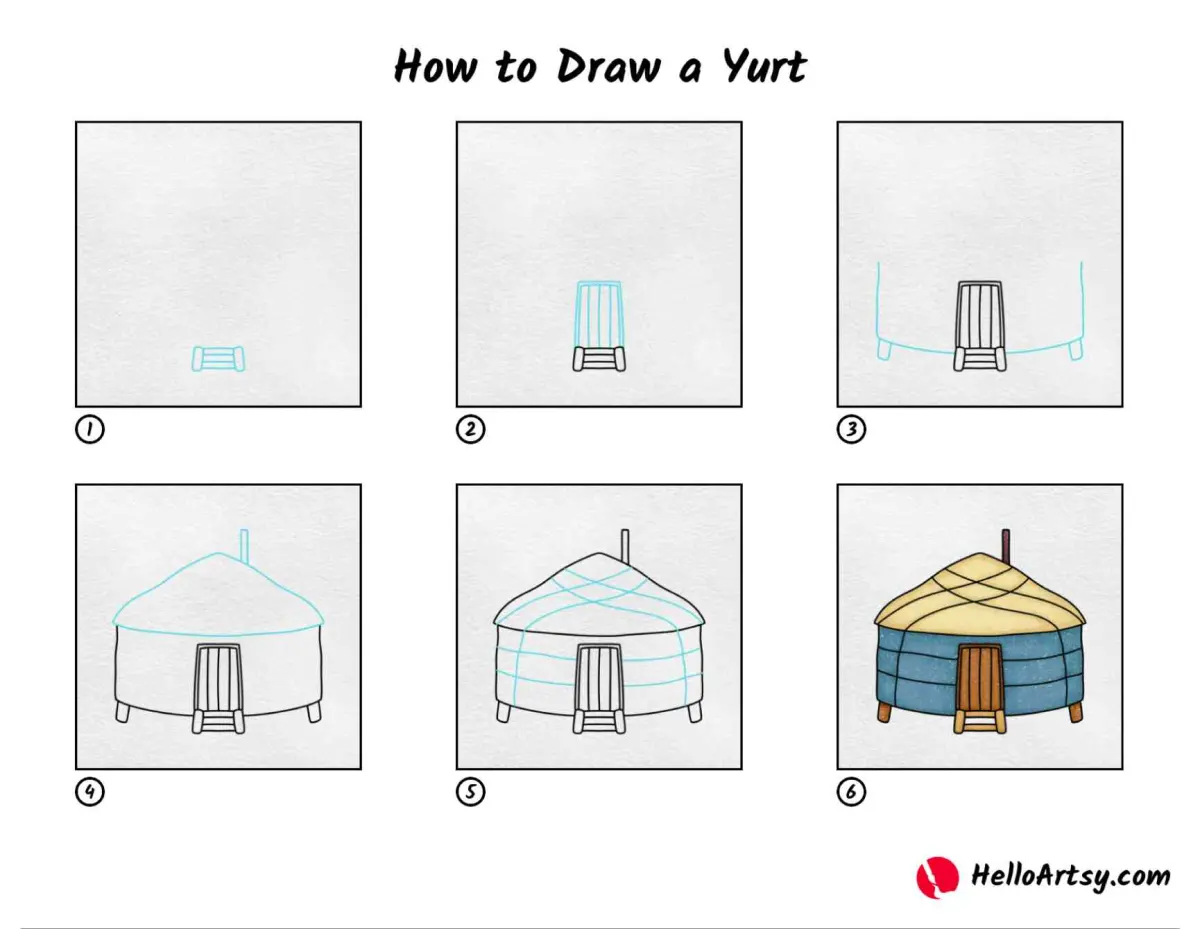
Drawing a cottage involves constructing a basic geometric frame, adding a pitched roof, and layering architectural details like windows, doors, and chimneys. By starting with simple shapes—a rectangle for the base and a triangle for the roof—you can build a charming, proportional structure before refining it with textures and landscaping.
On this page
How to draw a cottage step by step
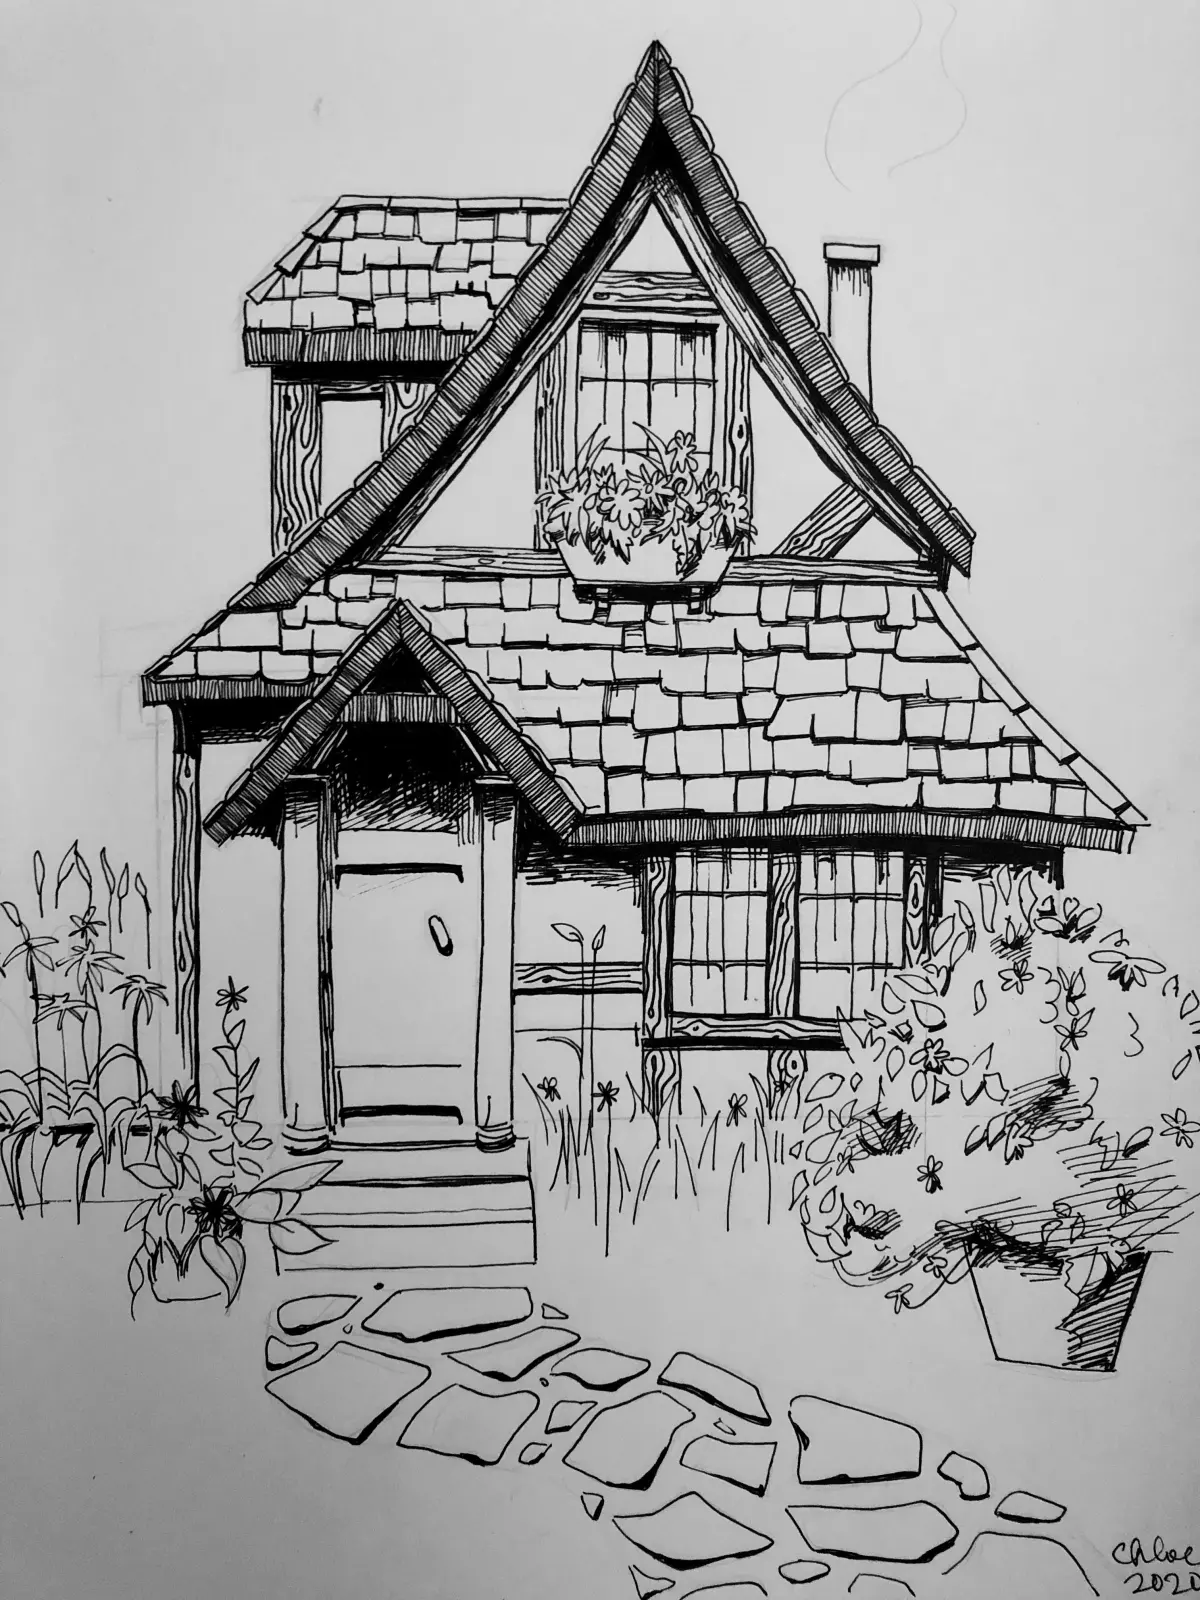
To begin your drawing, establish a light horizon line to ensure your structure sits firmly on the ground. Sketch a large rectangle to represent the main living area, followed by a triangle on top for the roof. If you want a more complex silhouette, you can add smaller rectangles to the sides to represent extensions or porches. Keep these initial lines very faint, as they serve only as a structural guide for your final composition.
Once the basic silhouette is set, define the roof's pitch by extending the triangle slightly beyond the walls to create eaves. Add a chimney by drawing a vertical rectangle on one side of the roof slope. Finally, place your door and windows using simple squares or rectangles. Ensure the door is centered or placed logically for entry, and align your windows horizontally to maintain a sense of architectural balance across the facade.
Best drawing tools for beginners
For those just starting, a standard HB graphite pencil is the most versatile tool for creating both light structural outlines and darker, defined details. You should also have a soft white eraser on hand to remove construction lines without damaging the paper. If you prefer to add depth, a 2B pencil is excellent for shading, while a fine-liner pen can be used once you are confident with your pencil sketch.
When choosing paper, a medium-weight sketchbook with a slight tooth or texture works best for graphite. Avoid extremely smooth printer paper, as it can make shading look uneven and difficult to control. For added flair, consider these essential supplies:
- A kneaded eraser for lifting graphite gently without smudging.
- A blending stump to smooth out shadows on walls and roofs.
- A ruler to ensure your vertical lines remain perfectly perpendicular to the ground.
- A set of colored pencils if you wish to bring warmth to your cottage.
How to add texture and detail
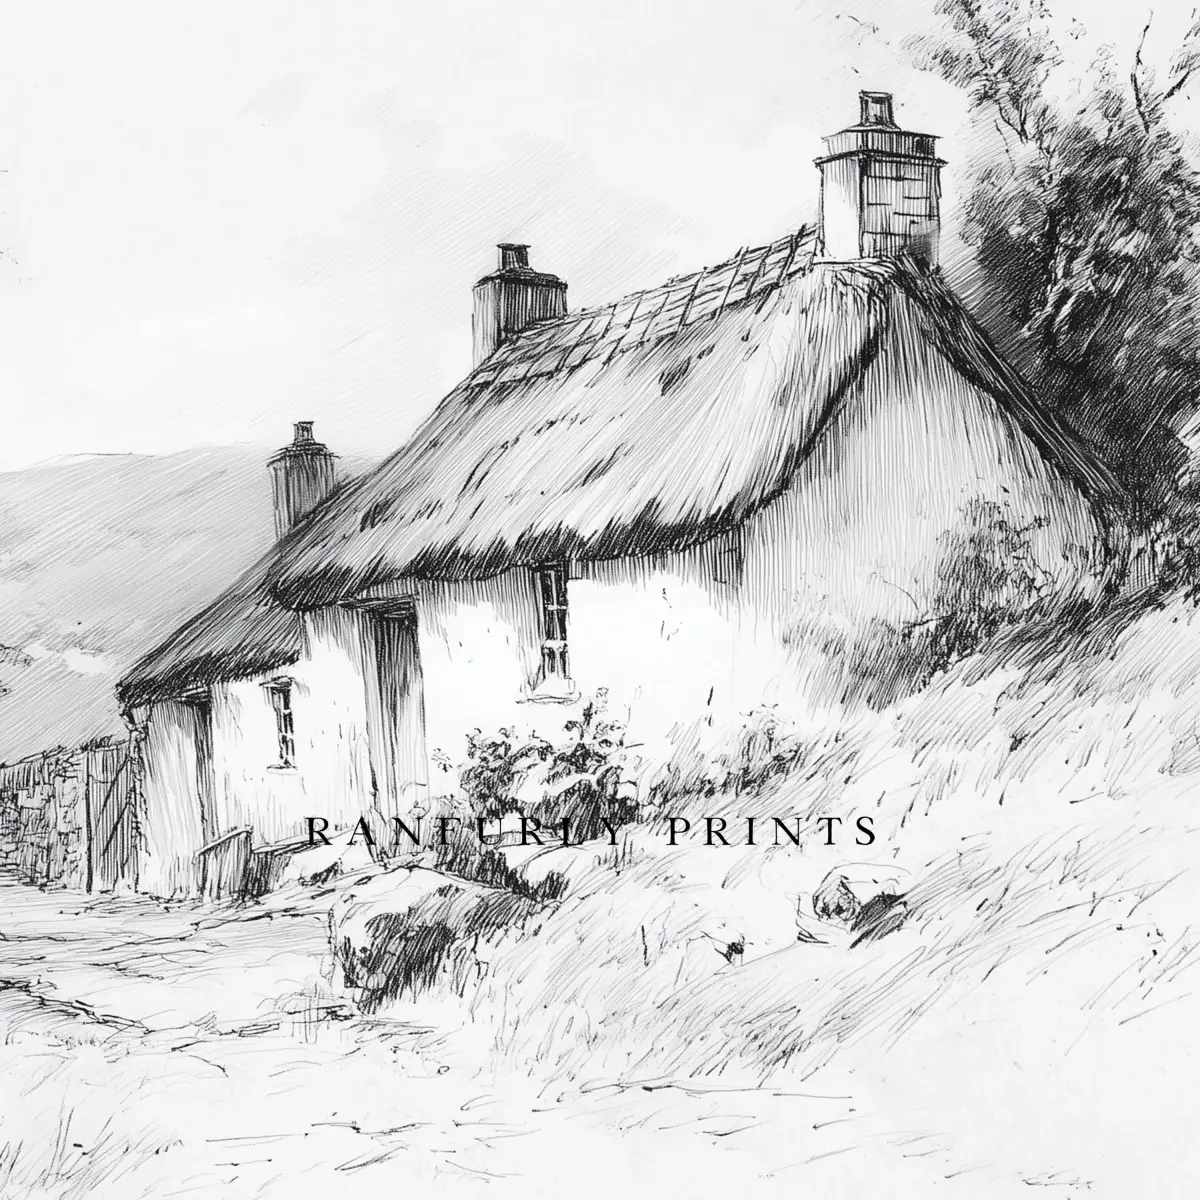
Texture is what transforms a simple geometric drawing into a believable home. Instead of drawing solid lines for the roof, use short, repeating strokes to suggest shingles or thatch. For the walls, you can indicate stone or brickwork by drawing a light grid of horizontal lines with staggered vertical dashes. Do not feel the need to draw every single brick, as suggesting the pattern is often more effective than detailing every element.
To enhance the visual interest of your drawing, focus on these specific architectural features:
- Draw a small porch or entryway overhang to create a sense of depth.
- Add window panes by drawing a simple cross inside your window rectangles.
- Sketch a path leading toward the front door to ground the cottage in its environment.
- Use vertical lines on the chimney to indicate brickwork or stonework texture.
Common mistakes when drawing cottages
One of the most frequent errors is neglecting perspective, which causes the house to look flat or tilted. Ensure that your horizontal lines, such as the tops and bottoms of windows, remain parallel to the horizon line. Another common issue is making the door too small; a standard door should be roughly half the height of the entire wall to look realistic. Always step back and view your drawing from a distance to check for these proportional imbalances.
Avoid the temptation to press too hard with your pencil during the early stages of the drawing. Heavy lines are difficult to erase and can leave indentations on the paper, making it impossible to adjust your composition later. If your cottage looks "sinking" or lopsided, check that your vertical lines are truly vertical by comparing them to the straight edge of your paper. Taking the time to measure your proportions early will prevent significant structural flaws later.
How to finish your drawing with landscaping
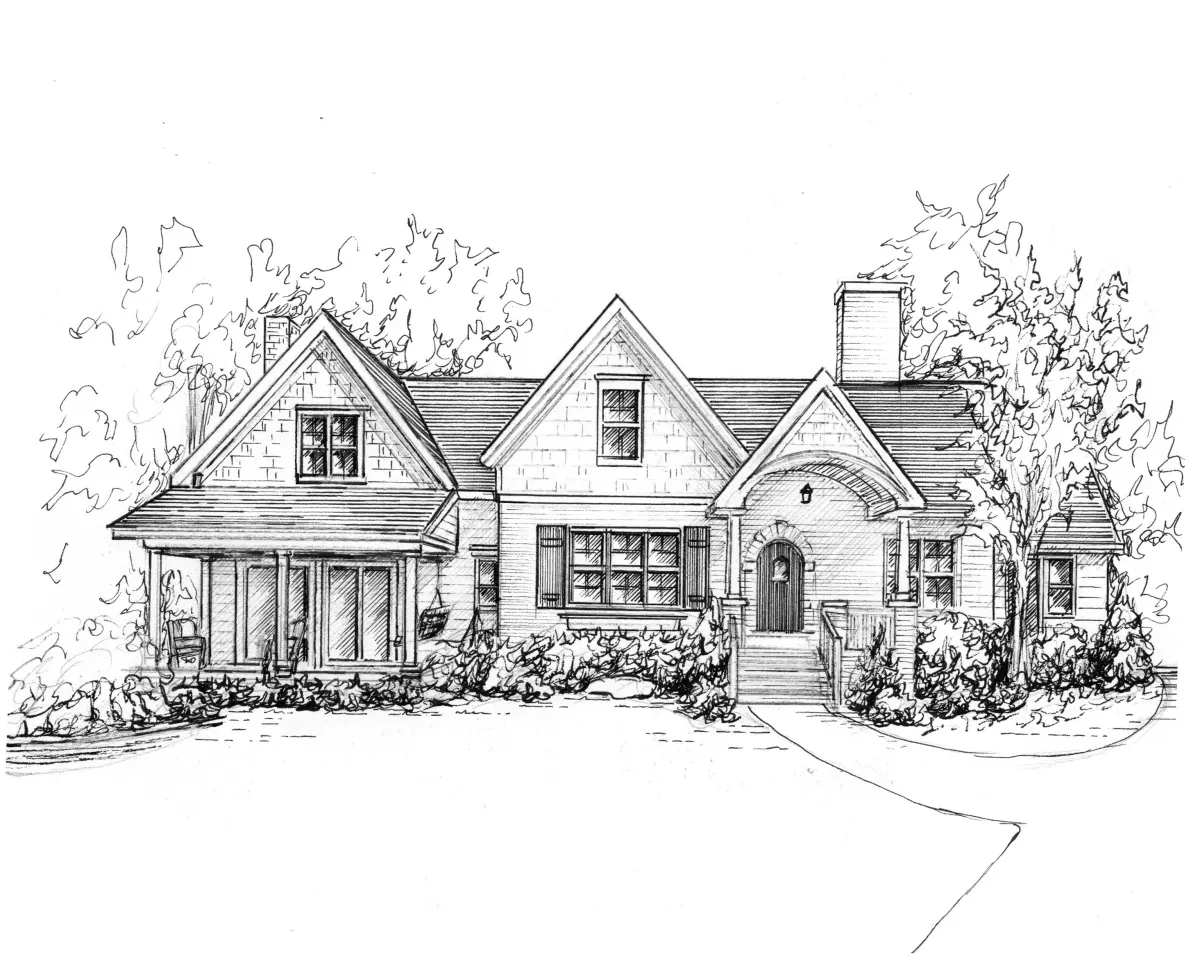
A cottage is never complete without its surroundings, which help tell a story about the home. Start by adding a few simple bushes or shrubs at the base of the walls to soften the transition between the structure and the ground. You can add a large, loose tree to one side of the frame to provide contrast to the rigid lines of the house. Keep the landscaping simple so that it frames the cottage rather than distracting from it.
Finally, consider the lighting of your scene to give the drawing a professional finish. Decide where your light source is coming from and apply shadows on the opposite side of the cottage walls and beneath the roof eaves. Adding a light ground shadow or a few tufts of grass will anchor the building firmly to the earth. By balancing the architectural details with natural elements, you create a cohesive and inviting scene that feels complete and well-composed.
Key facts
- Start by drawing a simple rectangle for the main body of the cottage to ensure your proportions remain balanced.
- Use a triangle for the roof, extending the lines slightly past the rectangle to create a realistic overhang.
- Place the door in the center or slightly off-center to maintain visual symmetry and focus.
- Incorporate a small chimney on the roofline to add character and depth to the structure.
- Add windows with simple cross-panes to provide a sense of scale and architectural detail.
- Use light pencil strokes initially so you can easily erase and correct lines before finalizing with ink.
The bottom line
Drawing a cottage is an exercise in combining simple geometric shapes to create a cohesive scene. By starting with a basic rectangular frame and adding architectural details like windows, a chimney, and a textured roof, you build a foundation for artistic expression. Focus on maintaining consistent proportions and adding subtle shading to bring depth to your work, ensuring your final sketch feels both charming and structurally sound.
People also ask
How do I make the cottage look more rustic?
Add irregular textures like stone patterns on the walls or a thatched, uneven roofline. Including details like a crooked chimney or overgrown bushes around the base helps create a charming, lived-in aesthetic.
What is the best way to draw a perspective view of a cottage?
Use a two-point perspective technique by establishing two vanishing points on the horizon line. This allows you to show two sides of the building simultaneously, creating a three-dimensional effect.
Should I use a ruler for every line?
While a ruler helps with the initial structural frame, avoid using it for every detail. Hand-drawn lines for elements like roof tiles or stone walls often look more natural and organic.
How can I add depth to my drawing?
Apply shading to the side of the house opposite your light source. Adding a cast shadow on the ground beneath the cottage will ground the building and prevent it from appearing to float.
What tools are best for beginners?
A standard HB pencil is ideal for sketching, while a fine-liner pen works well for outlining. Use a kneaded eraser to lift graphite without damaging the paper surface.
How do I draw realistic roof tiles?
Draw horizontal lines across the roof, then add vertical dashes that are staggered like a brick pattern. This creates the illusion of overlapping shingles or tiles without needing to draw every single one.
This answer was created with the help of AI research tools and reference sources. Spotted an error? Let us know — we correct mistakes quickly. See our editorial policy.