How do you draw a nose from the front?
Short answer
Drawing a nose from the front involves constructing a central bridge and two nostrils using simple geometric shapes. By focusing on light and shadow rather than harsh outlines, you create a three-dimensional effect. Start by establishing the width of the nose using the inner corners of the eyes as guides.
On this page
How to structure a nose for beginners
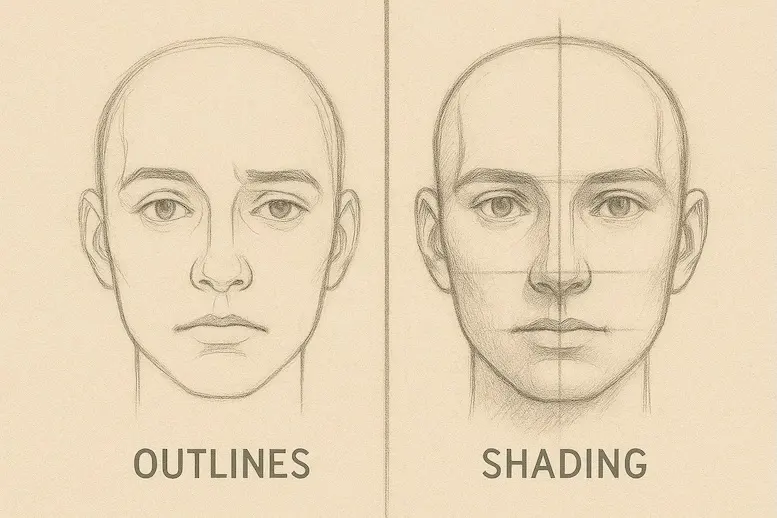
The foundation of a realistic nose is the "T-shape" formed by the brow ridge and the bridge. Beginners often make the mistake of drawing two vertical lines for the sides, which results in a flat, cartoonish look. Instead, visualize the nose as a three-sided pyramid or a trapezoid-like block. Start by sketching a light circle for the nasal tip and two smaller circles on either side for the nostrils. This structural approach ensures that the proportions remain balanced before you commit to permanent lines.
Once the basic shapes are placed, connect the bridge to the brow area using soft, subtle shading. Avoid drawing rigid lines down the entire length of the nose, as this makes it appear unnatural. Keep your lines light so they can be easily blended or erased as you refine the anatomy. Using the width of the eye as a reference point for the nostrils helps maintain facial harmony and prevents the nose from appearing too wide or narrow.
How to shade a nose for depth
Shading is the most critical step in transforming a flat sketch into a three-dimensional form. Focus on the underside of the nose, where the nostrils and the septum create a natural shadow. Use a soft graphite pencil, such as a 2B or 4B, to build up tones gradually. Apply the darkest values under the nasal tip and inside the nostrils, then gently blend outward toward the bridge. This gradient creates the illusion of volume and curves.
To achieve a professional finish, consider these shading techniques:
- Use a blending stump or a soft tissue to smooth out harsh transitions between light and shadow.
- Leave a small, unshaded area on the tip of the nose to represent a highlight, which suggests a smooth, skin-like texture.
- Keep the bridge of the nose relatively light, as this area usually catches the most direct light.
- Use cross-hatching sparingly to add texture to the sides of the nose without making the skin look muddy or over-rendered.
How to measure nose proportions
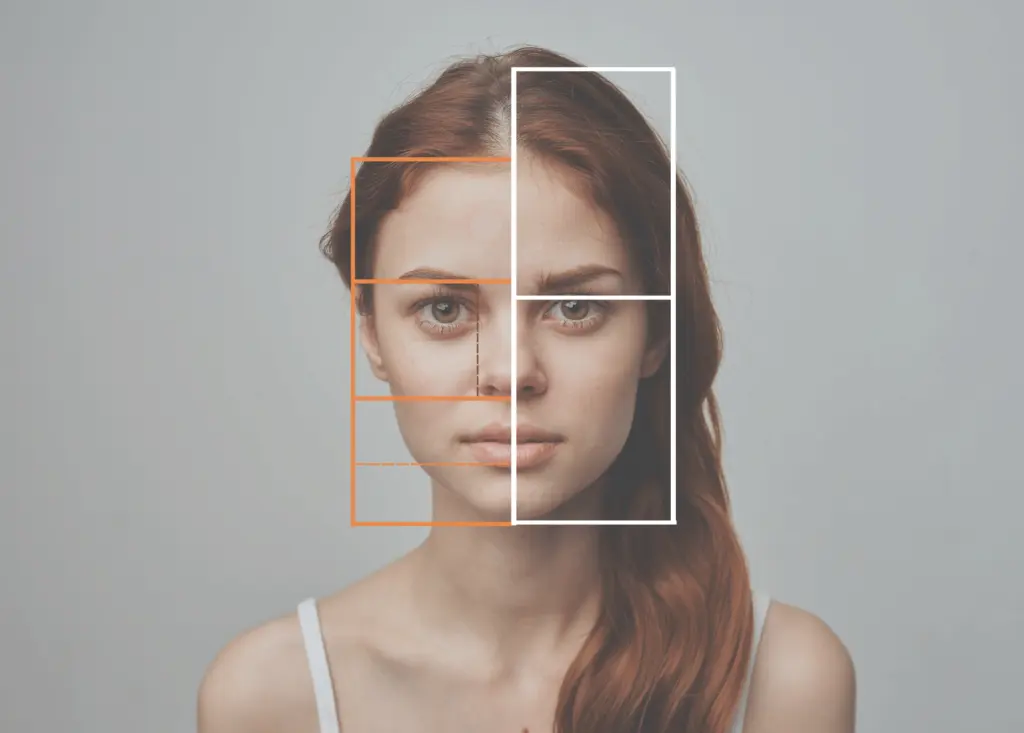
The nose typically occupies the space between the brow line and the bottom of the chin, effectively dividing the face into thirds. In a standard portrait, the width of the nose at the nostrils should align vertically with the inner corners of the eyes. If the nose is wider than this measurement, it may appear disproportionate or distorted. Use your pencil as a measuring tool to compare the width of the nose to the width of the eyes to ensure accuracy.
Follow these steps to check your proportions:
- Mark the top of the nose where the bridge meets the brow line.
- Mark the bottom of the nose where the septum meets the upper lip.
- Align your pencil vertically with the inner corners of the eyes to mark the outer edges of the nostrils.
- Verify that the distance from the brow to the nose tip matches the distance from the nose tip to the chin.
Common mistakes when drawing noses
One of the most frequent errors is over-defining the nostrils with heavy, dark circles. This creates a "pig snout" appearance that distracts from the rest of the facial features. Instead, treat the nostrils as subtle, recessed shadows rather than distinct outlines. Another common mistake is neglecting the transition between the nose and the cheek. The nose does not exist in isolation; it sits atop the facial structure, meaning the shading should bleed softly into the surrounding cheek area to integrate it into the face.
Additionally, many artists fail to account for perspective. If the head is tilted even slightly, the nose will not appear perfectly symmetrical. Avoid forcing a perfectly straight front-facing nose if the rest of the face is angled. Always look at the reference subject’s nose as a series of planes rather than a collection of lines. By focusing on the way light hits these planes, you can avoid the common trap of drawing a flat, two-dimensional shape that lacks physical presence.
Best tools for drawing noses
Choosing the right drawing materials can significantly improve your results. For beginners, a standard HB pencil is ideal for initial sketching because it is easy to erase. As you move into shading, transition to softer leads like 2B, 4B, and 6B to create a wider range of values. A kneaded eraser is an essential tool, as it can be molded into a point to lift highlights from the tip of the nose or the bridge, adding a sense of realism.
High-quality drawing paper with a slight tooth, or texture, is preferable to smooth printer paper. The texture helps the graphite grip the surface, allowing for smoother gradients and more complex shading. When working, keep a piece of scrap paper under your hand to prevent smudging your work as you refine the details. By combining the right structural approach with quality materials and careful observation of light, you will be able to draw a convincing nose that sits naturally on any face you choose to illustrate.
Key facts
- The nose is roughly one-third the height of the face, spanning from the brow line to the bottom of the nostrils.
- Structure the bridge using a central vertical line that connects to a circle representing the tip or "ball" of the nose.
- Use two smaller, overlapping circles on either side of the central ball to define the nostrils.
- Avoid drawing hard, dark outlines for the bridge, as this makes the nose appear flat rather than three-dimensional.
- Focus on shading the undersides of the nostrils and the tip to create depth and volume.
- Observe how light hits the bridge; keeping this area lighter creates a natural highlight that defines the nose's shape.
The bottom line
Drawing a realistic nose requires moving away from symbols and toward geometric construction. By establishing a central axis and using circles to define the tip and nostrils, you create a solid foundation. Focus on shading the undersides and sides while preserving highlights on the bridge. Mastering these subtle transitions between light and shadow will transform your flat sketches into convincing, three-dimensional features on the human face.
People also ask
How do I make the nose look less like a cartoon?
Focus on soft transitions and shading rather than heavy outlines. Use subtle gradients to show the curve of the cartilage instead of drawing distinct lines for every feature.
Should I draw the nostrils as solid black shapes?
Avoid drawing solid black ovals, as this creates a "pig-nose" effect. Instead, use thin, curved lines that suggest the shadow inside the nostril cavity.
How wide should the nose be?
A common rule of thumb is that the width of the nose should align with the inner corners of the eyes. Use vertical guidelines dropped from the tear ducts to ensure proper proportion.
What is the best way to shade the bridge of the nose?
Apply light, directional shading along the side of the bridge while leaving the top ridge bright. This contrast creates the illusion of a protruding, solid form.
Why does my nose drawing look crooked?
Crookedness often stems from an uneven central axis line. Ensure your vertical guide is perfectly perpendicular to the horizontal brow line before adding detail.
How do I draw the septum?
The septum is the small piece of skin between the nostrils. Draw it slightly lower than the nostrils themselves to give the nose a realistic, rounded profile.
This answer was created with the help of AI research tools and reference sources. Spotted an error? Let us know — we correct mistakes quickly. See our editorial policy.
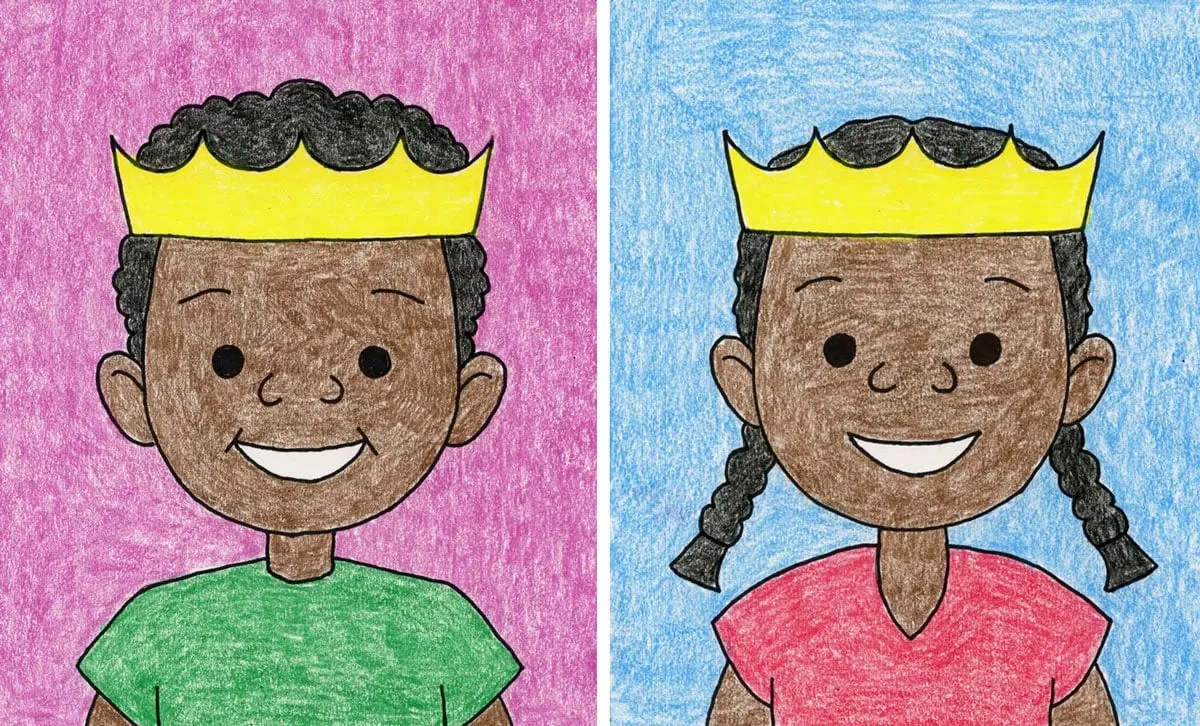
![For beginners] This is actually a crucial part! Review the techniques for drawing noses!](/img/e4/how-do-you-draw-a-nose-for-beginners-1.webp)