How do you draw a kiss step by step?
Short answer
Drawing a kiss requires capturing the physical intersection of two faces while maintaining anatomical proportions. You must focus on the compression of the lips, the tilt of the heads, and the points of contact. By breaking the composition into simple geometric shapes first, you can effectively map out the complex interaction of features.
On this page
How to structure the initial sketch
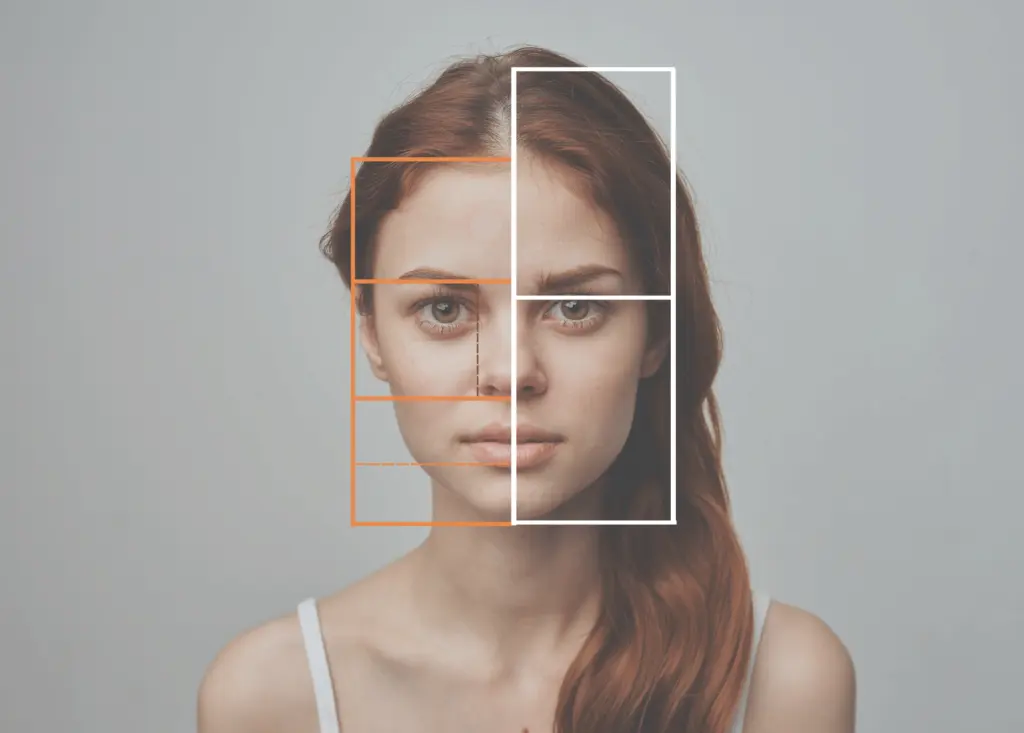
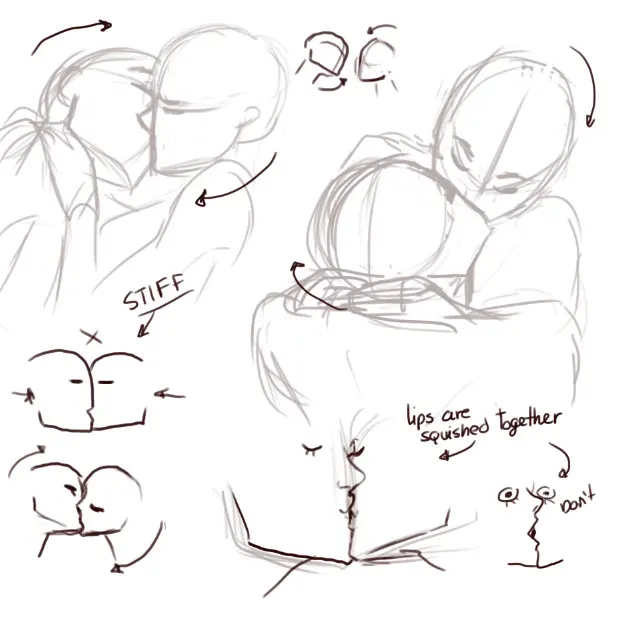
To draw a convincing kiss, you must first establish the orientation of the two heads. Use two overlapping circles or ovals to represent the craniums, ensuring they are tilted toward each other to create a natural focal point. Draw a vertical guideline through the center of each face to maintain symmetry, then add a horizontal line where the lips will meet. This foundational structure prevents the heads from appearing disconnected or floating in space.
Once the head shapes are set, define the jawlines and neck positions. Because the characters are leaning in, their necks should angle toward one another, creating a V-shape in the negative space between them. Keep these initial lines light so you can easily adjust the positioning later. Remember that the proximity of the faces will obscure parts of the features, so focus on the overall silhouette rather than individual details at this stage.
How to draw the lips in contact
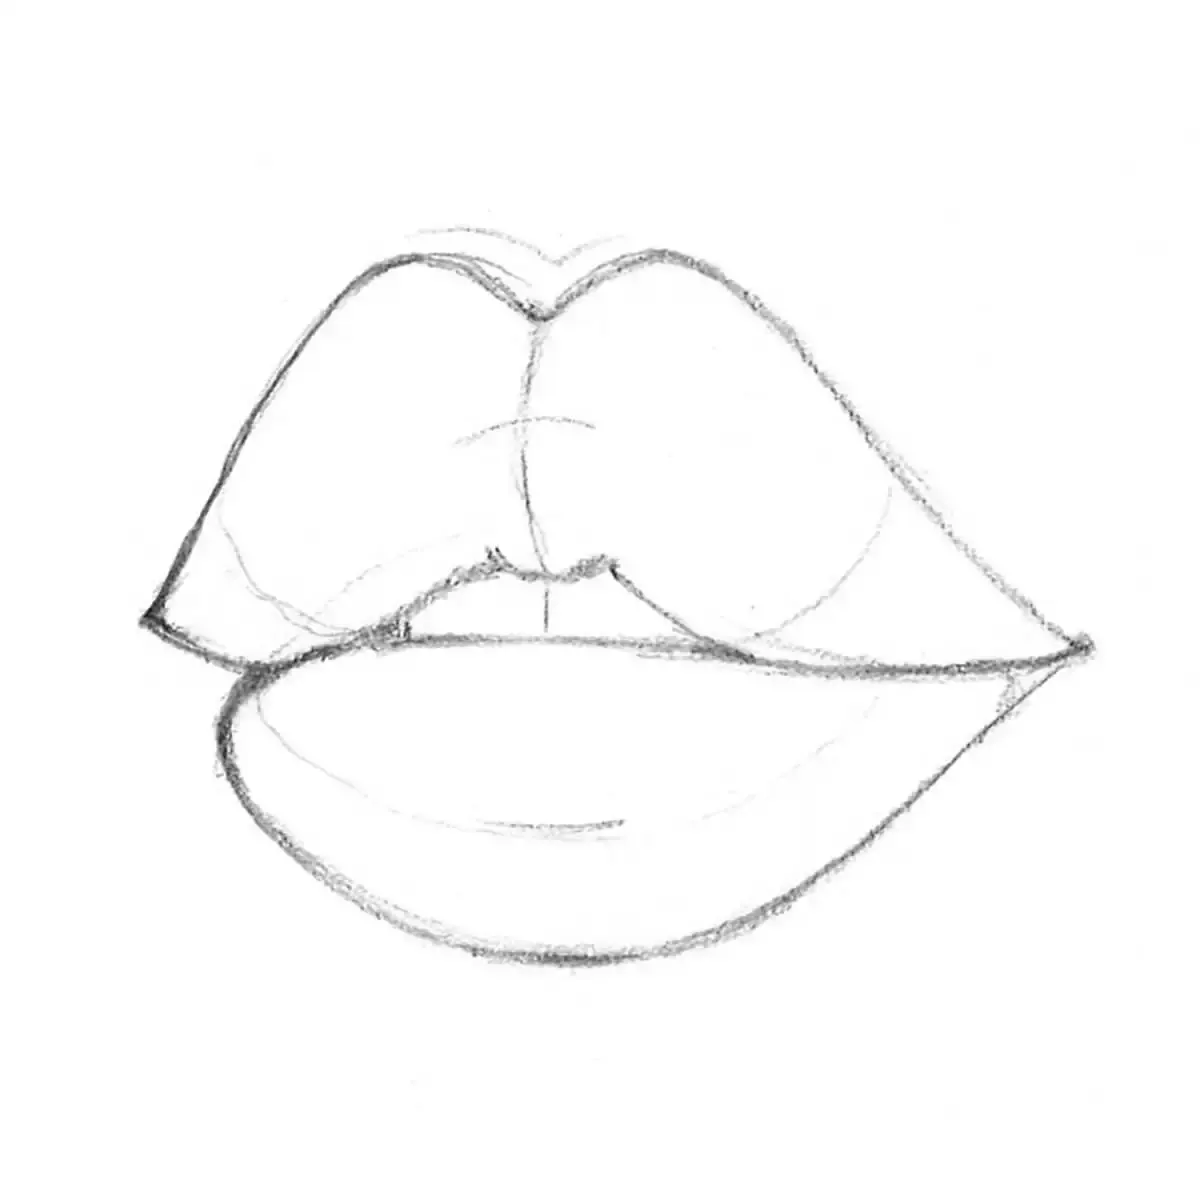
The most critical part of a kiss is the point of contact between the mouths. Instead of drawing two separate sets of lips, treat them as a single, compressed shape where the upper and lower lips meet. The lips should appear slightly flattened or pushed against each other, which creates a subtle bulge at the corners of the mouth. Avoid drawing a hard, dark line between the lips; instead, use soft shading to suggest the soft tissue meeting.
- Sketch a horizontal line that curves slightly upward or downward depending on the angle of the heads.
- Draw the upper lip of the person in the foreground slightly overlapping the lower lip of the partner.
- Add a small shadow beneath the bottom lip of the partner to provide depth and realism.
- Soften the outer edges of the mouths where they transition into the cheeks to prevent a "pasted on" look.
How to position the noses and eyes
When two people kiss, their noses often overlap or press against the cheek of the other person. To draw this accurately, determine which character is closer to the viewer; the closer nose will overlap the bridge of the other character’s nose. Keep the noses relatively small and soft, as sharp, angular noses can look aggressive or unnatural in a romantic context. If the heads are tilted significantly, the noses will align diagonally rather than horizontally.
The eyes are typically closed during a kiss, which simplifies the drawing process. Draw the eyelids as a gentle, downward-curving arc with a few light strokes for the lashes. Because the faces are pressed together, the eyes will be positioned closer to the center of the composition than they would be on a single portrait. Ensure the eyebrows are relaxed and slightly lowered to convey the intended emotion, whether it is tenderness, passion, or calm affection.
Common mistakes when drawing a kiss
One of the most frequent errors is failing to account for the physical volume of the heads, leading to a "flat" appearance. Beginners often draw the faces as if they are side-by-side on a flat plane, rather than occupying three-dimensional space. To avoid this, always consider how one face obscures the other. If the heads are not properly aligned, the kiss will look like the characters are hovering near each other rather than making physical contact.
- Ignoring the perspective of the ears, which should remain visible even when the face is turned.
- Making the lips too large, which can distort the proportions of the rest of the face.
- Failing to include the chin and jawline, which provides the necessary weight to the lower half of the face.
- Drawing the necks too thin, which makes the heads look unsupported and structurally weak.
- Over-detailing the skin, which can distract from the intimacy of the pose and make the drawing look cluttered.
Best techniques for adding depth and shading
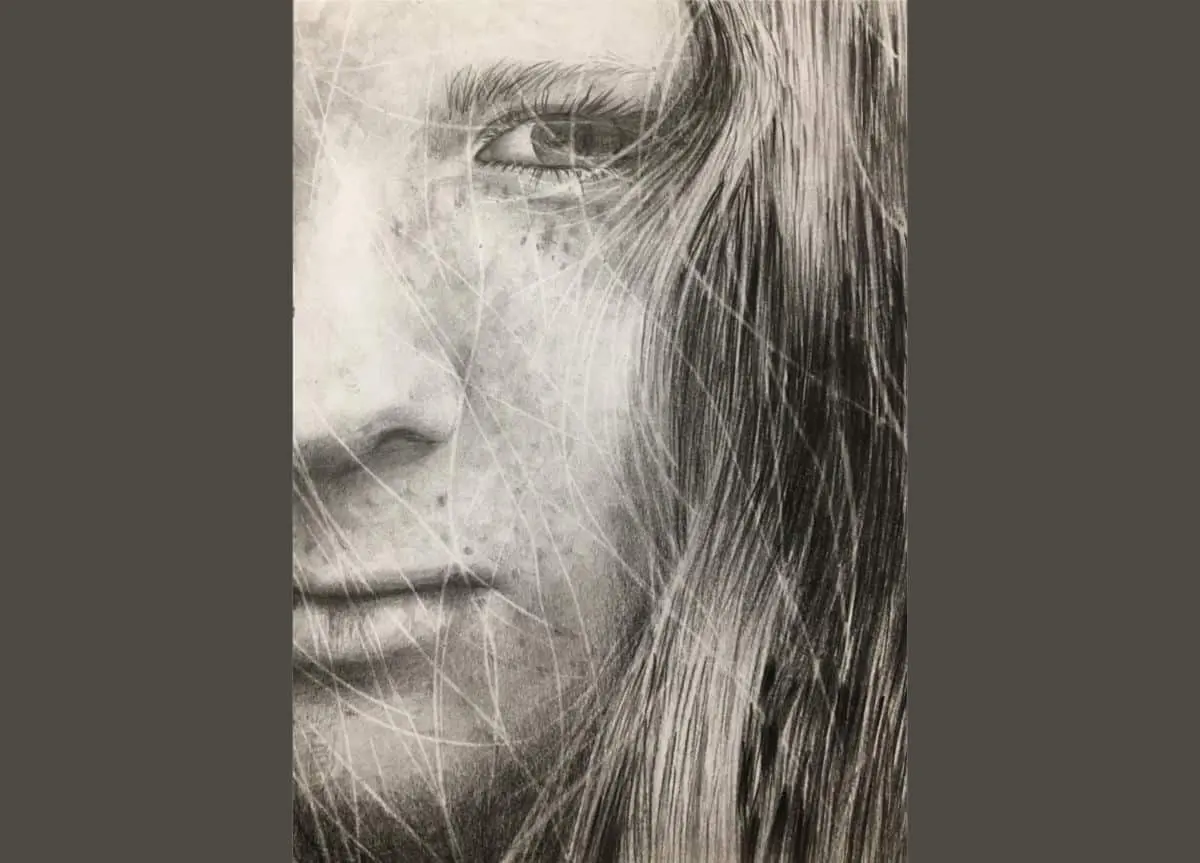
Shading is essential for transforming a line drawing into a three-dimensional image. Start by identifying the light source, which is usually positioned above the pair. Apply shadows under the chins, along the sides of the noses, and in the space where the necks meet. These shadows anchor the figures to each other and emphasize the physical connection, making the scene feel grounded and tangible. Use a blending stump or a soft tissue to smooth out graphite transitions.
For the lips, use a slightly darker tone than the skin to create contrast. Add a tiny highlight on the center of the lower lip to suggest moisture, which adds a layer of realism to the interaction. Keep the background simple or leave it blank to ensure the viewer’s eye remains focused on the central point of contact. By carefully managing the contrast between the highlighted areas and the deep shadows, you will successfully convey the weight and emotion of the moment.
Key facts
- Focus on the point of contact where the lips meet to establish the focal point of the drawing.
- Use light construction lines to define the tilt of the heads before detailing facial features.
- Remember that when people kiss, their noses often overlap or press against the other person’s cheek.
- Keep the eyes closed or partially shut, as wide-open eyes can make the expression appear unnatural or intense.
- Vary the pressure of your pencil to create soft shadows around the mouth, which adds depth and volume.
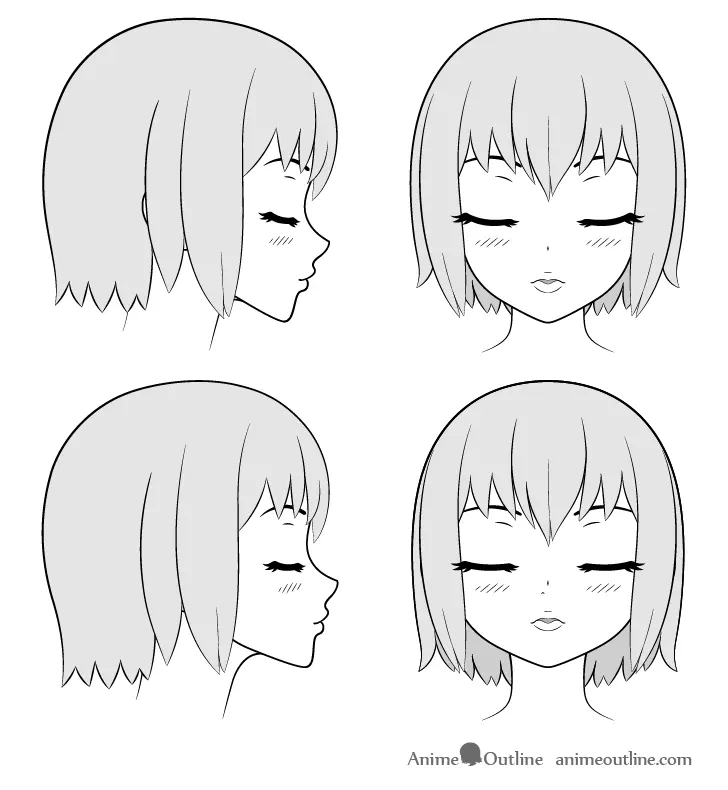
- Study the "S" curve created by the profile of two faces leaning toward each other to ensure a natural silhouette.
The bottom line
Drawing a kiss requires careful attention to facial geometry and the physical interaction between two subjects. By focusing on the intersection of the lips and the natural tilt of the heads, you can create a believable, intimate connection. Avoid stiff, disconnected poses by emphasizing soft shadows and realistic anatomy. With consistent practice of these structural foundations, you will effectively capture the emotion and movement of the moment.
People also ask
How do I draw lips that look like they are pressing together?
Focus on the compression of the lips; they should appear slightly flattened rather than perfectly rounded. Add subtle shading at the corners of the mouth to suggest the muscle tension involved in a kiss.
What is the most common mistake when drawing a kissing couple?
The most frequent error is neglecting the anatomy of the nose and chin, which often causes the faces to look like they are floating apart. Ensure the planes of the faces intersect realistically to show physical closeness.
Should I draw the teeth when illustrating a kiss?
Generally, you should avoid drawing teeth unless the kiss is meant to be aggressive or open-mouthed. Keeping the lips sealed or slightly parted creates a more intimate and romantic aesthetic.
How do I make the kissing pose look romantic rather than awkward?
Pay attention to the body language, such as the placement of hands on the face or shoulders. Small details like a slight tilt of the head or interlaced fingers help convey emotion and connection.
What drawing medium is best for beginners practicing this pose?
Graphite pencils are ideal because they allow for easy erasing and layering of shadows. Start with an H pencil for light construction lines and move to a 2B or 4B for final shading.
How can I show the difference in height between two people?
Adjust the angle of the necks and the positioning of the shoulders to reflect a height difference. The taller person should have a slightly sharper downward angle, while the shorter person looks upward.
This answer was created with the help of AI research tools and reference sources. Spotted an error? Let us know — we correct mistakes quickly. See our editorial policy.