How do you draw realistic clouds?
Short answer
Drawing realistic clouds requires capturing their three-dimensional volume through light, shadow, and soft, irregular edges. By layering values from dark to light and avoiding rigid outlines, you can mimic the atmospheric density of water vapor. Focus on the interplay between a light source and the cloud's complex, rounded, and shifting forms.
On this page
How to structure cloud shapes
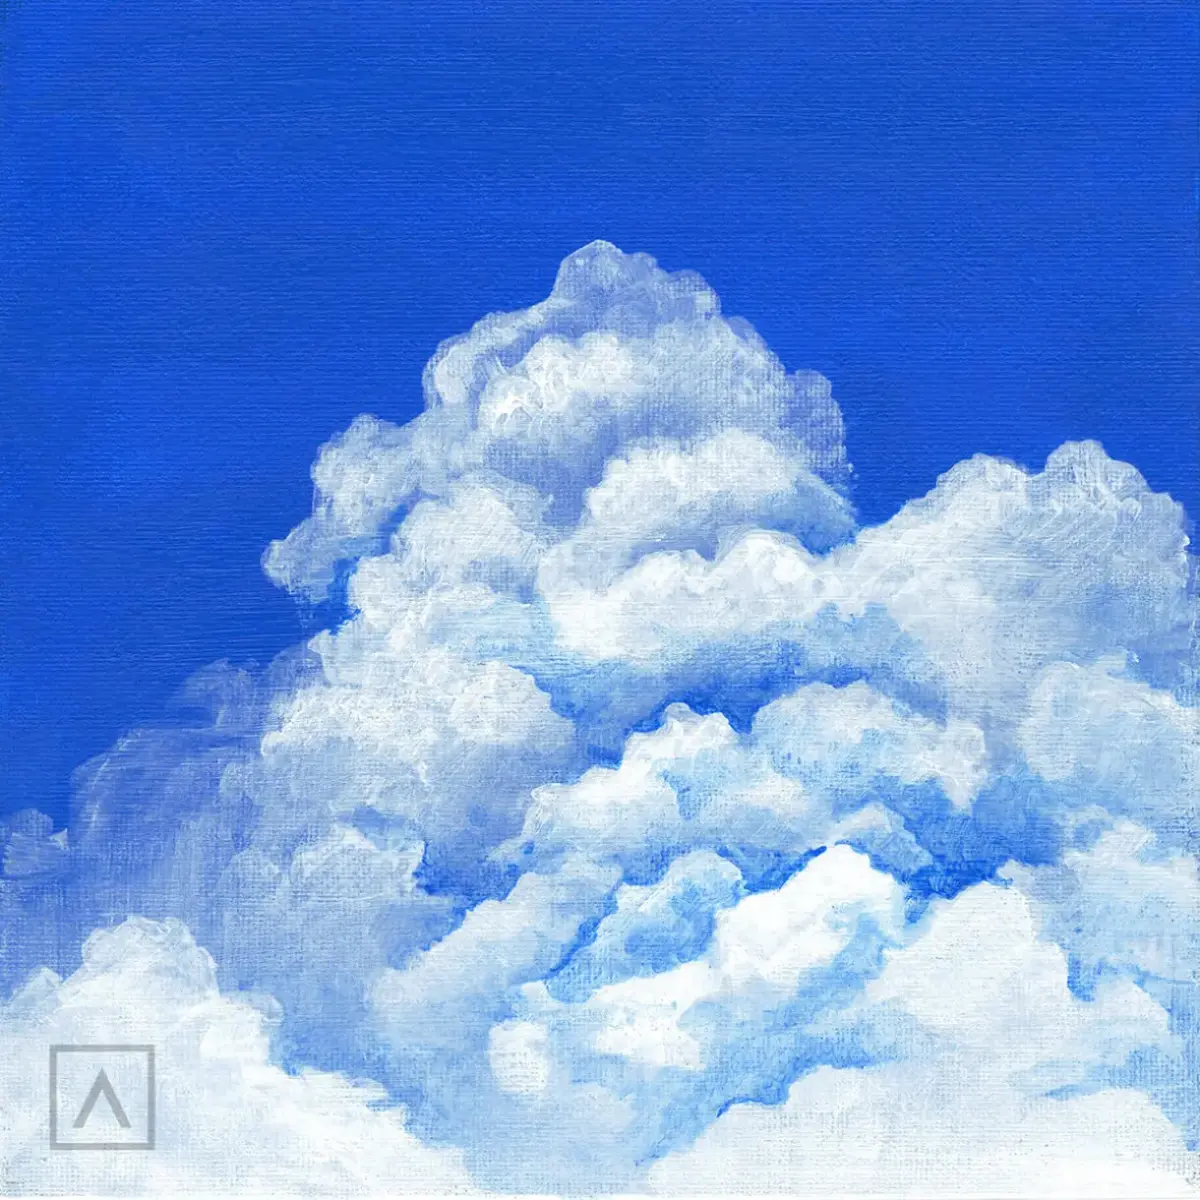
Clouds are not solid objects, but rather masses of condensed water vapor that possess internal structure and depth. To draw them realistically, you must avoid flat, oval shapes that look like cartoon symbols. Instead, think of clouds as clusters of spheres or organic, billowing mounds that overlap one another. Start by sketching a loose, light framework of these rounded forms to establish the overall composition and scale of the cloud mass.
Pay close attention to the perspective and the "horizon line" of the cloud. Just like objects on the ground, clouds that are closer to the viewer appear larger and more detailed, while those near the horizon line appear smaller and flatter. By varying the size and density of your cloud clusters, you create a sense of distance and atmospheric depth. Always keep your initial lines extremely faint, as these serve only as a guide for the final shading process.
Which materials are best for beginners
For those just starting, graphite pencils or charcoal are the most forgiving mediums because they allow for easy blending and erasure. A set of pencils ranging from 2H (hard, light) to 4B (soft, dark) provides the necessary range of values to create depth. You will also need a kneaded eraser, which acts as a drawing tool by lifting pigment to create highlights. Blending stumps or soft tissues are essential for smoothing out transitions.
- Use an HB pencil for the initial light outline.
- Utilize a 2B or 4B pencil to establish the darkest shadows beneath the cloud.
- Use a kneaded eraser to pull out bright, white highlights on the upper edges.
- Employ a blending stump to soften the transition between light and shadow areas.
Using high-quality, toothy paper helps hold the graphite, allowing for more complex layering and smoother gradients that mimic the ethereal nature of clouds.
How to render light and shadow
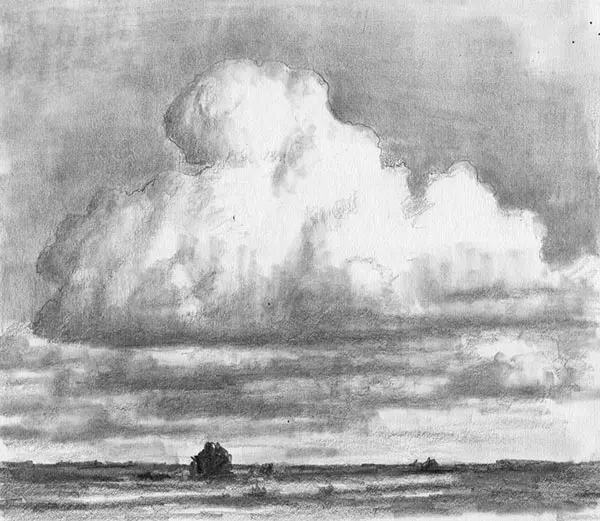
The secret to realism lies in identifying a single, consistent light source. If the sun is positioned to the top right, the upper-right portions of your cloud will be the brightest, while the lower-left sections will fall into shadow. You must maintain this consistency throughout the entire drawing to prevent the clouds from looking disjointed or flat. Shadows are rarely pure black; they are usually cool-toned grays that reflect the ambient light of the sky.
When shading, work from the darkest areas toward the lightest. The underside of a cloud is typically the darkest, as it is shielded from direct light and contains the highest density of moisture. As you move toward the top of the cloud, gradually lighten your pressure. Use circular, soft strokes to mimic the puffy, irregular texture of vapor. Never use a hard, continuous line to define the edge of a cloud, as this destroys the illusion of transparency and softness.
Common mistakes when drawing clouds
One of the most frequent errors is creating clouds that look too heavy or "stony." This often happens when artists use heavy, dark outlines or overly sharp edges. Clouds are defined by their softness, so if your edges look like they were cut out with scissors, you have lost the atmospheric effect. Always soften your edges with a blending tool or by gently smudging the perimeter with a clean finger or cloth.
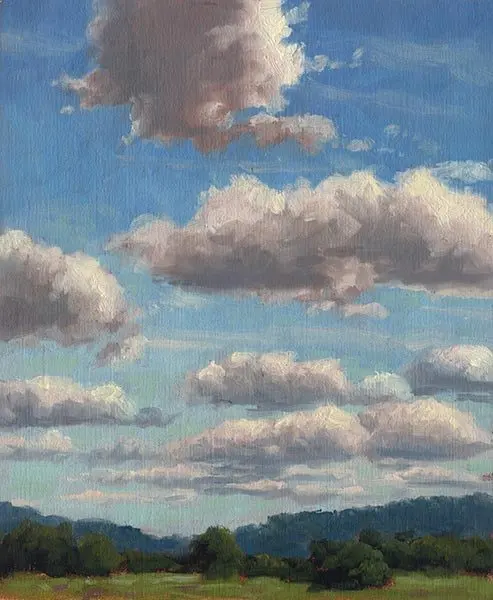
Another mistake is failing to observe the "negative space" between clouds. The sky around the clouds is just as important as the clouds themselves. If you draw the sky as a flat, empty void, the clouds will look like stickers placed on a wall. Treat the blue sky as a physical element that wraps around the clouds, filling the gaps between them. By carefully shading the sky around the cloud edges, you help the clouds appear to recede into the atmosphere rather than floating on the surface of the paper.
How to add texture and detail
Texture in clouds is created by varying the density of your marks and the sharpness of your highlights. While the overall form is soft, there are often small, wispy details on the edges where the cloud is dissipating into the sky. Use a sharp, light touch to create these "feathery" bits, which add a sense of movement and realism. You can also use a sharp eraser to create thin, bright lines that suggest sunlight breaking through the thinner parts of the vapor.
- Add subtle, darker gray patches within the shadow areas to suggest internal density.
- Use a "stippling" or light tapping motion with your pencil to create a soft, bubbly texture.
- Keep the highlights on the top edges crisp but not perfectly straight.
- Vary the size of your cloud clusters to avoid a repetitive, unnatural pattern.
By layering these fine details over your established base of light and shadow, you transform a simple sketch into a convincing, three-dimensional representation of the sky.
Key facts
- Clouds are not solid objects; they are composed of varying densities of water vapor and ice crystals.
- Use a kneaded eraser to lift graphite or charcoal, which creates soft, feathered edges rather than sharp lines.
- Focus on the "shadow side" of a cloud first, as this defines the three-dimensional volume and light source.
- Avoid outlining clouds with dark, heavy lines, as this makes them appear flat and cartoonish.
- Vary the pressure of your pencil to create subtle gradients, simulating the translucent nature of mist and vapor.
- Observe the "terminator line," or the transition from light to shadow, which is often soft and diffused in cumulus formations.
The bottom line
Drawing realistic clouds requires a shift in perspective from drawing objects to drawing volumes of light and shadow. By focusing on soft, feathered edges and maintaining a strong contrast between the sunlit tops and shaded undersides, you can create a sense of depth. Practice observing how light interacts with vapor, and remember that less detail often leads to a more convincing and ethereal result.
People also ask
What is the best pencil grade for drawing clouds?
Use a range of pencils, starting with an HB for light sketching and moving to a 2B or 4B for deeper shadows. Softer leads allow you to smudge and blend graphite easily, which is essential for capturing the airy texture of vapor.
How do I create the illusion of depth in a sky?
Place larger, more detailed clouds in the foreground and smaller, paler clouds toward the horizon. This use of atmospheric perspective mimics how distance naturally softens focus and reduces contrast.
Should I use a blending stump or my finger?
Use a paper blending stump or a piece of chamois cloth to keep oils from your skin off the paper. Finger oils can create uneven patches that prevent graphite from layering smoothly.
How do I make clouds look fluffy instead of heavy?
Focus on the "scalloped" edges of the cloud, keeping them rounded rather than jagged. Use light, circular motions to build up the volume, ensuring the centers remain lighter than the shaded undersides.
Why do my clouds look like gray blobs?
You are likely missing the contrast between the highlight and the core shadow. Ensure the brightest part of the cloud remains white or very light, while the shadow side has enough depth to provide structural weight.
What is the most common mistake when drawing clouds?
The most frequent error is over-rendering, or adding too much detail to every part of the cloud. Clouds are defined by their soft, shifting edges, so keep most of your work loose and avoid rigid, defined outlines.
This answer was created with the help of AI research tools and reference sources. Spotted an error? Let us know — we correct mistakes quickly. See our editorial policy.