How do you draw realistic lips?
Short answer
Drawing realistic lips requires understanding their three-dimensional structure rather than viewing them as flat shapes. Focus on the central dip of the Cupid’s bow, the varying thickness of the top and bottom lips, and the soft transition between the skin and the vermilion border. Use light shading to define volume and highlights.
On this page
How to structure lips for realism
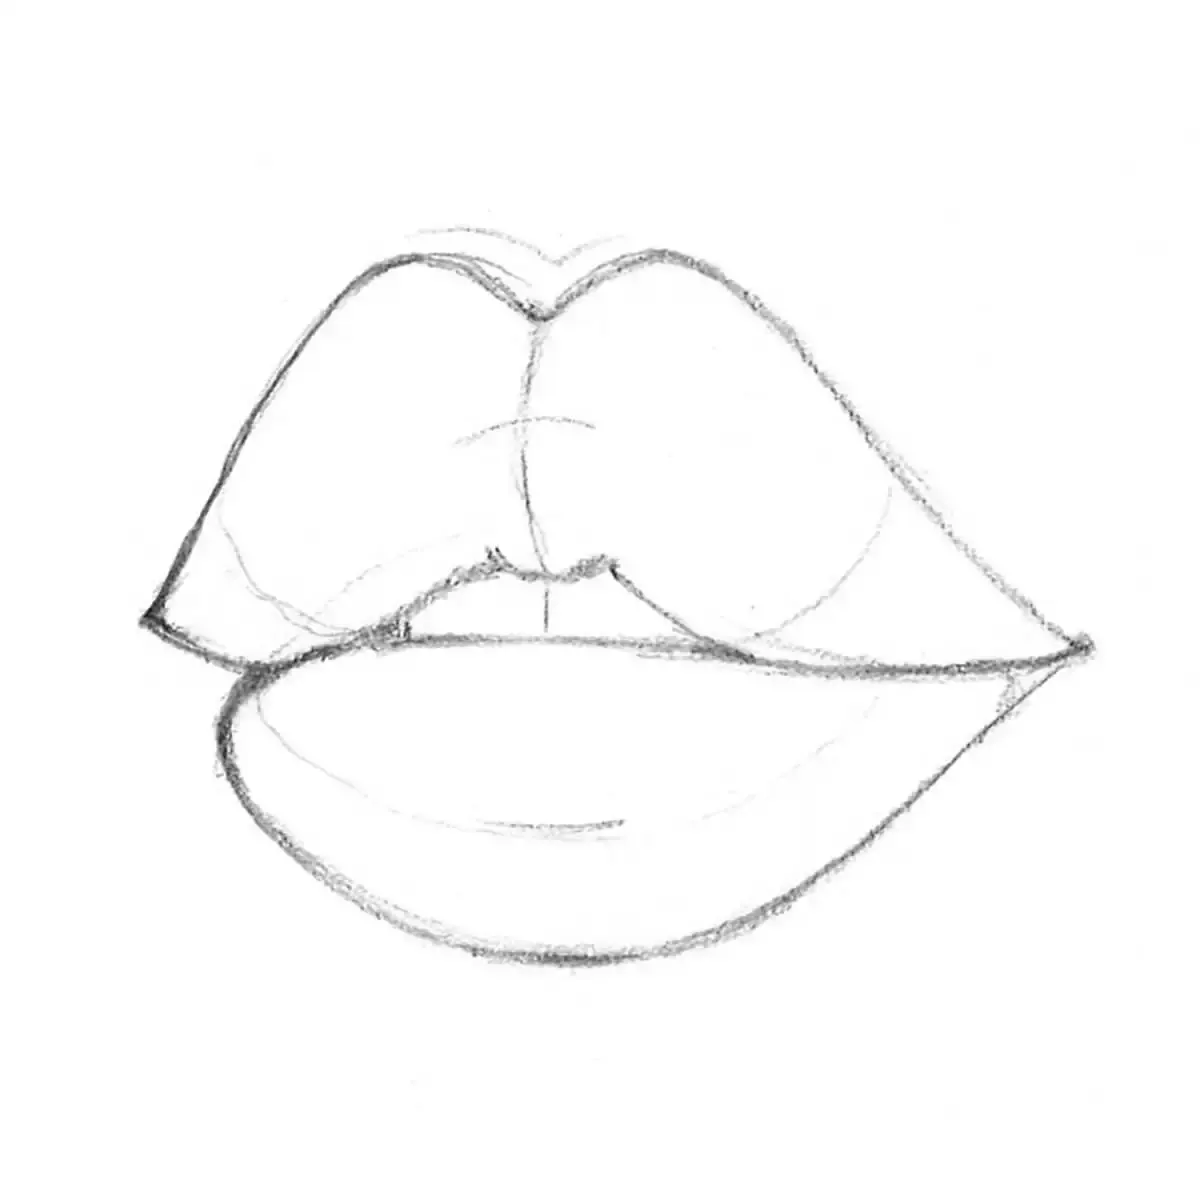
Lips are not simply two lines meeting in the middle; they are complex muscular structures wrapped around the cylindrical form of the teeth and jaw. To draw them accurately, visualize the mouth as a series of five distinct planes: one central pillow on the upper lip, two side pillows on the upper lip, and two larger pillows on the bottom lip. By mapping these volumes first, you ensure the mouth maintains a sense of depth regardless of the angle.
Begin by drawing a horizontal line that curves slightly to follow the contour of the face. Mark the center point, then sketch the "M" shape of the Cupid’s bow above it. Remember that the upper lip is typically thinner and darker than the lower lip because it faces downward, away from the primary light source. Keep your initial sketches light, as these lines will eventually be replaced by soft shading and texture.
How to shade lips for depth
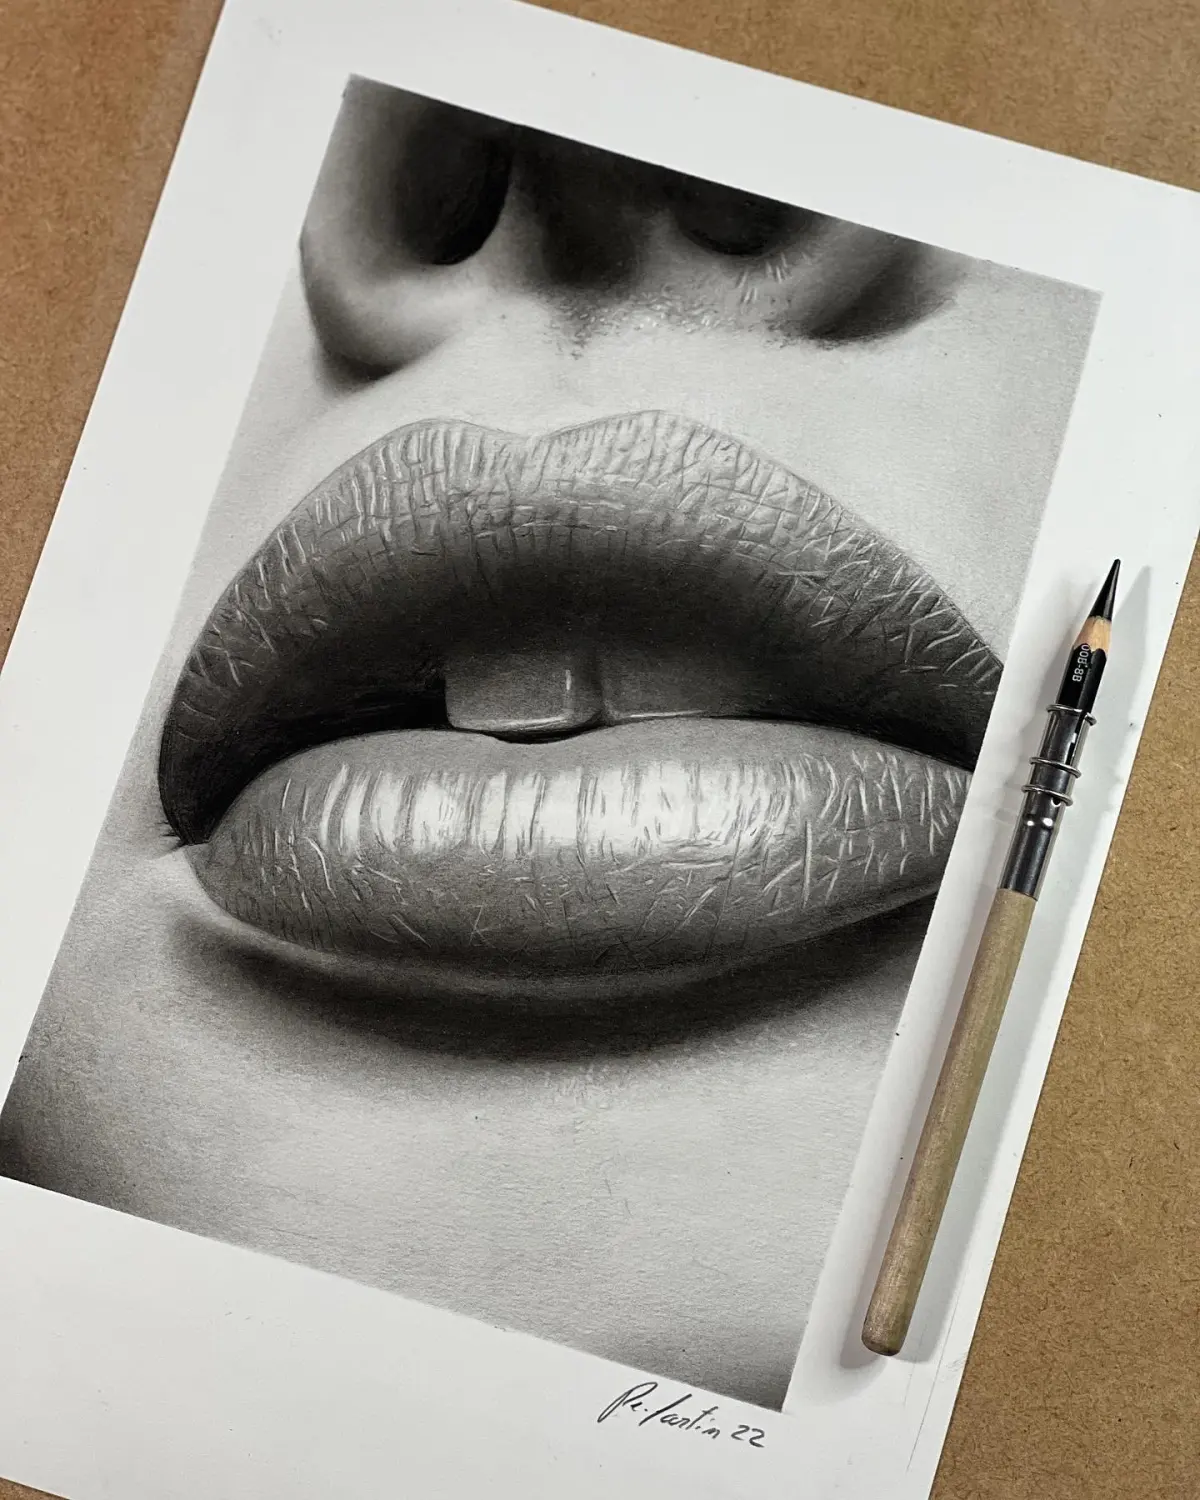
Shading is the most critical step in transitioning from a flat cartoon to a realistic rendering. Because lips are soft, fleshy surfaces, you should avoid hard, dark outlines. Instead, use the edge of your pencil to create soft gradients that suggest the roundness of the lip pillows. Focus on the "terminator line," which is the darkest area where the shadow falls on the bottom lip.
- Identify the light source to determine where your highlights should sit.
- Apply a light base tone across both lips, leaving the brightest spots blank.
- Gradually darken the corners of the mouth and the area directly beneath the lower lip.
- Use a kneaded eraser to lift small highlights on the lower lip to create a wet, reflective appearance.
- Blend your strokes carefully to ensure the transitions between light and shadow are smooth and gradual.
Best shading techniques for beginners
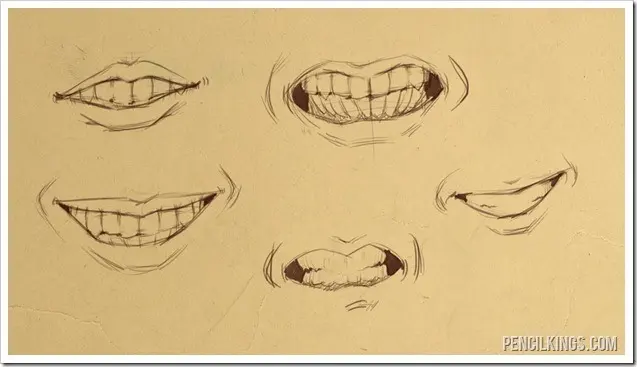
For those new to portraiture, the most effective technique is cross-hatching combined with smooth blending. Start by applying graphite in the direction of the lip’s natural vertical creases. These lines should be tighter and more frequent near the center of the mouth and more sparse toward the edges. This mimics the natural texture of skin and prevents the lips from looking like smooth, plastic surfaces.
Avoid the temptation to draw every individual wrinkle, as this often makes the lips look aged or overly textured. Instead, suggest the texture by varying the pressure of your pencil strokes. Use a harder lead, such as an H or HB, for the initial structure and a softer lead, like 2B or 4B, for the deep shadows. By layering these tones, you build a sense of density that makes the lips appear to emerge from the face.
Why lips look flat in drawings
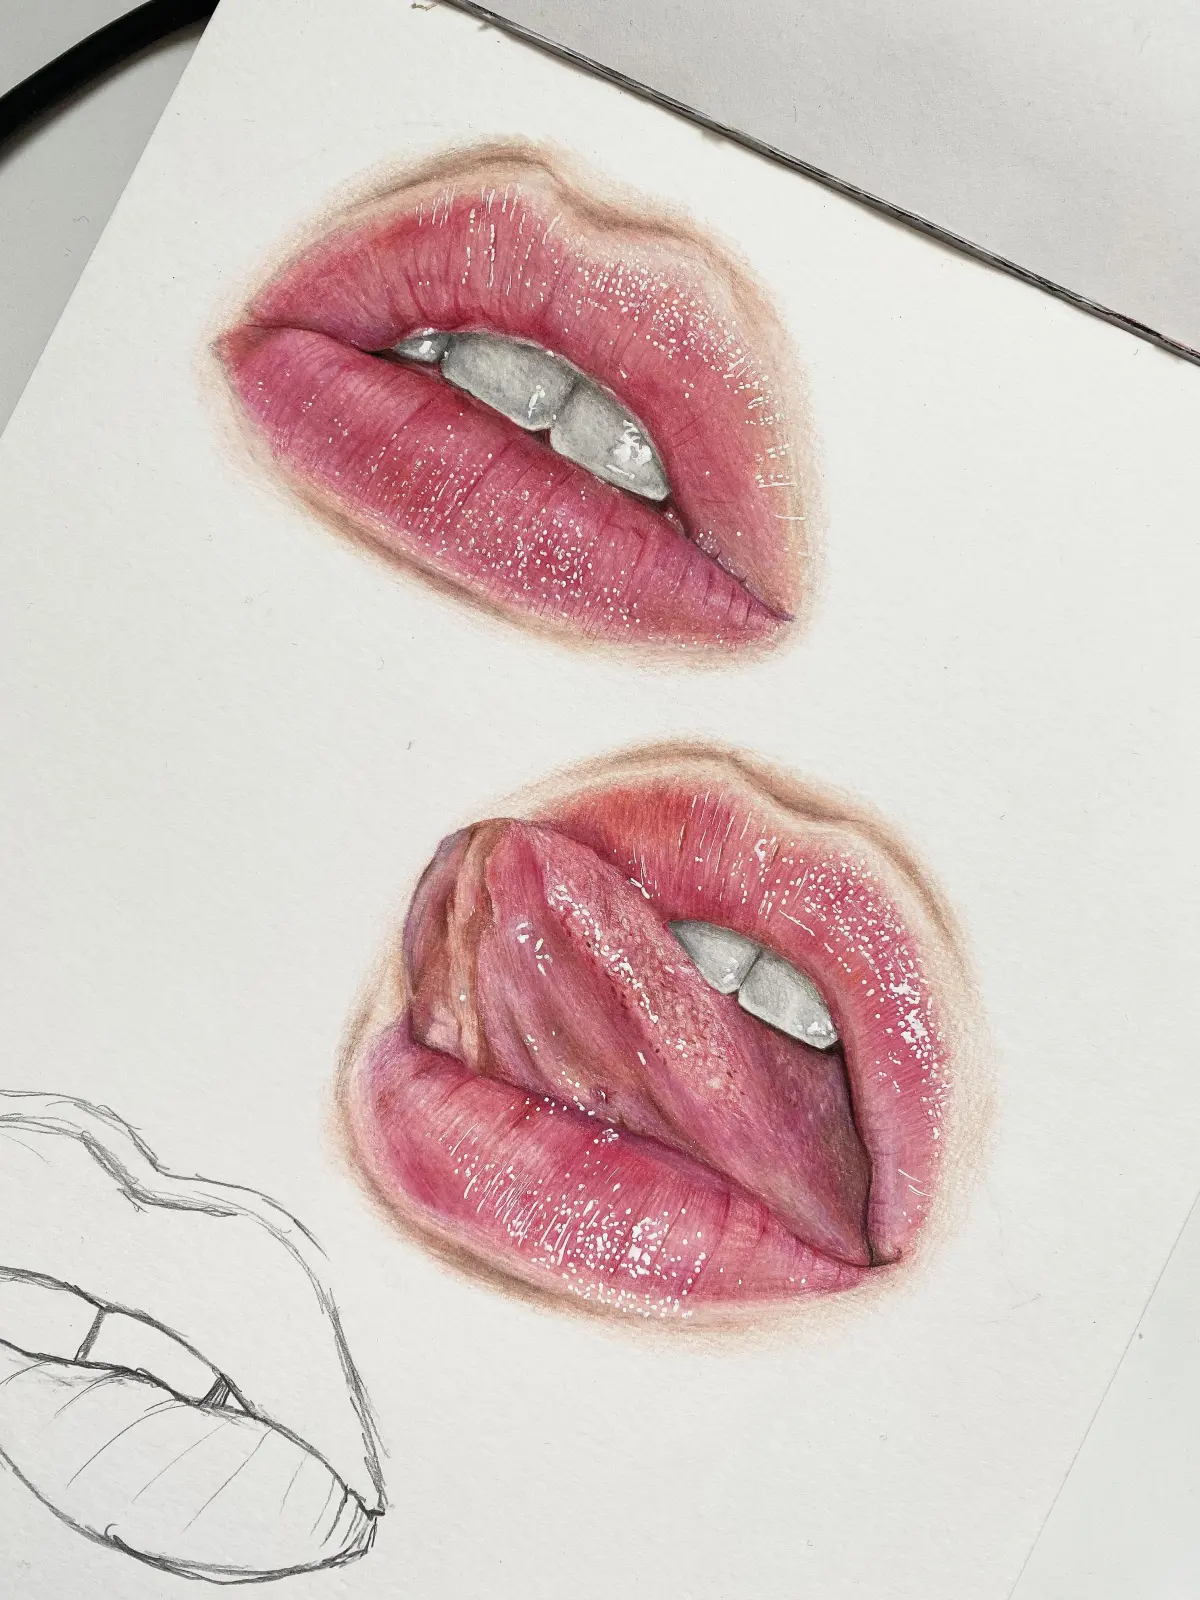
The most common reason for flat-looking lips is the failure to account for the surrounding anatomy. Lips do not exist in isolation; they are surrounded by the philtrum, which is the vertical groove between the nose and the upper lip, and the chin. If you ignore these surrounding features, the mouth will appear pasted onto the face rather than integrated into the skull.
To fix this, always draw the shadow cast by the lower lip onto the chin. This small, crescent-shaped shadow provides the necessary contrast to make the lower lip pop forward. Additionally, consider the corners of the mouth, known as the commissures. These corners are often recessed into the face, so they should be drawn as small, dark pits rather than sharp, pointed ends. Paying attention to these subtle anatomical transitions will immediately add realism to your work.
Common mistakes when drawing lips
Even experienced artists occasionally fall into traps that compromise the realism of their portraits. One major error is drawing the mouth too wide, which can distort the proportions of the entire face. A helpful rule of thumb is that the corners of the mouth usually align vertically with the centers of the pupils when the subject is looking straight ahead.
- Drawing the top and bottom lips with identical thickness, which ignores natural variation.
- Using a thick, continuous outline around the entire mouth, which flattens the form.
- Forgetting to add a highlight on the lower lip, which makes the mouth look dry.
- Making the Cupid’s bow too sharp or angular, which can look unnatural.
- Ignoring the vertical creases that naturally occur as the lips compress or stretch.
By avoiding these pitfalls and focusing on the interplay of light and shadow, you can create a mouth that looks soft, natural, and fully integrated into the human face.
Key facts
- Lips are not flat shapes; they are composed of three distinct planes that curve around the cylindrical structure of the teeth.
- The upper lip is generally darker and thinner than the lower lip because it faces downward and receives less direct light.
- The "Cupid’s bow" is the central dip in the upper lip, which acts as the primary anchor for establishing symmetry.
- Avoid drawing a continuous dark outline around the entire mouth, as this creates a cartoonish, flat appearance rather than a natural transition.
- Use vertical shading strokes to mimic the natural skin texture and creases that run perpendicular to the lip line.
- Highlights on the lower lip are usually placed slightly below the center to indicate the volume and roundness of the bottom flesh.
The bottom line
Drawing realistic lips requires shifting your focus from outlines to three-dimensional forms. By treating the lips as two distinct, curved volumes rather than flat shapes, you can effectively use light and shadow to create depth. Remember to prioritize the central line, maintain soft transitions into the surrounding skin, and use subtle vertical textures to capture the organic, fleshy nature of the human mouth.
People also ask
Should I use a sharp pencil for drawing lips?
Use a sharp pencil for defining the center line and fine details, but switch to a duller point or a blending stump for soft shading. Sharp lines can make the lips look rigid and unnatural.
How do I make lips look soft instead of waxy?
Soften the edges of your shadows by using a blending tool or a kneaded eraser to lift graphite. Avoid over-blending, which can strip away the structural integrity of the lip anatomy.
Why do my lips look like they are floating on the face?
You likely forgot to shade the transition area between the lips and the skin of the chin and nose. Always connect the mouth to the surrounding facial muscles with subtle gradients.
How do I draw teeth without making them look like individual blocks?
Draw teeth as a single, unified mass with very light shading rather than outlining every tooth. Focus on the shadows between teeth rather than the teeth themselves.
Is the philtrum important for drawing lips?
The philtrum is the vertical groove between the nose and the upper lip, and it is essential for establishing depth. Proper shading here prevents the upper lip from looking disconnected.
What is the best way to show lip texture?
Use short, light, vertical hatch marks that follow the contour of the lips. Vary the pressure of your pencil to create the subtle ridges and valleys characteristic of human skin.
This answer was created with the help of AI research tools and reference sources. Spotted an error? Let us know — we correct mistakes quickly. See our editorial policy.