How can I draw hair easily?
Short answer
Drawing hair effectively requires shifting your focus from individual strands to broader shapes and volumes. By treating hair as a solid mass rather than a collection of lines, you create a more realistic structure. Master the flow of light and shadow across these masses to achieve depth, texture, and professional results.
On this page
How to simplify hair shapes
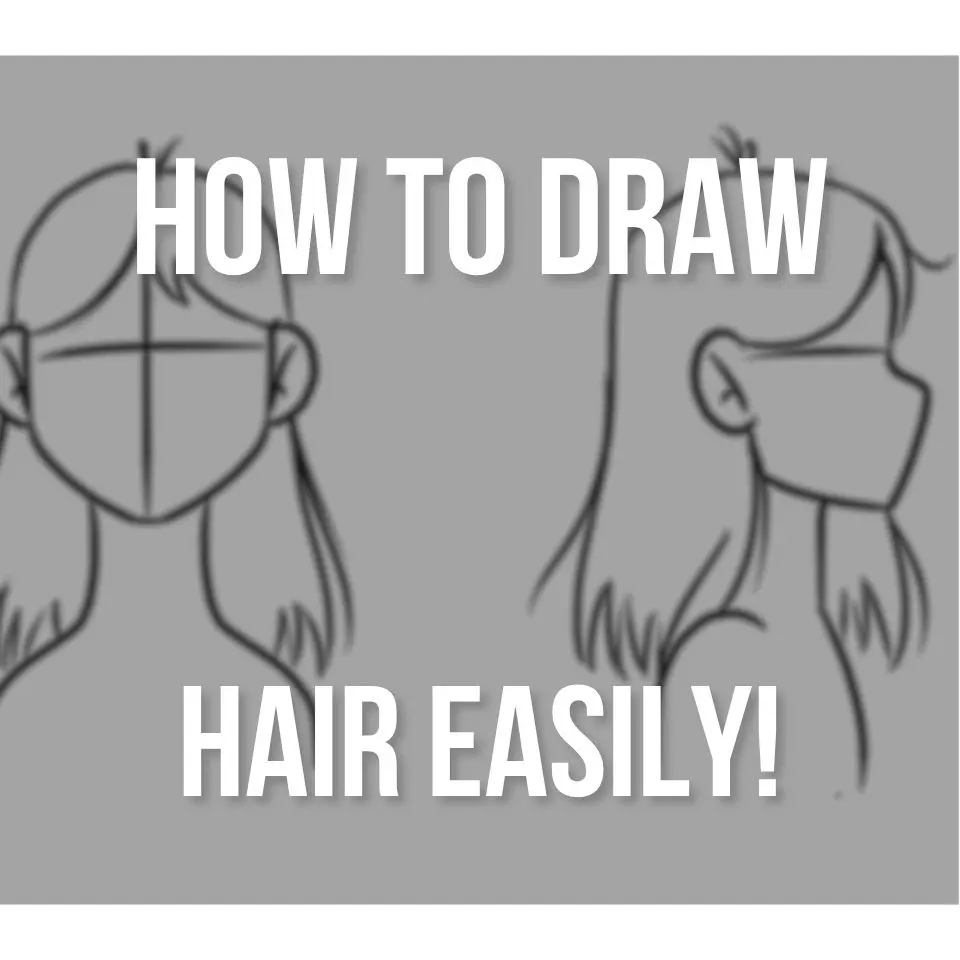
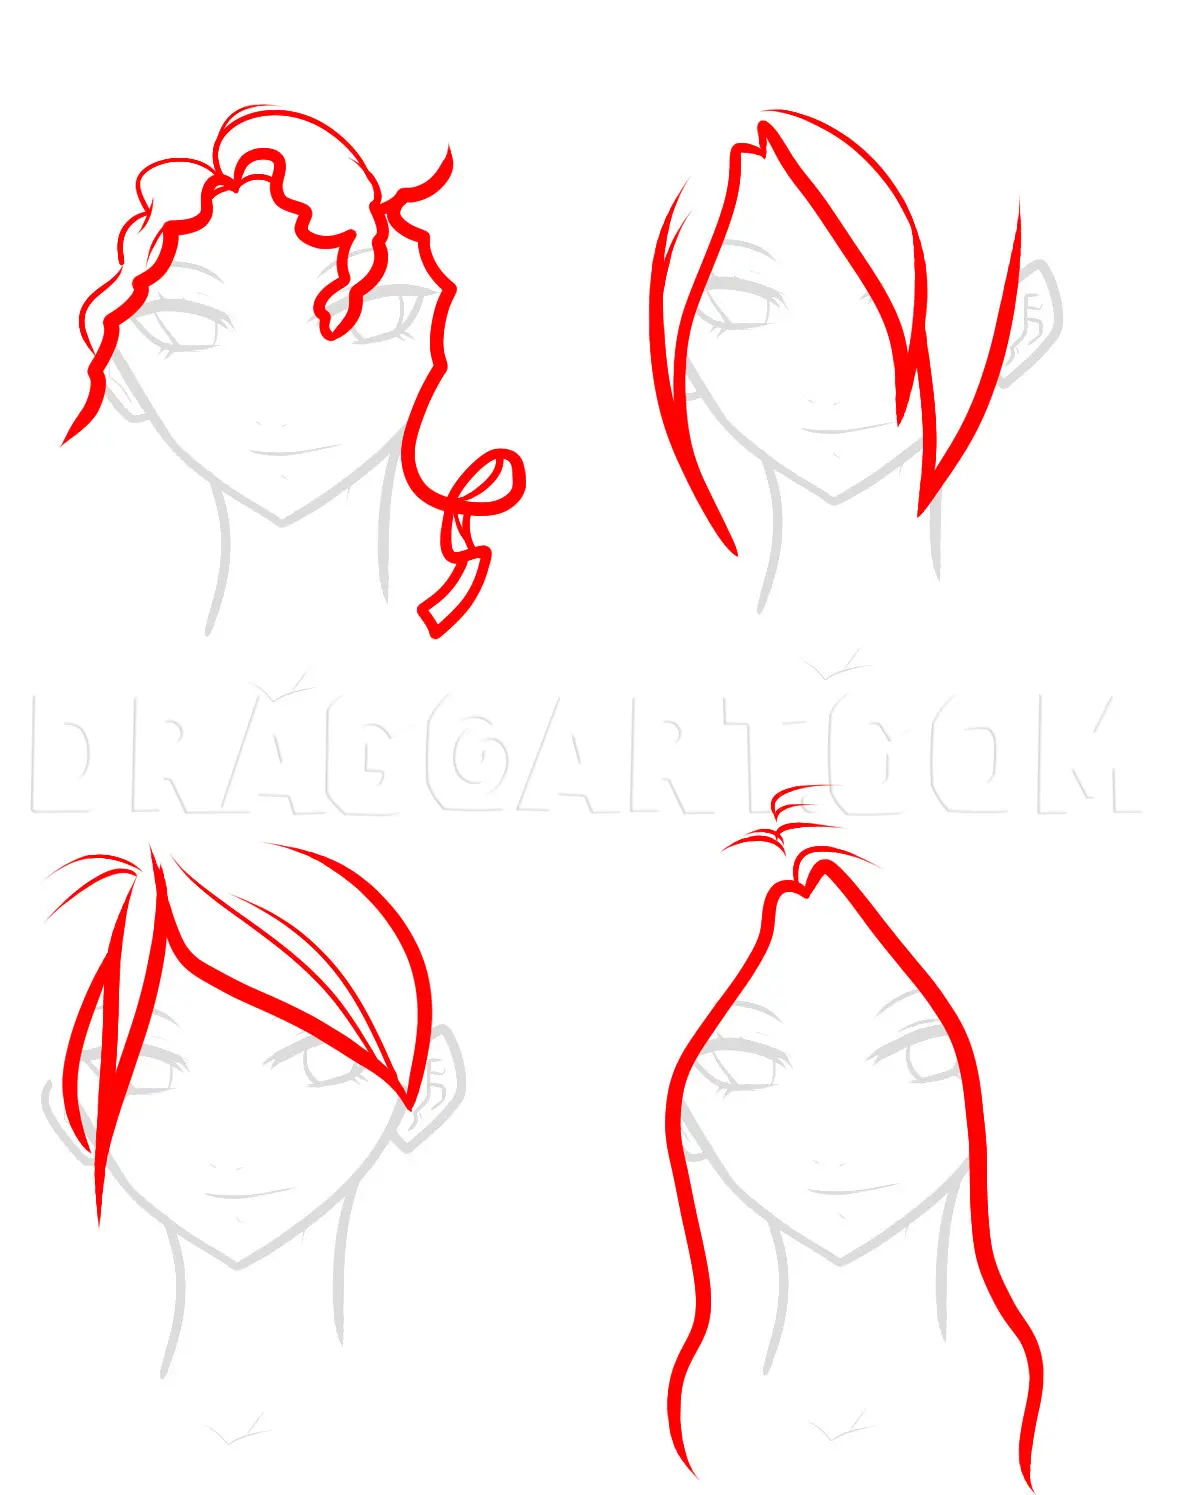
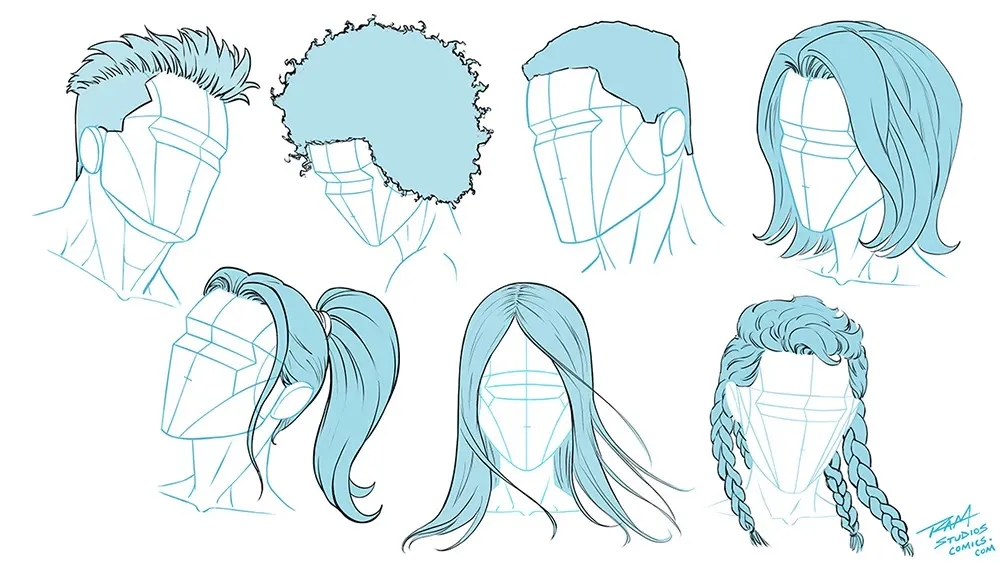
Beginners often make the mistake of drawing every single hair, which results in a cluttered, unnatural appearance. Instead, visualize the hair as a series of large, interconnected shapes or "clumps." Think of the hairstyle as a helmet or a solid form resting on the skull. This approach ensures the hair follows the anatomy of the head rather than appearing as if it is floating above the scalp.
Start by sketching the overall outline of the hair mass. Identify where the hair parts and how it falls around the face or shoulders. By breaking the hair down into three primary zones—the front, the sides, and the back—you can manage the complexity of the style. Focus on these large shapes first before worrying about individual strands or fine details.
- Observe the silhouette of the hairstyle.
- Outline the major clumps as solid, geometric shapes.
- Define the parting line where the hair originates.
- Ensure the hair volume accounts for the thickness of the skull.
How to add light and shadow
Light behaves predictably on hair, reflecting off the surface to create highlights and deep shadows. To make hair look three-dimensional, identify where the light source is coming from and shade accordingly. The areas that protrude the most, such as the top of the head or the curves of a ponytail, will catch the most light.
Use a range of pencil grades to build contrast. Start with a light base tone across the entire mass, then darken the recessed areas where strands overlap or tucked behind the ears. Leave the brightest areas white or use an eraser to lift highlights after shading. This creates a glossy, healthy look that defines the texture of the hair without needing thousands of individual lines.
- Always identify the primary light source before shading.
- Use cross-hatching or smooth blending to show the roundness of the hair mass.
- Keep the darkest shadows near the roots and behind the neck.
- Use a kneaded eraser to create sharp, thin highlights within the dark masses.
Best drawing techniques for beginners
The most effective technique for beginners is the "flow" method, which emphasizes the direction of the hair growth. Hair always grows from a root point and follows gravity or styling patterns. By drawing long, fluid strokes that follow the contour of the head, you establish a sense of movement. Avoid short, choppy lines that make hair look frizzy or stiff.
Practice drawing "S" and "C" curves to mimic the way hair bends and waves. When you reach the ends of the hair, allow your lines to taper off and become lighter. This prevents the ends from looking blunt or heavy, which is a common issue for those new to portraiture. Consistency in stroke direction is the key to making hair look cohesive and natural.
Common mistakes when drawing hair
One of the most frequent errors is drawing hair that is too flat against the skull. Remember that hair has volume and sits on top of the scalp, which has its own thickness. If you draw the hairline exactly at the edge of the skull, the head will look unnaturally small or bald. Always add a slight buffer zone to account for the hair's density.
Another mistake is using uniform line weight throughout the entire drawing. When every line is the same thickness, the hair loses its depth and appears like a flat drawing on paper. Vary your pressure to create thick, dark lines in the shadows and thin, faint lines in the light. This variation is what tricks the eye into seeing depth and texture on a two-dimensional surface.
How to add realistic texture
Adding texture is the final step, and it should be applied sparingly. Once the large shapes and shadows are established, use a sharp pencil to suggest individual strands only in specific areas. Focus these details near the hairline, the tips of the hair, and where strands cross over one another. Do not attempt to draw every strand across the entire head.
Focus on the "tapering" effect to make the hair look realistic. Hair strands are naturally thinner at the ends than at the roots. By lifting your pencil off the paper at the end of each stroke, you create a natural, tapered look that mimics real hair. This subtle detail significantly improves the quality of your work and provides a professional finish to your portrait.
Key facts
- Treat hair as a single solid mass or volume rather than drawing individual strands immediately.
- Use a light touch to sketch the hairline and the outer silhouette of the hairstyle first.
- Follow the direction of growth from the roots to the tips to maintain natural flow.
- Vary the thickness and pressure of your pencil lines to create depth and shadow.
- Leave thin white spaces untouched to represent highlights where light hits the hair.
- Add fine, stray hairs only at the very end to give the drawing a realistic finish.
The bottom line
Drawing hair effectively requires shifting your focus from individual strands to the overall volume and light patterns of the hairstyle. By establishing a clear silhouette, mapping out major light reflections, and layering shadows, you can create the illusion of depth and texture. Practice observing how light interacts with different hair types, and always prioritize the movement and flow of the hair mass over fine detail.
People also ask
How do I make hair look shiny?
To create shine, identify the area where the light source hits the hair most directly. Keep this section significantly lighter than the rest of the hair by using less pressure or erasing small highlights.
Should I draw every single strand of hair?
No, drawing every strand often makes hair look stiff and unnatural. Focus on grouping hair into larger clumps or ribbons to define the overall shape and texture.
What pencils are best for drawing hair?
Use a hard pencil like an HB for light initial outlines and a softer pencil like a 4B or 6B for dark shadows. The contrast between these grades adds necessary dimension to the hair.
How do I draw curly hair?
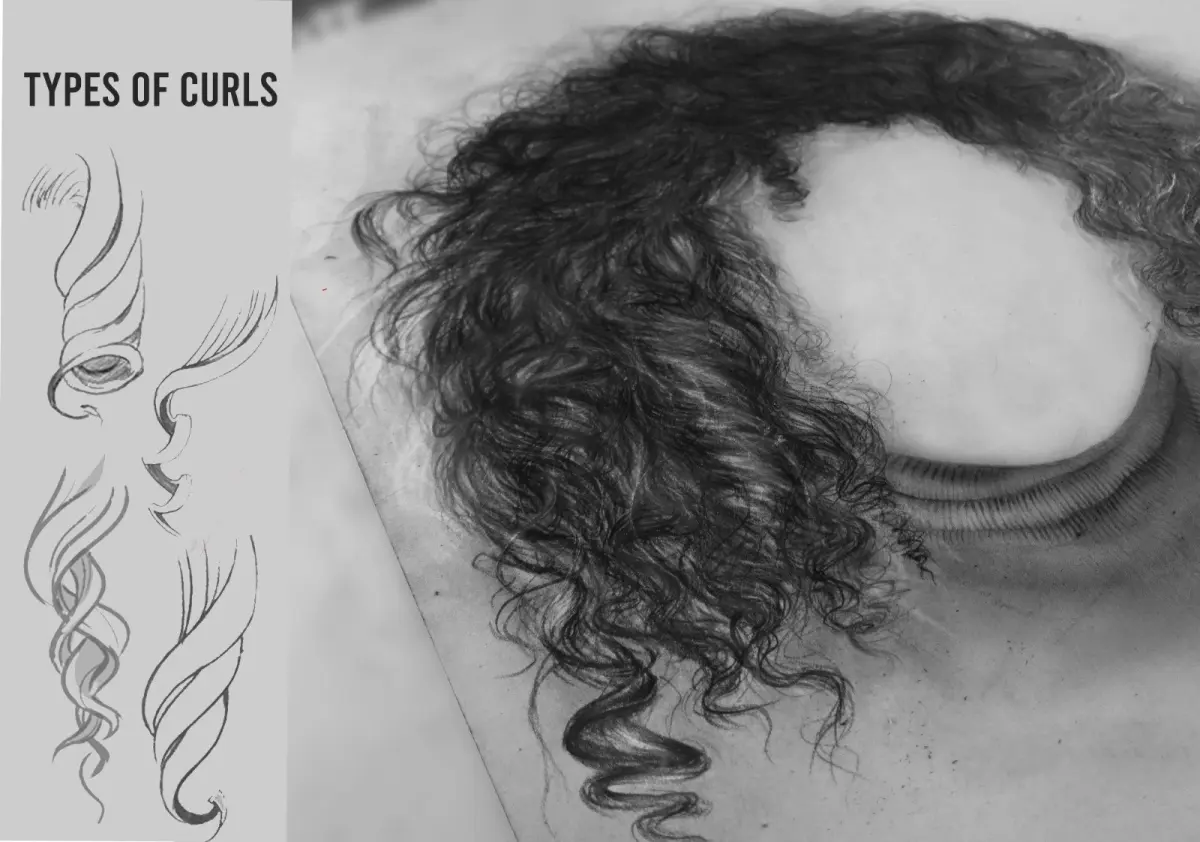
Curly hair is defined by repeating "S" curves and overlapping loops. Focus on the shadows created within the folds of the curls rather than the individual strands.
How do I draw hair that looks soft?
Use a blending stump or a soft tissue to gently smudge your pencil marks. This softens the edges of the hair clumps and prevents the drawing from looking overly harsh.
Why does my hair drawing look like a helmet?
This happens when the hair is drawn too close to the skull. Remember to add volume by drawing the hair outline slightly outside the actual shape of the head.
This answer was created with the help of AI research tools and reference sources. Spotted an error? Let us know — we correct mistakes quickly. See our editorial policy.