How do you draw a fish?
Short answer
Drawing a fish begins with sketching a simple oval or almond shape to define the body. You then add triangular fins, a tail, and a small curved line for the mouth. By layering basic geometric shapes and refining the contours with gills and scales, you create a realistic, recognizable aquatic creature.
On this page
How to draw a fish step by step
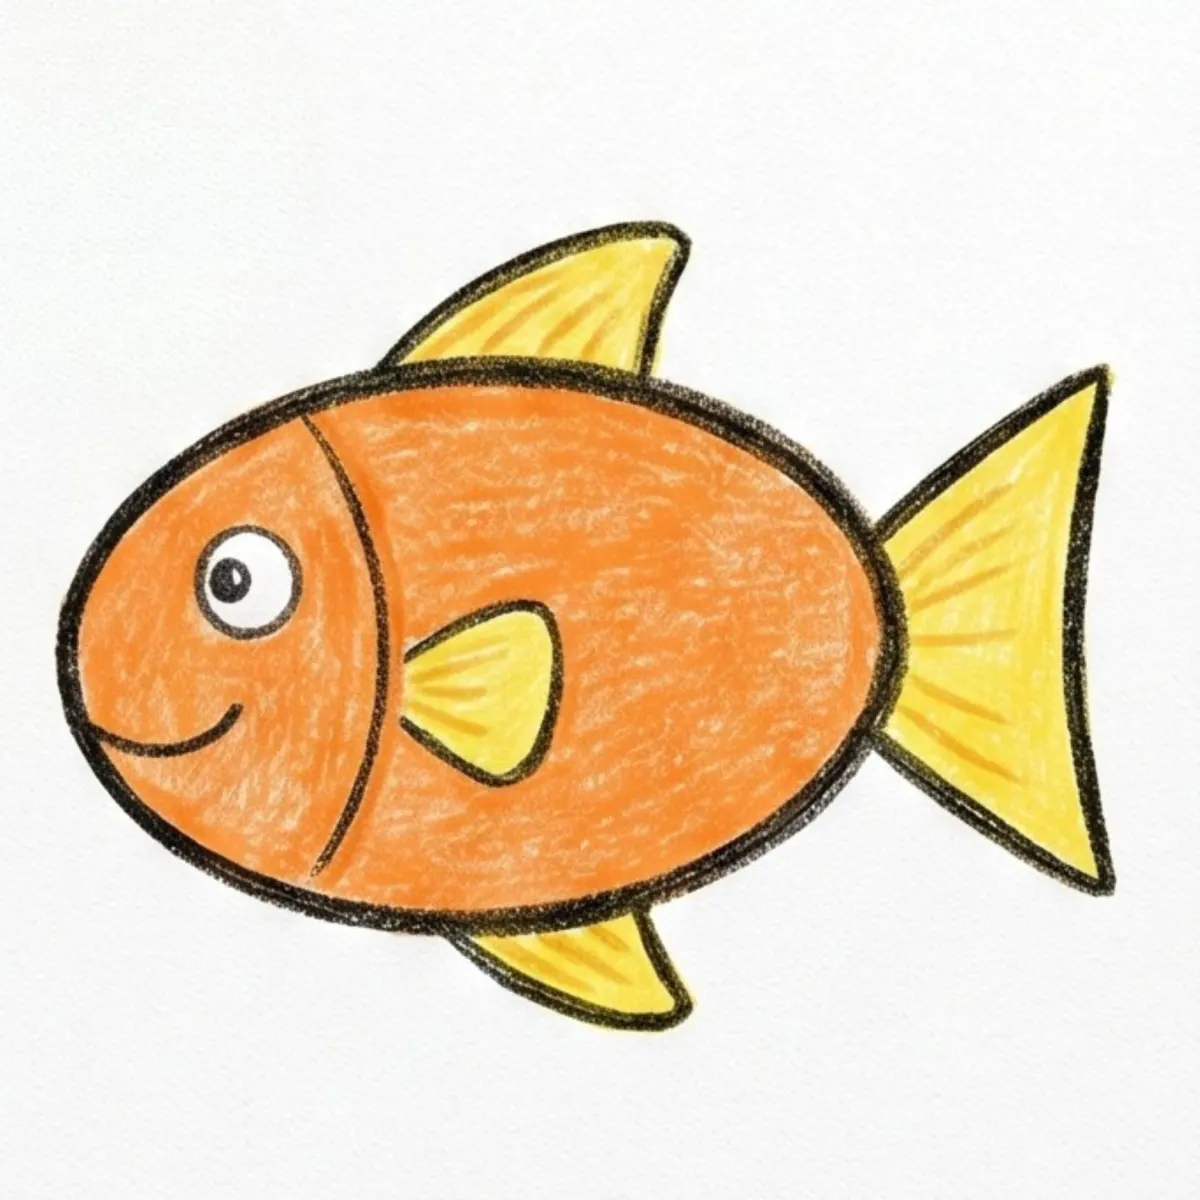
To draw a basic fish, start by visualizing the creature as a series of overlapping geometric forms. Begin with a horizontal oval that serves as the main body mass. On the right side of the oval, draw a V-shape to establish the tail fin, and on the top and bottom, add smaller triangles for the dorsal and ventral fins.
Once the skeleton of the fish is established, refine the lines to create a more organic silhouette. Connect the fins to the body with smooth, flowing curves rather than sharp angles. Add a small circle near the front for the eye and a simple curved line near the mouth to indicate the gill cover. Follow these steps to complete the structure:
- Sketch a light, elongated oval for the primary body.
- Attach a triangle to the rear for the caudal fin.
- Add two smaller triangles on the top and bottom for stability.
- Draw a small circle near the front for the eye.
- Use a curved line to separate the head from the body.
Best tools for drawing fish beginners
For those just starting, graphite pencils are the most forgiving medium because they allow for easy erasing and layering. Use an HB pencil for the initial light sketch and a 2B or 4B pencil for adding darker shadows and defining the scales. A kneaded eraser is particularly useful, as it can be shaped to lift small highlights from the fish’s body, such as the glint in the eye.
Paper selection also plays a significant role in the final quality of the drawing. A medium-weight, smooth-surfaced sketchbook is ideal because it prevents the graphite from smearing too easily while providing enough texture to hold the lead. Avoid overly glossy paper, which can make shading difficult, or very rough paper, which might obscure fine details like the delicate rays of the fins. Keep a sharpener nearby to maintain a fine point for detailing the scales.
How to add realistic texture to fish
Adding texture is what transforms a simple outline into a lifelike illustration. Start by observing the pattern of scales, which typically overlap like shingles on a roof. Instead of drawing every individual scale, focus on creating a cross-hatch pattern or a series of overlapping crescents along the spine and sides. Leave the belly area relatively smooth to suggest the light reflecting off the fish's underside.
The fins and tail require a different approach to texture, as they are translucent and delicate. Use thin, radiating lines that fan out from the body toward the edges of the fins to represent the bony rays. Keep these lines light and spaced apart to convey the thin, membrane-like quality of the tissue. Shading the base of the fins where they attach to the body helps create a sense of depth and weight.
Common mistakes when drawing fish
One of the most frequent errors is making the fish look too stiff or symmetrical. In nature, fish are rarely perfectly straight; they often have a slight curve to their bodies, especially when depicted in motion. Avoid drawing the eye as a flat circle on the side of the head; instead, place it slightly tucked into the curve of the face to give it a more three-dimensional appearance.
Another common mistake is neglecting the gill cover, which is a vital anatomical feature. Many beginners draw the mouth too far back or forget to include the operculum, the bony flap that covers the gills. Without this feature, the head looks disconnected from the body. Additionally, ensure the fins are proportional to the size of the fish; fins that are too small will make the fish appear awkward and unable to swim effectively.
Why fish drawings look flat
A drawing often appears flat because it lacks a full range of values, which are the variations between light and dark. To fix this, you must identify where the light source is hitting the fish. Apply darker shading to the underside of the belly and the areas beneath the fins, while leaving the top of the back lighter to mimic the effect of sunlight hitting the water's surface.
Adding a cast shadow beneath the fish can also ground the subject and provide a sense of environment. Even if you are not drawing a background, a soft, blurred shadow underneath the body suggests that the fish is suspended in water rather than floating in a void. Use a blending stump or a soft cloth to smooth out your pencil marks, creating a gradient that mimics the sheen of wet scales. By focusing on these subtle transitions, you create a convincing sense of volume and form.
Key facts
- Start by drawing a simple oval or almond shape to define the main body of the fish.
- Use a triangle shape at the back of the oval to create the tail fin.
- Add small, curved lines or triangles along the top and bottom of the body to represent dorsal and pectoral fins.
- Draw a small vertical arc near the front of the body to separate the head from the torso.
- Place a single filled-in circle near the front of the head to serve as the eye.
- Use overlapping "U" shapes or diagonal cross-hatching to suggest the texture of scales across the body.
The bottom line
Drawing a fish is best approached by breaking the complex anatomy down into simple geometric shapes. By focusing on the basic oval body, triangular fins, and proper eye placement, you can create a recognizable figure. Practice layering details like scales and gills only after establishing a solid structural outline. Consistency in these fundamental steps ensures that your drawing remains balanced and anatomically plausible regardless of the species.
People also ask
How do I make my fish look like it is swimming?
Tilt the body of the fish at an angle rather than drawing it perfectly horizontal. Adding curved lines behind the tail can also suggest movement through water.
What is the most common mistake when drawing a fish?
Beginners often forget to include the pectoral fins, which are located on the sides of the body. Without these, the fish appears flat and lacks anatomical balance.
Should I draw scales on every part of the fish?
It is better to draw scales only on the middle section of the body. Leaving the head and fins smooth creates a more realistic and professional appearance.
How do I draw a fish mouth correctly?
Use a simple "V" shape or a small curve at the front of the head. Avoid drawing a human-like smile, as fish mouths are generally more rigid and functional.
What kind of pencil should I use for sketching?
Start with an HB or 2H pencil for light guidelines that can be easily erased. Use a softer 2B or 4B pencil later to darken the final outlines.
Do all fish have the same fin shapes?
No, fin shapes vary greatly depending on the species. Researching specific types like goldfish, sharks, or angelfish will help you draw more accurate silhouettes.
This answer was created with the help of AI research tools and reference sources. Spotted an error? Let us know — we correct mistakes quickly. See our editorial policy.