How do you draw a mermaid step by step?
Short answer
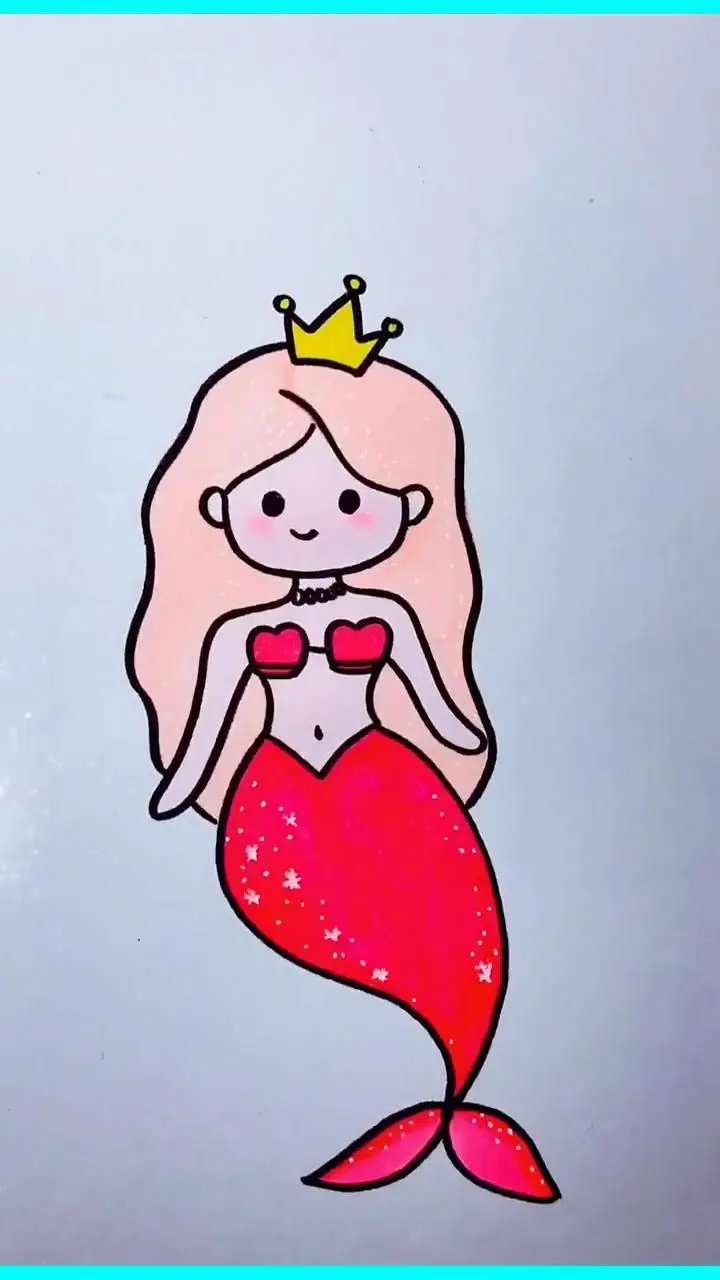
Drawing a mermaid involves combining a human torso with a fish tail. Begin by sketching a light skeletal frame to establish the pose. Define the anatomy of the upper body, transition into the flowing tail at the waist, and add details like scales, hair, and fins to bring the character to life.
On this page
How to draw the basic mermaid anatomy
Creating a mermaid starts with understanding how the human torso connects to the aquatic tail. Begin by drawing a light vertical line to serve as the spine, which helps maintain balance and flow. Sketch an oval for the head and a trapezoid for the ribcage to establish the upper body proportions. Ensure the waist sits slightly lower than the natural human position to allow for a graceful transition into the tail.
When drawing the tail, imagine it as an extension of the legs fused together. Start the tail at the hips, tapering it down into a long, curved shape that resembles a teardrop or a banana. Avoid making the tail too short, as it needs to look powerful enough to propel the creature through the water. Keep your initial lines very faint so you can easily adjust the curvature before committing to darker outlines.
Step by step guide for beginners
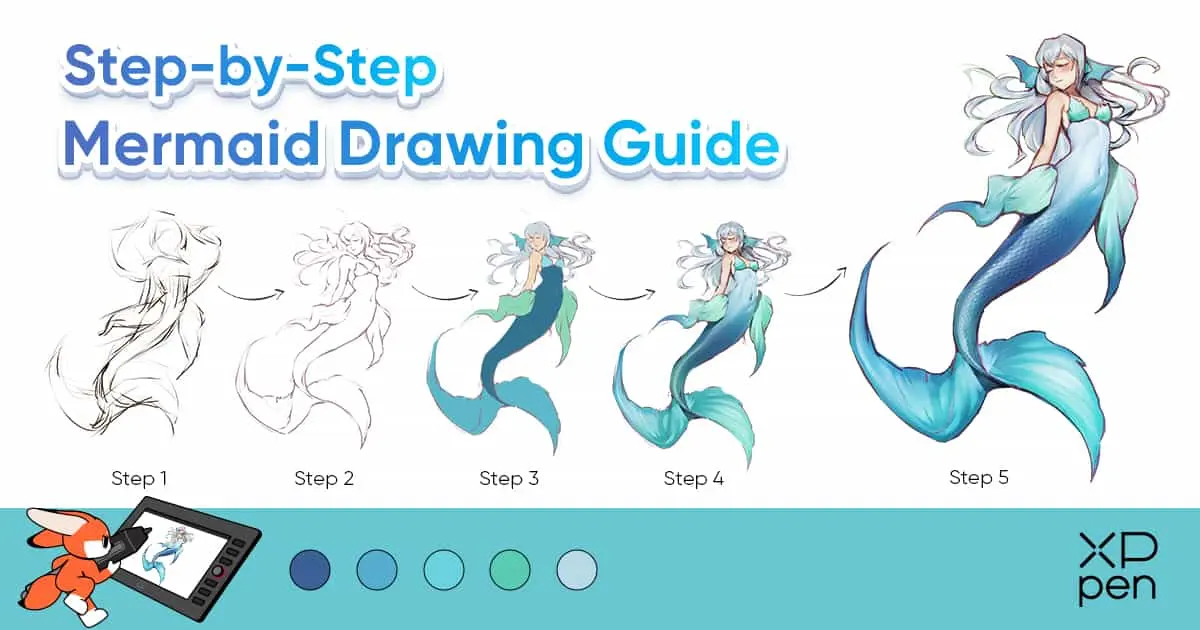
Following a structured process helps maintain consistency throughout the drawing. Use these steps to construct your mermaid from the ground up:
- Sketch a circle for the head and a guideline for the neck and shoulders.
- Draw the torso, keeping the chest and waist proportional to the head size.
- Extend the tail from the hips, curving it to imply movement or a sitting position.
- Add the tail fin at the bottom, flared wide to provide a focal point.
- Sketch the arms, either resting by the sides or reaching out for a dynamic pose.
- Refine the facial features and add long, flowing hair that mimics the movement of underwater currents.
Focus on the silhouette first before adding small details. Once the basic forms are connected, you can erase the overlapping guidelines and begin defining the musculature and the connection point between the human skin and the scales.
Best tools for drawing mermaids
Choosing the right equipment depends on your preferred artistic style and medium. For beginners, a standard HB graphite pencil is ideal because it allows for light sketching and easy erasing. A kneaded eraser is particularly useful for lifting graphite off the page without damaging the paper, which is essential when you need to adjust the tail's curve or the hair's volume.
If you are working with ink or markers, use technical pens with varying nib sizes to distinguish between fine details like eyelashes and thicker outlines like the tail fin. For those interested in color, watercolor pencils offer a soft, ethereal look that mimics the shimmering quality of water. Always keep a sharpener nearby, as fine lines are crucial for capturing the delicate texture of scales and the transparency of fins.
Common mistakes when drawing mermaids
One frequent error is failing to consider the physics of the tail. Beginners often draw the tail as a stiff, straight tube, which makes the creature appear unnatural. To avoid this, always incorporate a gentle "S" curve into the tail, which suggests flexibility and movement. Another common mistake is ignoring the point of origin for the tail; ensure it starts clearly at the waist rather than appearing to sprout from the middle of the back.
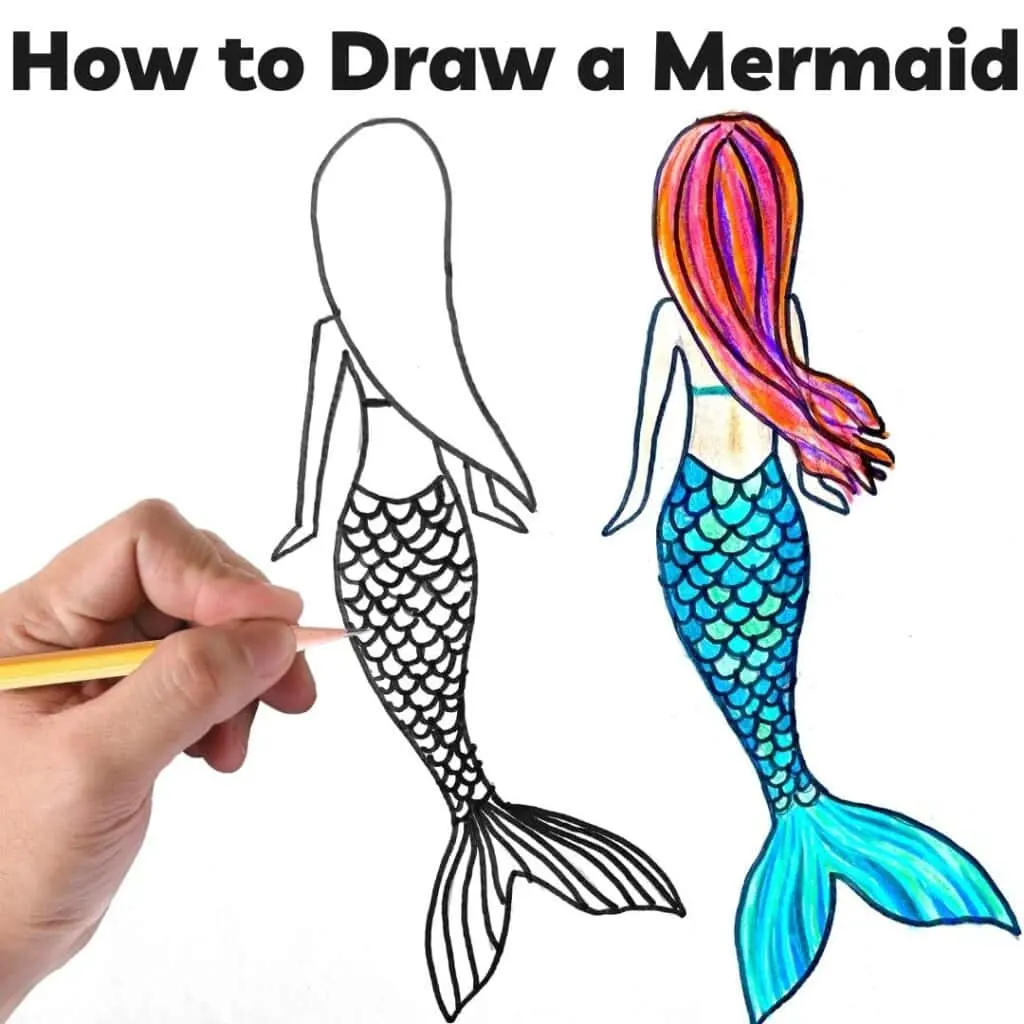
Proportions can also be tricky, particularly regarding the size of the head relative to the body. If the head is too large, the mermaid will appear childlike; if it is too small, the torso will look disproportionate. Keep the head roughly one-seventh of the total length of the figure. Finally, avoid drawing scales as uniform, flat squares. Instead, use overlapping, curved lines that follow the contours of the tail to create a three-dimensional, rounded effect.
How to add detail and texture
Once the structure is complete, focus on the elements that define a mermaid's environment. Hair should look weightless, as if floating in water, so draw long, separated strands that drift upward or outward. You can add accessories like seashells, pearls, or seaweed to integrate the character into an underwater setting. These details add personality and help tell a story about where the mermaid lives.
Adding texture to the tail is the final step to making the drawing pop. Use these techniques to enhance your work:
- Create depth by shading the underside of the tail, making it darker than the top.
- Use a cross-hatching pattern for the tail fin to show transparency and light filtration.
- Add highlights to the scales using a white gel pen or by leaving small gaps in your shading.
- Vary the size of the scales, making them smaller near the waist and larger toward the fin.
By layering these textures, you move from a simple sketch to a finished illustration that feels alive and vibrant. Take your time with the final shading to ensure the light source is consistent across the entire figure, which will ground your mermaid firmly in her watery world.
Key facts
- Start with a simple oval for the head and a vertical line to establish the spine's curve.
- Use a triangle shape for the torso to help define the transition between the human waist and the tail.
- Draw the tail as a long, tapered cylinder that curves gracefully to suggest fluid movement.
- Place the eyes halfway down the head to maintain correct anatomical proportions.
- Add fins at the hips or ankles to provide balance and a sense of aquatic realism.
- Sketch lightly with a hard pencil before applying darker lines to allow for easy corrections.
The bottom line
Drawing a mermaid requires balancing human anatomy with the fluid, elongated forms of marine life. By starting with a structural skeleton and focusing on the graceful "S" curve of the tail, you create a sense of motion. Remember to maintain consistent proportions between the torso and the tail, using fins and hair to enhance the underwater aesthetic while keeping your initial sketches light and adjustable.
People also ask
What is the most common mistake when drawing a mermaid tail?
Many beginners make the tail too stiff or straight, which makes the figure look unnatural. Always ensure the tail follows a gentle "S" curve to mimic the flexibility of a fish.
How do I make the scales look realistic?
Avoid drawing individual circles everywhere, which can look cluttered. Instead, focus on adding scale patterns only along the edges of the tail to suggest texture without overwhelming the drawing.
Should I draw the arms before the tail?
Yes, establishing the upper body first helps you determine the correct scale for the tail. If the torso is too small, the tail will look disproportionately large and awkward.
What is the best way to draw mermaid hair?
Draw the hair in large, flowing sections rather than individual strands. Imagine it floating underwater, which means it should spread out and move in the direction of the current.
How do I draw the transition from human to fish?
Use a decorative belt or a cluster of fins at the waist to mask the point where the skin meets the scales. This creates a seamless visual connection between the two halves.
Can I use different types of fish tails for inspiration?
You should look at real fish anatomy, such as the long fins of a betta fish or the sleek shape of a shark. Incorporating these features makes your design look more grounded and believable.
This answer was created with the help of AI research tools and reference sources. Spotted an error? Let us know — we correct mistakes quickly. See our editorial policy.