How do you draw a hat?
Short answer
Drawing a hat begins with establishing a basic geometric foundation, typically an oval for the crown and a wider shape for the brim. By mapping out these simple volumes, you can refine the silhouette, add structural details like ribbons or folds, and apply shading to create a convincing three-dimensional appearance on paper.
On this page
How to draw a hat for beginners
The most effective way to start any drawing is by breaking the object down into basic geometric shapes. For a standard fedora or sun hat, begin by sketching a horizontal oval to represent the base of the crown. Above this, draw a slightly smaller, rounded shape to form the top of the hat. This creates the primary volume, ensuring your proportions remain balanced before you add any complex details.
Once the crown is established, draw a larger, flattened oval around the base to define the brim. Keep your initial lines very light so they can be easily erased or adjusted later. Focus on the perspective; if the hat is viewed from slightly above, the brim should appear as a wider ellipse, while a side view will require a flatter, more elongated shape. Consistency in these foundational lines is the key to a professional-looking result.
Steps to sketch a realistic hat
Achieving realism requires a methodical approach to construction and refinement. Follow these steps to build your drawing from a simple sketch into a finished piece of art:
- Sketch a light center line to ensure the hat is symmetrical on both sides.
- Define the crown by drawing a cylinder or dome shape, depending on the specific style of headwear.
- Attach the brim by drawing a curved line that connects to the base of the crown, extending outward to your desired width.
- Add structural details, such as a hatband, stitching, or the natural curve of the material.
- Use an eraser to remove unnecessary construction lines and clean up the silhouette.
By following this sequence, you maintain control over the structure. Always ensure that the brim curves naturally around the crown rather than appearing as a flat, disconnected shape glued to the bottom.
Why hats look flat in drawings
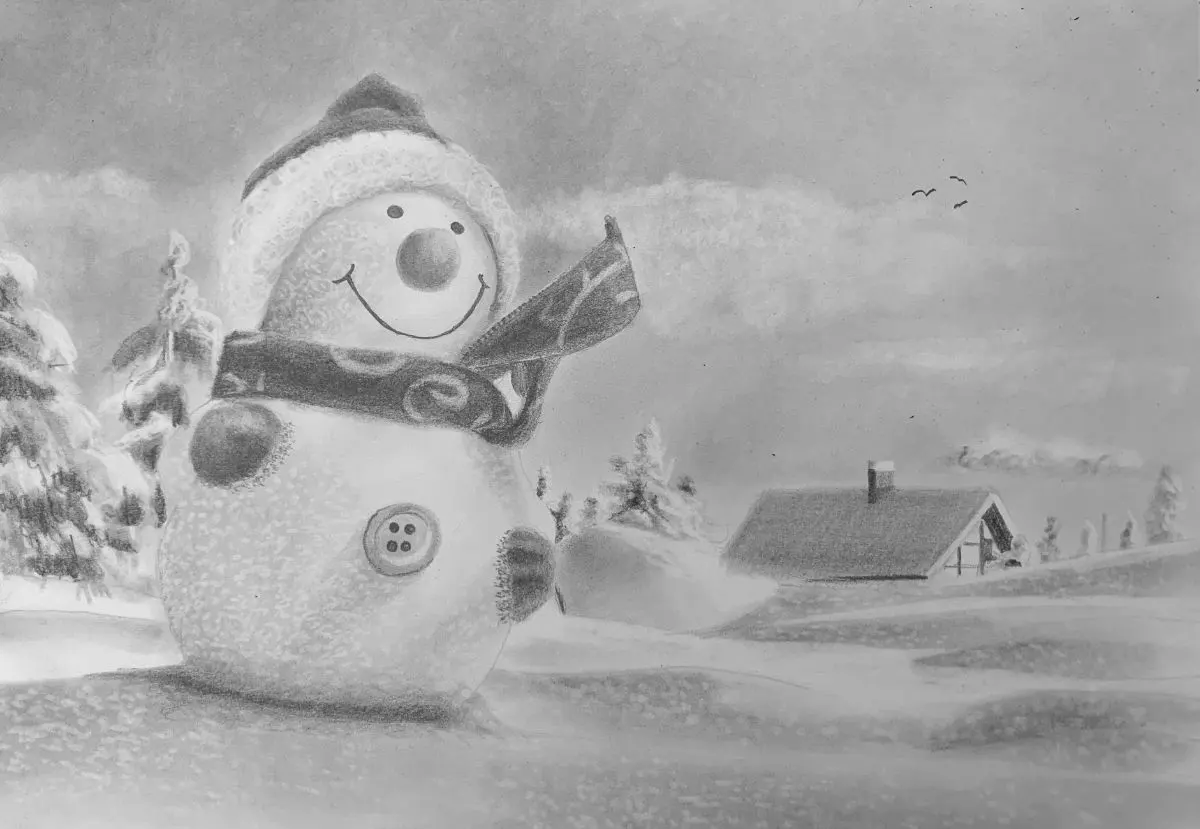
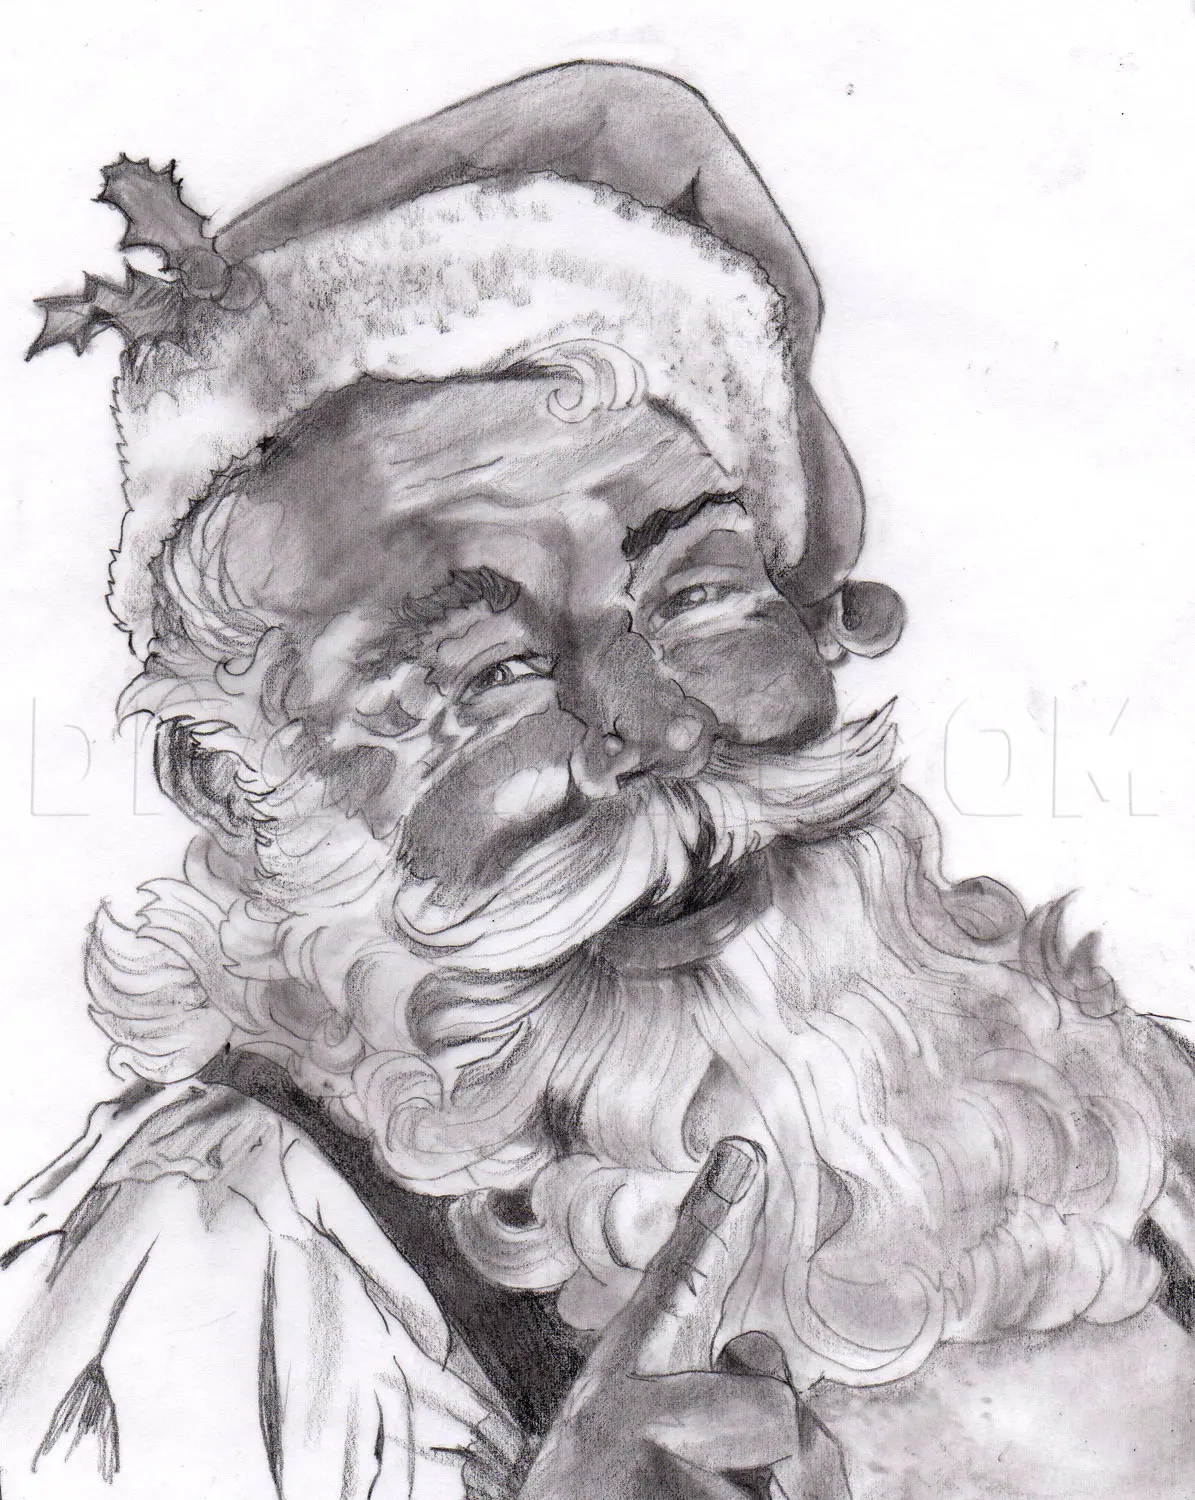
Many artists struggle with making hats look two-dimensional because they fail to account for light and shadow. A hat is a three-dimensional object with curved surfaces, meaning light will hit the top of the crown and the outer edge of the brim differently. If you apply a uniform tone across the entire surface, you lose the sense of depth. Instead, identify where your light source is coming from and leave the highlight area brightest.
Shadows are equally important for defining the shape of the hat. The area directly under the brim should be significantly darker than the rest of the hat, as this is where the brim casts a shadow onto the crown or the wearer's face. Using a soft graphite pencil, build up your shadows in layers. Avoid using harsh, solid black lines for shading, as these can make the hat appear rigid. Instead, use smooth, cross-hatching or blending techniques to transition between light and dark values.
Common mistakes when drawing hats
One frequent error is failing to consider the thickness of the material. A hat is not a paper-thin object; the brim has actual depth. When drawing the edge of the brim, add a small secondary line to show the thickness of the fabric or straw. This simple addition prevents the hat from looking like a flat, two-dimensional cutout and adds a layer of sophistication to your work.
Another common mistake involves ignoring the perspective of the brim's curve. Beginners often draw the brim as a perfectly symmetrical, flat oval regardless of the angle. If the hat is tilted, the brim should also be tilted, with one side appearing slightly higher or wider than the other. Pay close attention to the elliptical shapes you drew in the first step. If the perspective feels "off," it is usually because the curves of the brim do not align with the angle of the crown.
Best tools for drawing hats
The quality of your drawing is often determined by the tools you choose. For beginners, a set of graphite pencils ranging from 2H to 6B is ideal. The harder 2H pencils are perfect for your initial, light construction lines because they do not smudge easily. The softer 6B pencils allow you to create deep, rich shadows that give the hat its weight and volume. Using a variety of leads helps you achieve a full range of values.
- Use a kneaded eraser to lift graphite gently, which is useful for creating soft highlights on the crown.
- Keep a blending stump or a piece of soft tissue nearby to smooth out your shading and eliminate visible pencil strokes.
- Use a high-quality, smooth-surfaced drawing paper to ensure your pencil marks glide easily and blending is consistent.
- Keep your pencils sharp at all times to maintain precision when adding fine details like seams or hatbands.
Investing in these basic materials will significantly improve your ability to render textures, such as the weave of a straw hat or the felt of a fedora. Practice consistently, and you will soon master the art of drawing headwear with confidence and accuracy.
Key facts
- Start by drawing a horizontal oval to serve as the brim, which provides the foundation for the hat's perspective.
- Sketch a smaller, rounded shape on top of the oval to represent the crown, ensuring it aligns with the center of the brim.
- Use light, sketchy lines initially so you can easily erase and adjust the proportions before finalizing the outline.
- Add a curved line where the crown meets the brim to create a shadow, which adds depth and realism to your drawing.
- Consider the light source; if the light comes from the left, shade the right side of the crown and the underside of the brim.
- Practice drawing different hat styles, such as fedoras or baseball caps, by modifying the height of the crown and the width of the brim.
The bottom line
Drawing a hat requires observing how its geometric base interacts with light and perspective. By starting with simple ovals and rounded shapes, you can build a solid foundation before adding details like texture and shading. Focus on the relationship between the crown and the brim to ensure the hat looks grounded. With consistent practice and attention to light sources, you will create convincing, professional-looking illustrations every time.
People also ask
How do I make a hat look like it is sitting on someone's head?
Draw the brim as a slightly curved line that follows the contour of the forehead rather than a flat oval. Ensure the crown sits low enough to overlap the hairline, creating a natural connection between the object and the person.
What is the best way to draw a realistic texture on a hat?
Use short, directional strokes to mimic the weave of straw or the nap of felt. For a leather hat, focus on drawing irregular, organic shapes to represent creases and highlights caused by light reflection.
Should I use a pencil or a pen for drawing hats?
Start with a graphite pencil to establish your structure and shading values without commitment. Once you are satisfied with the form, you can use a fine-liner pen to add permanent, clean outlines and cross-hatching for depth.
How do I draw a hat from a side profile view?
Draw a long, thin oval for the brim and a taller, asymmetrical shape for the crown. This view emphasizes the silhouette, so focus on the curve of the front brim and the back of the crown to define the style.
Why does my hat drawing look flat?
The most common cause is a lack of contrast between light and shadow. Apply darker shading beneath the brim and on the side opposite the light source to give the object a three-dimensional, volumetric appearance.
Can I use basic shapes to draw any type of hat?
Yes, almost every hat can be broken down into cylinders, ovals, and cones. By mastering these simple geometric forms, you can construct complex headwear like top hats, sombreros, or beanies with correct perspective.
This answer was created with the help of AI research tools and reference sources. Spotted an error? Let us know — we correct mistakes quickly. See our editorial policy.