How do you draw a witch step by step?
Short answer
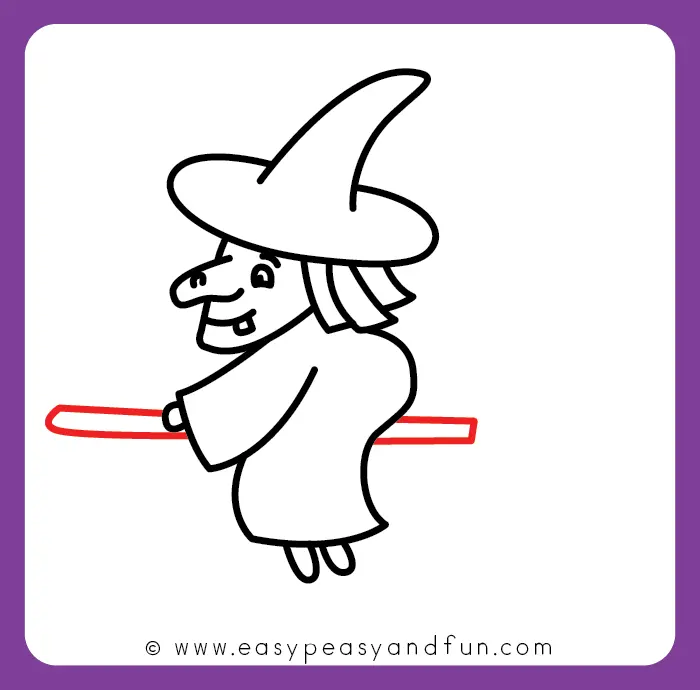
Drawing a witch involves constructing a base figure using simple geometric shapes, then layering on iconic accessories like a pointed hat, a flowing cloak, and a broomstick. By focusing on expressive facial features and dynamic posture, you can create a character that balances traditional folklore aesthetics with your own unique artistic style.
On this page
How to draw a witch step by step
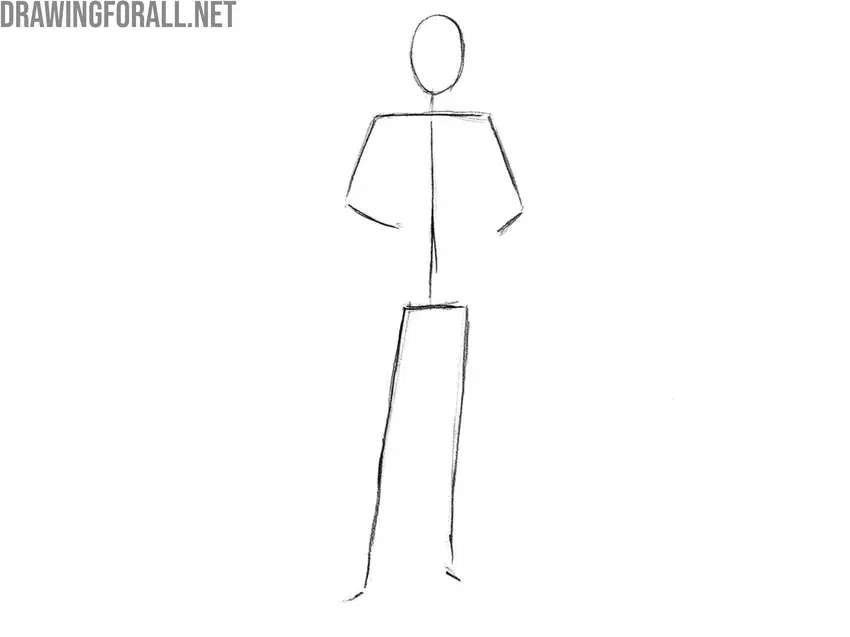
To begin your drawing, start by sketching a light oval for the head and a larger, inverted triangle for the torso. These foundational shapes help establish the character's proportions before you add intricate details. Once the frame is set, draw a long, slightly curved line extending from the torso to represent the spine, which gives the witch a natural, slightly hunched posture often associated with classic depictions.
After establishing the frame, follow these steps to build the figure:
- Sketch a large, wide-brimmed cone shape atop the head to form the iconic pointed hat.
- Outline the arms and legs using simple cylinders, ensuring the joints are placed at natural intervals.
- Add a flowing cloak by drawing loose, wavy lines that drape over the shoulders and extend toward the floor.
- Draw a broomstick handle held in one hand, adding bristles at the bottom with quick, downward strokes.
- Refine the facial features, focusing on a sharp nose and expressive eyes to convey personality.
Best tools for drawing witches
For beginners, a standard graphite pencil set ranging from HB to 4B is ideal for creating both light construction lines and darker, final contours. Using a kneaded eraser allows you to lift graphite off the paper without damaging the surface, which is essential when you need to adjust the placement of the witch’s limbs or hat. Smooth-surface bristol board or heavyweight sketch paper provides the best texture for blending shadows.
If you prefer working with ink, fine-liner pens with varying tip sizes are excellent for adding crisp details to the witch's robes or the texture of the broom bristles. For those interested in adding color, watercolor pencils offer a versatile way to create moody, atmospheric backgrounds. By applying water to the pigment, you can achieve a soft, ethereal look that complements the mystical theme of your character. Always keep a sharpener nearby to maintain the precision of your pencil tips throughout the process.
How to add character details
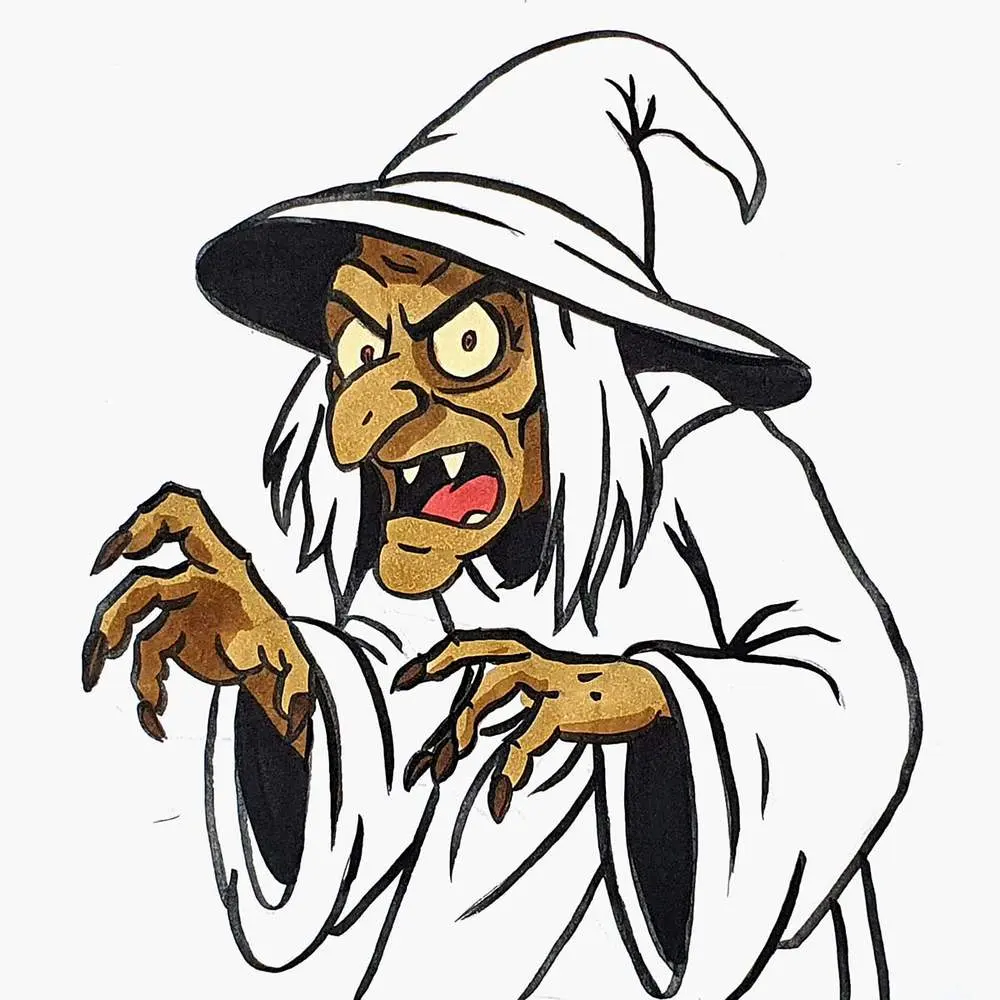
The personality of your witch is defined by her accessories and expression. Consider adding small, thematic elements such as a pendant necklace, a leather satchel, or a small familiar like a black cat or an owl perched on her shoulder. These details tell a story about the character's role, whether she is a wandering herbalist or a powerful spellcaster. Varying the width of your lines can also emphasize certain features, making the face stand out against the darker clothing.
When rendering the clothing, think about the fabric's movement. A witch in motion should have robes that appear to flutter in the wind, which adds a sense of energy to the drawing. Use cross-hatching or stippling techniques to create depth in the shadows of the cloak. By varying the density of your marks, you can suggest different textures, such as heavy wool for the hat or worn, frayed wood for the broomstick handle.
Common mistakes when drawing witches
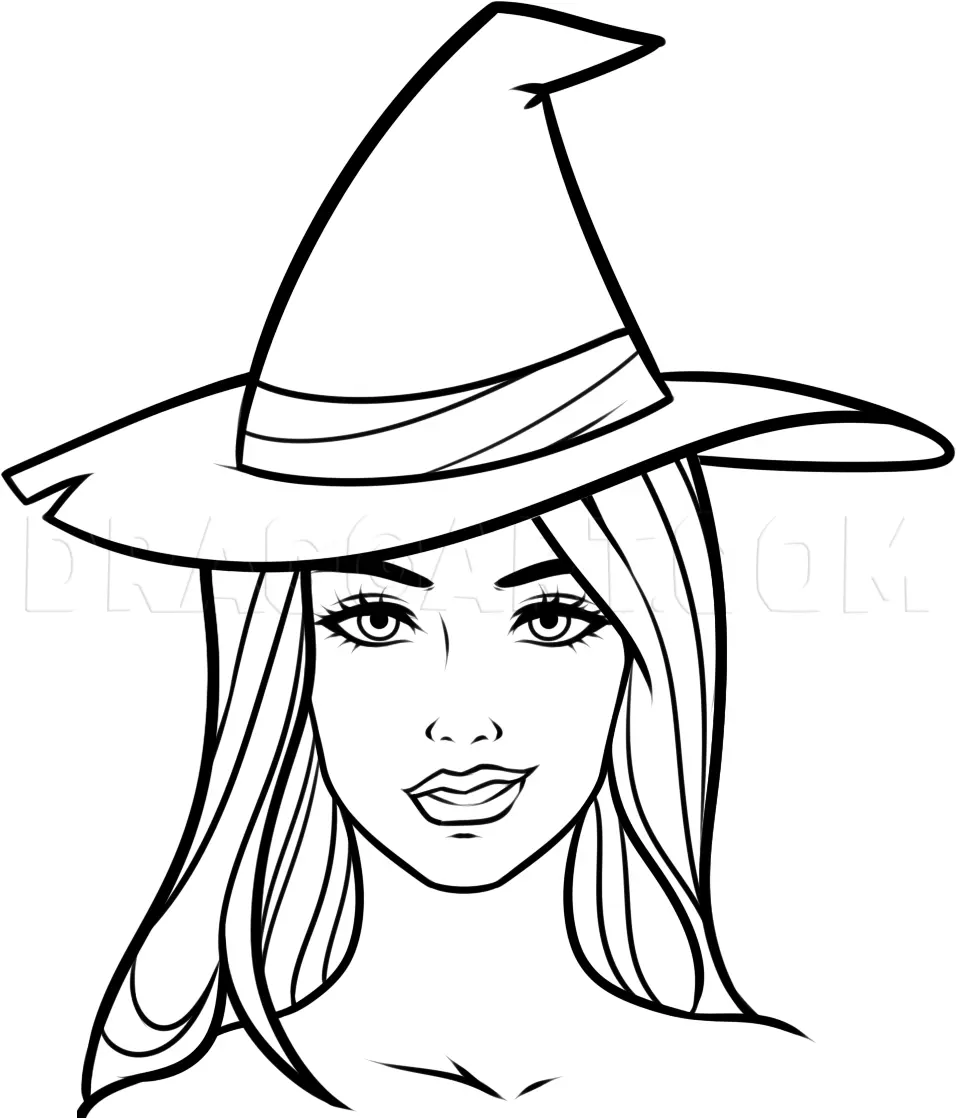
A frequent error is making the hat appear too small or disconnected from the head. To avoid this, ensure the brim of the hat overlaps the forehead slightly, creating a sense of weight and realism. Another common mistake is ignoring the center of gravity; if the witch is leaning on a broom, her weight must be distributed realistically so she does not appear to be floating or falling over. Always check your proportions by comparing the size of the head to the length of the torso.
Pay close attention to the hands and feet, as these are often neglected in early sketches. If the hands are hidden inside large sleeves, ensure the folds of the fabric follow the shape of the hidden limbs. Avoid drawing perfectly straight lines for the clothing, as this makes the fabric look rigid and unnatural. Instead, use soft, sweeping curves to represent the drape of the robes. Regularly stepping back from your work to view it from a distance will help you spot these balance issues early.
Tips for creating a mystical atmosphere
To elevate your drawing, focus on the environment surrounding your witch. Adding subtle background elements like twisted tree branches, a glowing moon, or floating embers can instantly ground the character in a magical setting. Use high-contrast lighting, such as a strong light source coming from a potion bottle or a spell, to create dramatic shadows on the witch's face. This technique, known as chiaroscuro, adds a professional, cinematic quality to your finished artwork.
Experiment with different compositions to see how they change the mood of the piece:
- A low-angle perspective makes the witch look imposing and powerful.
- A high-angle perspective can make her appear more vulnerable or secretive.
- Placing the witch off-center creates a more dynamic and interesting visual flow.
- Using a limited color palette, such as deep purples, greens, and blacks, reinforces the traditional aesthetic of witchcraft.
By consistently practicing these techniques, you will develop a distinct style that captures the essence of your character while maintaining structural integrity. Always remember to keep your lines loose during the initial phase and refine them only after you are satisfied with the overall pose and balance.
Key facts
- Start with a basic stick figure or geometric shapes to establish the witch's pose and proportions before adding details.
- A classic pointed hat is defined by a wide, circular brim and a tall, slightly curved cone top.
- Exaggerated features like a hooked nose, pointed chin, and long fingers help convey the character's archetype.
- Use flowing, jagged lines for clothing to suggest movement, such as a tattered cloak or a sweeping dress.
- Incorporate iconic accessories like a wooden broomstick, a bubbling cauldron, or a black cat to enhance the narrative.
- Focus on facial expressions by using arched eyebrows and a thin, crooked mouth to define the witch's personality.
The bottom line
Drawing a witch is an exercise in balancing classic archetypal features with your own creative flair. By establishing a solid foundation with simple shapes and focusing on expressive details like the hat, tattered clothing, and posture, you can create a compelling character. Remember that the key to a successful drawing lies in the flow of the lines, which brings the magical essence of the figure to life.
People also ask
What is the most common mistake when drawing a witch?
Many beginners make the limbs too stiff, which removes the sense of magic or movement. Ensure the joints are slightly bent and the cloak flows in the opposite direction of the witch's motion.
How do I make my witch look friendly instead of scary?
Soften the facial features by rounding the nose and chin rather than making them sharp. Using a warm color palette and adding a gentle smile can significantly change the character's tone.
Should I draw the broomstick first or the witch?
Always draw the witch first to ensure the body proportions are correct. Once the figure is set, you can easily position the broomstick so that it looks like she is holding or flying on it.
What techniques help with drawing tattered fabric?
Use irregular, zig-zag lines at the hems of sleeves and skirts to represent wear and tear. Adding small tears or patches within the fabric adds texture and historical depth to the outfit.
How can I make the hat look realistic?
Draw the brim as an oval to account for perspective, then place the cone off-center to give it a slumped, worn appearance. This prevents the hat from looking like a stiff, perfect triangle.
What is the best way to draw a witch's hair?
Use long, sweeping strokes that follow the direction of the wind. Strands that are slightly messy or wild help emphasize the witch's untamed and mystical nature.
This answer was created with the help of AI research tools and reference sources. Spotted an error? Let us know — we correct mistakes quickly. See our editorial policy.