How do you draw a gramophone?
Short answer
Drawing a gramophone requires breaking the complex machine into basic geometric shapes. Start by sketching a large trumpet-shaped horn, a cylindrical base, and a flat circular platter. Connect these with a sturdy tonearm. Focus on perspective and elliptical curves to give the object a realistic, three-dimensional appearance on your paper.
On this page
How to structure the basic shapes
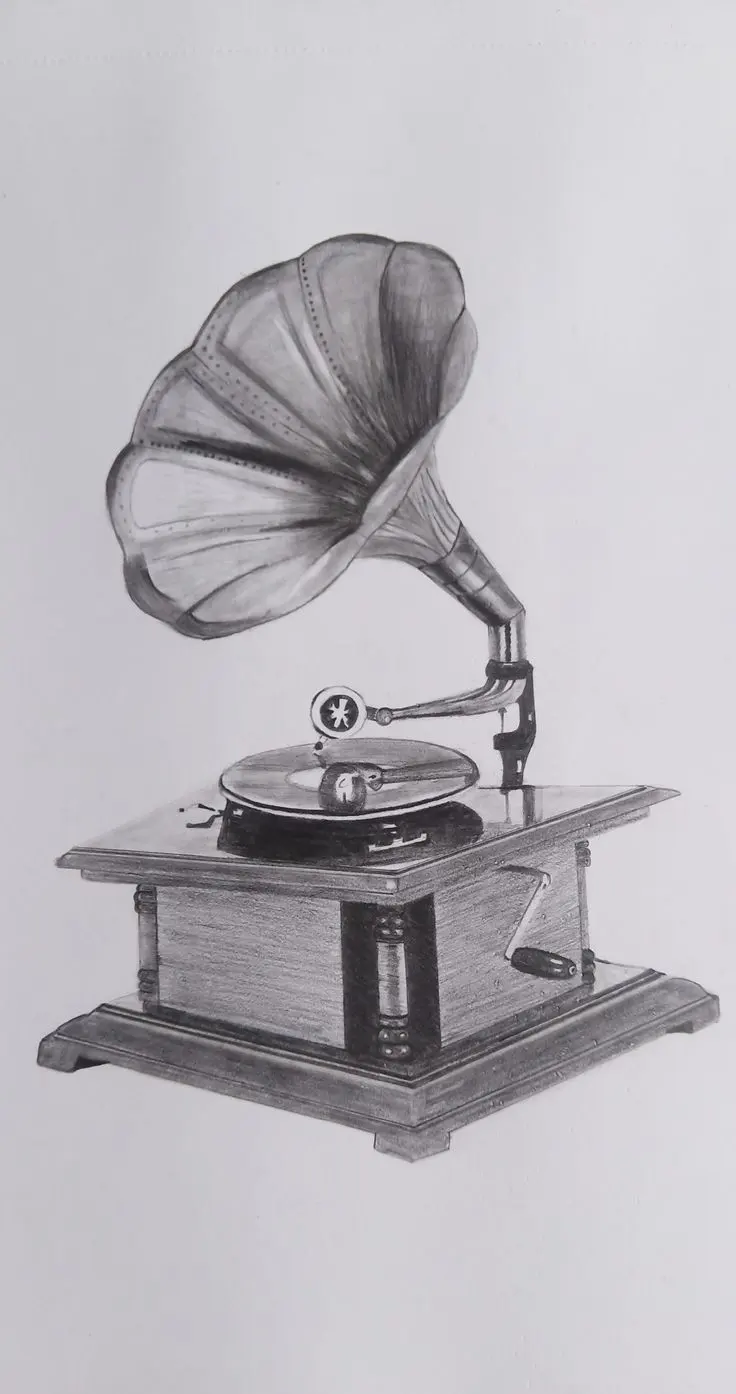
Begin your drawing by establishing the three primary components of the gramophone: the horn, the base, and the tonearm. Start with the base, which is typically a wooden box represented as a rectangular prism. Draw this using two-point perspective to ensure the sides recede correctly toward vanishing points on the horizon line. Place a flat, thin cylinder on top of this box to serve as the turntable platter.
Next, focus on the horn, which is the most iconic feature of the device. Visualize it as a large, elongated cone that flares outward at the end. Sketch a central line to guide the curve, then build the volume around it using elliptical shapes. This approach ensures the horn maintains a balanced, symmetrical look. By establishing these geometric foundations first, you create a stable framework that prevents the final drawing from appearing lopsided or distorted.
How to draw the horn and tonearm
The horn is essentially a complex funnel that requires careful attention to curvature. Start by drawing a wide oval for the opening, then taper it back toward the base where it meets the support bracket. To add realism, draw thin, concentric lines inside the horn to suggest the internal structure or the reflective surface of the metal.
The tonearm connects the horn to the needle and must be drawn with precision. It usually consists of a series of connected tubes or a curved metal pipe. Use these steps to guide your placement:
- Draw a small pivot point on the corner of the base box.
- Sketch a curved line extending from the pivot toward the center of the record platter.
- Add a small, rectangular headshell at the end of the arm to house the stylus.
- Connect the tonearm to the base of the horn using a simple bracket or hinge mechanism.
How to add texture and detail
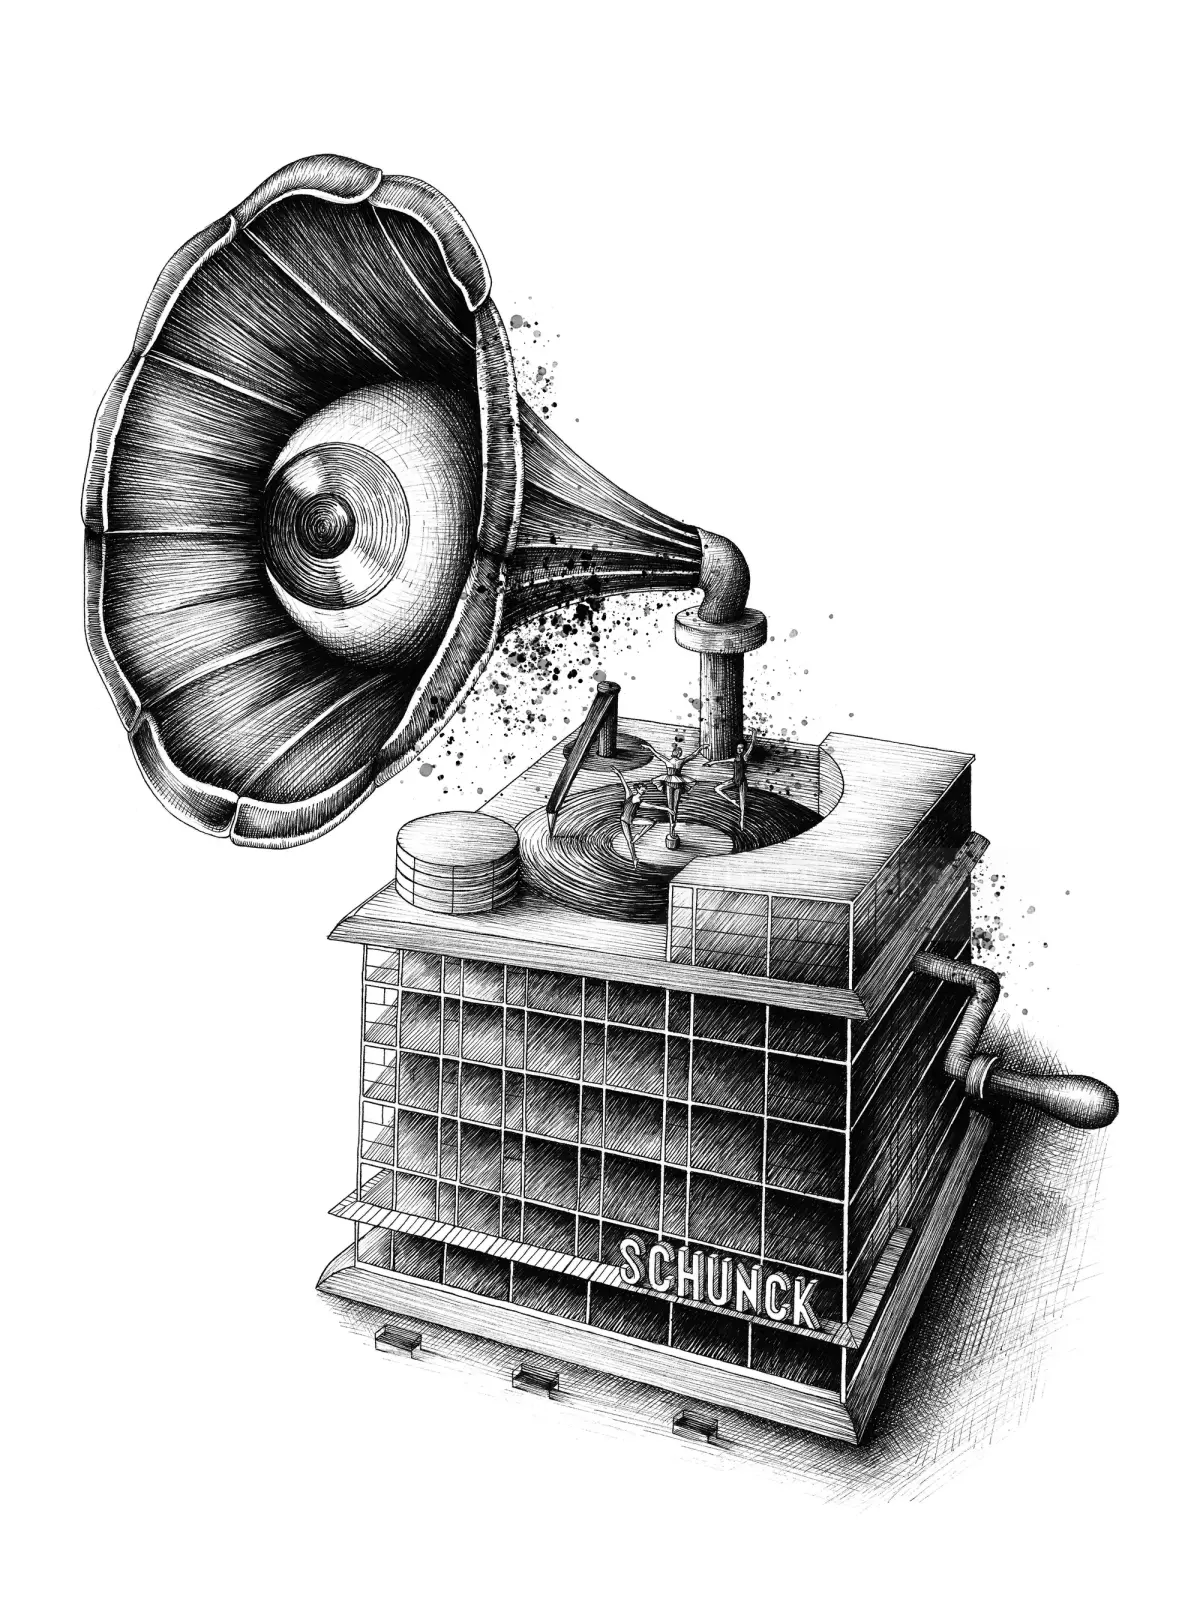
Once the structure is complete, focus on the surfaces to distinguish between the wood, metal, and felt. Use cross-hatching or stippling to indicate the grain of the wooden base, keeping the lines parallel to the edges of the box. For the metal horn, use smooth, long strokes and high-contrast shading to create the appearance of a polished, reflective surface.
Detailing the record platter is essential for authenticity. Draw a series of thin, circular lines radiating from the center to represent the grooves of a vinyl disc. You can also add a small label in the center of the record to provide a focal point. Remember to include a shadow cast by the gramophone onto the surface below, as this anchors the object in space and prevents it from looking like it is floating.
Common mistakes when drawing gramophones
One of the most frequent errors is failing to maintain consistent perspective across the different parts of the machine. Beginners often draw the base from one angle and the horn from another, which makes the device look disjointed. Ensure that all elliptical shapes, such as the horn opening and the platter, align with the same vanishing points to maintain a cohesive sense of depth.
Another common mistake is neglecting the weight and thickness of the components. A gramophone is a heavy, mechanical object, so the tonearm and the horn bracket should look sturdy rather than flimsy. Avoid drawing lines that are too thin or fragile. Instead, use bold, confident strokes to define the structural integrity of the metal parts. If the horn looks too flat, increase the shading on the underside to emphasize its volume and curvature.
Best shading techniques for beginners
Shading is the key to transforming a flat sketch into a convincing three-dimensional representation. Identify a single light source, such as a lamp to the upper left, and keep all shadows consistent with that direction. Use a soft graphite pencil for the mid-tones and a darker, harder pencil to define the deepest shadows under the base and inside the horn.
Follow these tips to improve your shading process:
- Use a blending stump or a piece of tissue to smooth out graphite transitions on the horn.
- Leave small, white highlights on the edges of the metal horn to simulate light reflection.
- Vary the pressure of your pencil to create a gradient, which helps define the rounded surfaces of the cylinders and cones.
- Always shade the underside of the platter to create a clear separation between the record and the wooden base.
By focusing on these light and shadow relationships, you will give your drawing the professional polish required to make the antique machine look tangible and authentic.
Key facts
- The horn of a gramophone is essentially a large, flared cone that amplifies sound vibrations.
- Start your sketch by drawing a simple horizontal line to act as the base for the wooden cabinet.
- A gramophone’s turntable is a perfect circle, but when viewed from an angle, it should be drawn as an ellipse.
- The tone arm is a hollow tube that connects the needle housing to the base of the machine.
- Always include the needle, a small sharp point at the end of the sound box, to provide mechanical authenticity.
- Use parallel lines to suggest the grooves on the record, which helps give the drawing a sense of texture.
The bottom line
Drawing a gramophone requires balancing geometric shapes like cylinders, ellipses, and cones to replicate its complex mechanical structure. By focusing on the relationship between the sound box, the tone arm, and the spinning disc, you create a convincing vintage aesthetic. Remember that perspective is key; use shading to define the cabinet’s mass and ensure the horn’s flared opening is drawn with depth to capture its iconic silhouette.
People also ask
What is the difference between a gramophone and a phonograph?
While often used interchangeably, the phonograph typically used cylinders, whereas the gramophone, patented by Emile Berliner in 1887, utilized flat discs. This distinction is vital for accurate historical representation in your drawings.
Should I draw the horn as a perfect circle or an oval?
Because the horn is a three-dimensional cone, you should draw it as an oval to account for perspective. A perfect circle will make the object appear flat and unrealistic.
How do I make the wooden cabinet look realistic?
Add wood grain patterns using light, wavy lines and ensure the corners are drawn with sharp, consistent angles. Using a darker shade on one side of the cabinet creates a shadow that suggests depth.
Why is the needle important in the illustration?
The needle is the focal point of the playback mechanism. Without it, the device lacks its functional purpose and appears incomplete to the viewer.
How can I show that the record is spinning?
You can draw subtle motion lines or slight blurs at the edges of the record. Alternatively, drawing the tone arm slightly off-center suggests the device is in the middle of playing music.
What is the most common mistake when drawing a gramophone?
The most frequent error is misaligning the tone arm with the record surface. Ensure the needle tip consistently touches the disc to maintain logical mechanical connection.
This answer was created with the help of AI research tools and reference sources. Spotted an error? Let us know — we correct mistakes quickly. See our editorial policy.