How do you draw horns?
Short answer
Drawing horns requires establishing a solid base on the skull before defining the curvature and texture. Start by sketching a cone or cylinder anchored to the cranium, then refine the silhouette with tapering lines. Use anatomical reference points to ensure the horns look integrated into the head rather than merely floating on top.
On this page
How to draw basic horn shapes
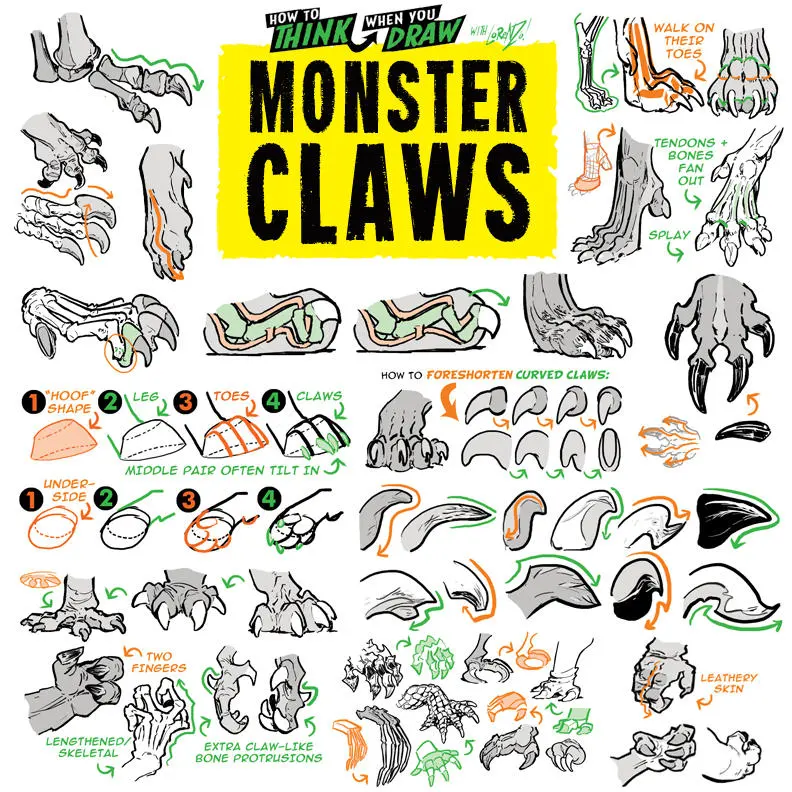
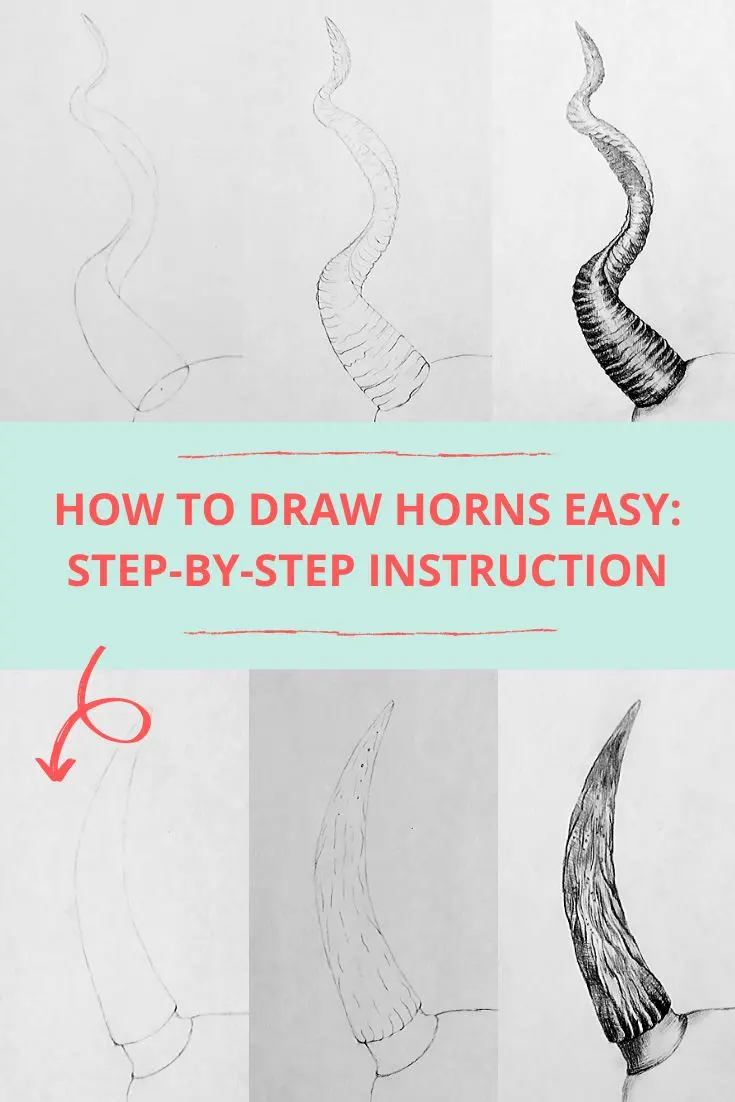
The foundation of any horn design is the primitive geometric shape. Most horns originate as a cone, a cylinder, or a flattened spiral. By visualizing these forms in three-dimensional space, you can determine the angle and direction before adding detail. Always start by drawing a light construction line that maps the intended path of the horn, which helps maintain consistency in length and curve.
To build the structure effectively, follow these steps:
- Sketch a circular or oval base where the horn attaches to the skull.
- Extend a centerline from the base to define the primary curve.
- Draw the outer silhouette, ensuring the horn tapers toward the tip.
- Add cross-contour lines along the length to emphasize the volume and twist.
By following this sequence, you ensure the horn possesses proper weight and perspective. Avoid drawing the horn as a flat, two-dimensional shape, as this makes the final illustration appear lifeless and disconnected from the anatomy of the head.
How to add texture and ridges
Horns are rarely perfectly smooth; they often feature ridges, grooves, or rings that indicate growth patterns. These textures follow the contour of the horn, meaning they should wrap around the surface rather than appearing as straight lines. When adding these details, use thinner lines near the edges of the horn to create a sense of roundness.
Consider these common textures found in nature:
- Horizontal rings: Common in bovines, these represent seasonal growth spurts.
- Vertical fluting: Seen in many antelope species, these provide structural strength.
- Bumpy or knobby surfaces: Typical of deer antlers or certain ram horns, these add rugged character.
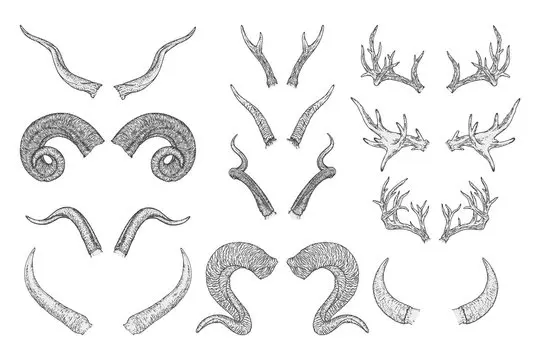
Varying the density of these textures helps define the species you are drawing. For example, a ram’s horn requires tight, repetitive rings that spiral tightly, whereas a bull’s horn is often smoother with subtle, elongated ridges. Always ensure the texture lines curve with the form, as flat lines will break the illusion of depth.
How to place horns on the skull
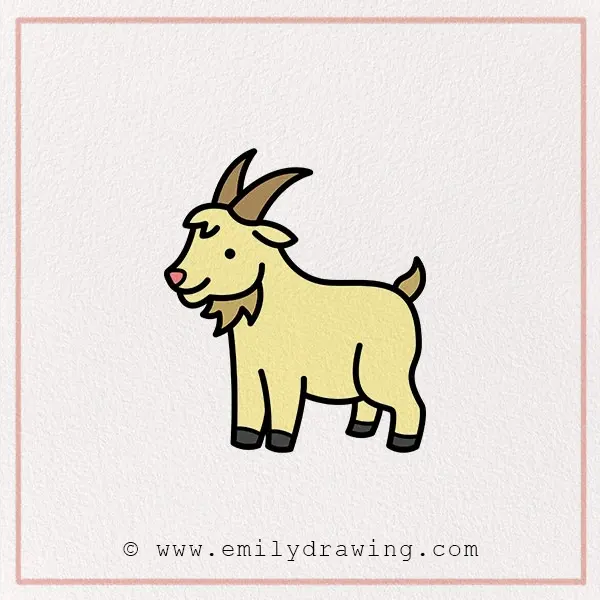
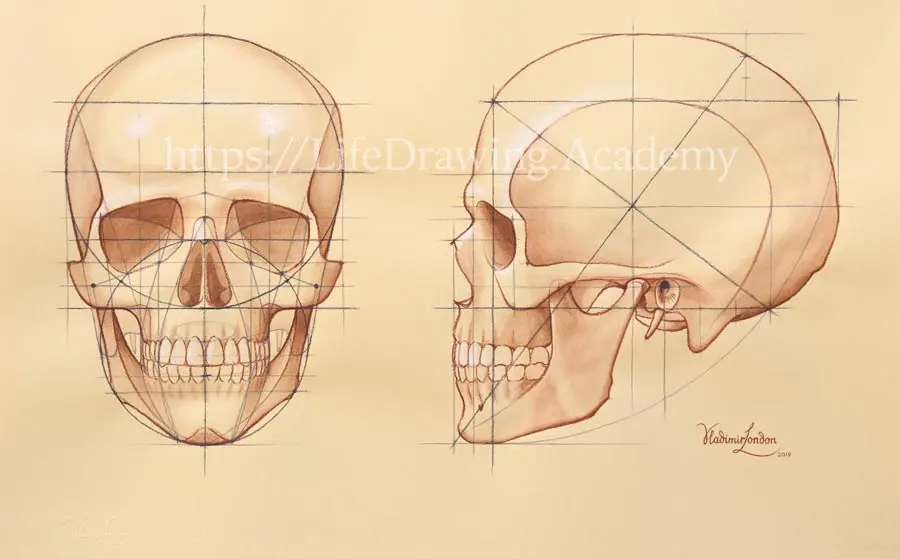
The placement of horns is dictated by the anatomy of the skull, specifically the frontal bone. If the horns are placed too far forward or too far back, the character will look unnatural or unbalanced. Study the skulls of real animals, such as goats, rams, or oxen, to understand how the base of the horn integrates with the eye sockets and ears.
When positioning, look for these anatomical markers:
- The horn base should sit slightly behind the eye line.
- The angle of the horn usually follows the slope of the forehead.
- Symmetry is vital for most realistic creatures, so use guide lines to match the height and width of both horns simultaneously.
If you are designing a fantasy creature, you can deviate from these rules, but maintaining a logical connection to the skull bone remains essential. A horn that appears to be growing directly out of the middle of the forehead without a thickened base will lack credibility.
Common mistakes when drawing horns
One of the most frequent errors is neglecting the thickness of the base. Beginners often draw horns that look like thin, paper-like protrusions, which fails to convey the weight and strength of real keratin or bone. Another common mistake is failing to account for the "twist" or "turn" of the horn. If a horn curves, the silhouette must change to reflect that change in direction.
Avoid these pitfalls to improve your work:
- Drawing the horn as a flat triangle instead of a three-dimensional cone.
- Forgetting to shade the underside of the horn, which flattens the drawing.
- Ignoring the taper, resulting in a horn that looks like a blunt stick.
- Making both horns identical in a way that ignores perspective, which makes the head look like a cardboard cutout.
By correcting these issues, you add professional polish to your drawings. Always check your work by flipping the canvas or looking at it in a mirror to spot lopsided proportions.
Best shading techniques for horns
Shading is the final step in bringing your horns to life. Because horns are often made of keratin, they have a specific sheen. Use a light source to determine where the highlights should fall, typically along the top edge or the ridges. Keep your shadows deep and contrast them with sharp highlights to imply a hard, polished surface.
To achieve a realistic finish, utilize these techniques:
- Use cross-hatching to follow the curve of the horn, which reinforces the three-dimensional form.
- Leave a thin, white highlight along the edge to simulate the reflective quality of keratin.
- Soften the transition between light and shadow on smooth horns, but keep transitions sharp for ridged or weathered horns.
By mastering these shading methods, you can distinguish between different materials, such as the matte, porous texture of a deer antler versus the smooth, glossy surface of a mountain goat's horn. Consistent application of these light and shadow principles will ensure your drawings appear grounded and authentic.
Key facts
- Horns are permanent bony outgrowths covered in a sheath of keratin, unlike antlers which are shed annually.
- To draw a horn, start with a curved cone shape, as most horns follow a logarithmic spiral pattern.
- Always attach the base of the horn to the skull's frontal bone, not the top of the head.
- Use horizontal ridges or rings near the base to add texture and indicate the horn's growth stages.
- Vary the thickness of the line weight to show depth, using thicker lines for the silhouette and thinner lines for internal details.
- Avoid drawing horns as perfectly smooth shapes; adding slight irregularities or chips makes them appear more organic and realistic.
The bottom line
Drawing convincing horns requires understanding their anatomical connection to the skull and their natural, organic growth patterns. By starting with a basic cone shape, anchoring it firmly to the frontal bone, and adding textural details like growth rings, you can create a realistic appearance. Focus on the curve and volume to ensure the horns look like a natural extension of the creature's head rather than an afterthought.
People also ask
How do you make horns look symmetrical?
Draw a center line down the middle of the skull to act as a guide. Use this line to measure the distance and angle of each horn base, ensuring they mirror each other before adding volume.
What is the difference between drawing horns and antlers?
Horns are solid, unbranched, and permanent, while antlers are branched, bony structures that grow and fall off annually. When drawing antlers, focus on creating complex, tree-like branching patterns rather than smooth, curved cones.
How do I shade a horn to make it look 3D?
Identify your light source and apply shadows to the side opposite the light. Use cross-hatching or smooth gradients to wrap the shading around the curve of the horn, emphasizing its cylindrical volume.
Should horns be placed on the forehead or the sides of the head?
Anatomically, horns typically emerge from the frontal bones located on the upper part of the skull. Placing them too low on the sides of the head can make the creature look unnatural or structurally unsound.
How do I draw the texture of a horn?
Use short, irregular horizontal lines to suggest ridges or growth rings. Vary the spacing between these rings to create a sense of age and wear, which adds visual interest to the surface.
Can I draw horns that twist or spiral?
Yes, many animals like rams or kudu have spiraling horns. To draw these, map out the spiral path with a light wireframe line first, then build the volume of the horn around that path to maintain correct perspective.
This answer was created with the help of AI research tools and reference sources. Spotted an error? Let us know — we correct mistakes quickly. See our editorial policy.