How do you draw a person lying down?
Short answer
Drawing a person lying down requires mastering foreshortening, where body parts closer to the viewer appear larger than those further away. Begin by establishing a central axis line to dictate the pose's flow. Use simple geometric shapes to map out the torso and limbs, adjusting their proportions to account for the perspective shift.
On this page
How to map the body for a reclining pose
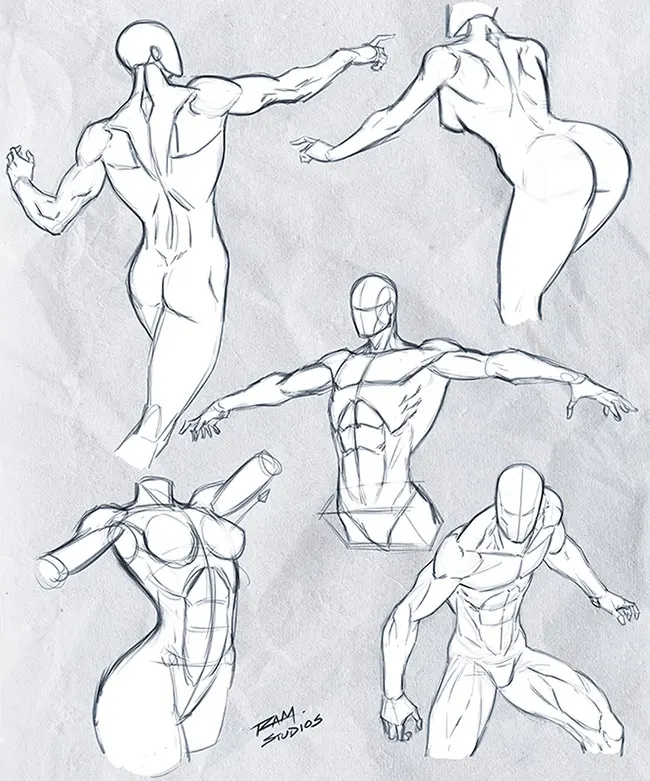
The foundation of a reclining figure drawing relies on the "line of action," which represents the spine's curve. When a person lies down, the spine is rarely perfectly straight; it often follows a gentle arc depending on whether they are on their side, back, or stomach. Start by sketching this line lightly to establish the overall gesture. Once the spine is set, place the head and pelvis as two distinct masses. These masses provide the anchor points for the rest of the anatomy.
To ensure the proportions remain accurate, use the length of the head as your primary unit of measurement. A standard adult figure is typically seven to eight heads tall, but when lying down, this length is visually compressed. Use these steps to build your initial sketch:
- Draw the line of action representing the spine's orientation.
- Sketch an oval for the head and a larger, blockier shape for the rib cage.
- Add a smaller, tilted shape for the pelvis, noting how it tilts relative to the rib cage.
- Connect these shapes with lines that indicate the shoulders and hips, ensuring they are not perfectly parallel to the horizon.
How to use foreshortening effectively
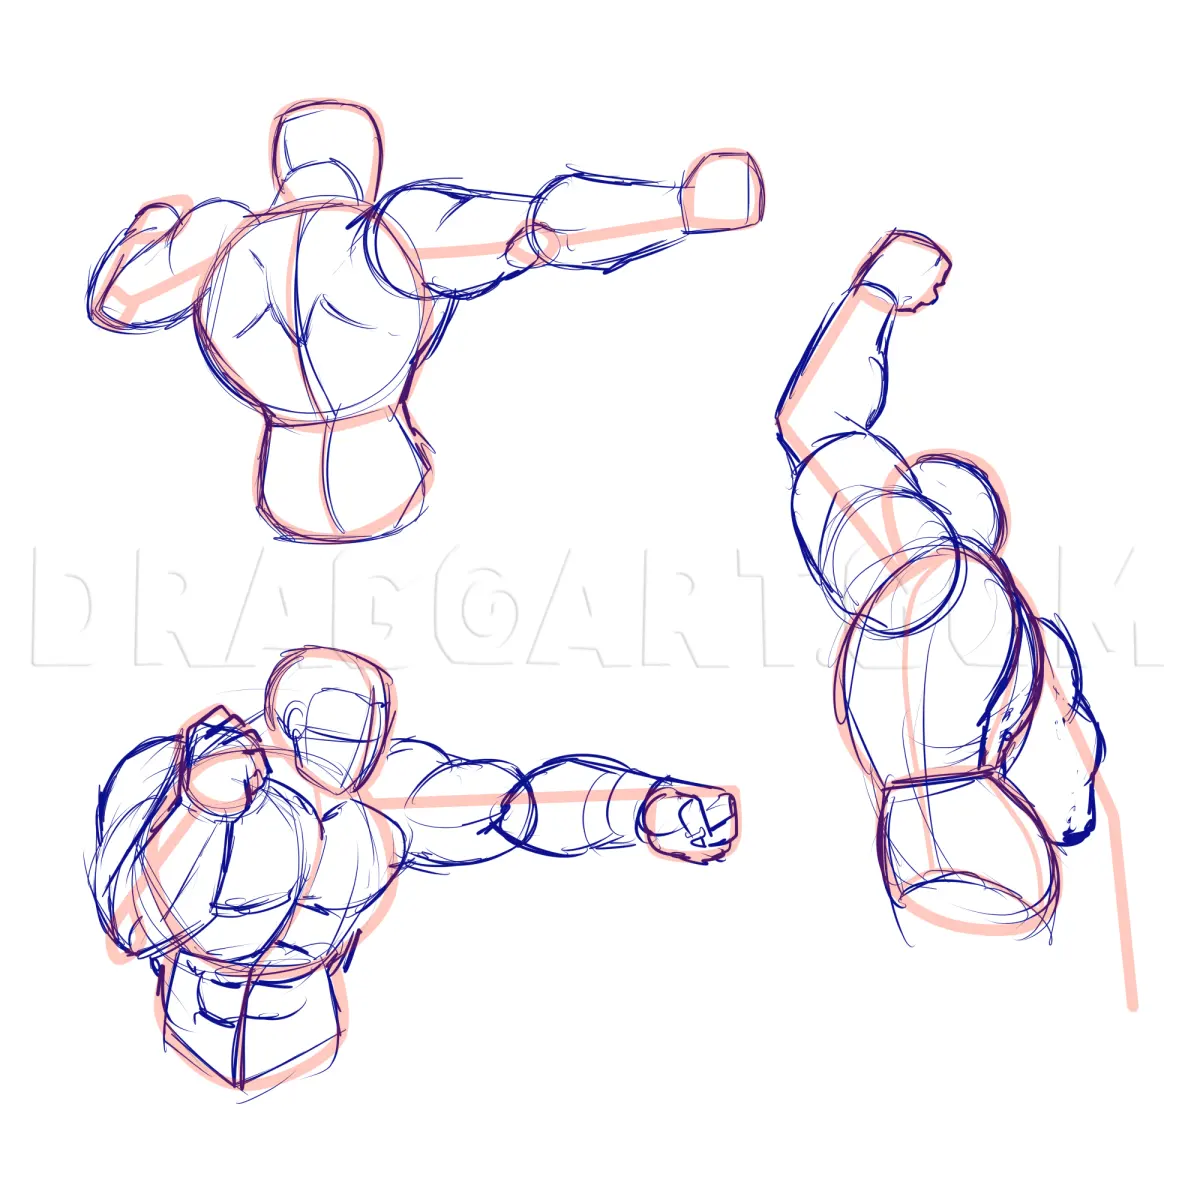
Foreshortening is the visual phenomenon where an object appears shorter or compressed because it is angled toward or away from the viewer. When a person lies with their feet pointed toward the artist, the legs will appear significantly shorter than they actually are. To master this, imagine the body parts as simple cylinders or boxes occupying three-dimensional space. By drawing these shapes overlapping one another, you create the illusion of depth that is essential for a convincing reclining pose.
Avoid the "flattening" trap by remembering that parts of the body closer to the viewer must overlap parts further away. If a knee is closer to the eye, it should be drawn larger and potentially obscure the lower leg or foot. Use these techniques to maintain spatial awareness:
- Draw ellipses at the joints to represent the cross-sections of limbs.
- Keep the lines of the closer limbs thicker and darker than those in the background.
- Use atmospheric perspective by slightly softening the edges of the parts furthest from the viewer.
- Constantly check your reference to see how much of the torso is hidden by the limbs.
Best tools for beginners to practice anatomy
For those starting out, graphite pencils ranging from HB to 4B are ideal. HB pencils are perfect for the initial light gesture lines, while 4B pencils allow for rich, dark shading that defines the form. A kneaded eraser is also essential because it can be molded to lift small amounts of graphite, allowing you to refine highlights on the skin where light hits the highest points of the body. Smooth, medium-weight paper provides a surface that is easy to erase on while still holding enough texture for shading.
When practicing, focus on the "envelope" method rather than individual muscles. This involves drawing the outer silhouette of the figure first, capturing the overall shape before adding internal details. This prevents the common mistake of getting lost in small anatomical features like fingers or toes before the structural integrity of the pose is secured. By focusing on the silhouette, you learn to see the figure as a single, cohesive unit rather than a collection of disconnected parts.
Why perspective distortion happens in reclining figures
Perspective distortion occurs because the human eye perceives objects based on their distance from the lens. When a subject lies down, the distance between the head and the feet is usually the longest part of the composition. If you draw the legs at their true anatomical length, they will look unnaturally long, a mistake known as "stretching." To correct this, you must consciously shrink the distant limbs and enlarge the foreground elements to match the viewer's point of view.
This effect is most pronounced when the camera or eye level is very low. If you are drawing from a high angle, the foreshortening is less extreme, but the body mass will appear more compact. Always identify your "horizon line" before you begin. If the subject is lying on a bed or floor, that surface acts as the ground plane. Keeping the ground plane in mind helps you anchor the body, preventing the figure from appearing as though it is floating in space.
Common mistakes when drawing reclining poses
A frequent error is failing to account for the weight of the body pressing against the surface. When someone lies on a mattress, the soft tissues of the back, hips, and shoulders compress, causing the body to sink slightly. If you draw the figure as if it is hovering above the ground, the pose will look stiff and unnatural. Additionally, beginners often ignore the way clothing folds or skin bunches up at the joints when the body is in a resting, bent position.
To avoid these pitfalls, observe how gravity affects the figure:
- Ensure the weight-bearing parts of the body are flattened against the supporting surface.
- Pay attention to the "tangents," where lines of the body accidentally touch the edge of the paper or other lines, creating a confusing visual.
- Avoid drawing perfectly symmetrical limbs; even in a resting position, one side of the body is usually slightly more relaxed or rotated than the other.
- Use cross-contour lines to wrap around the form of the torso and limbs, which reinforces the three-dimensional volume of the reclining subject.
Key facts
- Use a horizontal line as your primary guide for the spine and head placement to establish the body's orientation.
- The head, rib cage, and pelvis are the three main masses; draw them as tilted ovals to reflect how they shift when lying down.
- Perspective causes the limbs closest to the viewer to appear larger and shorter, a technique known as foreshortening.
- Gravity pulls the skin and muscles downward, so draw soft tissues like cheeks or arms slightly sagging toward the floor.
- Always sketch the horizon or the surface the person is resting on to provide context for the body's weight and pressure.
- Avoid drawing a perfectly straight spine, as the body naturally curves to accommodate the surface it is resting upon.
The bottom line
Drawing a person lying down requires shifting your focus from vertical balance to how gravity affects mass. By treating the head, chest, and hips as distinct, weighted shapes, you can effectively convey the pressure of the body against a surface. Master the use of foreshortening to create depth, and always prioritize natural, relaxed curves over rigid lines to achieve a convincing and realistic reclining pose.
People also ask
How do I make the person look like they are actually resting on a surface?
Draw the body parts that touch the surface, such as the back, glutes, or heels, as if they are slightly flattened. This indicates that the weight of the body is pressing into the mattress or floor.
What is the biggest mistake beginners make when drawing a reclining figure?
Beginners often draw the person as if they are standing upright but simply rotated ninety degrees. You must adjust the joints and shoulders to account for the way gravity pulls the body into the surface.
How do I handle foreshortening when a leg is pointing toward the viewer?
Focus on drawing overlapping shapes rather than long, continuous lines. By overlapping the knee over the thigh, you create a sense of depth that makes the limb appear to extend toward the eye.
Should I draw the head differently when someone is lying down?
Yes, consider the angle of the neck. When lying flat, the neck is often compressed or hidden by the chin, so avoid drawing a long, exposed neck unless the person is propped up on pillows.
How do I show that someone is comfortable rather than stiff?
Use loose, flowing lines for the limbs and ensure the hands are relaxed rather than clenched. A slight bend in the elbows and knees suggests a natural, restful state.
Is it better to start with the skeleton or the outline?
Start with a simple "mannequin" skeleton using basic shapes for the joints. This ensures your proportions are correct before you commit to the final skin and clothing details.
This answer was created with the help of AI research tools and reference sources. Spotted an error? Let us know — we correct mistakes quickly. See our editorial policy.