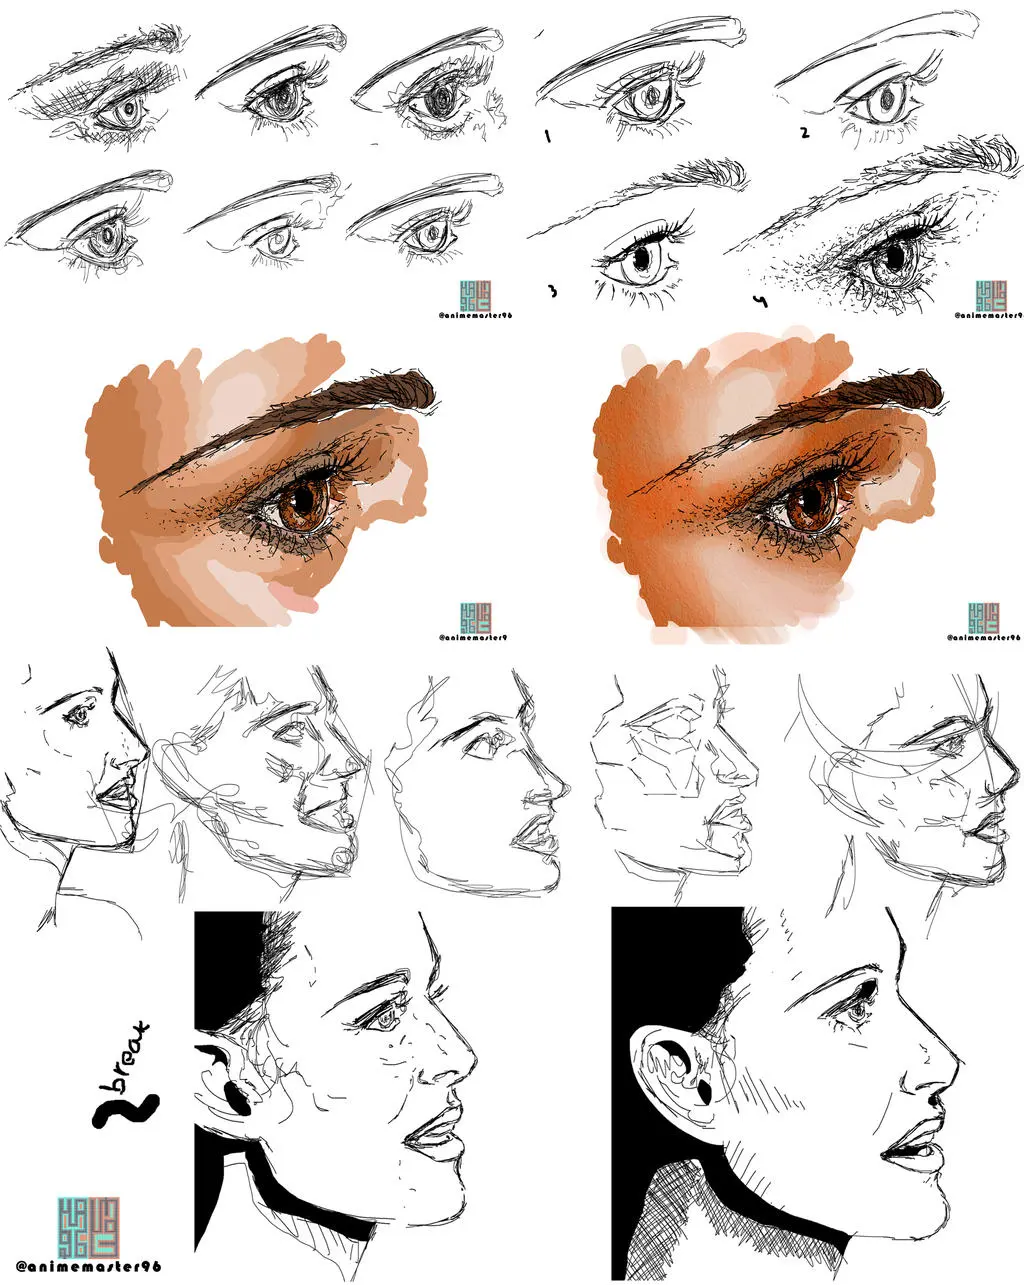
How do you paint an eye with acrylic paint?
Short answer
Painting a realistic eye with acrylics involves layering colors from dark to light. Begin by sketching the almond shape, then block in the pupil and iris. Use thin, translucent glazes to build depth in the iris, add a sharp white highlight for the reflection, and finish with subtle skin tones around the lids.
On this page
How to prepare the eye shape
Before applying paint, focus on the underlying anatomy. An eye is not a flat circle but a sphere set into a socket, which means it requires careful shading to look three-dimensional. Start by sketching a light almond shape on your canvas, ensuring the top lid overlaps the iris slightly. This overlap is crucial for a natural, relaxed expression.
Use a light graphite pencil or a diluted neutral acrylic wash to map out the placement of the pupil in the center. Avoid drawing a perfect circle for the iris, as the perspective often requires an oval shape depending on the angle of the face. Keep your lines faint so they do not show through the subsequent layers of paint.
- Draw the upper lid with a slight arch to indicate the fold of the skin.
- Mark the tear duct as a small, triangular shape at the inner corner.
- Keep the lower lid line softer than the upper lid to suggest depth.
Best tools for painting eyes
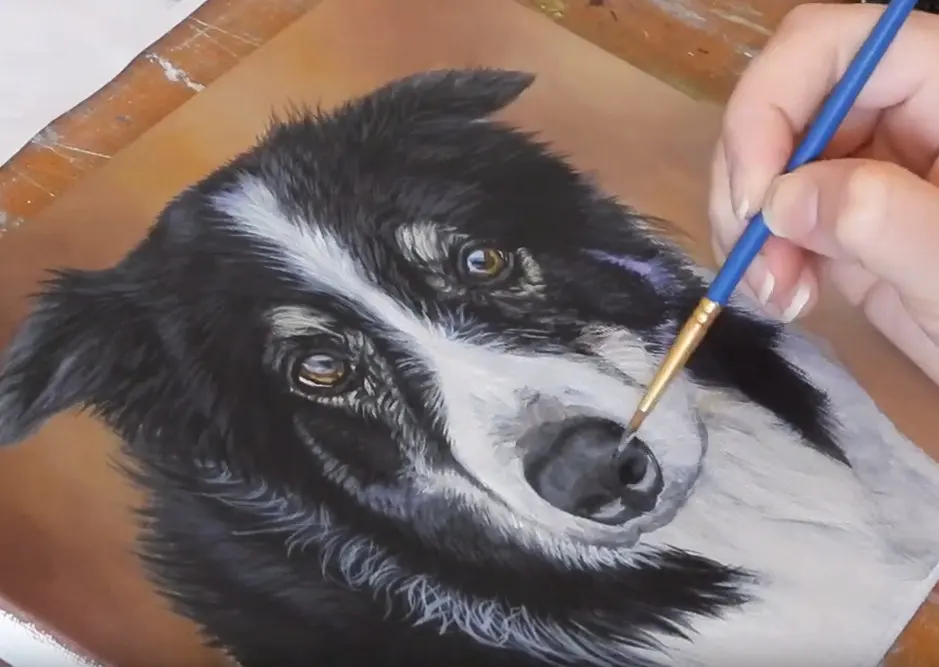
High-quality synthetic brushes are essential for acrylic painting because they hold their shape and allow for precise detail. You will need at least three sizes: a small round brush for the pupil and fine lines, a medium flat brush for blocking in the iris, and a soft filbert brush for blending the skin tones. Avoid using cheap, stiff bristles that leave visible drag marks in the paint.
For your palette, choose heavy-body acrylics for solid coverage and fluid acrylics for glazing. A stay-wet palette is highly recommended, as it prevents the fast-drying paint from hardening before you finish your session. Keep a water container nearby to rinse brushes frequently, as dried acrylic can ruin the delicate tips of your brushes within minutes.
- Titanium White for the sclera and highlights.
- Burnt Umber or Ivory Black for the pupil and lash lines.
- A mix of blues, greens, or browns for the iris.
- Flesh tones or ochre for the surrounding eyelid area.
How to layer the iris and pupil
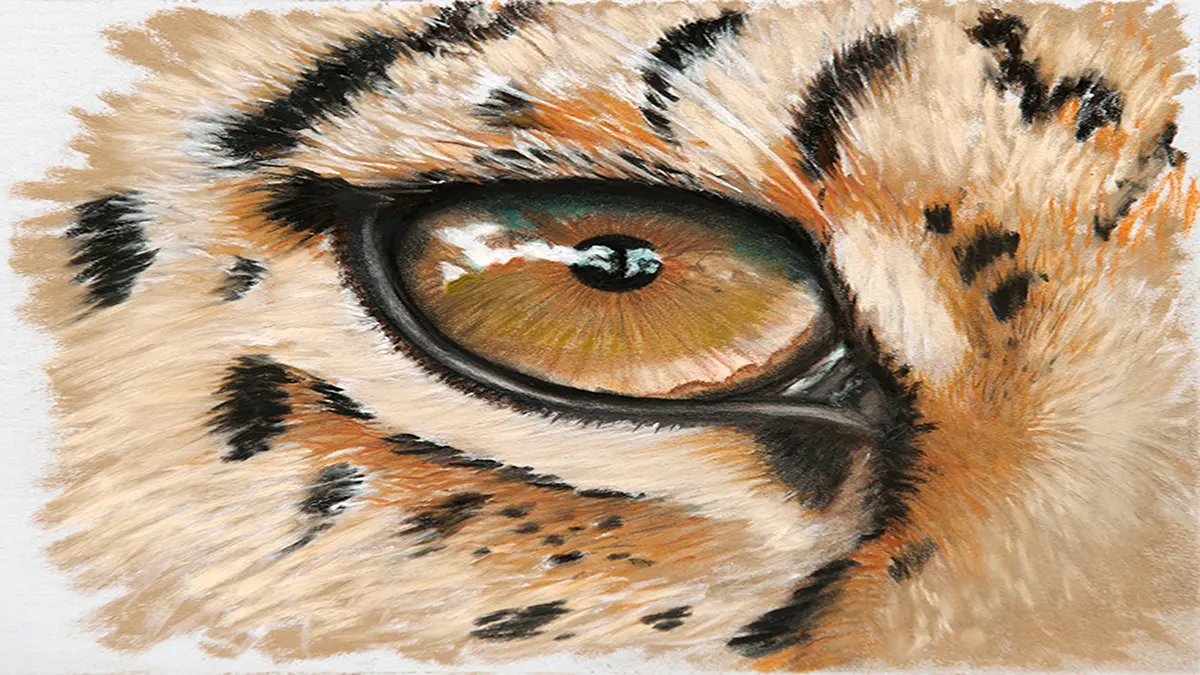
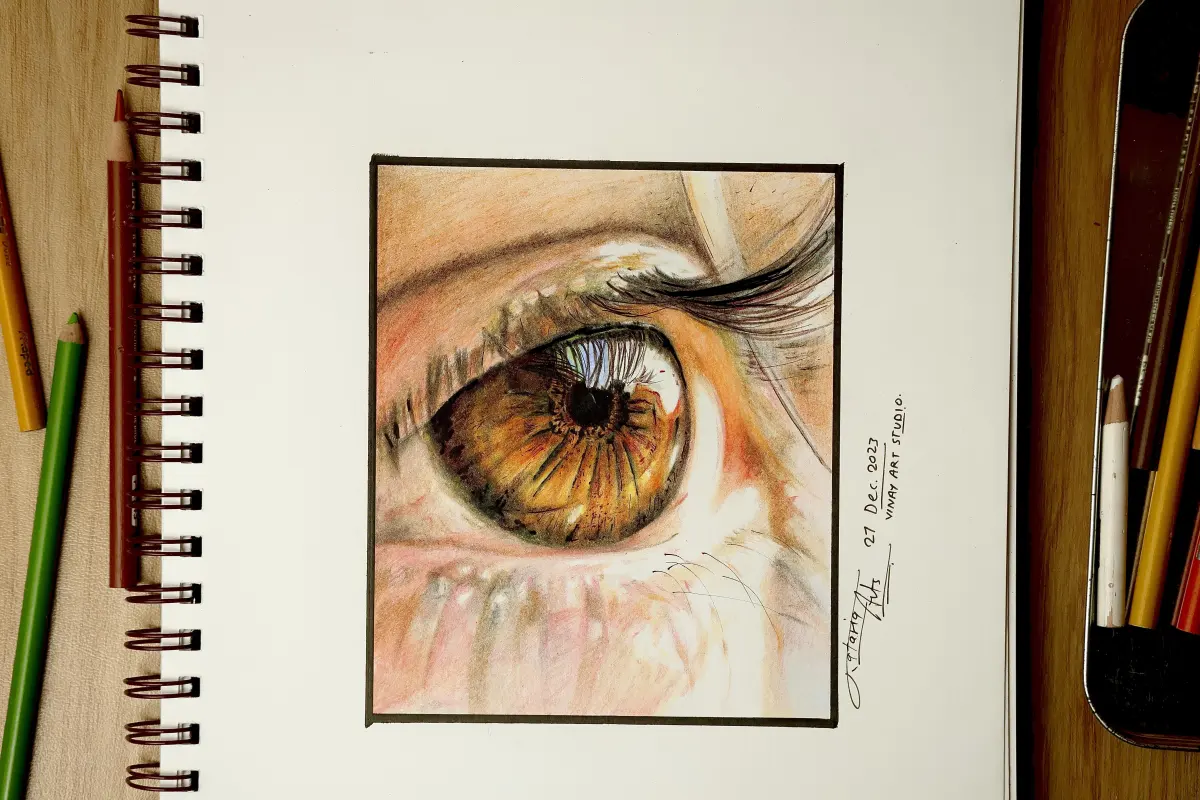
The iris is the focal point of the eye and requires multiple layers to achieve a realistic, glass-like appearance. Begin by painting the entire iris with a base color, then use a darker shade to create a ring around the outer edge, known as the limbal ring. This dark border is essential for making the eye look sharp and defined.
Once the base is dry, use a fine-tipped brush to paint thin, radiating lines from the pupil toward the outer edge of the iris. These lines should vary in length and color to mimic the organic texture of the eye. After these lines are set, apply a thin, transparent glaze of a lighter color to unify the details and add a sense of depth.
- Paint the pupil using a deep, solid black.
- Add radiating streaks of color using a lighter shade of your iris color.
- Apply a final glaze to soften the transition between the pupil and the iris.
Common mistakes when painting eyes
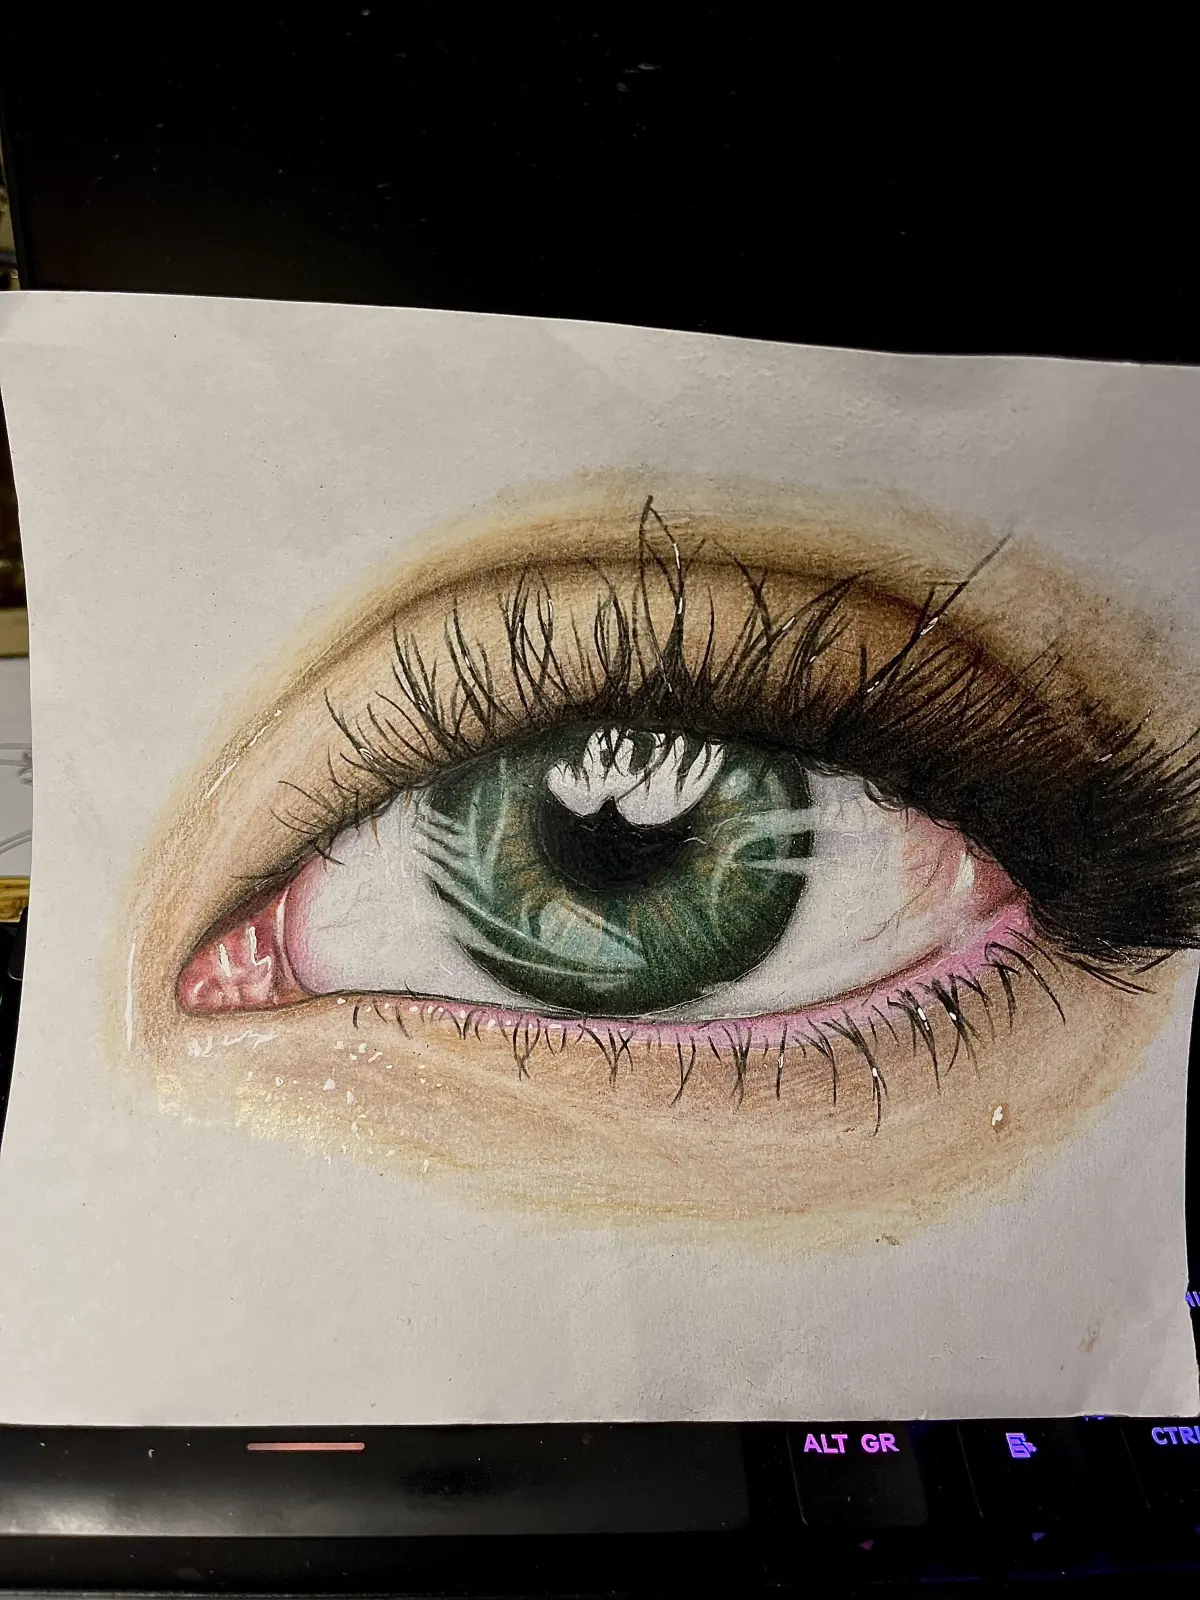
One of the most frequent errors is painting the sclera, or the white of the eye, a flat, pure white. In reality, the eyeball is a sphere that sits in a shadow, so the whites should be painted with subtle grays, blues, or pinks to show volume. If you use pure white, the eye will appear flat and cartoonish rather than realistic.
Another common mistake is neglecting the highlight. A single, sharp white dot placed at the edge of the pupil and the iris is what gives the eye its "sparkle" and life. Without this reflection, the eye looks dead. Ensure the highlight is placed consistently with your light source; if the light comes from the top right, the highlight should appear in that same relative position on both eyes.
- Using pure white for the sclera, which makes the eye look like a ping-pong ball.
- Forgetting to paint the thickness of the lower eyelid, which adds necessary realism.
- Making the eyelashes too uniform, which looks unnatural compared to their organic, clumping nature.
How to finish the skin and lashes
The final stage involves blending the skin around the eye to integrate it into the face. Use a soft filbert brush to apply glazes of skin-toned paint, working from the darkest shadows near the lash line to the lighter areas on the brow bone. Keep the edges soft where the skin meets the eyeball to prevent the eye from looking like it was pasted onto the surface.
Finally, add the eyelashes using a thin liner brush and fluid paint. Avoid drawing individual lashes as straight, uniform spikes. Instead, paint them in small, curved groups that follow the natural contour of the eyelid. Start the stroke at the base of the lid and flick the brush upward and outward with a quick motion to create a tapered, realistic tip. Once these final details are in place, your eye will have the depth and character required for a professional-looking portrait.
Key facts
- Use a small, round synthetic brush, size 0 or 2, to maintain control over fine details.
- Always paint the white of the eye with a slightly grey or blue tint rather than pure white to add depth.
- The pupil should be perfectly centered and dark, typically using a mix of black and a touch of burnt umber.
- Leave a tiny, crisp white dot of unpainted canvas or pure white paint to serve as the primary light reflection.
- Acrylic paint dries rapidly, so keep a spray bottle of water nearby to keep your palette moist.
- Apply thin, translucent layers of color, known as glazes, to build the iris's complex patterns and gradients.
The bottom line
Painting a realistic eye requires patience and a focus on layering. By starting with neutral base tones and gradually adding depth through translucent glazes, you can capture the complex anatomy of the iris and pupil. Remember to prioritize the placement of the highlight, as this single detail provides the eye with its essential spark of life. Practice consistent brush control to maintain clean, sharp edges throughout.
People also ask
How do I make an eye look realistic?
Focus on the transition between the iris and the sclera by adding a soft shadow cast by the upper eyelid. Incorporate subtle variations in color within the iris rather than using a single flat shade.
Should I paint the eyelashes individually?
Avoid painting every single lash, as this often makes the eye look cartoonish. Instead, focus on the overall shape and density of the lash line, adding only a few distinct lashes at the outer corners.
Why does my acrylic paint look streaky?
Streaks occur when the paint is too thick or the brush is too dry. Thin your paint with a small amount of water or an acrylic glazing medium to ensure smooth, even application.
How do I fix a mistake in the eye shape?
Because acrylics are opaque, you can simply wait for the paint to dry and paint over the error with the skin tone of the surrounding area. This allows you to refine the eyelid shape as many times as necessary.
What colors are best for a natural-looking iris?
Use a base color like blue, green, or brown, and mix in complementary colors to create depth. Adding a ring of darker color around the outer edge of the iris helps define the eye's structure.
How do I paint the wet look of the waterline?
Add a thin, sharp line of light color along the lower inner rim of the eye. This highlight mimics the reflection of moisture and makes the eye appear hydrated and alive.
This answer was created with the help of AI research tools and reference sources. Spotted an error? Let us know — we correct mistakes quickly. See our editorial policy.