How do you color eyes with colored pencils?
Short answer
Coloring realistic eyes with colored pencils requires layering light to dark pigments, starting with a base coat and building depth through circular strokes. By focusing on the iris pattern, pupil reflection, and subtle skin tones around the lash line, you create dimension. Patience and sharp pencils are essential for achieving professional, lifelike results.
On this page
How to layer colors for realistic eyes
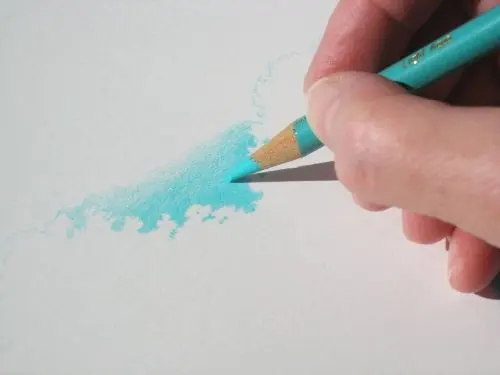
Achieving a lifelike eye requires a methodical approach to layering. Begin by applying a light base color across the entire iris, using a gentle hand to avoid filling the paper’s "tooth" too quickly. This base acts as a foundation for the more intense pigments that follow. As you progress, introduce mid-tones to define the structure of the iris, ensuring you leave small, uncolored gaps for highlights. These white spaces are crucial for capturing the reflective quality of the cornea, which provides the eye with its characteristic sparkle and depth.
Once the base is established, transition to darker shades to add complexity. Use a sharp pencil to draw radial lines extending from the pupil outward toward the edge of the iris. These lines should vary in length and thickness to mimic the organic patterns found in human eyes. Gradually increase the pressure as you move toward the outer rim, creating a natural transition from the lighter center to the darker limbal ring. This technique builds a sense of volume and realism that prevents the eye from appearing flat or cartoonish.
Best colored pencils for beginners
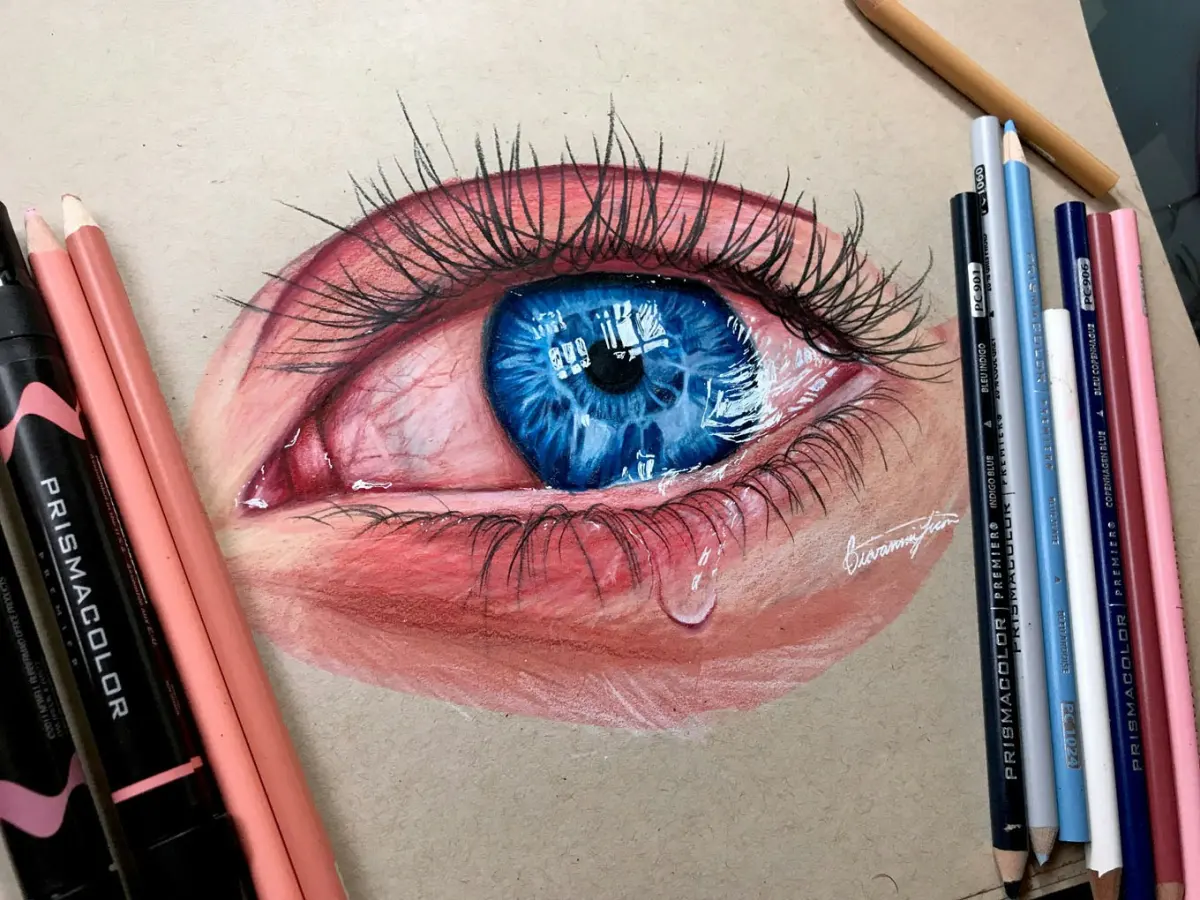
For those new to the medium, wax-based pencils like Prismacolor Premier are highly recommended due to their soft, buttery texture. These pencils blend easily, allowing beginners to mix colors directly on the paper without needing advanced solvent techniques. Alternatively, oil-based pencils such as Faber-Castell Polychromos offer a harder lead that holds a sharp point longer. This precision is ideal for drawing the fine, intricate details of the iris and individual eyelashes. Both types provide high pigment concentration, which is necessary for vibrant results.
When selecting a palette, prioritize a range of values rather than just a variety of hues. A basic set should include:
- A pure white pencil for highlights and blending.
- Several shades of grey for depth and shading.
- A dark brown or black for the pupil and limbal ring.
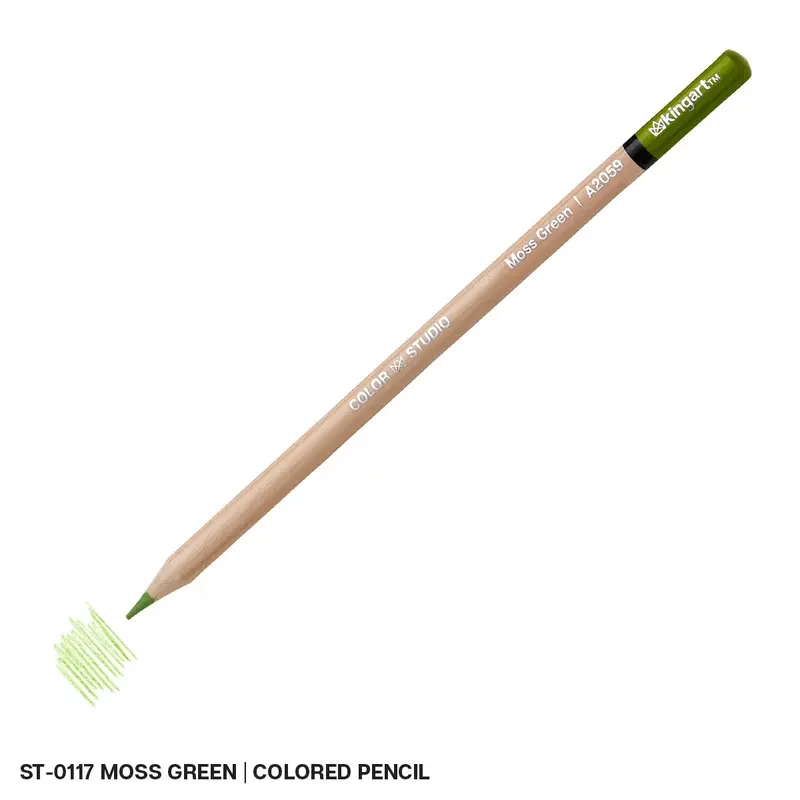
- Two or three variations of the primary iris color.
- A neutral flesh tone for the surrounding skin and tear duct.
How to draw iris patterns and details
The iris is rarely a single solid color; it is a complex web of fibers and textures. To capture this, avoid coloring in a simple, uniform motion. Instead, use short, flicking strokes that follow the circular geometry of the eye. Start near the pupil and flick outward, then switch to the outer edge and flick inward. This creates the irregular, sunburst effect found in nature. If you find the colors are not blending well, use a colorless blender pencil to soften the transitions between the different shades you have applied.
- Map out the pupil and the main highlight with a light graphite pencil first.
- Apply the lightest iris color in a circular motion, leaving the highlight area completely blank.
- Use a darker shade to draw radial lines from the pupil.
- Darken the outer edge of the iris to create a distinct border.
- Add subtle flecks of a contrasting color to mimic natural variations in the iris.
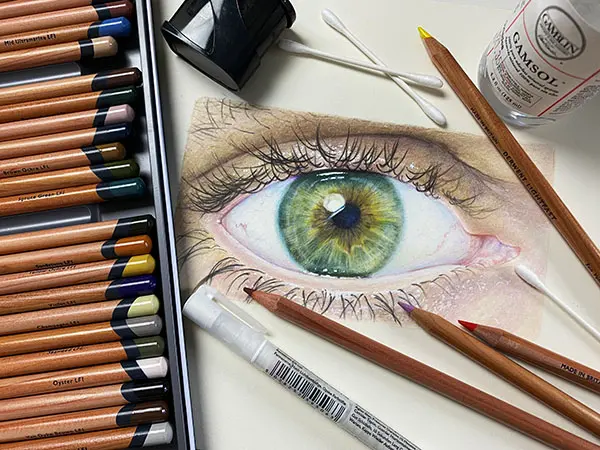
Why eyes look flat or unnatural
The most common reason for an eye appearing flat is the lack of a proper highlight or a lack of contrast between the pupil and the iris. The pupil must be the darkest element in the drawing, often requiring a deep, saturated black. If the pupil is not dark enough, the eye will lose its focal point. Similarly, if the highlight is too small or improperly placed, the eye will lose its "wet" appearance. Always ensure the highlight is placed consistently with the light source to maintain structural integrity.
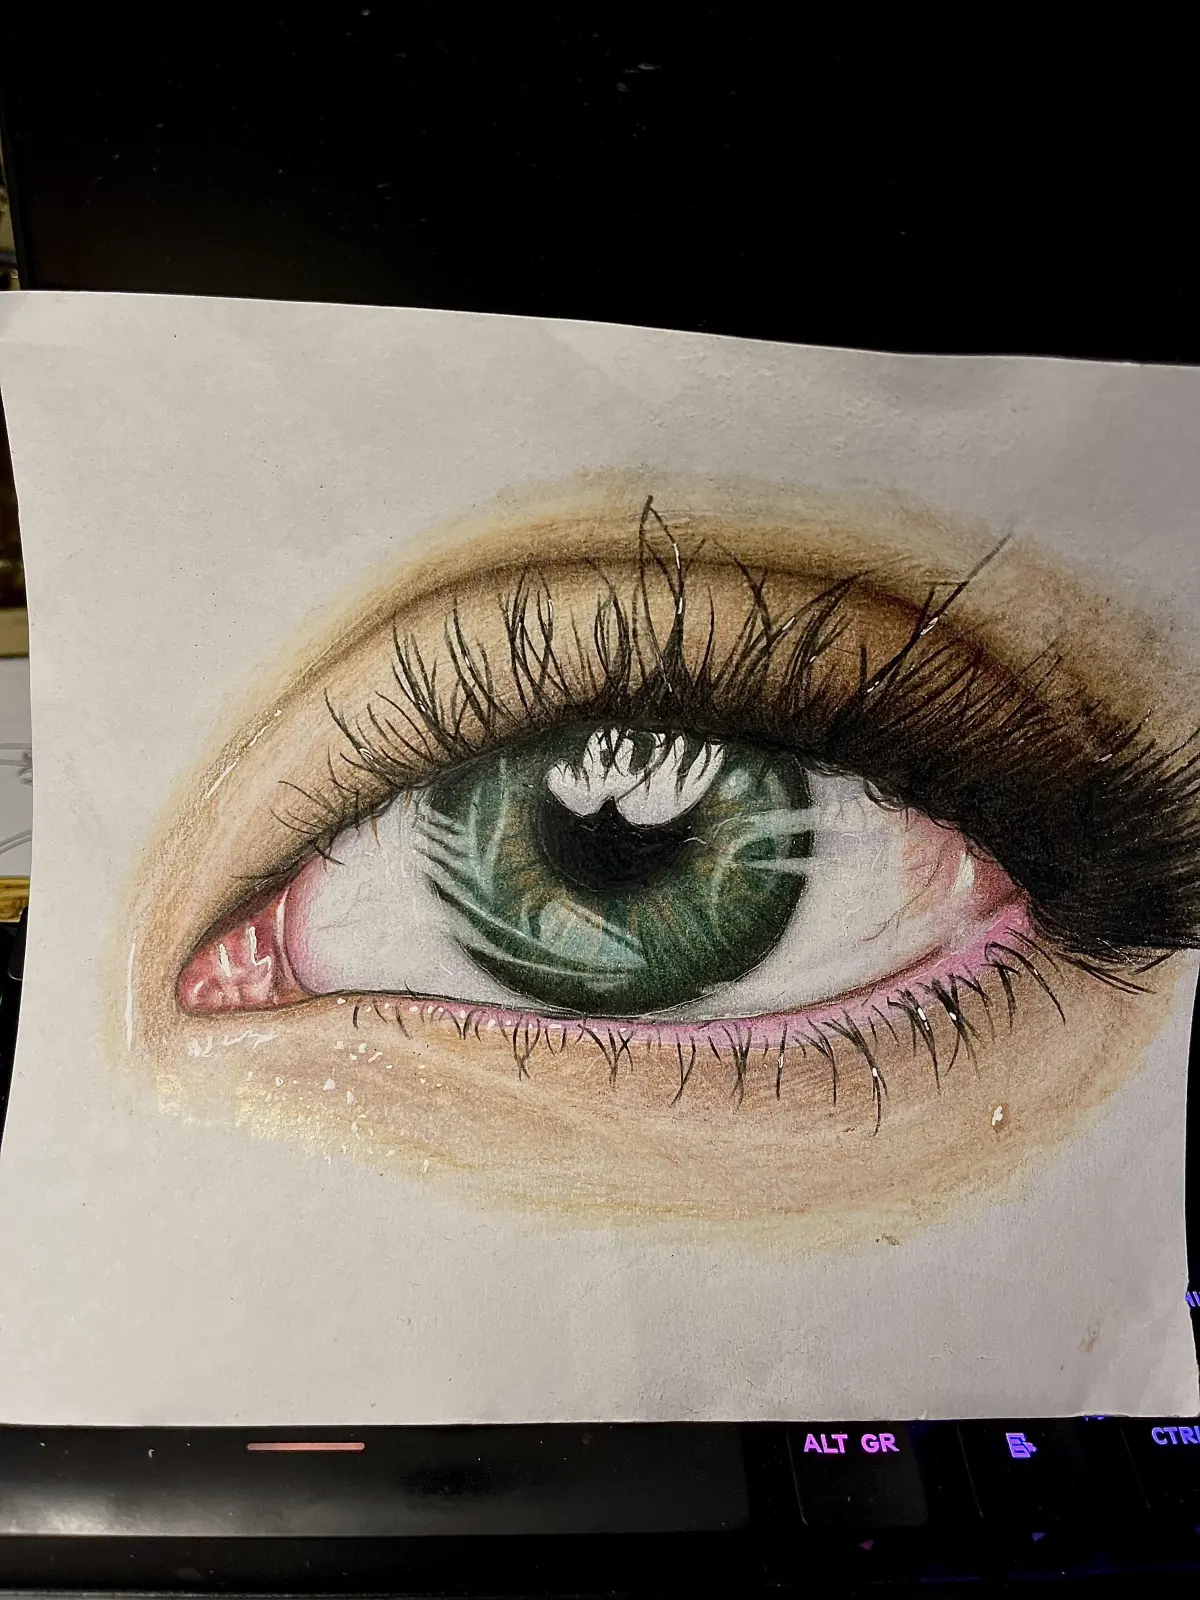
Another frequent issue is the neglect of the surrounding anatomy. The eyelid, tear duct, and waterline provide the context for the eye itself. If these areas are left uncolored or lack shading, the eye will look like a sticker placed on top of the face. Use soft pinks, peaches, and browns to shade the skin around the eye, and remember to include a subtle shadow cast by the upper eyelid onto the eyeball. This shadow is essential for creating the illusion of a spherical shape sitting within the socket.
Common mistakes when coloring eyes
One major mistake is pressing too hard during the initial stages. Heavy pressure crushes the paper fibers, making it impossible to add further layers or achieve smooth transitions. Always start with light, buildable layers and gradually increase pressure only when you are satisfied with the color depth. Another mistake is failing to sharpen pencils frequently. A dull pencil point results in muddy colors and thick, imprecise lines that obscure the delicate detail work required for a realistic iris. Keep a sharpener nearby and use it whenever the tip loses its point.
Finally, many beginners overlook the importance of the limbal ring, which is the dark circle separating the iris from the white of the eye. Neglecting this ring makes the eye look disconnected from the head. Similarly, do not use pure white for the sclera, or the white part of the eye. The sclera should be shaded with light greys and cool blues to suggest that it is a curved, shadowed surface. By paying attention to these subtle shadows and structural boundaries, you will significantly improve the overall quality of your eye drawings.
Key facts
- Use high-quality, wax-based pencils to ensure smooth blending and rich color saturation.
- Always start with the lightest colors before layering darker tones to maintain luminosity.
- Use a sharp point to define the pupil and create fine details in the iris.
- Leave a small, uncolored white space to represent the reflection of light for a realistic look.
- Use a colorless blender pencil to soften transitions between colors without adding new pigment.
- Apply light pressure in circular motions to avoid creating waxy buildup or "bloom" on the paper.
The bottom line
Achieving realistic eyes with colored pencils requires a methodical approach centered on layering and detail. By starting with light base tones and gradually building depth with darker pigments, you create a sense of three-dimensional volume. Remember to preserve white highlights for realism and use a sharp point for intricate iris textures. With patience and careful observation of light, you can master this challenging artistic subject.
People also ask
Why do my colored pencil drawings look grainy?
Graininess often occurs when using paper with too much texture or applying too little pressure. Use a smooth, hot-press paper and apply multiple light layers to fill the paper's tooth completely.
How do I make the pupil look perfectly round?
Use a compass or a circular stencil to lightly trace the pupil before coloring. Once the outline is set, use a sharp black pencil to fill it in, ensuring the edges remain crisp.
Should I use a white pencil to create highlights?
A white pencil is useful for softening colors, but it rarely creates a bright enough highlight on its own. It is more effective to preserve the white of the paper from the beginning.
What is the best way to blend colors in an iris?
Layer colors in a radial pattern, moving from the pupil outward toward the edge of the iris. This mimics the natural fiber structure of the human eye.
How do I prevent colors from getting muddy?
Avoid mixing too many complementary colors, such as red and green, in the same area. Stick to a limited palette of three or four harmonious shades for a clean appearance.
Can I use solvents to blend colored pencils?
Yes, odorless mineral spirits can dissolve wax-based binders to create a painterly, smooth effect. Apply a small amount with a brush, but ensure your paper is thick enough to handle the moisture.
This answer was created with the help of AI research tools and reference sources. Spotted an error? Let us know — we correct mistakes quickly. See our editorial policy.