How do you draw eyes looking to the side?
Short answer
To draw eyes looking to the side, shift the iris and pupil toward the corner of the eye while maintaining the circular shape of the iris. Ensure the visible white space—the sclera—is narrower on the side the eye is facing and wider on the opposite side to create a natural gaze.
On this page
How to position the iris for a side gaze
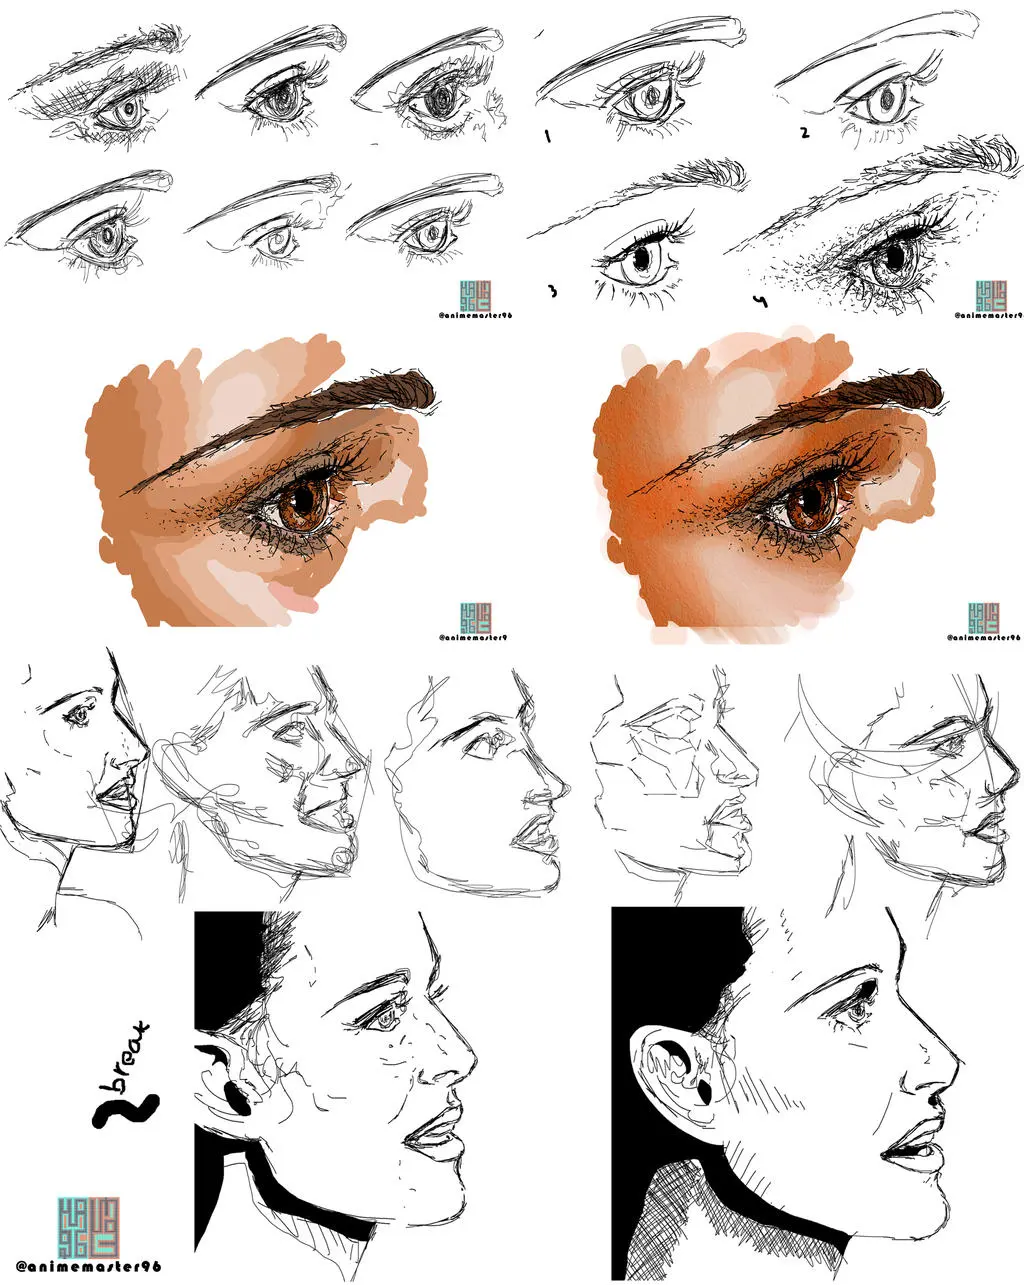
The key to a realistic side-looking eye is understanding the curvature of the eyeball. Because the eye is a sphere set within the socket, the iris does not move in a flat plane; it follows the arc of the globe. When an eye looks to the side, the iris should overlap the edge of the eyelid slightly, creating a foreshortened oval shape rather than a perfect circle. This overlap is crucial because it mimics the physical reality of the eye turning within the orbit.
To execute this correctly, follow these steps:
- Draw the horizontal guideline for the eye shape, ensuring it is slightly curved to represent the eyelid.
- Sketch the iris as an oval shape touching the inner or outer corner of the eye.
- Place the pupil in the center of that oval, ensuring it also follows the same perspective.
- Leave a small gap between the iris and the eyelid if the gaze is not extreme, or let it touch the corner for a sharp look.
Why the sclera shape matters
The sclera, or the white of the eye, provides the context for where a character is looking. When the eye shifts, the amount of visible sclera changes proportionally. If the eye looks to the right, the sclera on the left side of the iris becomes significantly wider, while the space on the right side shrinks. Maintaining this balance is essential for avoiding the "uncanny" look where the eyes appear to be staring in two different directions.
Beginners often make the mistake of drawing the iris too small or too far away from the corners. If the iris is centered in the middle of the sclera, the eye will look forward regardless of how you tilt the eyelids. Always ensure the iris is anchored to the side of the eye shape. If you are drawing both eyes, remember that they must move in tandem. If the left eye looks right, the right eye must also look right, or the character will appear cross-eyed or suffering from a medical condition.
How to draw eyelids for side-looking eyes
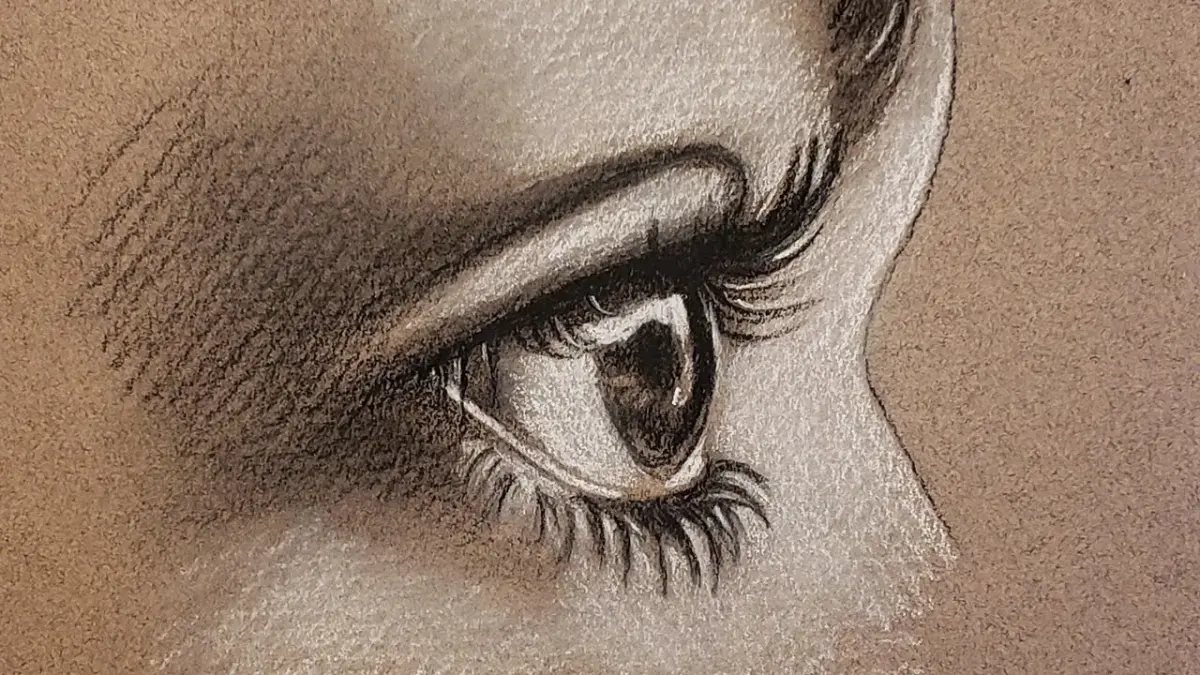
Eyelids are not just simple lines; they are thick, muscular structures that wrap around the eyeball. When the eye looks to the side, the tension in the eyelids changes. The upper eyelid typically follows the curve of the iris, creating a slight arch over the top of the pupil. If the gaze is intense or directed sharply to the side, the upper eyelid may dip slightly lower over the iris, adding depth and emotion to the expression.
Consider these anatomical details when sketching the lids:
- The upper eyelid should be thicker than the lower one to account for the lash line.
- The corners of the eye, known as the canthi, remain relatively fixed even when the iris moves.
- The lower lid remains mostly static but may rise slightly if the character is squinting or focusing hard on an object to the side.
- Use subtle shading on the sclera near the corners to suggest the roundness of the eyeball, which helps ground the iris in 3D space.
Common mistakes when drawing side eyes
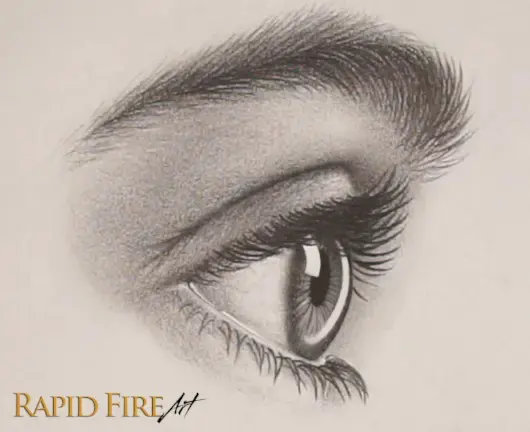
One of the most frequent errors is the "floating iris" effect. This happens when the artist draws the iris in the middle of the eye shape but tries to imply a side gaze by only moving the pupil. This creates a disjointed look that lacks anatomical accuracy. Another common mistake is ignoring the perspective of the eye shape itself. If the head is turned to the side, the eye closest to the viewer should appear wider, while the eye further away should be foreshortened and narrower.
Avoid these pitfalls to improve your accuracy:
- Do not draw the iris as a perfect circle when the eye is turned, as perspective dictates it must be an ellipse.
- Avoid making the sclera perfectly white; adding a light gray or blue tint helps imply volume and shadow.
- Do not forget to align the gaze of both eyes; draw a light horizontal line across the face to ensure both pupils sit at the same height.
- Ensure the tear duct is visible, as it acts as a permanent anchor point for the inner corner of the eye.
Best practice for practicing eye movement
Mastering the side gaze requires repetitive practice of the eye's mechanics. Start by drawing a series of spheres and marking the center line on each. By rotating these spheres on paper, you can practice placing the iris at different angles. This exercise helps you visualize the eyeball as a 3D object rather than a flat shape. Once you are comfortable with the sphere, overlay the eyelids and refine the shapes to match a human face.
Consistency is achieved through observation. Look at your own eyes in a mirror while shifting your gaze from left to right. Notice how the iris touches the corners and how the eyelids move in response. Take photos of your eyes at different angles to use as a reference guide. By studying the relationship between the iris, the sclera, and the eyelids, you will develop an intuitive understanding of how to portray any direction of gaze effectively. Consistent practice will eventually make these complex movements feel like second nature.
Key facts
- The eye is a sphere, so the iris must overlap the edge of the eyelid when looking to the side.
- Draw the iris as an oval rather than a perfect circle to account for the perspective shift.
- The sclera, or white of the eye, should be significantly wider on the side toward which the pupil is directed.
- Always align the top and bottom edges of the iris with the upper and lower eyelids to maintain anatomical accuracy.
- Avoid drawing the iris touching both the inner and outer corners of the eye simultaneously, as this creates a "staring" effect.
- Keep the upper eyelid line slightly curved over the iris to show the weight and structure of the lid.
The bottom line
To draw eyes looking to the side, visualize the eyeball as a sphere rotating within the socket. By flattening the iris into an oval and adjusting the surrounding white space, you create a realistic sense of depth and direction. Always ensure the iris maintains contact with the upper and lower lids to avoid a floating appearance, resulting in a natural, focused gaze for your subjects.
People also ask
How do I make the eyes look natural instead of surprised?
Ensure the upper eyelid covers a small portion of the top of the iris. If you show the entire circle of the iris, the eye will appear wide and startled.
Should the pupil be centered in the iris?
Yes, the pupil should remain in the center of the iris regardless of where the eye is looking. Moving the pupil off-center makes the eye look distorted or physically damaged.
How do I draw the tear duct when looking to the side?
When the eye looks toward the nose, the tear duct becomes more prominent and visible. When looking away from the nose, the tear duct may be partially obscured by the curve of the eyeball.
Does the shape of the eye change when looking sideways?
The overall shape of the eye socket remains the same, but the visible portion of the eyeball shifts. The curve of the cornea causes the iris to appear as a foreshortened oval rather than a circle.
How much white space should be visible?
The amount of white space should be asymmetrical. There should be very little space between the iris and the corner the eye is looking toward, and a larger gap on the opposite side.
Is it easier to draw eyes looking left or right?
Most artists find it easier to draw eyes looking in their dominant hand's direction due to muscle memory. Practice both directions equally to ensure consistency in your character designs.
This answer was created with the help of AI research tools and reference sources. Spotted an error? Let us know — we correct mistakes quickly. See our editorial policy.