How do you draw a gemstone step by step?
Short answer
Drawing a gemstone requires establishing a geometric silhouette, defining internal facets, and applying high-contrast shading to mimic light refraction. By creating a clear distinction between the crown and pavilion, you can use varying pencil pressures to simulate the brilliant sparkle and deep shadows characteristic of polished, crystalline mineral structures.
On this page
How to draw a gemstone step by step
To begin, you must establish the basic geometric shape of the stone. Most faceted gems, such as diamonds or sapphires, rely on a symmetrical outline based on a central vertical axis. Use a hard-lead pencil (2H) to lightly sketch the silhouette, ensuring the top portion—the crown—is wider than the bottom portion—the pavilion. A common starting point is the table, which is the flat top surface of the gem, represented as a small hexagon or octagon.
Once the outline is secure, map out the internal facets by drawing lines from the edges of the table to the outer corners of the stone. These lines create the triangular and trapezoidal planes that define the gem's structure. Keep your lines straight and precise, as the illusion of a hard, crystalline surface depends entirely on the accuracy of these geometric shapes.
- Draw a central vertical line to serve as your axis of symmetry.
- Sketch a small hexagon at the top to represent the table.
- Extend lines from the hexagon corners to the outer perimeter to form the crown.
- Draw a point at the bottom for the culet and connect it to the crown’s corners to create the pavilion.
Best tools for drawing gemstones
Achieving the look of a realistic gemstone requires a range of graphite pencils to manage the extreme contrast between light and dark areas. A 2H pencil is ideal for initial, faint structural lines that can be easily erased or blended. For the deepest shadows, use a 4B or 6B pencil, which provides the dense, dark pigment necessary to simulate the internal depth of the stone. A high-quality kneaded eraser is also essential for lifting highlights and creating sharp, clean edges.
Smooth-surfaced drawing paper, such as Bristol board, is superior to textured paper for this task. The lack of "tooth" allows for seamless blending and crisp, sharp lines that mimic the polished surface of a gem. You may also find a blending stump or a piece of chamois useful for smoothing out transitions between shades. When working on the final details, keep a sharpener nearby, as dull pencils will result in muddy, imprecise edges that ruin the illusion of hardness.
Why gemstones look shiny in drawings
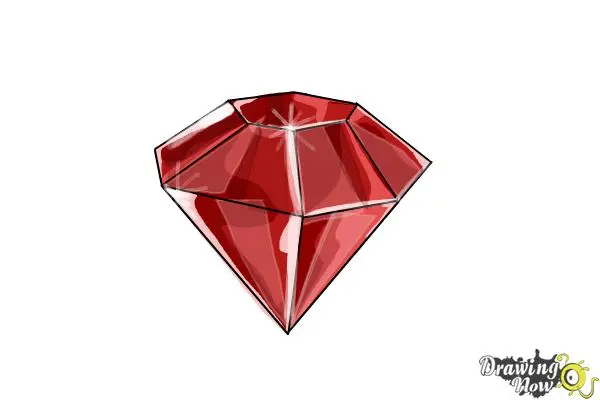
The brilliance of a gemstone is defined by its ability to reflect and refract light. In a drawing, this is achieved through high-contrast shading, known as chiaroscuro. You must identify the "light source" before you begin shading; the facets facing the light should remain very light or white, while those facing away should be rendered in deep, saturated tones. This stark difference between the brightest highlights and the darkest shadows is what convinces the eye that the object is reflective.
Refraction also creates "ghost" shapes and secondary reflections within the stone. As light travels through the transparent material, it bounces off internal facets, creating complex patterns of light and dark. To replicate this, do not shade every facet with a uniform tone. Instead, vary the intensity of your shading across adjacent facets to create a sense of depth. Remember that the pavilion, or the pointed bottom of the stone, will almost always contain the darkest shadows due to the way light is trapped inside.
Common mistakes when drawing gemstones
A frequent error is drawing all facets with the same level of darkness. If every shape has the same value, the gem will look flat and cartoonish rather than three-dimensional. Always ensure that the facets on the side opposite the light source are significantly darker than the rest. Another common mistake is using rounded or shaky lines. Gemstones are defined by sharp, clean edges; if your lines are imprecise, the stone will appear soft, like a piece of fabric or a bubble, rather than a solid mineral.
- Neglecting to leave white space for highlights, which are crucial for the "sparkle" effect.
- Using a heavy hand for the initial structural lines, making them impossible to blend or erase.
- Failing to maintain symmetry, which causes the stone to look lopsided and unnatural.
- Over-blending the internal facets, which destroys the sharp, angular look of the cut stone.
- Ignoring the internal "culet," which is the small point at the base that anchors the perspective.
How to add color to gemstone drawings
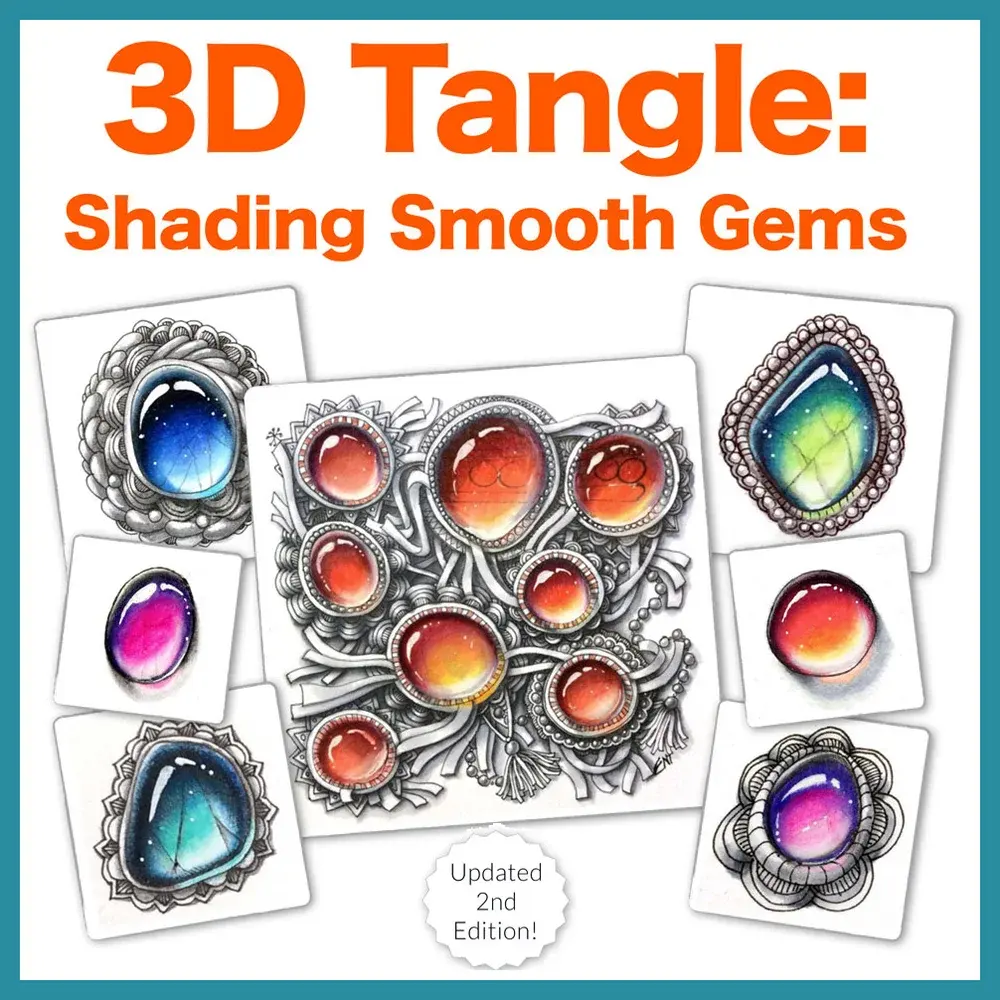
Once you have mastered the graphite technique, you can introduce color using colored pencils or markers. Start by applying a light base layer of your chosen color, such as a deep blue for a sapphire or a bright red for a ruby. Use a lighter shade of the same color for the facets catching the light, and a darker, more saturated version for the shadowed areas. To enhance the realism, incorporate complementary colors into the shadows to give them more depth and visual interest.
For the most realistic results, use a layering technique. Apply the color in multiple thin coats rather than one heavy layer, which allows you to build up the intensity gradually. Use a white gel pen or a high-quality white pencil to add final, sharp highlights on the edges of the facets. These small, bright marks represent the "glint" of light hitting the polished surface, which is the final step in bringing your gemstone drawing to life and completing the illusion of a precious, sparkling jewel.
Key facts
- Facets are flat surfaces on a gemstone that reflect light to create sparkle.
- The "table" is the large, flat top facet of a gemstone, typically shaped as a hexagon or octagon.
- Symmetry is essential; use a ruler or guide lines to ensure opposite sides match perfectly.
- Use a sharp HB or 2H pencil to keep lines thin and precise for clean edges.
- Shading should vary in intensity to create the illusion of depth and light refraction.
- Always leave a small white space on the top facets to represent the highlight or "glint."
The bottom line
Drawing a gemstone requires a focus on geometric precision and light management. By establishing a symmetrical outline and mapping out the facets, you create a structure that mimics real-world crystallography. Remember that the brilliance of a gem comes from the contrast between dark, deep shadows and bright, sharp highlights. With patience and steady lines, you can transform a simple shape into a convincing, sparkling jewel.
People also ask
What is the best shape for a beginner to draw?
A round brilliant cut is the most common, but a simple emerald cut—a rectangle with clipped corners—is easier to draw because it uses straight lines.
How do I make the gemstone look three-dimensional?
Use a gradient of shading. Keep the top facets lighter and make the bottom facets significantly darker to indicate the stone's depth.
Should I use color when drawing gemstones?
Start with graphite to master the structure and light placement. Once you understand the geometry, use colored pencils with high contrast to mimic the transparency of gems.
How do I draw the "culet" of a stone?
The culet is the tiny point at the very bottom of the stone. Draw it as a small square or dot exactly in the center of your bottom facet pattern.
Why do my drawings look flat?
You likely lack enough contrast between the darkest and lightest areas. Ensure your shadows are deep and your highlights remain crisp white.
Can I use a compass to draw the outline?
Yes, a compass is perfect for creating a symmetrical circular outline for a round brilliant cut. It ensures the perimeter is perfectly balanced before you add the internal facets.
This answer was created with the help of AI research tools and reference sources. Spotted an error? Let us know — we correct mistakes quickly. See our editorial policy.