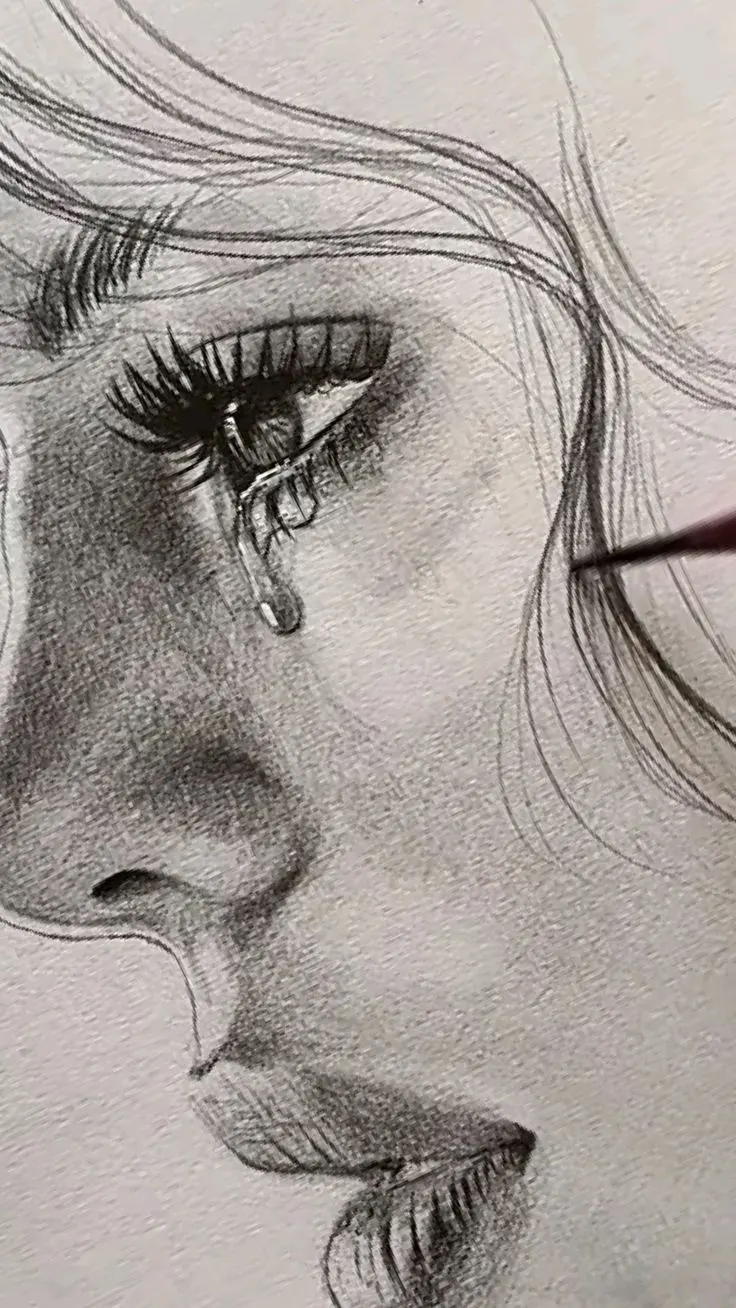
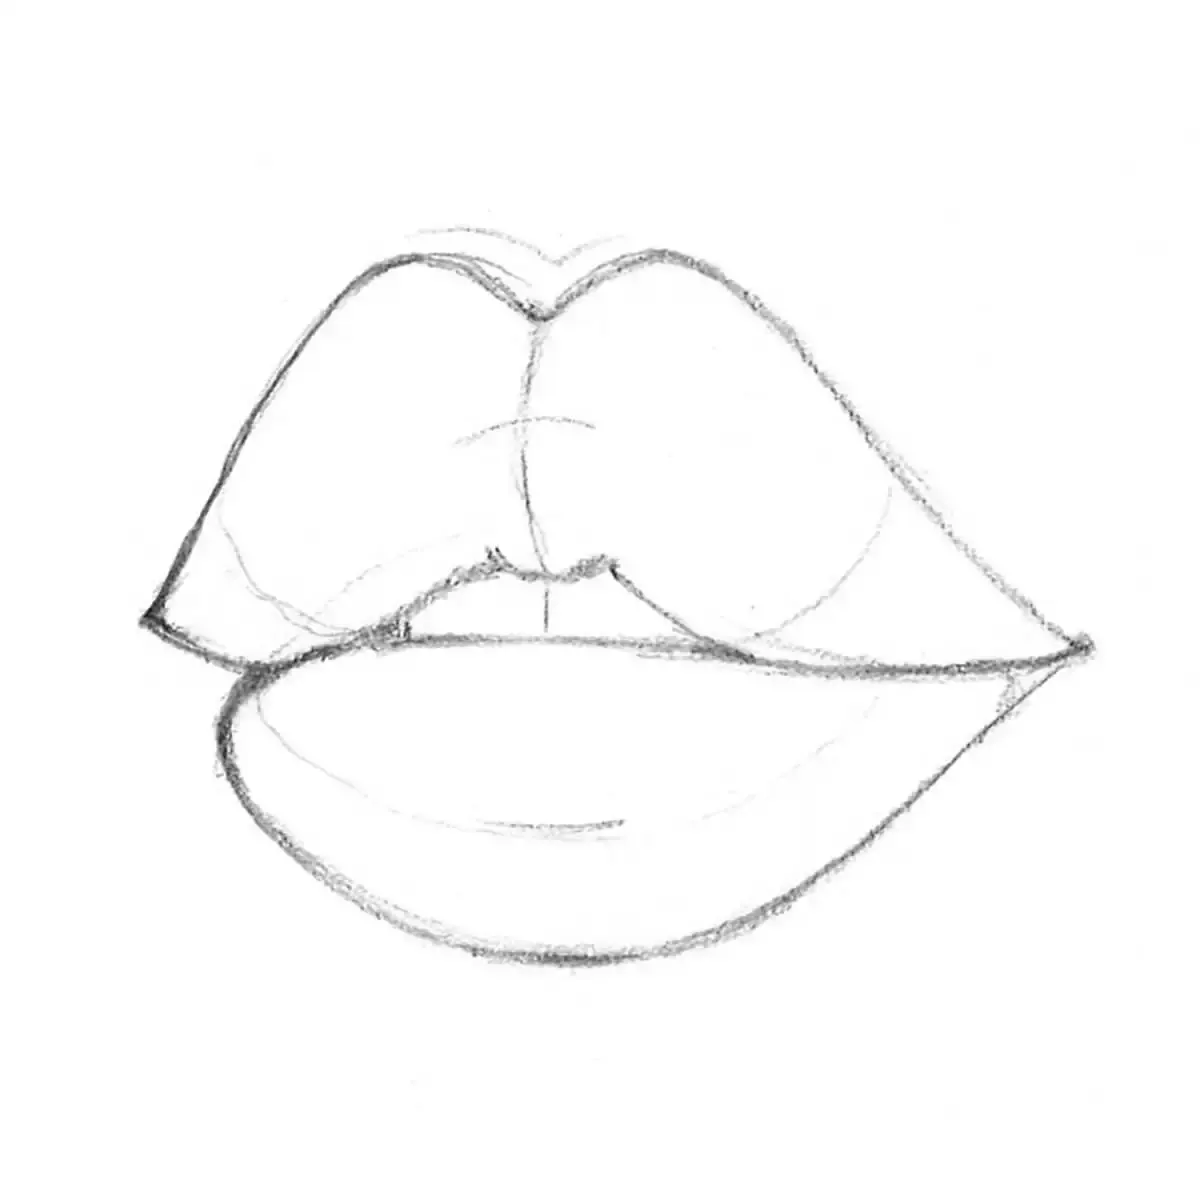
How do you draw a mouth open?
Short answer
Drawing an open mouth requires understanding the skull's anatomy, specifically how the jaw rotates downward on a hinge. By anchoring the upper teeth to the skull and moving only the lower jaw, you create realistic movement. Focus on the negative space between the lips and the subtle curvature of the teeth.
On this page
How to structure the jaw mechanics
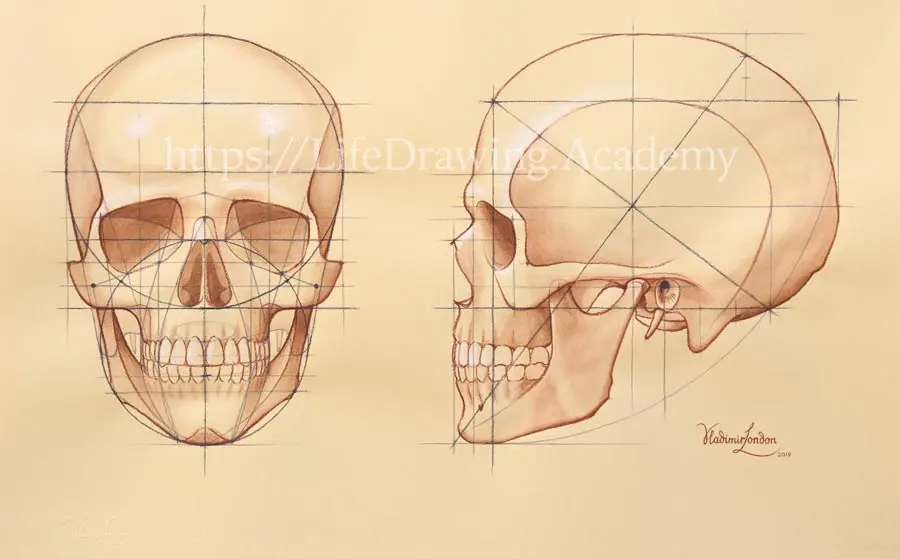
The human jaw is not a floating object; it is a mandible that hinges at the temporomandibular joint, located just in front of the ear. When drawing an open mouth, you must visualize the skull's fixed upper portion and the moving lower jaw. Beginners often make the mistake of stretching the entire face downward, which results in an elongated, unnatural appearance. Instead, imagine a pivot point near the ear and rotate the lower jaw away from the upper teeth.
To maintain accurate proportions, follow these foundational steps:
- Draw the basic shape of the skull, marking the position of the ear.
- Sketch the upper lip and teeth as a fixed unit attached to the cranium.
- Draw a line representing the hinge point near the ear.
- Rotate the jaw downward from that hinge, keeping the chin's depth consistent.
- Connect the jaw to the face, ensuring the skin stretches naturally along the cheeks.
How to draw teeth and gums correctly
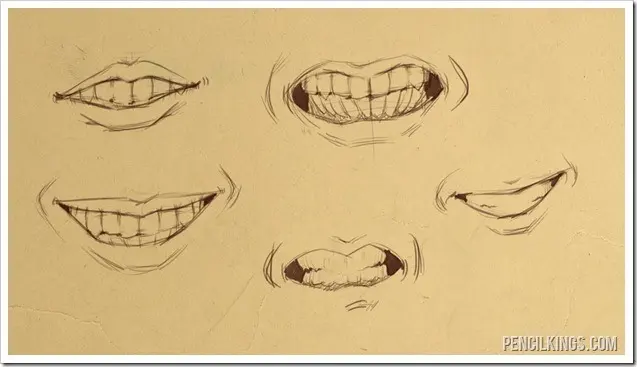
Teeth are not individual white rectangles floating in a void. They are anchored into the alveolar process, a curved ridge of bone that forms the dental arch. When drawing an open mouth, treat the upper and lower teeth as two distinct, curved planes. The upper teeth usually overlap the lower ones slightly, and the midline—the space between the two front incisors—should align with the center of the nose and chin.
Avoid drawing each tooth with heavy, dark outlines, as this makes them look like jagged stones. Instead, focus on the overall shape of the dental mass and use subtle shading to suggest individual teeth. Use a light touch to indicate the gum line, which should follow the curve of the teeth. Remember that the interior of the mouth is a dark cavity; shading the back of the throat or the space behind the teeth adds necessary depth and realism to your drawing.
Why the lips change shape when open
The lips are complex muscles, specifically the orbicularis oris, which encircles the mouth. When the mouth opens, these muscles stretch and flatten against the underlying teeth and gums. The upper lip often loses some of its definition, while the lower lip becomes more prominent as it drops with the mandible. The corners of the mouth, known as the commissures, act as anchors that pull backward, creating small folds or dimples depending on the expression.
When observing a model, notice how the light hits the moist inner surfaces of the lips. This area, known as the vermilion border, is often glossier and darker than the surrounding skin. To capture this:
- Keep the edges of the lips soft rather than sharp lines.
- Add a highlight to the lower lip to indicate moisture.
- Use cross-hatching to show the transition from the skin of the face to the soft tissue of the mouth.
- Ensure the corners of the mouth remain consistent with the angle of the jaw.
Common mistakes when drawing an open mouth
One of the most frequent errors is failing to account for the perspective of the dental arch. Many artists draw teeth as a flat line, but they actually form a horseshoe shape. If the head is turned, the teeth on the far side should be foreshortened or partially obscured. Another common issue is making the mouth too wide or too narrow, which distorts the entire facial structure. Always compare the width of the open mouth to the width of the nose or the distance between the pupils.
Additionally, artists often neglect the tongue, which occupies a significant portion of the oral cavity. Even when the mouth is only slightly open, the tongue provides volume and shadow. Avoid drawing the tongue as a flat, pink slab; it is a muscular organ with a distinct top surface and a rounded tip. If the mouth is wide open, the tongue often curls or rests against the floor of the mouth, creating complex shadows that define the interior space.
Best tools for detailing facial expressions
Using the right tools can significantly improve the texture and depth of your drawing. Graphite pencils ranging from 2H for light initial sketches to 4B for deep shadows are essential for creating contrast. A kneaded eraser is particularly useful for lifting graphite to create highlights on the teeth or the wet surfaces of the lips. For finer details, a mechanical pencil allows for precise lines around the corners of the mouth and the definition of the gum line.
When you are ready to finalize your work, consider these professional techniques:
- Use a blending stump to smooth out the skin texture around the mouth.
- Apply darker values inside the mouth to push the teeth forward visually.
- Use a white gel pen or a sharp eraser to add a crisp highlight on the lower lip.
- Keep your strokes directional, following the natural contour of the lips to emphasize their three-dimensional, fleshy form.
By practicing these techniques consistently, you will develop the ability to render an open mouth that looks both anatomically correct and expressive.
Key facts
- The human mouth is an oval shape that widens and lengthens as the jaw drops.
- Always draw the upper lip as a flatter, M-shaped curve and the lower lip as a fuller, U-shaped curve.
- The corners of the mouth, or commissures, should be placed slightly inward from the pupils when the face is viewed head-on.
- Teeth should be drawn as a single curved block rather than individual rectangles to maintain a natural appearance.
- Perspective dictates that the side of the mouth further from the viewer will appear slightly compressed.
- Adding a subtle shadow under the lower lip helps define the chin and gives the mouth three-dimensional volume.
The bottom line
Drawing an open mouth requires understanding the underlying structure of the jaw and teeth. By treating the lips as flexible, volumetric shapes rather than mere lines, you create a more lifelike expression. Focus on the arc of the teeth and the shadows cast by the lower lip to provide depth. With practice, these anatomical considerations will help you capture dynamic, realistic facial expressions in your artwork.
People also ask
Should I draw the individual teeth in an open mouth?
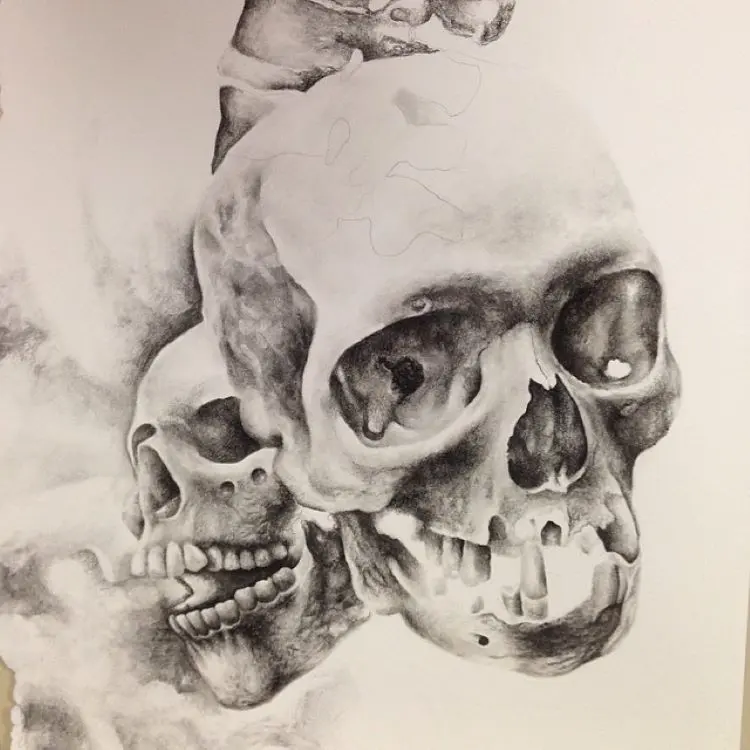
Avoid drawing every tooth outline, as this often makes the mouth look like a skull. Instead, suggest the teeth with a few light vertical lines or focus on the negative space between them.
How do I make an open mouth look like it is shouting?
To convey shouting, draw the mouth as a large, rounded rectangle with the corners pulled back. Ensure the upper lip is pulled upward to reveal more of the top teeth.
Why does my open mouth drawing look flat?
Flatness usually occurs when the lips are drawn as simple lines. Remember that lips wrap around the cylindrical form of the teeth and jaw, so use shading to show the curve of the mouth.
How much of the tongue should be visible?
The tongue is a muscular organ that fills the oral cavity. In a relaxed open mouth, it usually rests behind the lower teeth, but in a wide-open mouth, it should be drawn as a soft, rounded mass.
Where do the gums fit into the drawing?
Gums appear as a thin strip of flesh above the top teeth. Only include them when the mouth is wide open, such as in a laugh or a scream, to keep the expression realistic.
How does the jaw position change the shape of the mouth?
As the jaw drops, the mouth transitions from a horizontal slit to a vertical oval. The chin moves downward, which stretches the skin around the mouth and makes the lips appear thinner.
This answer was created with the help of AI research tools and reference sources. Spotted an error? Let us know — we correct mistakes quickly. See our editorial policy.