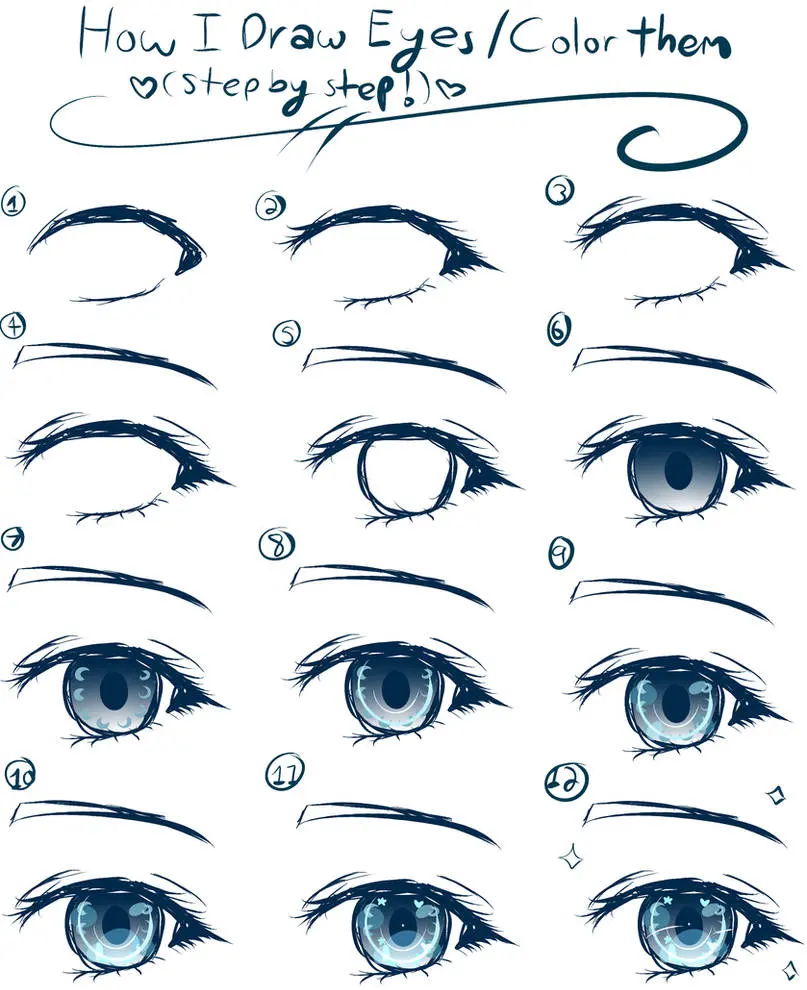
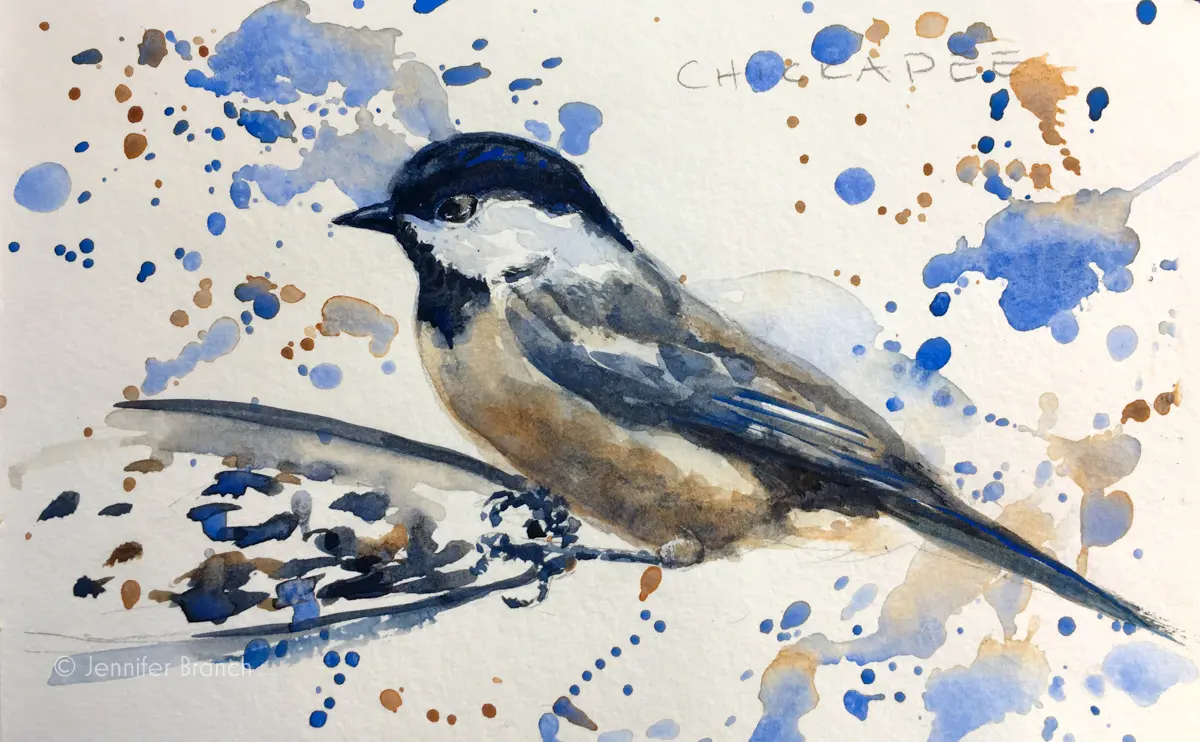
How do you draw realistic eyes with colored pencils?
Short answer
Drawing realistic eyes requires layering translucent colors, starting with light tones and gradually building depth. Focus on the anatomy of the iris, the wetness of the waterline, and the subtle reflections within the pupil. By using high-quality wax-based pencils and blending techniques, you can achieve lifelike textures and convincing three-dimensional volume.
On this page
What supplies are needed for realistic eyes?
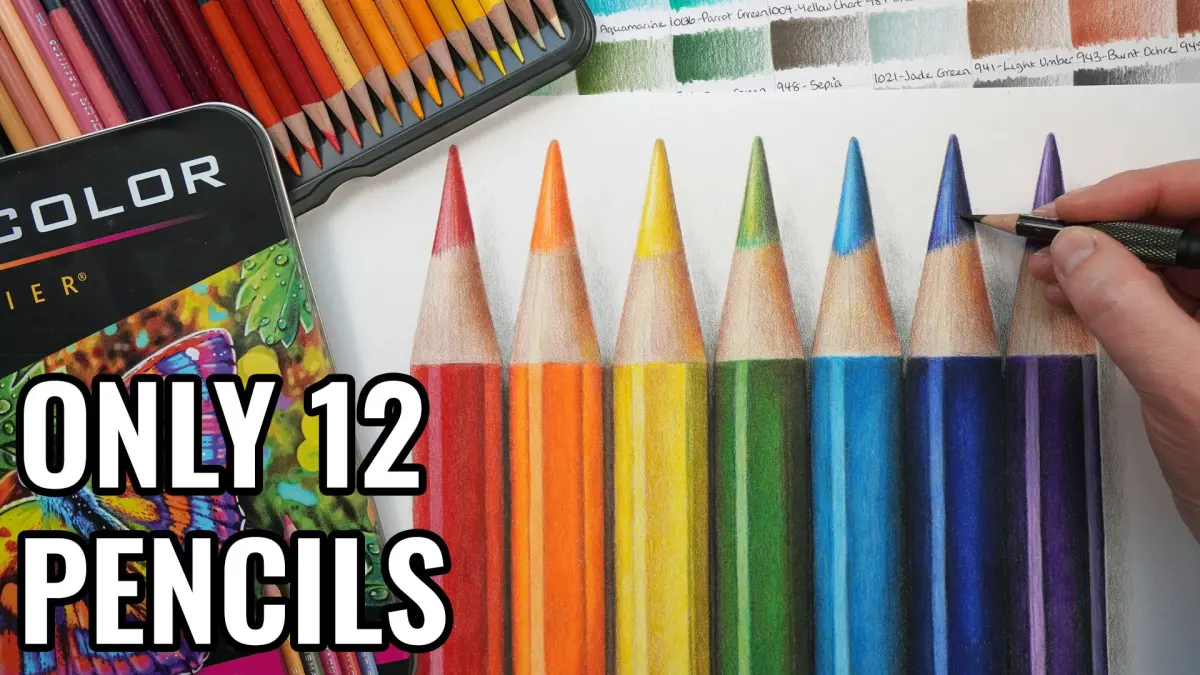
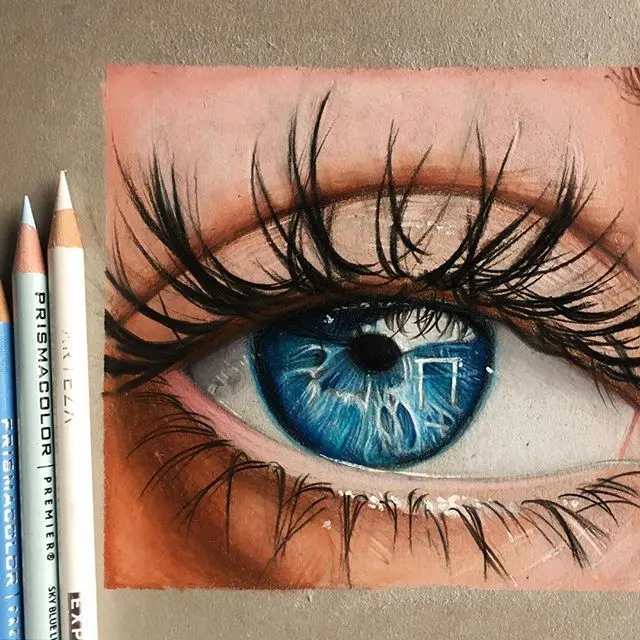
To achieve professional results, prioritize high-quality, lightfast colored pencils. Wax-based brands like Prismacolor Premier or oil-based options like Faber-Castell Polychromos are industry standards because they blend smoothly without leaving waxy buildup. You will also need a high-quality sharpener to keep points needle-thin for fine details, such as individual eyelashes or iris striations.
Surface choice significantly impacts the final texture. A smooth, acid-free Bristol board or heavy-weight drawing paper works best for fine detail, while a slightly textured paper can help grip layers of pigment. Essential tools for your kit include:
- A colorless blender pencil to soften transitions between colors.
- A kneaded eraser for lifting pigment to create highlights.
- A battery-operated or precision eraser for sharp, white catchlights.
- A blending stump or tortillon for smoothing larger areas.
How to layer colors for a realistic iris
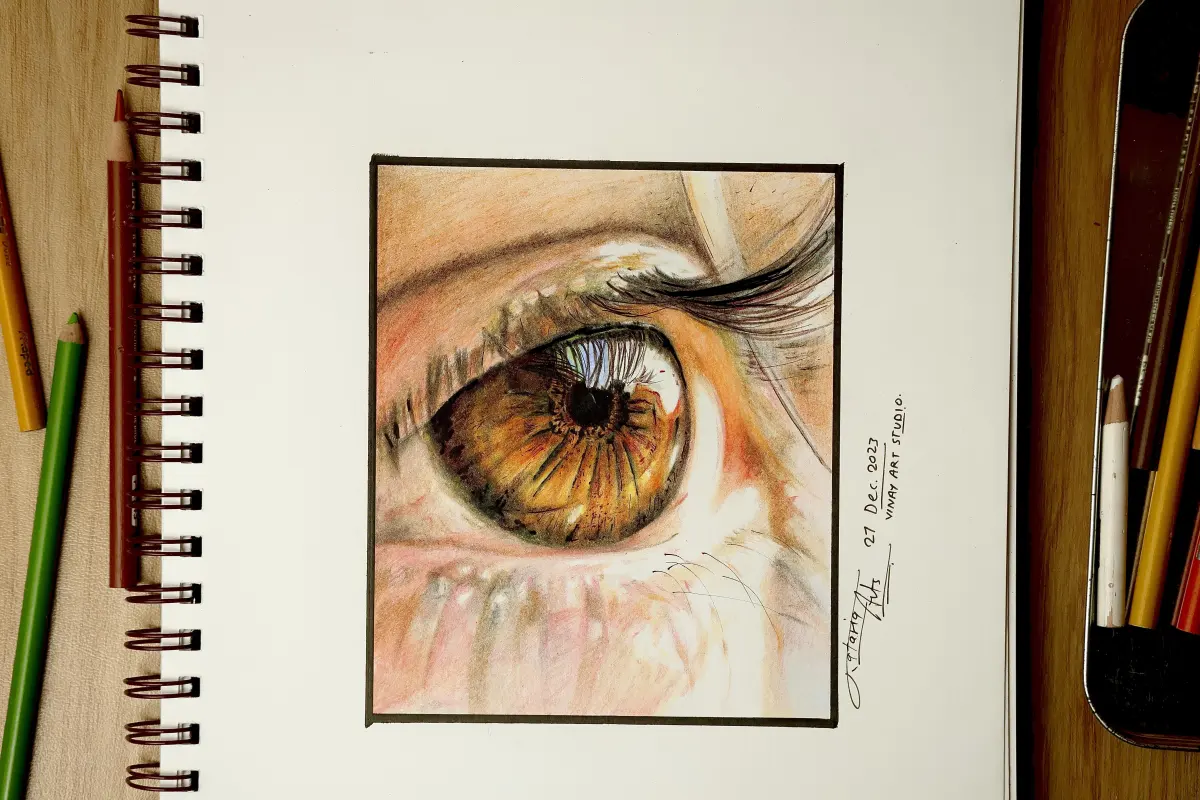
The iris is not a single flat color; it is a complex structure of fibers and depth. Start by applying a light base layer of your chosen iris color, such as a pale yellow or light blue. Use light, circular motions to avoid damaging the paper fibers, ensuring the base is even but not overly saturated.
Once the base is set, build depth by layering darker shades toward the outer rim and the inner pupil. Use short, flicking strokes that radiate outward from the center to mimic the natural radial fibers of the eye.
- Apply the lightest base color across the entire iris.
- Add mid-tones using a flicking motion, leaving small gaps for the base to show through.
- Use a dark, near-black pencil to define the pupil edge and the outer limbal ring.
- Apply a colorless blender to unify the layers and push the pigment into the paper.
How to draw the eye anatomy and shape
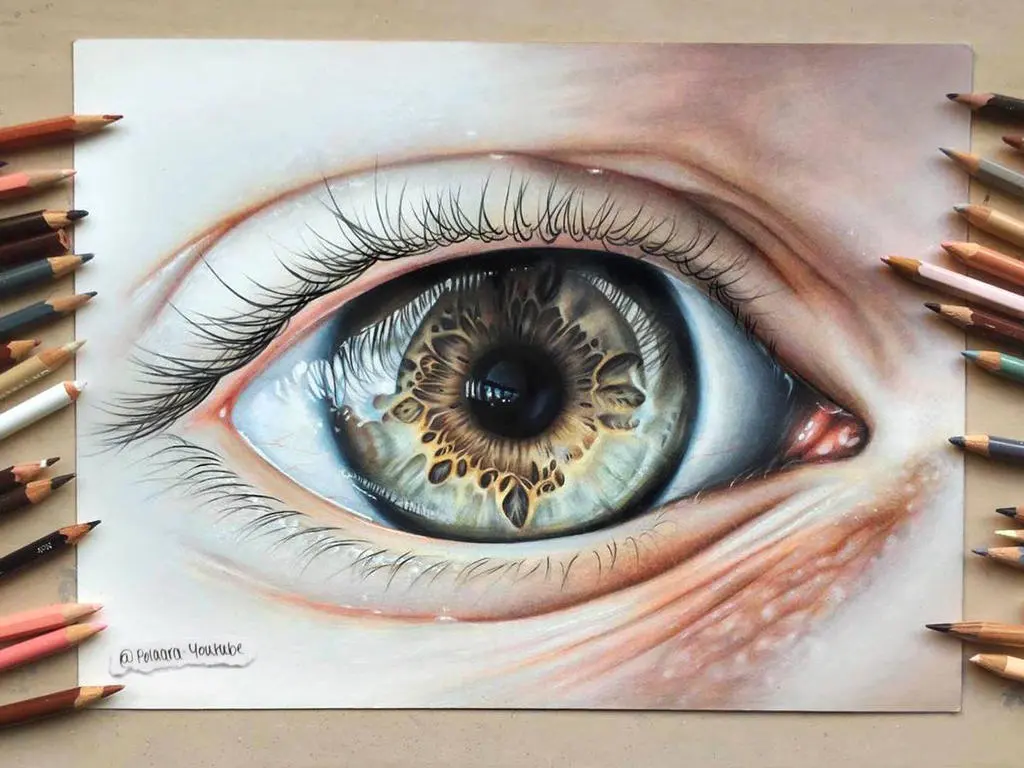
An eye is a sphere resting in a socket, so shading must reflect this curvature. The white of the eye, or sclera, is rarely pure white; it usually contains subtle grays, blues, or pinks, especially near the corners. Use a light touch to shade the edges of the sclera, which helps the eyeball appear round rather than flat.
Pay close attention to the eyelids, which have thickness and cast shadows onto the eyeball. The upper lid usually casts a distinct shadow across the top of the iris, which is crucial for creating a sense of realism. Ensure the tear duct is rendered with pinks and light reds, adding a touch of white for the moisture reflection that makes the eye look alive.
Common mistakes when drawing eyes
One of the most frequent errors is outlining the eye with a heavy, dark line, which makes the drawing look like a cartoon. Instead, define the shape through shading and color transitions. Another common mistake is making the pupil perfectly centered or perfectly round, which can result in a "staring" or unnatural look. Observe how the pupil interacts with the iris and the light source.
Avoid using pure white for skin highlights or eye reflections unless absolutely necessary, as it can look stark and chalky. Instead, use a light cream or cool gray to maintain a natural appearance. Finally, do not rush the eyelashes. They should grow from the edge of the eyelid and vary in length, thickness, and direction, rather than appearing as uniform, evenly spaced spikes.
How to add finishing touches and highlights
The final stage of the drawing is where the eye gains its "sparkle." Use a precision eraser to lift out small, sharp catchlights on the pupil and the lower waterline. These highlights are the most important element for creating the illusion of a wet, reflective surface. Ensure the placement of these highlights is consistent with your light source.
Once the highlights are placed, use a sharp black pencil to deepen the darkest shadows, particularly in the pupil and the upper lash line. This contrast makes the lighter colors pop and provides the necessary depth to make the eye look three-dimensional. Step back frequently to view your work from a distance, as this helps you spot imbalances in shading or shape that might not be obvious when working close up. With patience and careful observation, you will successfully capture the intricate details that bring a portrait to life.
Key facts
- Use high-quality, wax-based or oil-based pencils to ensure smooth blending and layering.
- Always sharpen pencils to a fine point to capture delicate details like individual eyelashes and iris striations.
- Start with light, neutral base layers before building up the deep shadows and vibrant colors.
- Use a colorless blender or a light-colored pencil to burnish layers, which pushes pigment into the paper tooth.
- Leave small, uncolored white spots on the pupil and iris to represent specular highlights and reflections.
- Apply pressure sparingly; heavy-handed strokes can fill the paper's texture too quickly, preventing further layering.
The bottom line
Achieving realistic eyes requires patience, sharp tools, and a methodical approach to layering. By focusing on the interplay of light and shadow, you can create depth in the iris and skin. Remember to preserve white highlights for a lifelike gleam and use light, controlled strokes to build texture. With consistent practice and careful observation of anatomical details, you will master the art of capturing expressive, lifelike eyes.
People also ask
What type of paper is best for colored pencil drawings?
Use a heavy-weight, acid-free paper with a slight "tooth" or texture. This allows the pigment to grip the surface, enabling you to layer colors without the paper becoming slick or waxy.
How do you make the iris look realistic?
Draw radial lines extending from the pupil toward the outer edge of the iris. Vary the thickness and length of these lines while adding small dots of complementary colors to create depth.
Should I draw the eyelashes before or after the skin shading?
Draw eyelashes last using your sharpest, darkest pencil. Placing them over the finished skin tones ensures they appear to sit on top of the eyelid rather than underneath it.
How can I fix a mistake made with colored pencils?
Use a kneaded eraser to gently lift excess pigment from the surface. For deeper errors, a battery-operated eraser can remove stubborn marks, though you must be careful not to damage the paper fibers.
Why do my drawings look waxy or shiny?
This occurs when you apply too much pressure or use too many layers, causing the wax binder to coat the paper surface. To avoid this, use a light touch and apply a fixative spray once the drawing is complete.
How do I achieve smooth skin tones around the eye?
Use a circular motion with light pressure to blend colors together. Layering a light peach or cream tone over darker shadows helps soften the transition between skin and the orbital socket.
This answer was created with the help of AI research tools and reference sources. Spotted an error? Let us know — we correct mistakes quickly. See our editorial policy.

![How To Draw Eyes In 7 Easy Steps [Video + ]](/img/8e/how-do-you-draw-eyes-1.webp)