How do you draw a campfire?
Short answer
Drawing a campfire involves layering shapes to represent logs, flames, and glowing embers. Start by sketching a triangular base of wood, then add organic, flickering flame shapes rising upward. Use varying line weights to suggest heat and light, finishing with loose, jagged marks around the base to represent the scattered, smoldering ash.
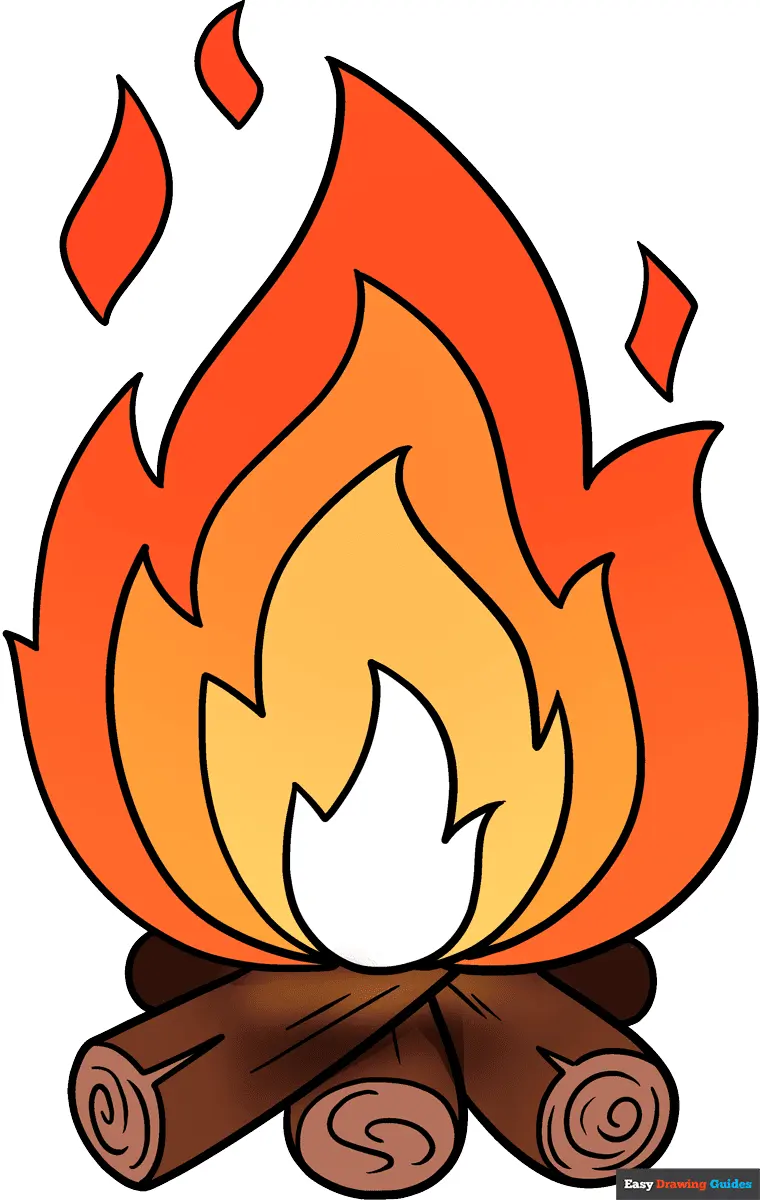
On this page
How to draw the basic structure of a campfire
The foundation of a realistic campfire drawing is the log arrangement. Most artists begin with a "teepee" or "log cabin" structure, using simple cylinders to represent the wood. Draw three or four overlapping cylinders leaning toward a central point to create a stable, triangular silhouette. Ensure the logs are not perfectly uniform; adding slight curves or knots makes the wood look natural rather than manufactured.
Once the logs are positioned, define the ground area. A simple circle or an irregular oval around the base of the logs helps ground the fire in a specific space. You can add small, jagged rocks around the perimeter to create a fire ring, which adds depth and context to your composition. Keep these initial lines light, as you will need to erase or darken them as you define the flames and shadows later.
How to draw realistic fire flames
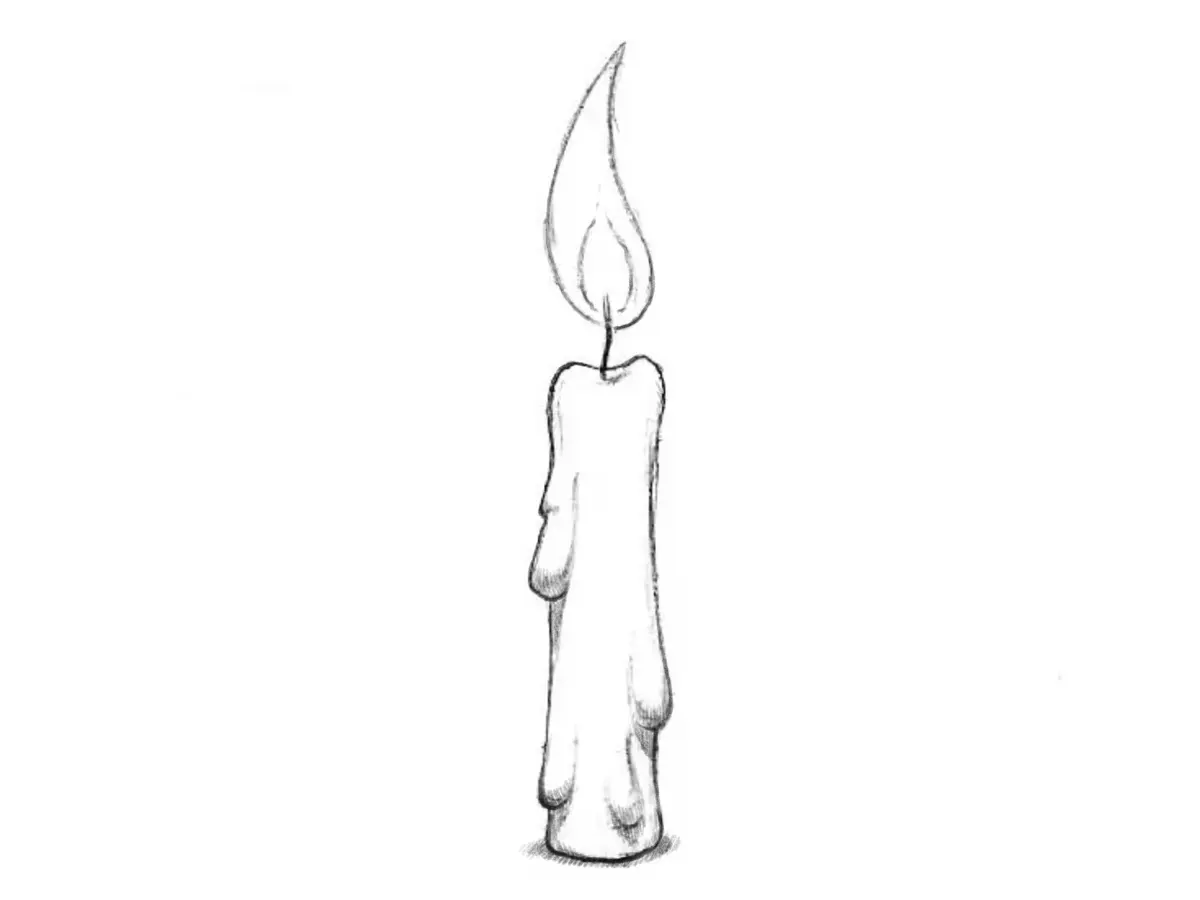
Flames are organic and unpredictable, so avoid drawing perfect, symmetrical shapes. Start by sketching a series of teardrop-like forms that vary in size and height, clustered tightly at the bottom and thinning out toward the top. The key to movement is asymmetry; ensure that some flames lean to the left or right as if caught in a gentle breeze. Use flowing, curved lines rather than sharp, rigid angles to convey the fluid nature of fire.
To make the flames look three-dimensional, follow these steps:
- Draw the inner core of the fire using narrow, vertical shapes.
- Add larger, wider flame shapes around the outside to create volume.
- Use lighter, wispy lines at the very top of the flames to suggest smoke and heat dissipation.
- Vary the height of each flame to avoid a flat, uniform appearance across the top of the fire.
How to add light and shadow to a campfire
Lighting is the most important element in making a drawing look convincing. Because the fire is the primary light source, it must be the brightest part of your image. Leave the center of the flames white or very light, and use darker shading on the logs that face away from the fire. The logs closest to the flames should have high contrast, with bright highlights on their upper edges and deep shadows in the crevices.
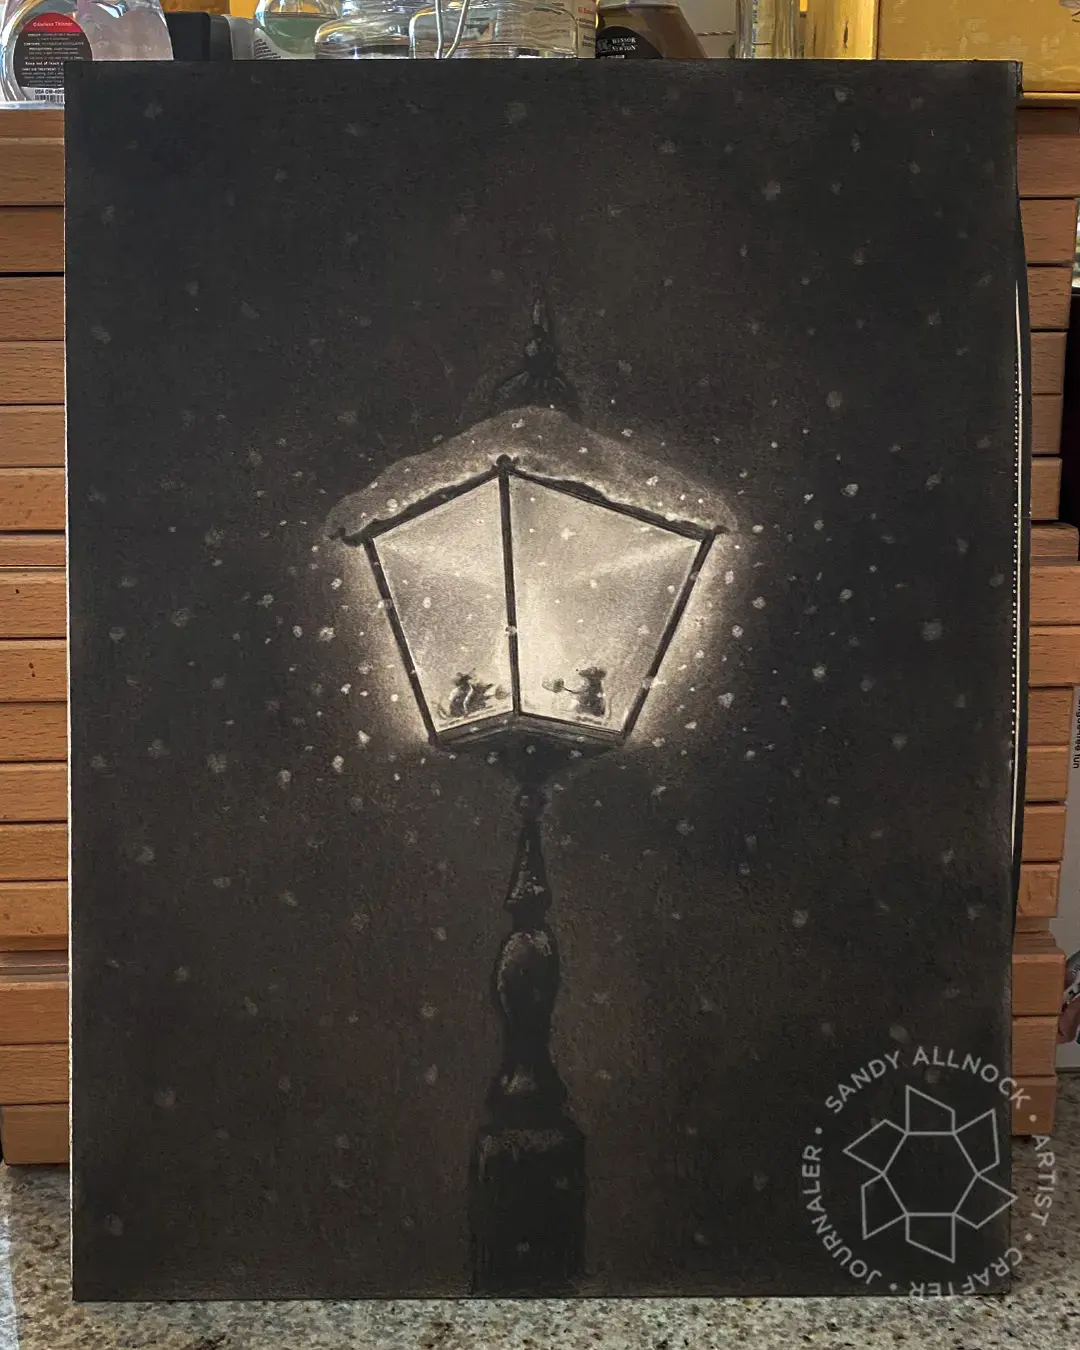
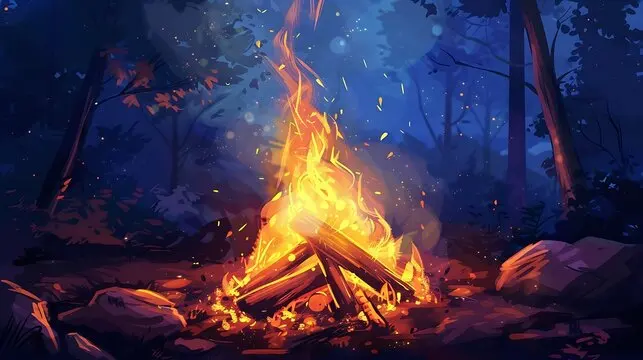
Consider how the light interacts with the surrounding environment. If you are drawing the fire at night, the ground immediately around the fire ring should be illuminated, while the background remains dark. Use a soft blending tool or a series of cross-hatched lines to transition from the bright center to the darker exterior. This gradient effect, known as a vignette, draws the viewer's eye directly to the center of the flames.
Common mistakes when drawing campfires
A frequent error is drawing flames that look like solid, static objects rather than moving energy. Beginners often outline their flames with heavy, dark lines, which makes the fire look like a piece of plastic or metal. Instead, focus on the edges of the flames by using light, gestural strokes. Another mistake is forgetting to add embers; a fire is rarely just flames. Scattered, glowing dots near the base of the logs provide a sense of heat and activity that makes the drawing feel authentic.
Avoid these common pitfalls to improve your work:
- Using perfectly straight lines for logs, which removes the organic texture of wood.
- Making all flames the same height, which creates a boring, uniform pattern.
- Neglecting to show how the light hits the ground, which makes the fire look like a sticker on a page.
- Drawing the fire as a single, solid mass instead of individual, flickering tongues of flame.
Best techniques for adding texture to fire drawings
Texture adds a tactile quality to your campfire. Use short, horizontal dashes on the logs to represent bark, and use stippling—a series of small dots—to show the glowing, charred surface of the wood. For the smoke rising from the fire, use a soft eraser or a blending stump to create hazy, translucent shapes that drift upward. Smoke should be much lighter and less defined than the flames, appearing almost transparent as it dissipates into the air.
Finally, experiment with different drawing tools to achieve the desired effect. Graphite pencils are excellent for creating subtle gradients in the smoke, while charcoal provides the deep, rich blacks needed for the charred logs and the surrounding night sky. If you are using colored media, remember that the center of the fire should be white or yellow, transitioning to orange and red at the edges. By layering these colors and textures, you create a vibrant, energetic scene that captures the warmth and movement of a real campfire.
Key facts
- Start by drawing a small, inverted V-shape or a triangle to represent the base of the logs.
- Use jagged, flame-like shapes that taper toward the top to suggest movement and heat.
- Layer colors by using dark red at the base, orange in the middle, and yellow at the tips.
- Incorporate horizontal, overlapping cylinders at the bottom to create a realistic wood stack.
- Draw small, floating dots or dashes above the flames to represent embers and sparks.
- Vary the height and width of individual flames to avoid a perfectly symmetrical, artificial look.
The bottom line
Drawing a campfire effectively requires balancing structure with chaos. By building a sturdy base of logs and layering flame shapes with a gradient of warm colors, you create a convincing focal point. Remember to avoid rigid symmetry, as fire is naturally erratic. With practice, adding subtle details like floating embers and directional smoke will transform a simple sketch into a vibrant, glowing representation of a campfire.
People also ask
Why does my campfire drawing look like a cartoon?
It likely lacks depth and organic variation. Avoid drawing flames as perfectly uniform shapes and instead use irregular, flickering outlines to mimic the unpredictable nature of fire.
How can I make the fire look hot?
Focus on color temperature by placing the brightest yellow at the center and darkest reds or oranges toward the outer edges. Adding a soft glow effect around the base helps sell the intensity.
What is the best way to draw logs?
Draw them as cylinders with circular ends to show thickness. Adding small, irregular lines or knots on the surface creates the texture of bark, which prevents them from looking like smooth pipes.
Should I draw smoke in every campfire sketch?
Smoke adds realism but can clutter the image if drawn too heavily. Use light, wispy, transparent gray strokes drifting to one side to indicate wind direction without obscuring the flames.
How do I show the light reflecting on the ground?
Use a lighter color or a soft gradient on the ground directly beneath the fire. This creates a focal point and anchors the campfire to the environment in your drawing.
Is it better to use pencils or markers for fire?
Markers are excellent for bold, vibrant colors, while colored pencils allow for better blending and layering. Using a white gel pen for the brightest highlights is a professional technique for adding pop.
This answer was created with the help of AI research tools and reference sources. Spotted an error? Let us know — we correct mistakes quickly. See our editorial policy.