How do you draw a crane bird step by step?
Short answer
Drawing a crane requires capturing its elegant, elongated silhouette through simple geometric shapes. Begin by sketching an oval for the body and a smaller circle for the head, connected by a long, graceful neck. Refine these forms with anatomical details like thin, spindly legs and wide wings to create a lifelike representation.
On this page
How to draw a crane step by step
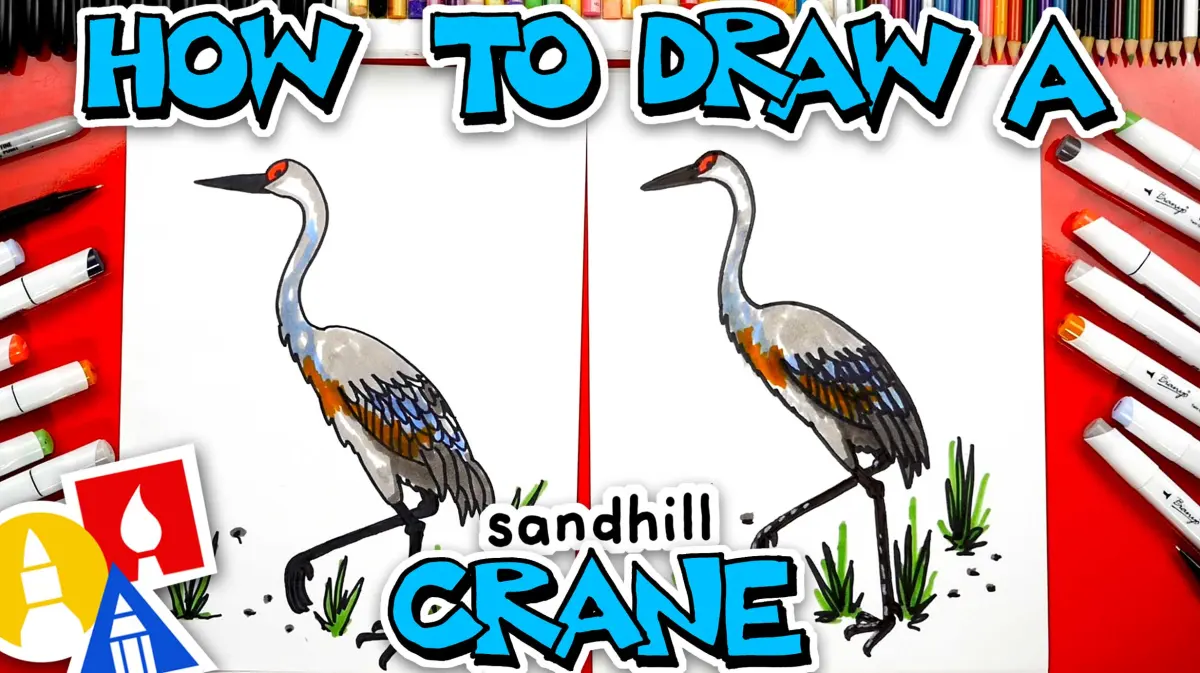
To begin your drawing, focus on the crane’s signature posture. Start by lightly sketching a large, horizontal oval for the main body and a smaller circle positioned above it for the head. Connect these two shapes with a long, elegant "S" curve to represent the neck, which is a defining feature of the crane. Ensure the neck is thin but maintains a fluid, organic shape that flows naturally into the torso.
Once the basic framework is established, follow these steps to build the anatomy:
- Sketch two long, thin lines extending downward from the bottom of the oval to form the legs, adding small joints at the knees.
- Draw a long, sharp triangle extending from the head circle to create the beak.
- Add a small, circular eye near the base of the beak and a teardrop shape on the back of the body for the folded wing.
- Refine the outline by connecting the shapes with smooth, continuous lines, erasing the overlapping internal circles as you progress.
Best drawing tools for beginners
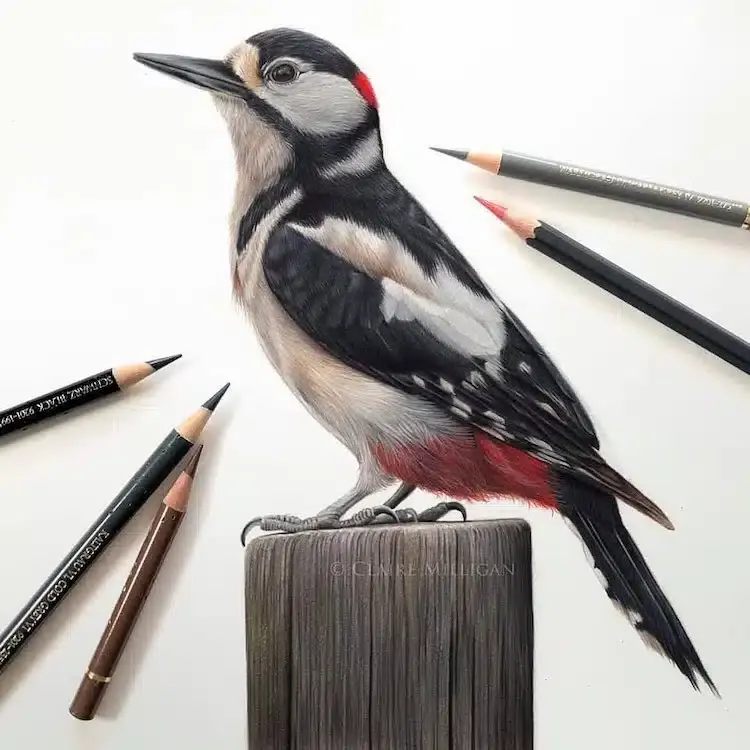
For those new to bird illustration, starting with a graphite pencil is essential because it allows for easy adjustments. Use an HB or 2B pencil to lay down light guidelines that can be erased once the final form is established. A kneaded eraser is particularly useful here, as it can lift graphite off the paper without damaging the surface or leaving residue behind. This flexibility is crucial when you are still learning to balance the proportions of the crane’s long limbs.
When you are ready to finalize your drawing, move on to archival ink pens or fine-liners. These tools allow you to create clean, crisp outlines that define the crane’s elegant silhouette. For shading, consider using a soft blending stump or a charcoal pencil to add depth to the feathers. By keeping your toolkit simple, you avoid becoming overwhelmed by complex materials and can focus entirely on mastering the fundamental shapes and lines of the bird.
How to capture crane proportions accurately
The most common challenge in drawing a crane is maintaining the correct ratio between the neck, body, and legs. Cranes are known for their extreme height, so the legs should be roughly the same length as the combined height of the body and neck. If the legs are too short, the bird will look squat and lose its characteristic grace. Always measure your initial sketch against these proportions before adding permanent ink or shading details.
Pay close attention to the placement of the joints. The "knee" of a crane is actually the ankle, which bends backward, while the true knee is hidden near the body. By studying reference images of cranes in nature, you will notice how they distribute their weight. Keep the body mass centered over the legs to ensure the drawing looks balanced rather than top-heavy. Consistent practice with these proportions will help you achieve a more realistic and scientifically accurate result over time.
Common mistakes when drawing cranes
A frequent error is drawing the neck as a rigid, straight line. Cranes possess a highly flexible cervical spine, meaning their necks should always exhibit a gentle curve or a distinct "S" shape. A perfectly straight neck makes the bird appear unnatural and stiff. Another mistake is drawing the legs as simple, uniform sticks. In reality, the legs taper significantly toward the feet and possess distinct, knobby joints that provide the bird with its unique movement and stability.
Avoid these common pitfalls to improve your work:
- Drawing the beak too thick or blunt, which detracts from the bird's refined appearance.
- Forgetting to add the secondary feathers that hang over the tail, which gives the crane its signature "bustle" look.
- Placing the eye too far forward on the head, which can make the bird look like a cartoon rather than a majestic wild animal.
- Making the body too round, as crane bodies are typically sleek and streamlined to facilitate flight and wading.
Why crane anatomy is unique for artists
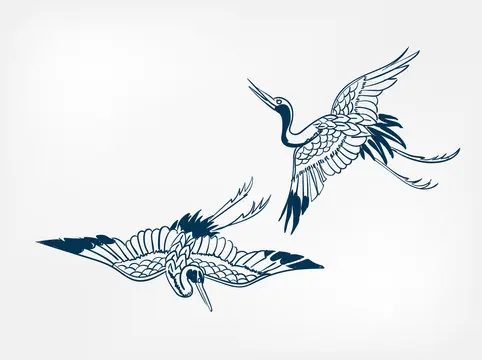
Understanding the crane’s biology helps artists render it more effectively. These birds are built for wading in shallow water and soaring over long distances, which explains their long, hollow-boned legs and expansive wingspan. When drawing the wings, observe that the primary feathers are long and spread out, creating a finger-like appearance at the tips. This detail is vital for capturing the crane in flight, as it demonstrates the bird's ability to catch thermals and glide effortlessly across the sky.
Furthermore, the crane’s plumage is often subtle, characterized by soft grays, whites, or deep blacks. When applying texture, use short, directional strokes that follow the contour of the body rather than random scribbles. This technique mimics the way feathers overlap and lie flat against the skin. By observing how light hits these feathers, you can use highlights and shadows to give your drawing a three-dimensional quality. Through patient observation and practice, you will successfully translate the crane’s inherent beauty onto your paper.
Key facts
- Cranes are characterized by their long, slender necks, long legs, and large, broad wings.
- Start your drawing by sketching an oval for the body and a smaller circle for the head to establish correct proportions.
- Connect the head and body with a gentle, S-shaped curve to represent the crane's iconic flexible neck.
- Cranes often stand on one leg while resting; depicting this posture adds a sense of realism and natural behavior.
- Use sharp, angular lines for the beak and joints to contrast with the fluid curves of the neck and torso.
- Focus on the "bustle," a cluster of drooping feathers over the tail, which is a distinctive anatomical feature of cranes.
The bottom line
Drawing a crane requires careful attention to its unique, elongated anatomy. By starting with simple geometric shapes and connecting them with a graceful, S-shaped neck, you can capture the bird's elegant silhouette. Focus on the sharp, slender beak and the characteristic drooping tail feathers to add authenticity. With practice, these foundational steps will allow you to depict the crane’s natural poise and distinct, regal posture effectively.
People also ask
What is the most common mistake when drawing a crane?
Beginners often draw the neck too thick or straight, failing to capture the elegant, serpentine S-curve that defines the species. Always prioritize a thin, graceful line for the neck to maintain the bird's characteristic silhouette.
Should I draw the wings folded or spread out?
For a beginner, drawing the wings folded against the body is easier as it emphasizes the streamlined shape of the torso. If you choose to draw them spread, ensure the primary feathers are long, pointed, and clearly separated.
How do I make the legs look realistic?
Remember that a crane's legs are very long and thin, resembling sticks rather than muscular limbs. Place the "knee" joint, which is actually the ankle, about halfway down the leg to ensure the proportions look natural.
What kind of pencil should I use for the initial sketch?
Use a hard lead pencil, such as an H or HB, for light, faint guidelines that can be easily erased. Save softer, darker pencils like 2B or 4B for defining the final outline and adding shadows.
How do I draw the crane's eyes?
Place the eye near the base of the beak rather than in the center of the head. A small, dark dot with a tiny highlight creates a focused, alert expression typical of these birds.
How can I add texture to the feathers?
Use short, overlapping "U" or "V" shapes along the wings and back to suggest individual feathers. Avoid drawing every single feather, as suggesting the pattern is more effective than detailing the entire surface.
This answer was created with the help of AI research tools and reference sources. Spotted an error? Let us know — we correct mistakes quickly. See our editorial policy.