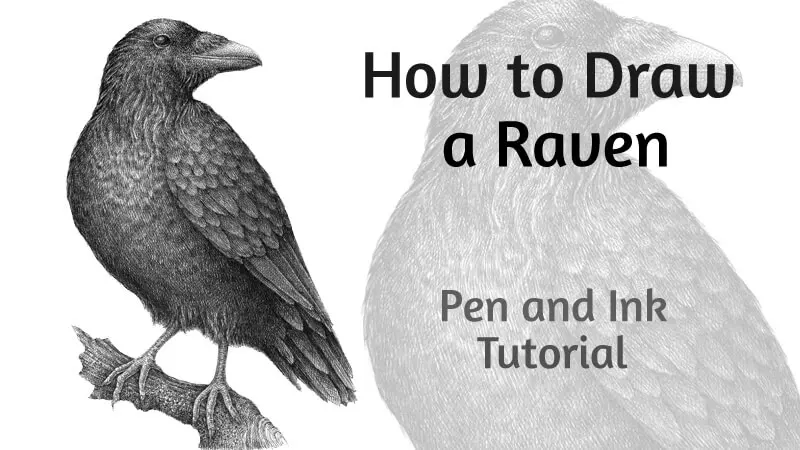
What is the easiest way to draw a cardinal bird?
Short answer
The easiest way to draw a cardinal is to simplify its anatomy into two overlapping circles: a larger one for the body and a smaller one for the head. By focusing on the iconic crest, the stout orange beak, and the black mask, you can capture the bird’s recognizable silhouette with basic shapes.

On this page
How to draw a cardinal step by step
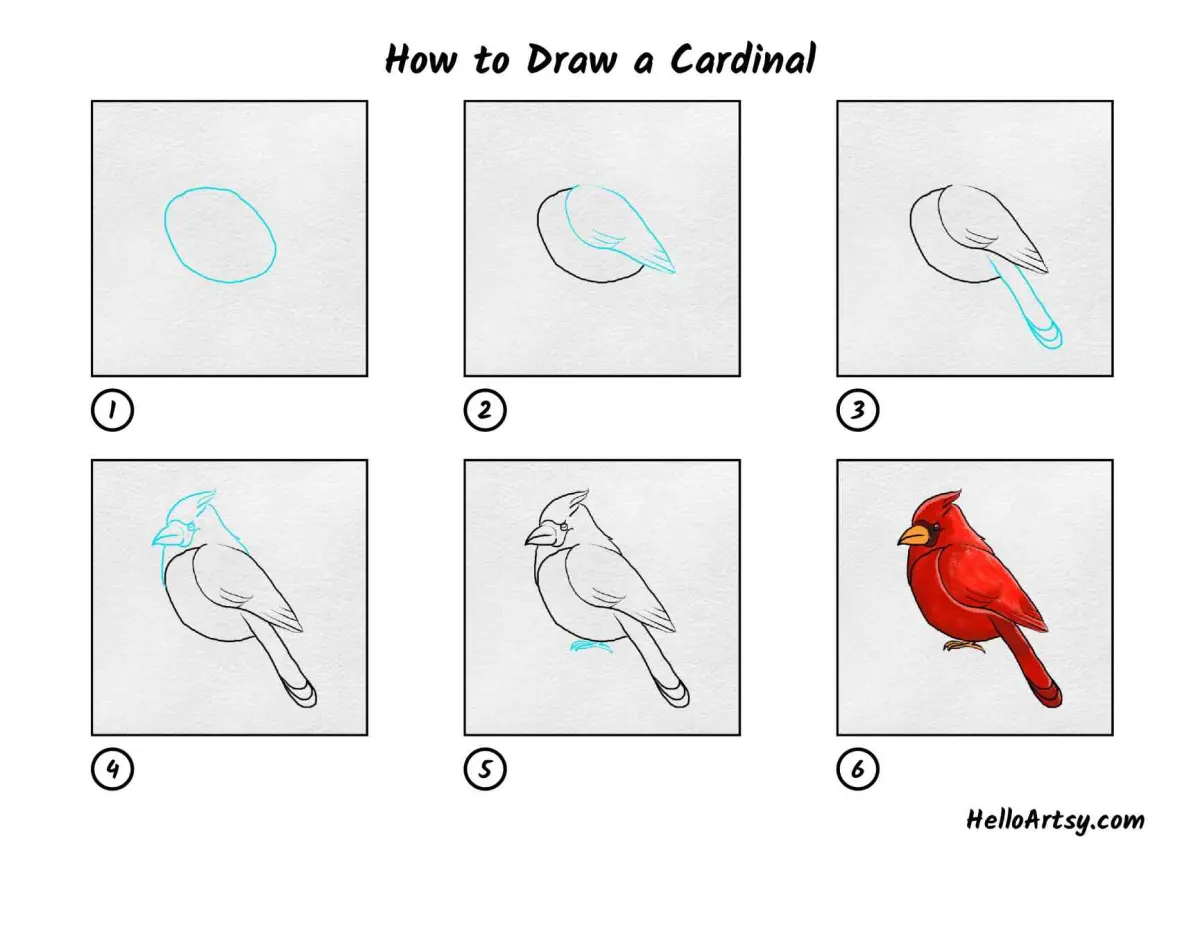
To begin your cardinal, focus on the fundamental geometry that defines its posture. Start by drawing a large oval tilted slightly forward for the main body. Place a smaller, circular shape above and to the right of the body to serve as the head. Connect these two shapes with two curved lines to form the neck, ensuring the transition looks smooth rather than jagged.
Once you have the frame, follow these steps to refine the form:
- Add a triangular shape on top of the head to represent the crest, which should point upward and slightly backward.
- Draw a thick, cone-shaped beak protruding from the front of the head, ensuring it is short and sturdy.
- Sketch a small, dark circle for the eye, positioning it just behind the base of the beak.
- Add a wing shape on the side of the body and a long, fan-shaped tail extending from the rear.
- Draw two thin, perching legs at the bottom of the body, ending in three-toed feet.
Best drawing materials for beginners
When starting out, it is best to use tools that allow for easy corrections. A standard HB graphite pencil is ideal because it provides enough darkness for detail while remaining light enough to erase if you make a mistake. Using a high-quality white vinyl eraser is essential for cleaning up your guide lines without damaging the paper surface.
For the final outline and coloring, consider these options:
- Fine-liner pens: Use these for clean, permanent outlines once you are satisfied with your pencil sketch.
- Colored pencils: These allow for layering, which is perfect for capturing the vibrant, deep red plumage of a male cardinal.
- Pastel chalks: These are excellent for blending colors if you want to achieve a soft, feathered texture.
- Sketchbook paper: Choose a medium-weight paper with a slight tooth, as it holds graphite and pigment better than smooth printer paper.
Why the cardinal silhouette is unique
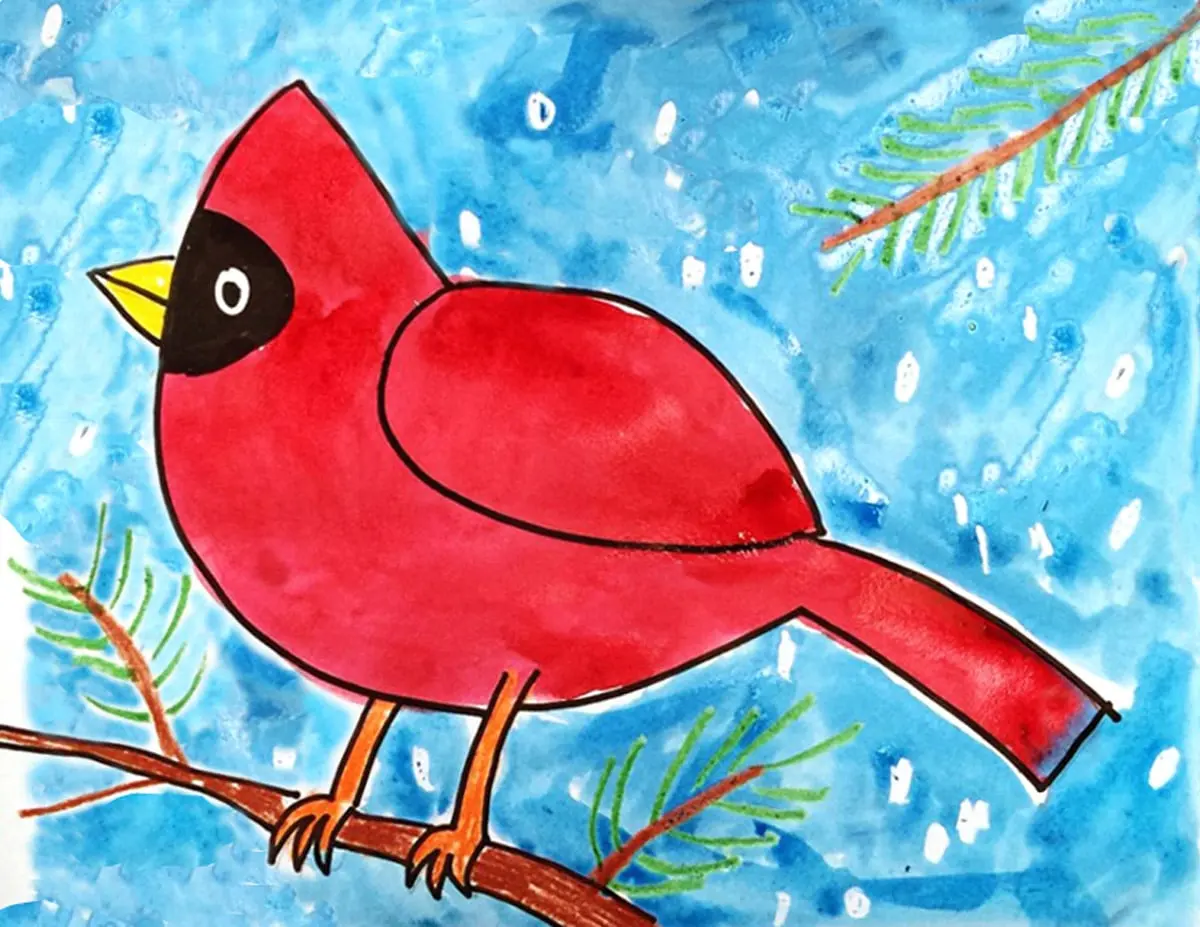
The Northern Cardinal (Cardinalis cardinalis) is easily identified by its distinct profile, which separates it from other songbirds. The most defining feature is the prominent crest, a tuft of feathers on the crown that the bird can raise or lower depending on its mood. When drawing, emphasizing this crest is the most important step in ensuring the viewer immediately recognizes the subject as a cardinal.
Another critical feature is the black mask that encircles the base of the bill and the eyes. This dark patch provides a stark contrast against the bright red feathers, creating a focal point that draws the viewer's eye. When you add color, keep the mask dark and the beak a pale, waxy orange or red. Avoiding overly complex details in the feathers will help maintain a clean, professional look that highlights the bird's natural elegance.
Common mistakes when drawing birds
One of the most frequent errors beginners make is drawing the beak too long or thin. Cardinals are seed-eaters, so they possess a thick, conical beak designed for crushing; if the beak looks like a needle, the bird will lose its cardinal identity. Always keep the beak short, stout, and triangular to maintain anatomical accuracy.
Another common pitfall involves the placement of the eye. Beginners often place the eye too high on the head or too far back, which makes the bird look startled or unnatural. Keep the eye placed centrally within the black mask, slightly above the midline of the beak. Additionally, avoid drawing the legs as straight lines; birds have a natural "S" curve in their legs when they perch. By observing the way the weight of the body shifts forward, you can give your drawing a sense of life and balance that static, straight-legged drawings lack.
How to add texture and color
Once your outline is complete, you can bring the drawing to life through shading and color application. Instead of coloring the entire bird with a single flat red, use varying pressures to create depth. Apply darker shades of red or brown under the wings and along the underside of the tail to suggest shadows, while leaving the top of the head and back lighter to represent sunlight hitting the feathers.
As you color, keep these tips in mind:
- Layer your colors, starting with a light base coat of orange or bright red before adding deeper crimson tones.
- Use short, flicking pencil strokes to mimic the direction of feather growth, starting from the head and moving downward.
- Leave small, uncolored white spots on the eye to serve as highlights, which gives the bird a realistic, alert expression.
- Focus on the transition between the black mask and the red feathers by blending the edges slightly rather than using a harsh, solid line.
- Finally, add a subtle texture to the beak by using light, horizontal strokes to suggest the hard, keratinous surface of the bill.
Key facts
- Northern cardinals are identified by their distinct triangular crests and thick, cone-shaped orange beaks.
- The male cardinal is bright red, while the female is a pale brown or tan with red accents on the wings and tail.
- Start your sketch with two overlapping circles to establish the proportions of the head and the round body.
- Always position the eye near the base of the crest to maintain the bird’s characteristic alert expression.
- Use a "teardrop" shape for the wing to provide a sense of natural movement and texture.
- Keep your lines light initially, as cardinals have soft, rounded silhouettes rather than sharp, jagged edges.
The bottom line
Drawing a cardinal is most successful when you prioritize the bird’s iconic silhouette, specifically the triangular crest and robust, seed-cracking beak. By starting with simple geometric shapes like circles for the body and head, you can build a balanced foundation. Focus on the soft, rounded contours of the feathers rather than sharp lines, and use color to distinguish between the vibrant male and the subtle, tan female.
People also ask
Why do cardinals have such thick beaks?
Cardinals possess strong, cone-shaped beaks specifically adapted for cracking open tough seeds and nuts. In drawings, emphasizing this thickness is essential for capturing the bird's accurate silhouette.
Should I use colored pencils or markers for a cardinal?
Colored pencils allow for better layering of red tones, which helps mimic the subtle shading of feathers. Markers provide bold, flat colors but make it harder to create the soft, textured look of a bird.
How do I draw the crest correctly?
The crest should rise from the back of the head at a sharp angle, resembling a pointed mohawk. Avoid drawing it too far forward, as it should align with the back of the neck.
Are there differences in how to draw male and female cardinals?
The body shape remains the same, but the color palette changes significantly. Focus on using vibrant reds for males and muted earth tones like tan or gray for females.
What is the best way to draw cardinal feet?
Cardinals have three toes pointing forward and one pointing backward, known as anisodactyl feet. Keep them simple by drawing small, curved lines gripping a branch to maintain balance.
How can I make the drawing look more realistic?
Add a small white highlight in the eye to create depth and life. Additionally, use short, overlapping strokes near the neck to suggest the texture of soft plumage.
This answer was created with the help of AI research tools and reference sources. Spotted an error? Let us know — we correct mistakes quickly. See our editorial policy.