How do you draw a grasshopper for beginners?
Short answer
Drawing a grasshopper involves breaking its complex anatomy into three distinct body segments: the head, thorax, and abdomen. By sketching simple geometric shapes—circles and ovals—as a foundation, you can build the insect’s frame. Focus on the large, powerful hind legs and the elongated wings to capture its iconic, jumping silhouette accurately.
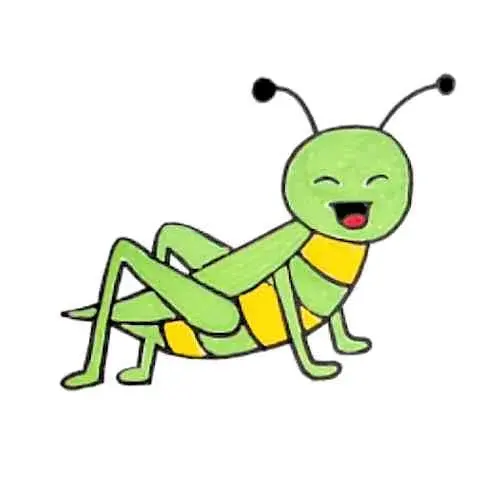
On this page
How to draw a grasshopper step by step
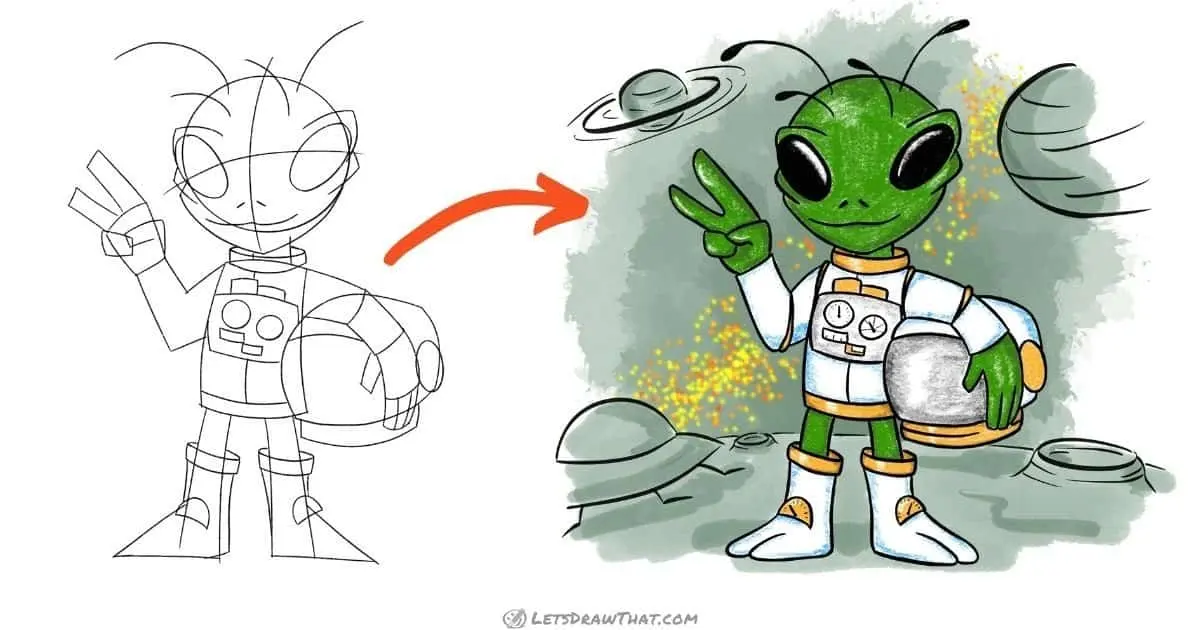
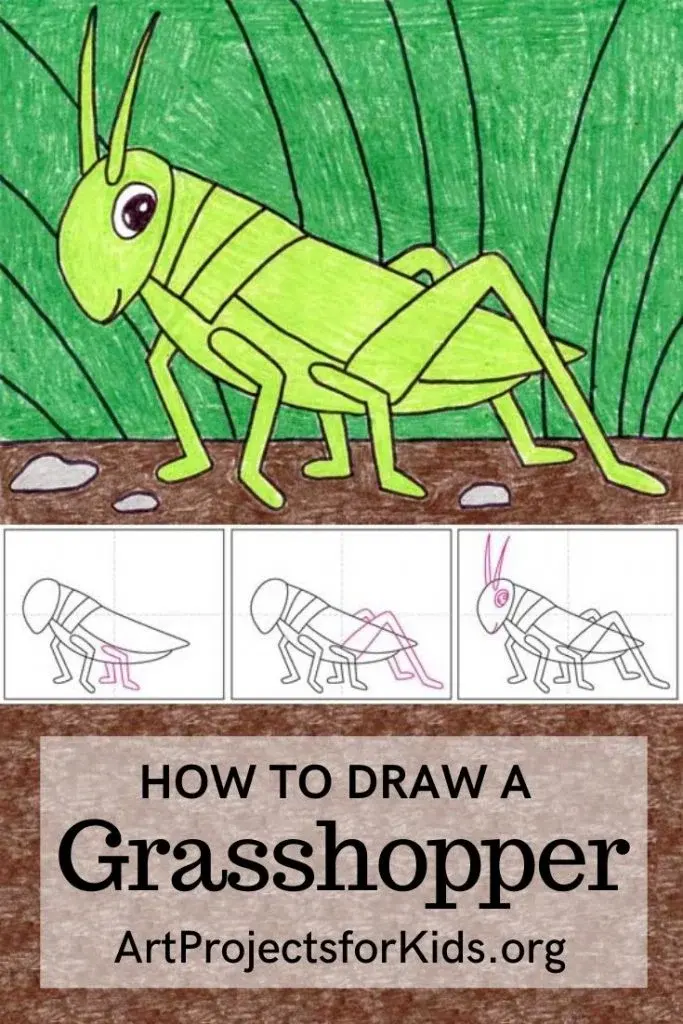
To begin your sketch, visualize the grasshopper as a series of connected shapes. Start by drawing a small circle for the head, followed by a larger, slightly tilted oval for the thorax, and a long, tapering cylinder for the abdomen. These three segments provide the structural backbone of the insect. Once these shapes are in place, add a smaller circle on the side of the head to represent the large, compound eye.
Follow these steps to build the anatomy:
- Sketch the head, thorax, and abdomen using light, overlapping ovals.
- Draw the front and middle legs as thin, segmented lines extending from the thorax.
- Outline the large, muscular hind leg, which should be shaped like a bent knee or a triangle.
- Add the long, narrow wings that lay flat against the back, extending past the abdomen.
- Refine the outlines and add details like antennae and small spikes on the legs.
Best drawing materials for beginners
You do not need professional equipment to start drawing insects. A simple HB graphite pencil is ideal for initial sketches because it can be easily erased if you make a mistake. Pair this with a standard white eraser and a smooth-surfaced sketchbook to ensure your lines remain crisp. As you gain confidence, you can move to 2B or 4B pencils to add darker shadows and depth to the grasshopper’s exoskeleton.
If you prefer working with ink, use a fine-liner pen with a 0.5mm tip. Ink is excellent for defining the sharp edges of the legs and the intricate veins found on the wings. Avoid using thick markers early on, as they can obscure the fine details of the insect's anatomy. Keep a sharpener nearby to maintain a fine point, which is essential for drawing the delicate antennae and the tiny claws at the end of each leg.
Why grasshopper anatomy is unique
Understanding the anatomy of a grasshopper helps you avoid common drawing errors. The most important feature is the disproportionately large hind leg, which is built for jumping. This leg consists of a thick femur and a slender tibia, connected by a joint that sits near the middle of the body. If you draw the legs too small or too straight, the drawing will look stiff rather than ready to spring into action.
The wings are another critical feature that often confuses beginners. Grasshoppers possess two pairs of wings: the outer, leathery forewings and the inner, delicate hindwings. When at rest, the forewings fold over the abdomen like a protective shield. When drawing these, ensure they follow the slope of the back rather than sticking out horizontally. By observing how these parts overlap, you create a sense of realism and volume that makes your drawing appear three-dimensional.
Common mistakes when drawing grasshoppers
One frequent error is failing to account for the grasshopper’s posture. Beginners often draw the insect perfectly horizontal, but grasshoppers usually perch at an angle, with the head held slightly upright. Another mistake is drawing the antennae too short or too thick. These sensory organs are long, thread-like, and flexible, often curving gracefully away from the head. If they look like rigid sticks, the drawing loses its organic, lifelike quality.
Avoid these common pitfalls to improve your results:
- Drawing the eye as a simple dot instead of a large, oval-shaped compound eye.
- Making all six legs the same size, ignoring the significant difference between the hind legs and the front pairs.
- Forgetting to include the small, sharp spines that run along the tibia of the hind legs.
- Placing the wings too high on the thorax, which makes the insect look like it has a hump.
- Over-detailing the body before establishing the correct proportions of the three main segments.
How to add texture and detail
Once the basic structure is complete, you can bring the grasshopper to life through texture. Grasshoppers have a segmented, chitinous shell that reflects light. Use short, hatch marks to indicate the hard surface of the thorax and the joints of the legs. To create the look of wing veins, draw a network of fine, branching lines that grow thinner as they reach the outer edge of the wings. This level of detail adds visual interest and scientific accuracy.
Finally, consider the lighting of your drawing. Choose a light source and apply subtle shading on the side of the body opposite that source. A light touch of graphite under the legs can create a cast shadow, which grounds the insect on the page and prevents it from appearing as if it is floating. By layering these small details, you transform a simple outline into a sophisticated study of nature, capturing the essence of the grasshopper with precision and artistic flair.
Key facts
- Grasshoppers have three main body segments: the head, the thorax, and the abdomen.
- The large, muscular hind legs are essential for jumping and are attached to the thorax.
- A grasshopper's wings typically lie flat along the back when the insect is at rest.
- Use simple geometric shapes like ovals and rectangles to establish the basic proportions before adding detail.
- Always draw the antennae as long, thin, and slightly curved lines originating from the top of the head.
- Focus on the "Z" shape of the hind leg, which is the most defining feature of the insect's anatomy.
The bottom line
Drawing a grasshopper is an excellent exercise in observing structural anatomy. By breaking the insect down into simple ovals and rectangles, you can accurately capture its proportions before adding the characteristic "Z" shape of the hind legs. Focus on the connection points between the thorax and the limbs to ensure your drawing looks balanced. With practice, these basic shapes will evolve into a realistic, detailed insect illustration.
People also ask
Should I draw the grasshopper from the side or the top?
Drawing from a side profile is best for beginners because it clearly shows the anatomy of the legs and wings. This angle simplifies the complex shape of the insect into recognizable geometric parts.
How do I make the legs look realistic?
The hind leg is composed of three main segments: the femur, the tibia, and the tarsus. Ensure the femur is the thickest part and the tibia is long and thin with small, sharp spines.
What drawing tools work best for beginners?
A graphite pencil with an eraser is ideal for sketching initial shapes, followed by a fine-liner pen for final details. Keep your lines light while sketching to ensure you can easily correct mistakes.
How many segments should the body have?
While the body is segmented, focus on three primary sections: a rounded head, a rectangular thorax, and a long, tapering abdomen. This structure provides a stable foundation for the rest of your drawing.
Are grasshopper eyes difficult to draw?
Grasshoppers have large, compound eyes that are shaped like irregular ovals or "D" shapes on the sides of the head. Keep them large and positioned near the base of the antennae.
Why does my grasshopper look like a stick?
This often happens when the body segments are too thin or the legs are not attached to the thorax. Ensure the abdomen is slightly wider than the head and that the legs connect firmly to the central body mass.
This answer was created with the help of AI research tools and reference sources. Spotted an error? Let us know — we correct mistakes quickly. See our editorial policy.