How do you draw lightly?
Short answer
Drawing lightly requires adjusting your grip, choosing the correct pencil grade, and controlling your physical pressure. By holding the pencil further back from the tip and utilizing harder graphite, you reduce the force applied to the paper. This technique allows for delicate initial sketches that are easily erased or layered over later.
On this page
How to adjust your grip for light sketching
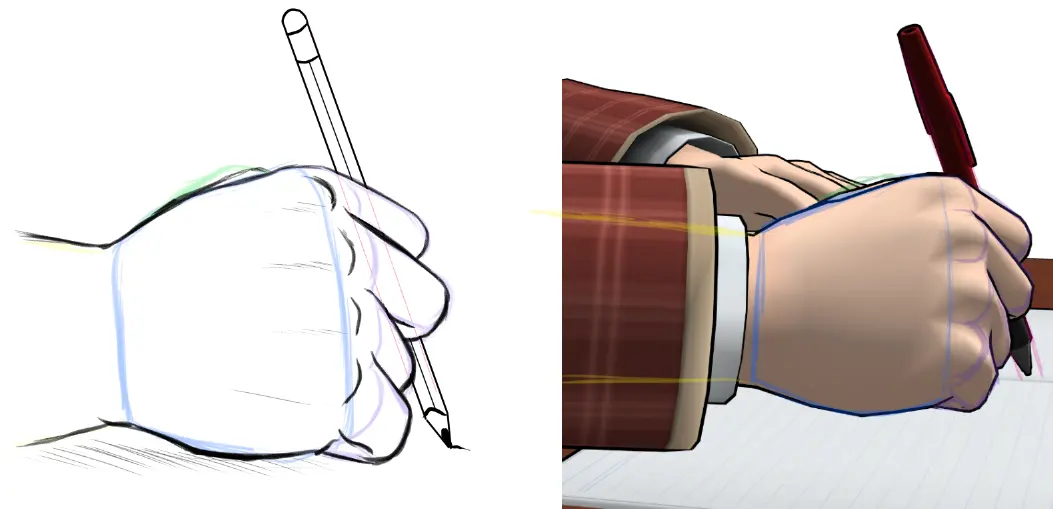
The most effective way to draw lightly is to change how you hold your pencil. Most people naturally grip a pencil near the tip for writing, which creates high pressure and dark lines. To achieve a lighter touch, slide your fingers back toward the middle or the end of the pencil barrel. This adjustment shifts the fulcrum point, making it physically difficult to press hard against the surface.
When you move your grip back, you gain more range of motion from your wrist and elbow rather than just your fingers. This promotes fluid, sweeping lines that are naturally softer. You should experiment with these three common grips to find what feels most comfortable for your specific style:
- The Tripod Grip: A relaxed version of your standard writing grip, moved further up the shaft.
- The Overhand Grip: Holding the pencil like a baton, which encourages using the side of the lead.
- The Underhand Grip: Resting the pencil on your index finger, ideal for long, sweeping strokes.
Which pencil grades are best for light drawing
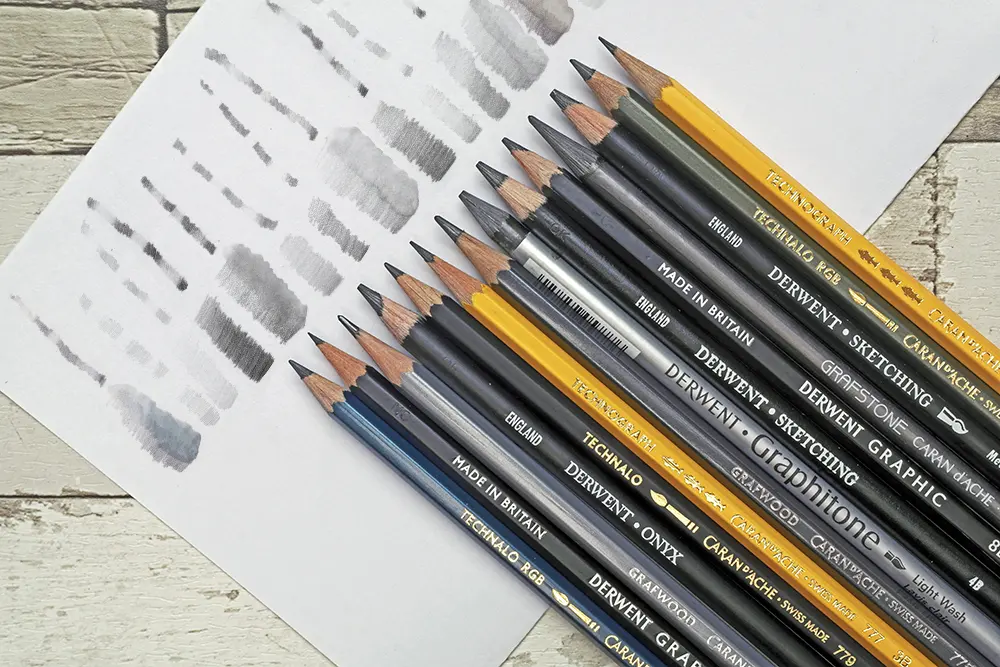
Graphite pencils are categorized by a scale of hardness and blackness, ranging from 9H (hardest) to 9B (softest). For light drawing, you should prioritize the H-range pencils. H stands for "hard," meaning the lead contains more clay and less graphite, resulting in a lighter, cleaner mark that resists smudging. A 2H or 4H pencil is the industry standard for technical drafting and initial layout sketches.
Avoid using soft pencils like 4B or 6B when you intend to draw lightly. These pencils are designed for dark, expressive shading and contain high concentrations of graphite that deposit heavily on the paper with minimal pressure. If you only have a standard HB pencil, you must be extremely conscious of your pressure, as the graphite is soft enough to create dark lines even with a light touch. Always keep your pencils sharp, as a dull point increases the surface area in contact with the paper, often leading to accidental dark patches.
How to control hand pressure while drawing
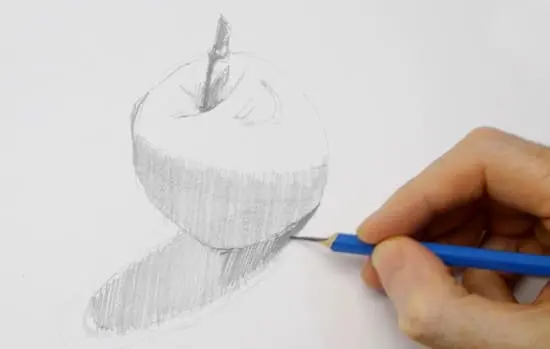
Controlling pressure is a skill developed through deliberate practice and muscle memory. Many artists find that they unconsciously press harder when they are frustrated or focusing intensely on a detail. To counteract this, try practicing your line work on scrap paper before starting your final piece. Focus on creating a gradient of pressure, starting from a nearly invisible mark and gradually increasing the weight until you reach a solid black.
- Start by holding the pencil at the very end of the shaft.
- Touch the paper so lightly that the line is barely visible.
- Draw a series of parallel lines across the page, maintaining that same minimal pressure.
- Gradually move your grip closer to the tip while maintaining the light mark to see how your control changes.
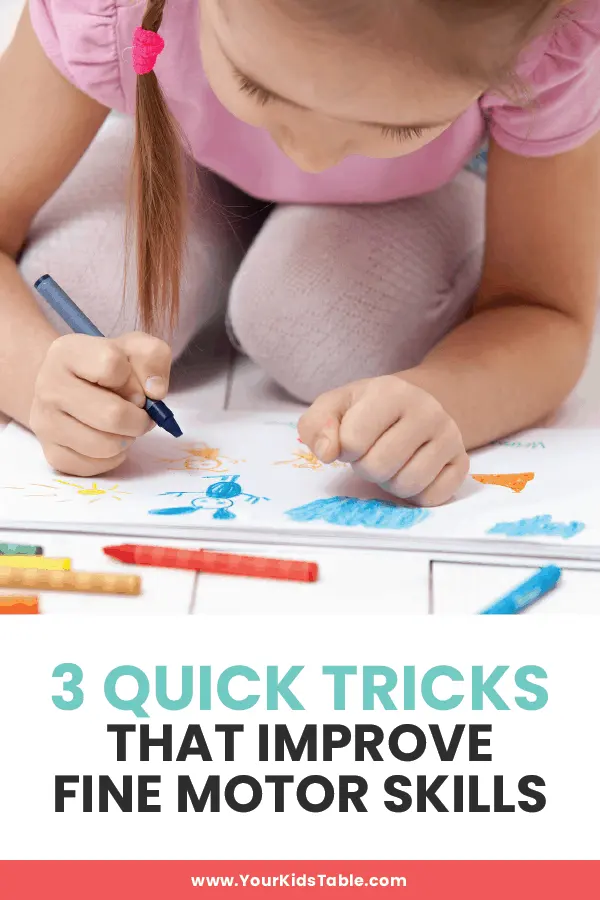
- Repeat this process daily for five minutes to build the necessary fine motor control.
Common mistakes when trying to draw lightly
One of the most frequent errors beginners make is using paper with too much texture or "tooth." Rough paper grabs the graphite, causing it to deposit more heavily even when you apply very little pressure. If you are struggling to keep your lines light, try switching to a smooth-surfaced paper, such as Bristol board or high-quality printer paper. These surfaces allow the pencil to glide, making it easier to maintain a consistent, faint mark.
Another mistake is failing to sharpen your pencil frequently. A blunt tip forces you to press harder to get a line to show up, which leads to thick, muddy marks that are difficult to erase. Additionally, beginners often press down with their wrist anchored firmly to the desk. This creates a pivot point that naturally increases pressure. Try lifting your wrist slightly off the paper to encourage a lighter, more graceful stroke that originates from your shoulder rather than your small finger muscles.
Why drawing lightly is important for artists
Drawing lightly is the foundation of the "underdrawing" technique, which is essential for complex compositions. By keeping your initial lines faint, you can easily map out proportions, perspective, and placement without committing to permanent, dark marks. This allows you to make adjustments and corrections as you work. If your initial lines are too dark, they become difficult to erase, leaving behind ghost lines or damaging the paper fibers, which can ruin the final appearance of your artwork.
Furthermore, light drawing allows for better layering. When you build a drawing up in stages, you start with light, structural lines and gradually add darker values and details on top. This process creates depth and volume that is impossible to achieve if you start with heavy, dark outlines. By mastering the ability to draw lightly, you gain control over the entire artistic process, ensuring that your final piece remains clean, professional, and free of unwanted smudges or heavy, permanent lines that detract from the overall composition.
Key facts
- Hold your pencil near the end of the shaft, rather than close to the tip, to reduce the amount of pressure applied to the paper.
- Use harder graphite grades, such as 2H, 3H, or 4H, which contain more clay and leave fainter marks than softer B-grade pencils.
- Keep your wrist loose and move your entire arm from the shoulder to maintain a consistent, light touch across the page.
- Apply the "feathering" technique by barely brushing the paper surface, allowing the graphite to sit on the "tooth" or texture of the sheet.
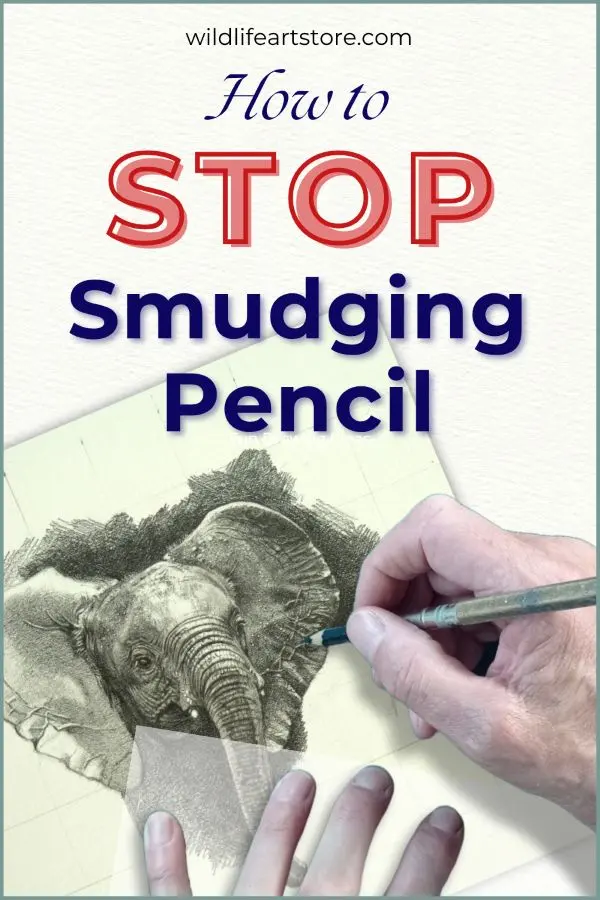
- Rest your hand on a clean piece of scrap paper while drawing to prevent oils from your skin from darkening the surface or smudging your light lines.
- Practice drawing on a vertical surface like an easel, which naturally limits the amount of force you can exert compared to drawing on a flat desk.
The bottom line
Drawing lightly is a foundational skill that relies on proper grip, tool selection, and physical control. By holding your pencil further back and utilizing harder graphite grades, you can create delicate guidelines that are easy to refine or erase. Mastering this technique allows for greater artistic flexibility, ensuring that your final illustrations remain clean, accurate, and free from the restrictive, heavy indentations of over-pressed graphite.
People also ask
Why do my light lines look messy or scratchy?
This often happens because you are using a pencil that is too soft or applying uneven pressure. Switch to a harder lead grade and focus on fluid, sweeping motions rather than short, choppy strokes to achieve a cleaner appearance.
How can I erase light lines without damaging the paper?
Use a kneaded eraser, which can be molded into a point to lift graphite gently without scrubbing. Avoid using hard rubber erasers, as they can abrade the paper fibers and make it difficult to draw over the area again.
Should I use a specific type of paper for light sketching?
Paper with a slight "tooth," or texture, is ideal because it grabs the graphite particles more effectively. Very smooth or glossy paper can make it difficult to control light marks, as the lead may slide across the surface too easily.
Is it better to draw lightly from the start or darken lines later?
Professional artists almost always start with light construction lines to establish proportions and form. Once the composition is correct, you can gradually build up depth and contrast by layering darker values over the initial light framework.
What is the best way to hold a pencil for shading?
Hold the pencil at a low angle, almost parallel to the paper, using an overhand grip. This increases the contact area of the lead, allowing you to cover larger spaces with a soft, diffused tone rather than sharp, dark lines.
How do I know if I am pressing too hard?
If you see indentations in the paper after you erase a line, you are using too much force. A light touch should leave pigment on the surface without physically altering the texture or structure of the paper sheet.
This answer was created with the help of AI research tools and reference sources. Spotted an error? Let us know — we correct mistakes quickly. See our editorial policy.