How do you draw with crayons?
Short answer
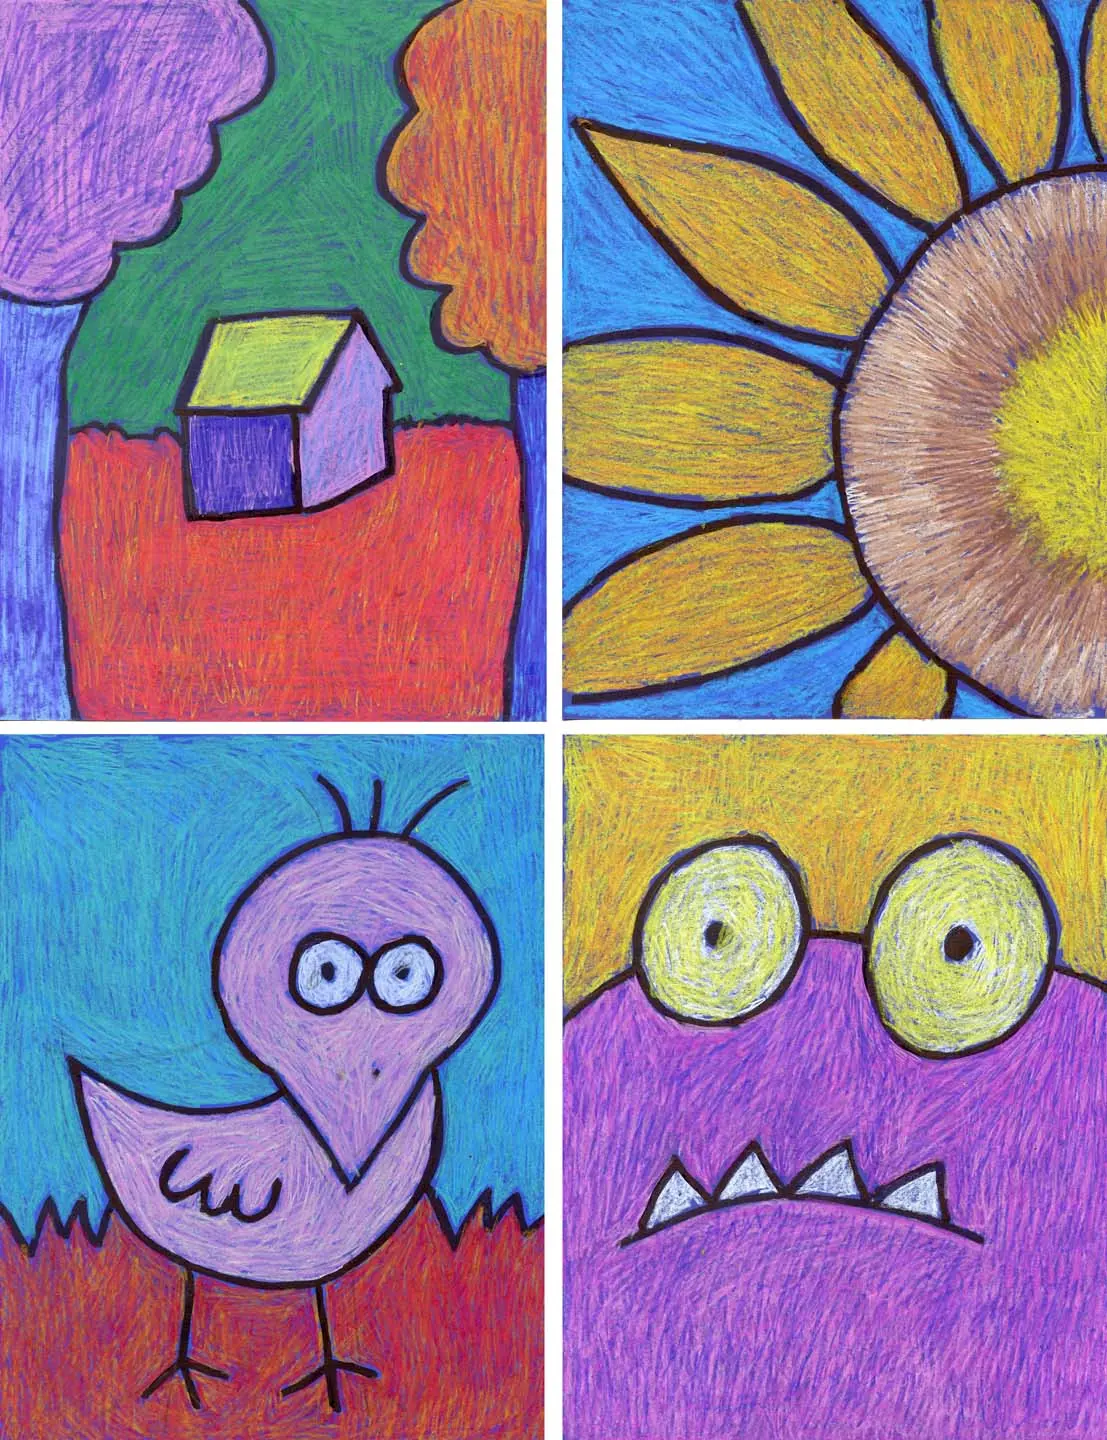
Drawing with crayons involves applying wax-based pigments onto paper using controlled pressure and layering techniques. By adjusting your grip and the angle of the crayon, you can create varied textures, gradients, and vibrant color blends. Mastery comes from experimenting with layering, burnishing, and blending to achieve depth and professional visual results.
On this page
How to hold crayons for better control
The way you grip a crayon significantly impacts the quality of your lines and your ability to shade. For fine details, hold the crayon close to the tip, similar to how you would hold a pencil. This provides stability and allows for precise movements when outlining shapes or adding small features to your drawing.
For broader strokes and shading, hold the crayon further back from the tip. This grip allows you to use the side of the crayon rather than the point, which is ideal for covering large areas quickly. Experimenting with your grip helps you understand how much pressure is needed for different effects. Consider these tips for better handling:
- Use a light touch to sketch initial outlines that can be easily erased or covered.
- Rotate the crayon as you draw to keep the tip sharp for longer periods.
- Rest your hand on a clean piece of scrap paper to prevent smudging your work.
Best techniques for blending colors
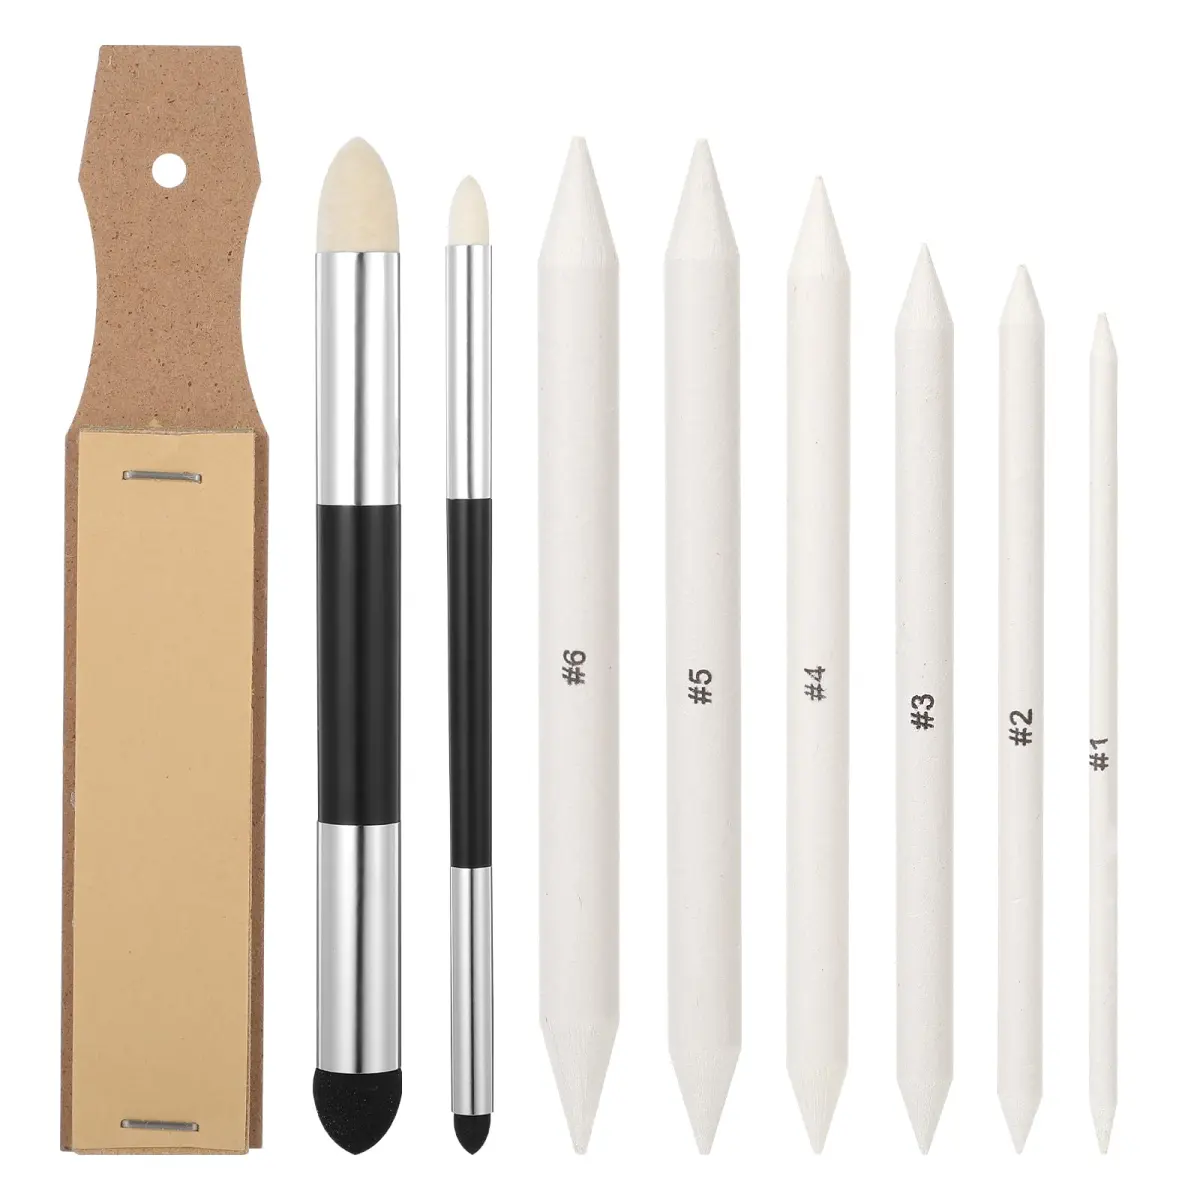
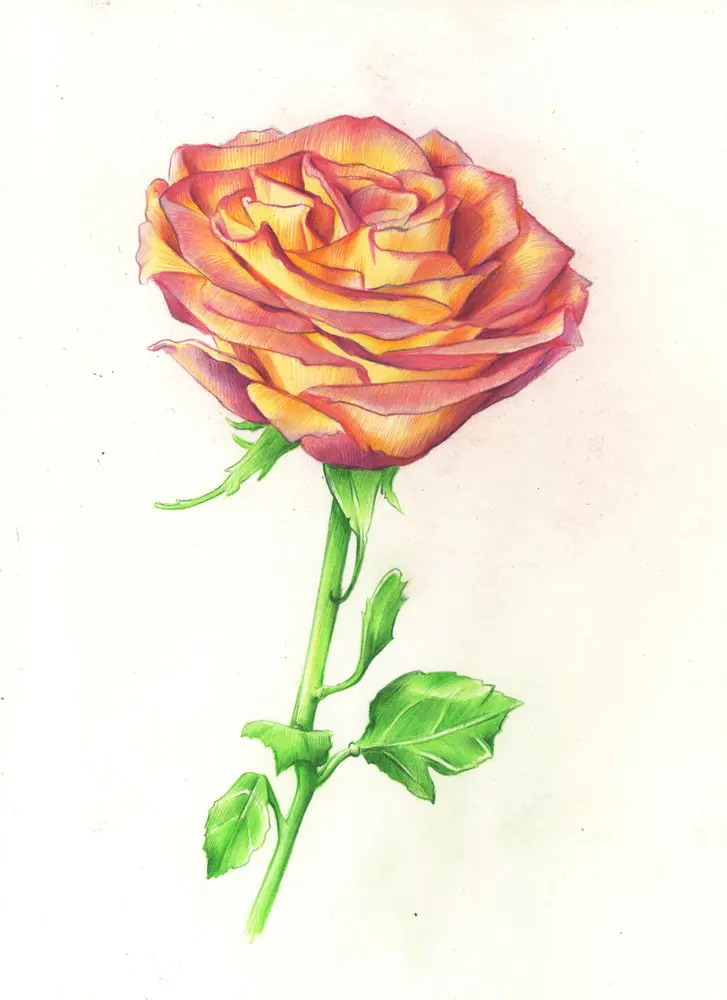
Blending is the secret to creating professional-looking crayon art. Unlike paints, crayons require physical layering to mix colors. Start by applying a light layer of one color, then gently overlap it with a second color. By varying the pressure, you can create a smooth transition between two distinct hues.
You can also use a process called burnishing to blend colors more effectively. This involves applying heavy pressure with a light-colored crayon, such as white or cream, over your existing layers. The wax from the top layer pushes into the paper fibers, filling in the white gaps and creating a polished, opaque look. Follow these steps to achieve a smooth blend:
- Apply your base color lightly across the intended area.
- Add a second color on top, gradually increasing pressure where you want the colors to merge.
- Use a white or colorless blender crayon to smooth out the transition by applying firm, circular strokes.
How to create texture and depth
Crayons are excellent for adding tactile interest to a flat surface. You can use a technique called sgraffito to reveal hidden colors beneath a top layer. First, color a section of your paper with bright, vibrant colors. Cover that entire section with a thick layer of black or dark blue crayon, then use a toothpick or a paperclip to scratch designs into the dark wax.
Layering is also essential for creating the illusion of depth. By placing cooler colors like blues and purples in the background and warmer, brighter colors in the foreground, you can make your drawings appear three-dimensional. Keep in mind that the texture of your paper also plays a role in how the wax adheres. Rougher paper will grip the wax more effectively, creating a grainy effect, while smooth paper allows for finer, more detailed work.
Common mistakes when drawing with crayons
Many beginners struggle with wax buildup, which occurs when too much pressure is applied too early. This creates a waxy, uneven surface that prevents subsequent layers from sticking properly. To avoid this, always start with light, airy strokes and build up to darker, more saturated colors only after you have established your composition.
Another frequent error is neglecting the direction of your strokes. If you change directions constantly, your drawing may look messy or disorganized. Try to follow the contours of the object you are drawing; for example, use curved strokes when coloring a round fruit to give it a sense of volume. Avoid these common pitfalls to improve your results:
- Pressing too hard at the start, which makes it impossible to add highlights later.
- Leaving large, uncolored gaps that make the drawing look unfinished.
- Using a broken crayon tip that creates uneven lines instead of smooth, consistent marks.
How to maintain and store your supplies
Proper care of your crayons ensures they remain functional for future projects. Store your crayons in a cool, dry place, as extreme heat can cause the wax to soften or melt, leading to misshapen sticks. Keeping them in their original box or a dedicated container prevents them from rolling off tables and breaking.
If your crayons become dull, you can use a standard pencil sharpener to restore a fine point. However, be gentle, as the wax is softer than graphite and can easily snap inside the sharpener. If a crayon does break, you can often fuse the pieces back together by gently warming the ends with a hair dryer or by holding them near a light bulb for a few seconds. By keeping your tools in good condition, you ensure that your creative process remains uninterrupted and your artwork maintains a consistent, high-quality appearance throughout every stage of your artistic development.
Key facts
- Modern crayons are primarily composed of paraffin wax and color pigments, a formula standardized by Binney & Smith in 1903.
- Use a light touch for initial outlines to ensure lines can be easily covered or blended by darker colors later.
- Layering colors by overlapping strokes creates new hues and adds visual depth to your drawing.
- To achieve a smooth, solid fill, use small circular motions rather than long, back-and-forth strokes.
- Scrape away excess wax with a craft knife or fingernail to create "sgraffito" effects, revealing layers underneath.
- Keep crayons sharp by using a dedicated plastic sharpener, which prevents the wax from snapping inside the barrel.
The bottom line
Drawing with crayons is a versatile technique that relies on pressure control and layering to achieve professional results. By utilizing circular strokes for coverage and experimenting with texture, you can transform simple wax sticks into complex works of art. Remember to choose the right paper and keep your tools sharp to ensure precision. With practice, you will master the balance between soft shading and bold, vibrant color application.
People also ask
How do you blend colors with crayons?
You can blend colors by layering a lighter shade over a darker one or by using a white crayon to burnish and soften the transitions. Applying firm, consistent pressure helps fuse the wax particles together on the paper surface.
What is the best type of paper for crayon drawing?
Textured paper, such as construction paper or heavy cardstock, works best because the "tooth" of the paper grabs the wax. Smooth printer paper often results in a slippery surface that makes it difficult to build up rich, vibrant color layers.
How can I remove crayon marks from walls?
Most crayon marks can be removed using a damp cloth dipped in baking soda or a specialized melamine foam eraser. The mild abrasive action lifts the wax from the surface without damaging the underlying paint.
Why do my crayons break so easily?
Crayons break when they are subjected to excessive pressure or extreme temperature fluctuations. To prevent breakage, store them in a cool, dry place and avoid pressing down too hard when coloring large areas.
Can I melt crayons to create art?
Yes, you can melt crayons using a heat gun, hair dryer, or by placing them on a warm surface to create drip art. Always work in a well-ventilated area and use heat-resistant tools to ensure safety.
What is the difference between wax crayons and oil pastels?
Wax crayons are firmer and contain more wax, making them ideal for detailed work and younger artists. Oil pastels contain non-drying oil and wax, resulting in a buttery, paint-like consistency that is much easier to smudge and blend.
This answer was created with the help of AI research tools and reference sources. Spotted an error? Let us know — we correct mistakes quickly. See our editorial policy.