How do you shade without blending tools?
Short answer
Shading without blending tools relies on controlled mark-making techniques like hatching, cross-hatching, and stippling. By varying the density, direction, and pressure of your pencil strokes, you create the illusion of depth and value. These methods prioritize texture and structural clarity over smooth gradients, allowing artists to build tone through intentional, visible layering.
On this page
How to shade using hatching and cross-hatching
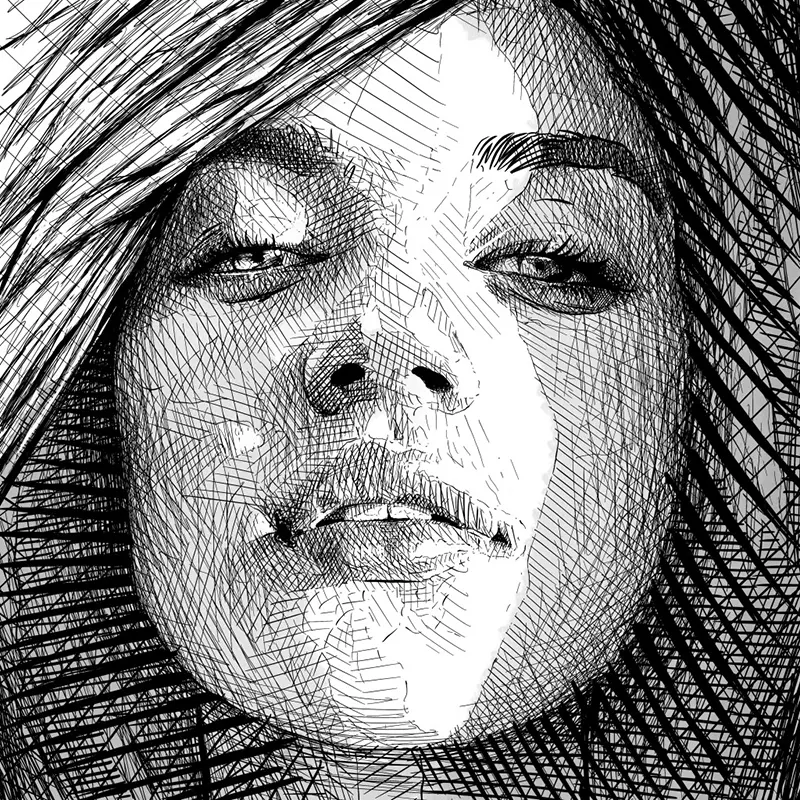
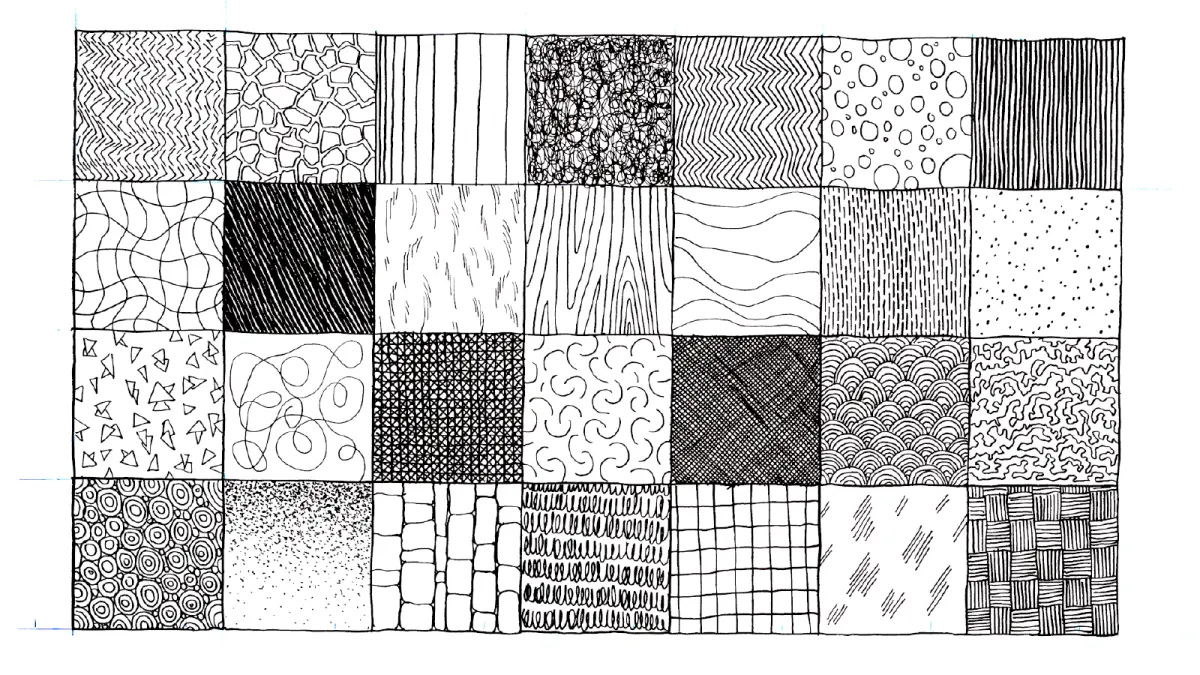
Hatching is the most fundamental technique for shading without smudging. It involves drawing a series of parallel lines close together; the closer the lines, the darker the area appears. By adjusting the distance between these lines, you can create a full range of values from light gray to deep black. Cross-hatching takes this further by layering a second set of lines at an angle over the first. This creates a mesh-like texture that builds darkness much faster than single-directional hatching.
To master these techniques, focus on consistent stroke length and rhythm. You can follow these steps to build depth effectively:
- Identify your light source to determine where the darkest shadows fall.
- Apply a light layer of parallel lines across the shadow area.
- Add a second layer of lines at a 45-degree angle to darken the tone.
- Increase the density of lines in the deepest shadows to create high contrast.
- Keep your pencil sharp to ensure the lines remain crisp and distinct.
How to use stippling for texture and tone
Stippling is the process of creating value through thousands of tiny dots. Unlike lines, dots do not have a directional flow, which makes this technique ideal for rendering soft surfaces or complex textures like skin. By placing dots closer together, you increase the density of the graphite on the paper, resulting in a darker value. Conversely, spacing the dots further apart creates lighter, more ethereal tones that seem to glow against the white of the page.
This method requires significant patience, as building a smooth gradient takes time. When stippling, avoid the temptation to create "clusters" or patterns, which can look distracting. Instead, try to distribute your dots randomly to maintain a natural appearance. If you need a darker shade, do not press harder; simply add more dots to that specific area. This technique is excellent for beginners who struggle with hand pressure, as it relies on frequency rather than force to achieve the desired visual result.
Why pressure control is essential for shading
Even without blending tools, your hand pressure is the primary driver of value. Most graphite pencils range from 9H (hardest) to 9B (softest). A 2B or 4B pencil is generally best for shading because it provides a wide range of tones with minimal effort. By varying how hard you press, you can achieve a spectrum of grays without ever needing to rub or smudge the graphite into the paper fibers.
Practicing light-to-dark transitions is a vital exercise for any artist. Start by holding your pencil further back from the tip, which naturally reduces the pressure you apply. Gradually move your grip closer to the lead as you need to darken your marks. Avoid the common mistake of pressing too hard early in the process, as this crushes the paper fibers and makes it impossible to erase or layer further. Instead, build your darks slowly through multiple light passes to maintain control over the final outcome.
Common mistakes when shading without tools
The most frequent error artists make is using a heavy hand too early, which results in muddy, overworked drawings. When you lack a blending tool, you must rely on the white of the paper to provide luminosity. If you cover the entire surface with heavy graphite, you lose the ability to create highlights. Another mistake is inconsistent stroke direction, which can make a drawing look chaotic rather than structured. Always consider the form of the object you are rendering and follow its contours with your lines.
To avoid these pitfalls, keep these guidelines in mind:
- Do not use your fingers to blend, as the natural oils on your skin can create permanent, uneven smudges.
- Avoid "scribbling" in tight circles, as this creates an unnatural texture that is difficult to correct.
- Remember to leave the brightest highlights completely untouched by graphite.
- Use a kneaded eraser to lift graphite if an area becomes too dark, rather than trying to erase it completely.
- Periodically step back from your work to check if the value transitions look smooth from a distance.
Best pencil techniques for beginners
For those new to drawing, the "contour hatching" technique is the most effective way to understand form. By curving your lines to follow the shape of the object—such as drawing rounded lines on a sphere—you immediately give your subject a three-dimensional appearance. This provides volume that flat, straight hatching cannot achieve. Practice this on simple geometric shapes like cubes, cylinders, and spheres to build your confidence before moving on to more complex subjects like portraits or landscapes.
Focusing on the "value scale" is the final step in your development. Create a five-step scale on a piece of scrap paper, ranging from pure white to the darkest black your pencil can achieve. Use only hatching or stippling to fill in the three middle steps. Once you can differentiate these five levels of gray, you will have the technical foundation to shade any subject accurately. Mastering these manual methods ensures that your drawings remain clean, professional, and full of life without relying on external tools.
Key facts
- Hatching involves drawing parallel lines to create value; closer lines result in darker tones.
- Cross-hatching layers intersecting sets of lines to build depth and density without smudging.
- Stippling uses individual dots to create gradients, where higher dot density produces deeper shadows.
- Varying pencil pressure allows for a smooth transition from light to dark using only the lead.
- Circular shading, or scumbling, uses small, overlapping loops to build texture and tone gradually.
- Controlling the angle of the pencil tip changes the width and softness of the mark, influencing shading quality.
The bottom line
Mastering shading without blending tools relies on disciplined mark-making and pressure control. By utilizing techniques like hatching, stippling, and scumbling, you can build complex values and textures that remain crisp and intentional. These methods prevent the muddy appearance often caused by over-blending, allowing your individual strokes to define the form. Practice patience, keep your pencil sharp, and let the layering of marks create the depth you desire.
People also ask
Which pencil grade is best for shading without blending?
A 2B or 4B pencil is ideal because the softer lead allows for a wide range of values through pressure alone. Harder pencils like 2H are better for light, crisp details rather than deep shadows.
Can I use an eraser to shade?
Yes, subtractive shading involves covering an area with graphite and then lifting it with an eraser to create highlights. This technique produces clean, sharp edges that are difficult to achieve with blending tools.
How do I prevent my hand from smudging the drawing?
Place a clean sheet of paper under your drawing hand to protect the surface from oils and accidental smears. This simple habit keeps your work crisp and professional while you build layers.
Why do my drawings look messy when I don't blend?
Messiness often stems from inconsistent stroke direction or uneven pressure. Focus on keeping your lines uniform and building value slowly rather than pressing hard immediately.
Is cross-hatching only for pen drawings?
While common in ink work, cross-hatching is highly effective with graphite and charcoal. It provides a structured, architectural look that defines form without the need for soft, blurred transitions.
How do I achieve a smooth gradient without smudging?
Use a technique called "tapering," where you lift the pencil off the paper at the end of each stroke. Repeating this with light, overlapping strokes creates a seamless transition of tone.
This answer was created with the help of AI research tools and reference sources. Spotted an error? Let us know — we correct mistakes quickly. See our editorial policy.