How do you draw with a brush pen?
Short answer
Drawing with a brush pen requires mastering pressure control to vary line thickness. Hold the pen at a 45-degree angle, applying light pressure for thin upstrokes and firm pressure for thick downstrokes. Consistent practice of basic strokes and shapes will build the muscle memory necessary for fluid, expressive illustrations and lettering.
On this page
How to hold a brush pen for control
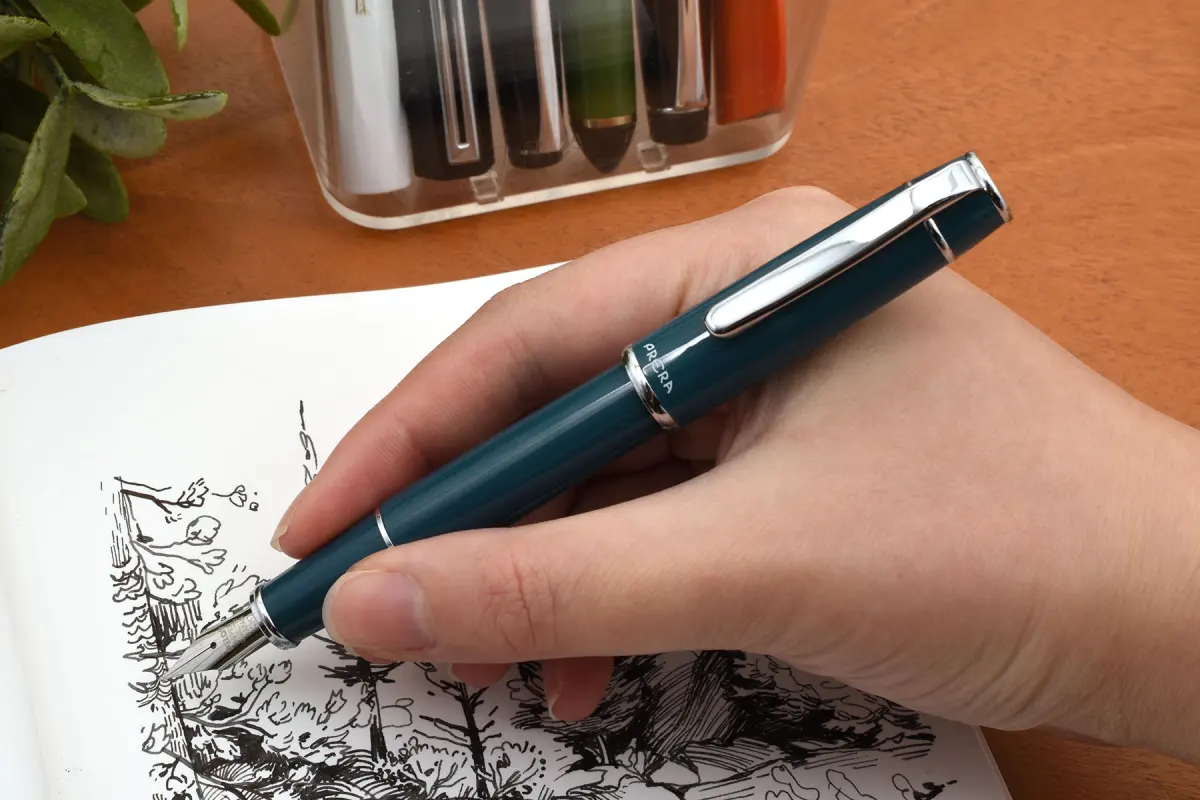
The grip is the foundation of brush pen artistry. Unlike a standard ballpoint pen, a brush pen responds to the angle and force applied to its flexible tip. Hold the pen at a 45-degree angle relative to the paper, allowing the side of the brush, rather than just the very tip, to make contact. This wider surface area provides more stability and prevents the delicate bristles from fraying prematurely.
Your grip should be relaxed rather than tight. A rigid hand leads to shaky lines and prevents the natural flow required for smooth transitions. If you find your hand cramping, loosen your hold and move your entire arm rather than just your fingers. This technique, often called "arm writing," ensures that your strokes remain consistent and fluid across the page. Practicing this grip for ten minutes daily will significantly improve your line quality.
Best brush pens for beginners
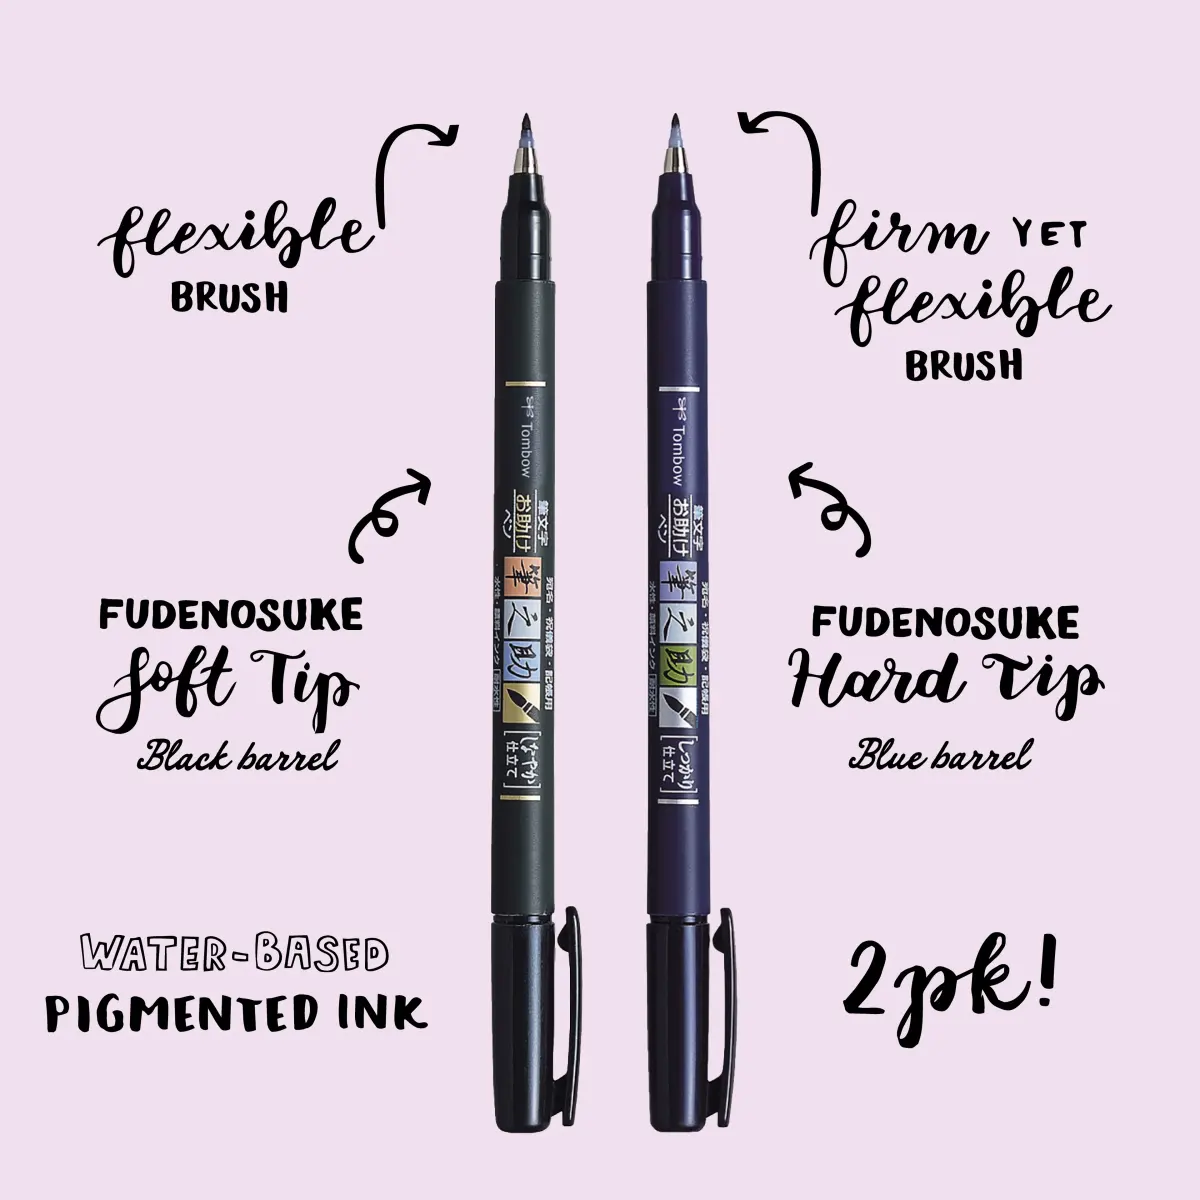
Choosing the right tool is essential for mastering the medium. Beginners should start with pens featuring firm, felt-like tips rather than delicate hair bristles. Firm tips are more forgiving and provide better feedback as you learn to modulate pressure. Popular entry-level options include the Pentel Fude Touch Sign Pen and the Tombow Fudenosuke, both of which offer excellent control for small-scale work.
When selecting your first pen, consider these factors to ensure a successful start:
- Tip durability: Look for synthetic felt tips that retain their shape after repeated use.
- Ink flow: Choose water-based dye inks, which are generally easier to manage and less prone to bleeding through standard paper.
- Size: Start with a small or medium tip, as large brush pens require significantly more control to prevent messy, uneven lines.
- Paper compatibility: Use smooth, non-porous paper to prevent the fibers from snagging the brush tip and causing fraying.
How to create basic brush strokes
The core technique of brush drawing involves varying the pressure applied to the pen. Thin lines are created by using the very tip of the brush with minimal pressure, while thick lines are produced by pressing the brush firmly against the paper. Mastering this contrast is the primary goal for any aspiring artist.
Follow these steps to practice your foundational strokes:
- Start with an upstroke: Begin at the bottom and move upward, applying almost no pressure to create a hairline.
- Transition to a downstroke: At the peak of your stroke, gradually increase pressure as you move downward to create a bold, thick line.
- Maintain the angle: Keep your pen at that consistent 45-degree angle throughout the entire movement to ensure the brush tip remains aligned.
- Lift cleanly: At the end of each stroke, release pressure slowly before lifting the pen completely off the paper to achieve a sharp, tapered finish.
Common mistakes when using brush pens
Many beginners struggle because they treat a brush pen like a standard pencil. One of the most frequent errors is applying heavy pressure during upstrokes, which results in thick, clumsy lines instead of elegant, thin ones. Another common mistake is holding the pen vertically; this forces the tip to splay and prevents you from utilizing the brush's natural flexibility.
Avoid these pitfalls to accelerate your progress:
- Rushing the movement: Brush drawing is a slow, deliberate process; moving too quickly leads to jagged lines and loss of control.
- Ignoring paper quality: Using rough or textured paper will shred the brush tip within minutes, ruining the tool.
- Overworking a stroke: If your line is not perfect, move on to the next one rather than trying to "fix" it, as layering ink often creates unsightly dark spots.
- Neglecting the "reset": Always ensure the brush tip has returned to its original shape before starting a new stroke.
How to maintain your brush pens
Proper care extends the life of your pens and keeps the tips sharp. Always recap your pens immediately after use to prevent the ink from drying out. If the tip becomes dry, store the pen horizontally for a few hours to allow the ink to redistribute evenly. Never press down so hard that the brush tip bends at a sharp angle, as this permanently damages the delicate fibers.
If you are using water-based markers, you can occasionally "revive" a slightly dry tip by dipping it briefly into a tiny amount of water, though this is a temporary fix. For long-term storage, keep your pens in a cool, dry place away from direct sunlight, which can degrade the ink pigments and the plastic casing. By treating your tools with care and practicing your pressure control daily, you will develop the technical proficiency required to create sophisticated, professional-grade illustrations and calligraphic works with ease.
Key facts
- Brush pens feature flexible tips made of synthetic fibers or natural hair that mimic traditional ink brushes.
- Line thickness is primarily controlled by the amount of pressure applied to the tip rather than the angle of the pen.
- Holding the pen at a 45-degree angle provides the most stability for transitioning between thin upstrokes and thick downstrokes.
- Use smooth, non-textured paper to prevent the fine fibers of the brush tip from fraying or snagging.
- Always store brush pens horizontally to ensure the ink remains evenly distributed throughout the tip.
- Practice basic strokes, such as "up-thin, down-thick," to build the muscle memory required for consistent lettering and illustration.
The bottom line
Mastering a brush pen requires a balance of light touch and deliberate pressure control. By focusing on the fundamental technique of thin upstrokes and thick downstrokes, you can develop the precision needed for professional-grade lettering. Remember to use smooth paper, store your pens horizontally, and practice consistently. With patience and the right tools, you will gain the confidence to create expressive, dynamic art with ease.
People also ask
What is the difference between a felt-tip and a real hair brush pen?
Felt-tip brush pens are firmer and easier for beginners to control, while real hair brushes offer superior fluidity and responsiveness. Real hair pens require more practice to master because they are highly sensitive to even the slightest movement.
How do I prevent the brush tip from fraying?
Avoid pressing too hard against the paper, as excessive force damages the delicate tip fibers. Always use high-quality, smooth paper designed for markers to reduce friction and wear.
Can I refill my brush pen with standard ink?
Only refill pens designed as refillable, such as those that take cartridges or converters. Using ink not intended for the specific pen model can clog the feed and permanently ruin the brush tip.
Should I use water with brush pens?
Only use water if you are working with water-based or water-soluble ink pens. Using water with permanent or alcohol-based inks will cause the ink to separate or damage the pen's internal components.
How do I achieve a consistent line width?
Consistency comes from maintaining a steady, even pressure throughout the entire stroke. Beginners should focus on slow, deliberate movements until the hand learns to keep the pressure uniform across the page.
Why is my brush pen leaking ink?
Leaks often occur due to rapid temperature changes or shaking the pen too vigorously. Store the pen in a stable environment and ensure the cap is snapped shut completely after every use.
This answer was created with the help of AI research tools and reference sources. Spotted an error? Let us know — we correct mistakes quickly. See our editorial policy.