How do you draw with markers?
Short answer
Drawing with markers involves selecting the right ink base, controlling pressure, and layering colors to build depth. Start by choosing alcohol-based markers for smooth blending or water-based options for precision. Master techniques like flicking, stippling, and cross-hatching to create textures, ensuring you always work on high-quality, bleed-proof paper to achieve professional results.
On this page
How to choose the best markers for beginners
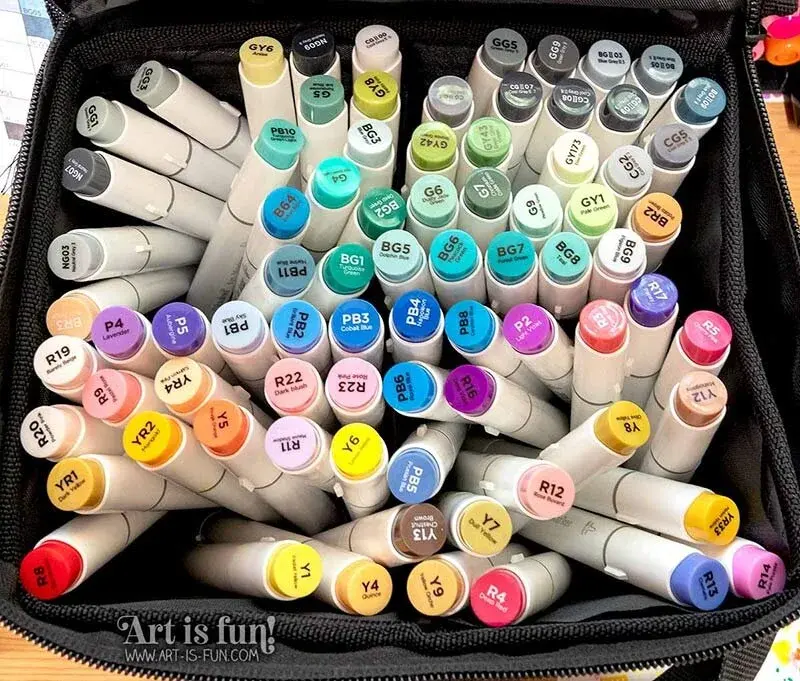
Selecting the right tools is the first step toward mastering marker art. For most beginners, alcohol-based markers are the gold standard because they allow for seamless blending and layering without leaving harsh streaks. Brands like Copic, Ohuhu, and Prismacolor are industry leaders that offer a vast range of pigments. These markers are permanent and dry quickly, making them ideal for illustrators who need to work efficiently.
Water-based markers offer a different experience, often resembling watercolors in their application. They are generally safer for younger artists and easier to clean up, though they can pill the paper if you apply too much moisture. When starting out, it is best to purchase a small set of primary colors rather than a massive collection. This forces you to learn color theory and mixing before investing in expensive, specialized palettes.
- Alcohol markers: Best for smooth gradients and professional illustration.
- Water-based markers: Best for sketching, journaling, and watercolor-like effects.
- Fineliners: Essential for adding fine details and sharp outlines to your work.
How to blend markers like a professional
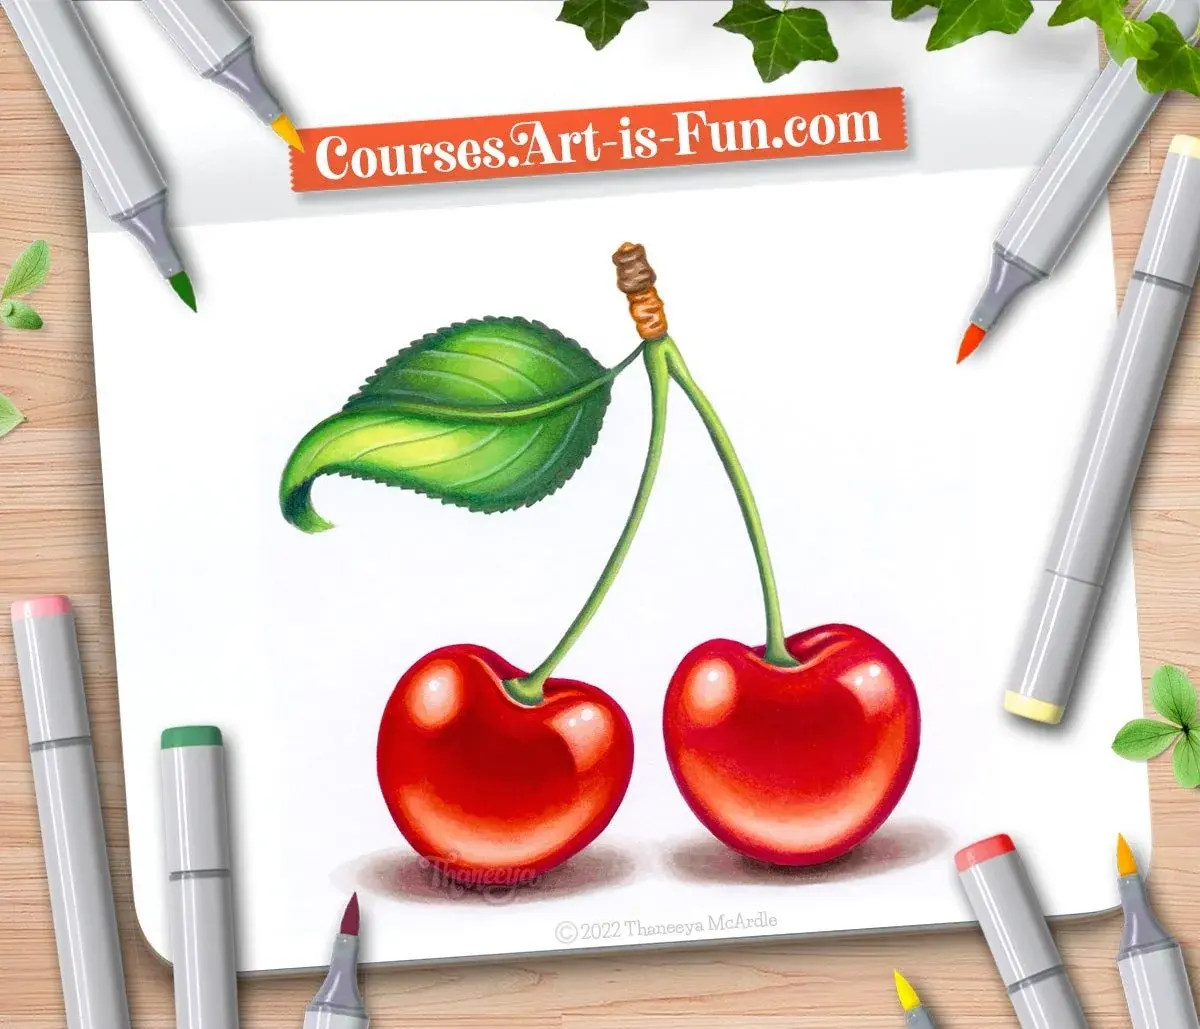
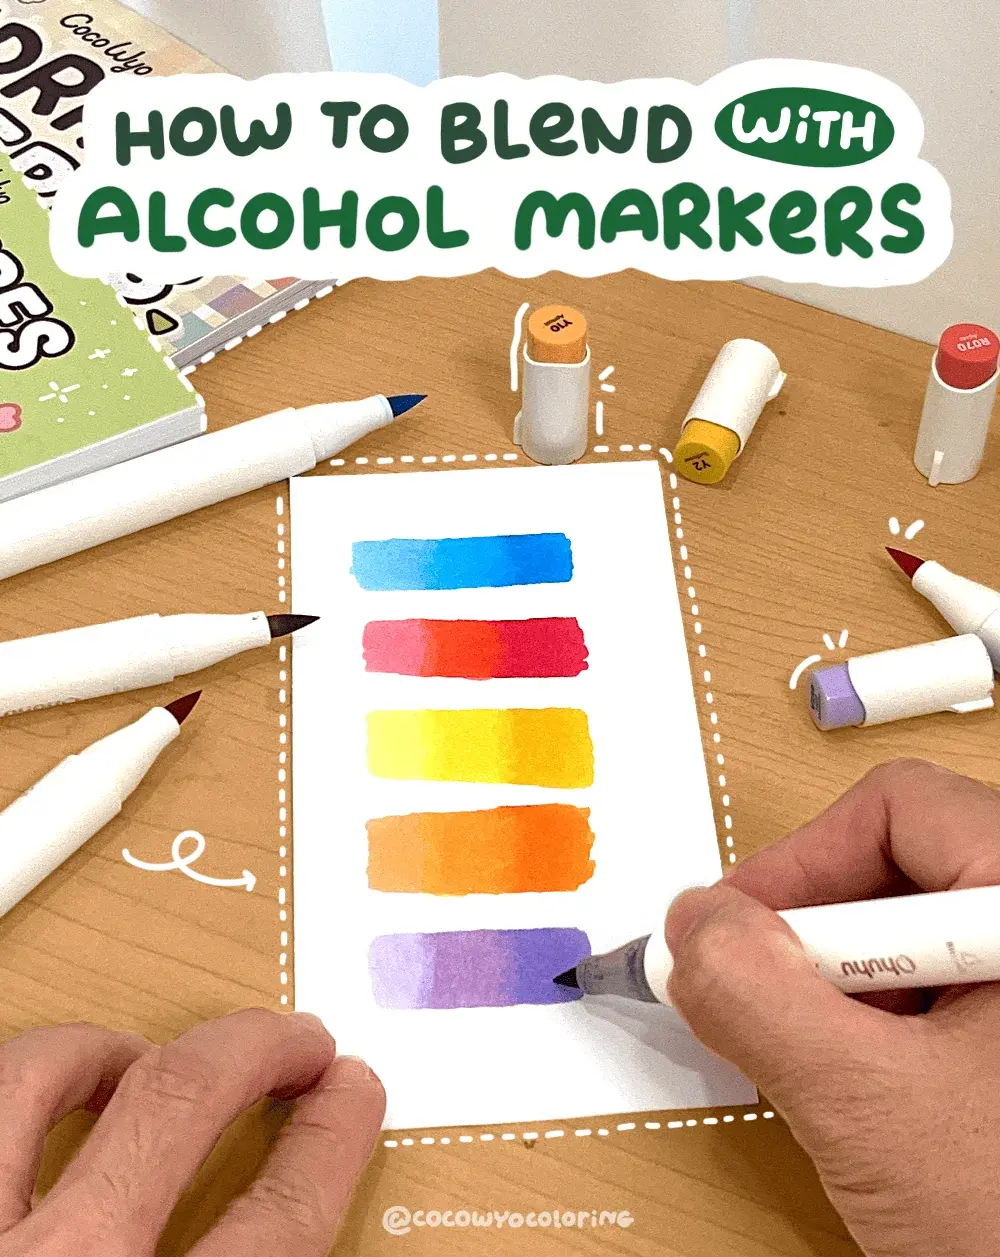
Blending is the secret to moving beyond flat, cartoonish coloring. To achieve a smooth gradient, you must work while the ink is still wet on the page. Start by laying down a lighter base color, then apply a darker shade to the edges where you want the shadow to be. Use the lighter marker again to pull the pigment from the dark area into the light, effectively blurring the transition line.
If you are using alcohol markers, the "colorless blender" is an essential tool. This marker contains only the solvent used in the colored pens and acts as an eraser or a tool to push pigment around. You can also use it to lighten areas that have become too dark or to create subtle highlights. Always keep your strokes consistent and avoid over-saturating the paper, which can cause the ink to bleed outside your intended lines.
- Apply the lightest color first to establish the base.
- Work in small sections to keep the ink wet during the blending process.
- Use flicking motions to create soft edges rather than hard, blocky transitions.
Why marker bleed happens and how to prevent it
Marker bleed occurs when ink saturates the paper fibers and spreads beyond the intended boundary. This is most common with alcohol-based markers, which are designed to flow freely. Using standard printer paper is the primary cause of this issue, as the fibers are too porous and thin to hold the heavy pigment load. To prevent this, you must use specialized marker paper or heavy cardstock that features a non-porous coating.
Another factor is the speed of your hand. If you hold the marker in one spot for too long, the ink will continue to pool and spread outward. Keep your hand moving at a steady pace to ensure an even distribution of ink. If you are working on a detailed piece, consider placing a scrap sheet of paper between your drawing and the table, as the ink will almost certainly bleed through to the other side.
- Use paper specifically labeled for markers or "bleed-proof" pads.
- Keep a scrap sheet underneath your work to protect your workspace.
- Avoid going over the same area repeatedly, as this weakens the paper fibers.
Common mistakes when drawing with markers
One of the most frequent errors is failing to plan the light source before applying color. Without a consistent light direction, your drawings will appear flat and lack dimension. Always decide where the light is coming from—such as the top-left corner—and keep your shadows consistently on the opposite side. Another common mistake is starting with the darkest color, which makes it nearly impossible to correct errors or blend effectively later.
Many beginners also struggle with "streaking," which happens when you color in inconsistent directions or use a marker that is running dry. To avoid this, try to use long, fluid strokes that follow the contour of the object you are drawing. If your marker is running out of ink, do not press harder, as this will damage the felt nib and ruin the paper. Instead, store your markers horizontally so the ink remains evenly distributed between the two ends.
- Forgetting to establish a light source before coloring.
- Starting with the darkest colors instead of the lightest.
- Pressing too hard, which frays the nib and causes ink pooling.
How to care for your markers
Markers are an investment, and proper maintenance significantly extends their lifespan. Always ensure the cap is replaced firmly until you hear a distinct "click." If the cap is left off even for a short time, the alcohol-based solvents will evaporate, causing the ink to dry out permanently. If you notice a nib becoming frayed or stained, many professional brands allow you to purchase replacement nibs rather than buying an entirely new marker.
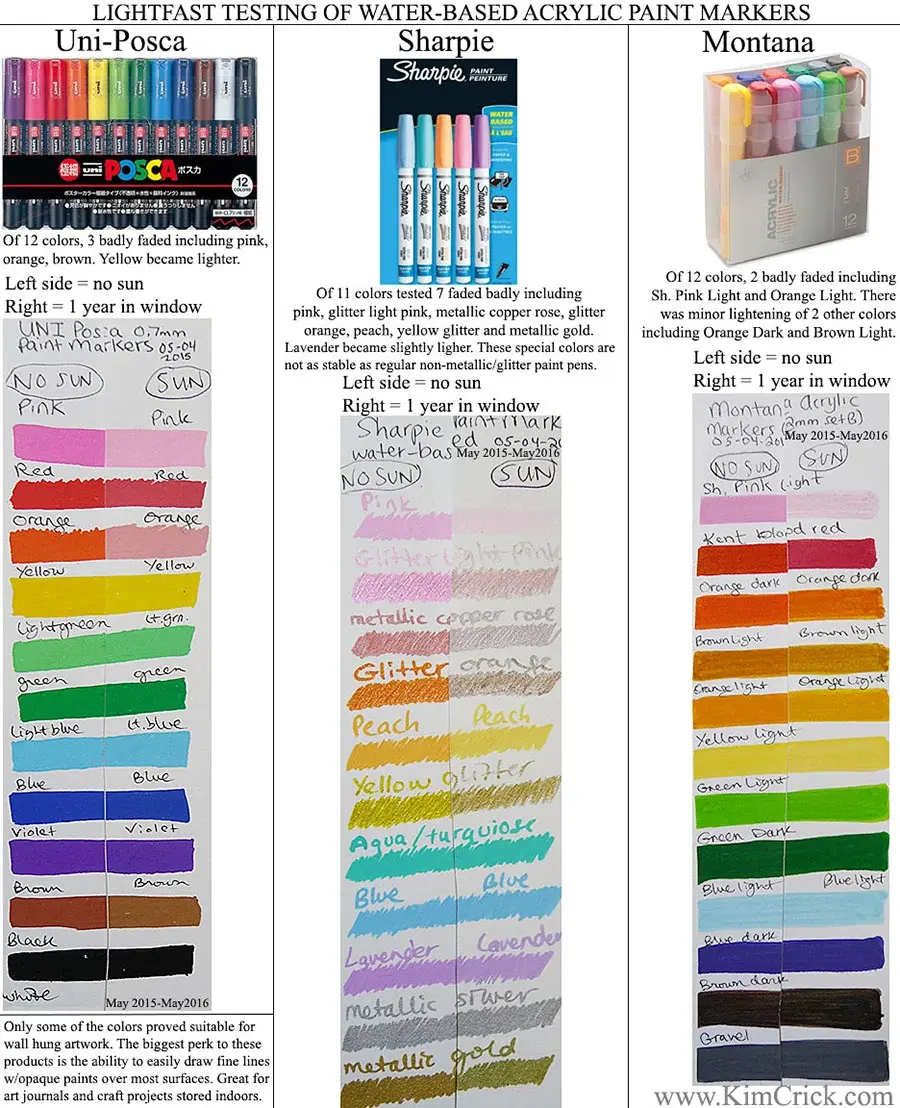
Storage is equally important for the longevity of your collection. Storing markers horizontally is the industry-recommended method, as it ensures both the brush end and the chisel end remain saturated with ink. Avoid exposing your markers to direct sunlight or extreme heat, as this can alter the chemical composition of the ink and cause the colors to fade or shift over time. By following these simple maintenance habits, your markers will remain vibrant and functional for years.
Key facts
- Alcohol-based markers blend smoothly because the solvent remains wet longer than water-based ink.
- Use bleed-proof marker paper to prevent ink from soaking through and feathering at the edges.
- Always store markers horizontally to ensure the ink stays evenly distributed between both nibs.
- Apply light colors first, as dark markers are difficult to lighten once applied to the paper.
- Work quickly to blend colors before the ink dries, as re-wetting dried ink can damage the paper fibers.
- Use a colorless blender marker to push pigment around or soften harsh edges between two colors.
The bottom line
Drawing with markers requires selecting the right tools and understanding how ink interacts with paper. By using alcohol-based markers on bleed-proof surfaces and working quickly to blend colors, you can achieve professional-looking gradients. Avoid common mistakes like using thin paper or leaving caps off, which dries out the ink. With consistent practice and proper storage, you will master the control needed for vibrant, streak-free illustrations.
People also ask
Can I use regular printer paper for marker drawing?
Standard printer paper is thin and porous, which causes ink to bleed excessively and feather. It also absorbs too much ink, leading to premature drying of the marker nibs.
What is the difference between bullet and chisel nibs?
Bullet nibs are rounded and ideal for fine details, writing, and controlled lines. Chisel nibs have a flat, angled edge perfect for filling large areas or creating thick strokes.
How do I prevent streaks when coloring large areas?
Work in small sections and keep the marker moving in a consistent, overlapping circular motion. Avoid letting the ink dry completely before adding the next stroke to ensure a seamless transition.
Why do my markers bleed outside the lines?
This usually happens because you are holding the marker in one spot for too long, allowing the ink to saturate the paper. Move the marker continuously and use high-quality marker-specific paper.
Are alcohol markers permanent?
Yes, alcohol-based ink is generally permanent and waterproof once dry. However, the colors may fade over time if exposed to direct, prolonged sunlight.
How do I clean a stained marker nib?
You can often clean a stained nib by scribbling on a piece of scrap paper until the original color returns. If the nib is damaged or severely contaminated, most professional markers allow you to replace the tip.
This answer was created with the help of AI research tools and reference sources. Spotted an error? Let us know — we correct mistakes quickly. See our editorial policy.