How do you make a paper sculpture?
Short answer
Paper sculpture is the art of transforming two-dimensional sheets into three-dimensional forms through folding, cutting, layering, or molding. By manipulating structural integrity and geometry, artists create intricate figures or abstract designs. Success relies on selecting the appropriate paper weight, using precise adhesive techniques, and understanding how tension affects the final shape.
On this page
What materials are best for beginners?
Starting a paper sculpture requires selecting the right paper weight, which is typically measured in grams per square meter (gsm). For beginners, cardstock ranging from 175 to 250 gsm is ideal because it provides enough structural rigidity to hold a shape without being overly difficult to score or fold. Lighter printer paper is often too flimsy for complex structures, while heavy cardboard can be challenging to manipulate without specialized cutting tools.
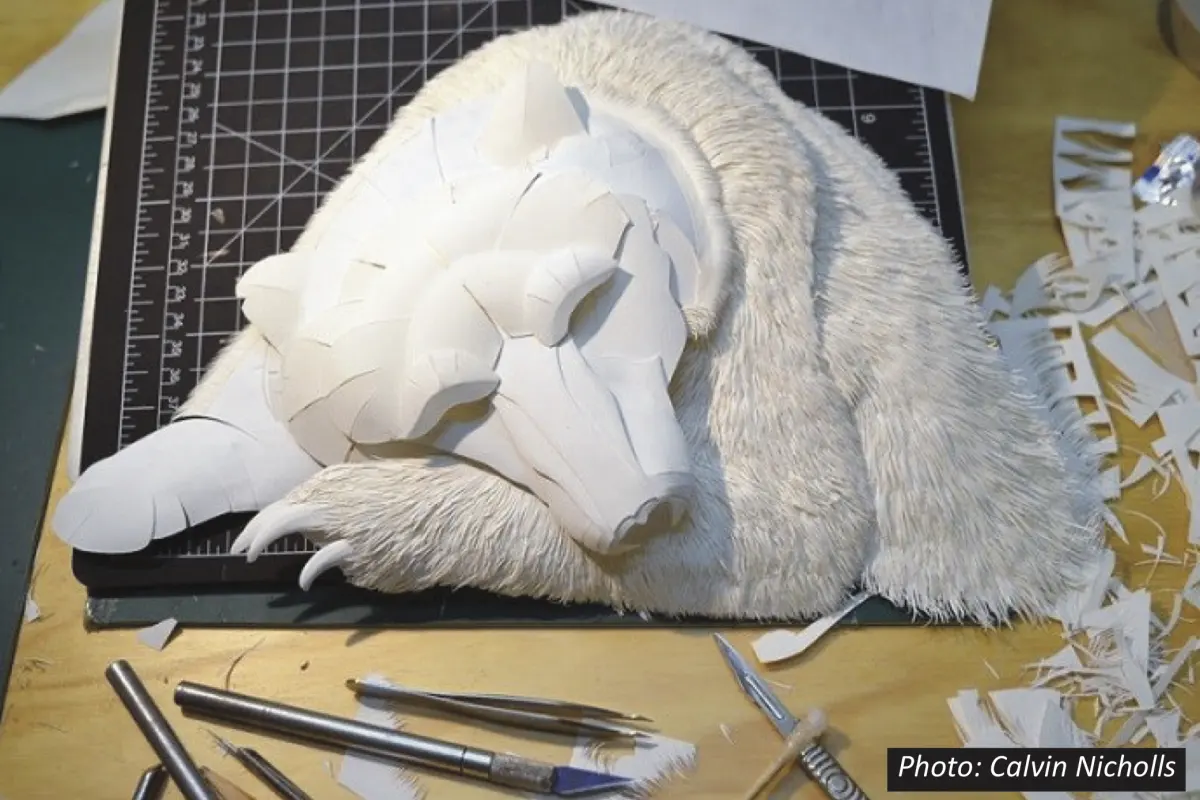
Beyond the paper itself, you need a few essential supplies to ensure clean, professional results. A self-healing cutting mat is vital to protect your workspace, and a sharp craft knife, such as an X-Acto, is necessary for precision. You should also acquire a bone folder for creating crisp creases and a high-quality adhesive, such as a quick-drying PVA glue or double-sided tape.
- Cardstock (175–250 gsm): Provides the best balance of flexibility and strength.
- Craft knife and replacement blades: Essential for intricate cuts.
- Bone folder: Used for creating clean, professional-looking folds.
- Self-healing mat: Protects surfaces and improves cutting accuracy.
- PVA glue or precision tape: Keeps pieces securely joined.
How to prepare paper for folding
The secret to a clean paper sculpture lies in the technique of scoring. Scoring involves creating a shallow indentation along a fold line without cutting through the entire thickness of the paper. This process weakens the fibers slightly, allowing the paper to bend cleanly along a precise line rather than buckling or tearing unpredictably.
To score effectively, use your bone folder or the back of a butter knife against a metal ruler. Apply firm, steady pressure to create a clear groove. Once scored, fold the paper away from the groove to achieve a crisp edge. This preparation is especially critical when working with thicker cardstock or when creating sharp, geometric angles that define the sculpture's overall aesthetic.
- Measure and mark your fold lines lightly with a pencil.
- Align a metal ruler precisely along the marked line.
- Run your scoring tool along the ruler with moderate pressure.
- Fold the paper gently along the scored line to ensure a sharp crease.
How to join pieces together
Joining paper components requires patience and the right choice of adhesive. When using liquid glue, apply a very thin, even layer to the tabs or edges. Excess glue can cause the paper to warp or ripple, which ruins the structural integrity and visual appeal of the sculpture. Using a toothpick to apply glue can help you maintain control and prevent messy spills.
Alternatively, double-sided adhesive tape is an excellent choice for beginners because it provides an instant bond without the drying time associated with liquid glues. It also prevents the moisture-related warping that often occurs with cheaper paper types. Regardless of the adhesive, always hold the joined parts together for several seconds to ensure the bond sets properly before moving on to the next section of your sculpture.
Common mistakes when making paper sculptures
One of the most frequent errors beginners make is failing to account for the grain of the paper. Paper fibers are oriented in a specific direction during manufacturing; folding against the grain can result in jagged, uneven creases or cracking. Before starting a large project, test a scrap piece by folding it in both directions to identify the grain, then align your design accordingly.
Another common pitfall is rushing the drying process or using too much adhesive. When glue is applied too heavily, the paper absorbs the moisture and softens, causing the sculpture to sag or lose its intended form. Furthermore, skipping the scoring step is a major mistake that leads to sloppy, rounded folds. Taking the time to score every line properly is the single most effective way to elevate the quality of your work from amateur to professional.
How to maintain structural integrity
Maintaining the shape of a paper sculpture over time requires careful consideration of environmental factors. Paper is highly sensitive to humidity, which can cause it to expand, contract, or soften. To preserve your creation, display it in a climate-controlled environment away from direct sunlight, which can fade colors and make the paper brittle over time. If your sculpture is large, consider adding internal supports or "ribs" made from thicker cardstock to prevent the structure from collapsing under its own weight.
If you intend to display your sculpture for a long period, you might consider applying a light, archival-quality fixative spray. This provides a thin protective layer against dust and minor moisture fluctuations. However, always test the spray on a scrap piece first to ensure it does not discolor the paper or cause it to warp. By following these maintenance practices, your paper sculpture will remain a stable and vibrant display piece for years to come.
Key facts
- Use cardstock or heavy-weight paper (180–250 gsm) to ensure the sculpture maintains its structural integrity.
- Score your fold lines using an empty ballpoint pen or a bone folder to achieve crisp, professional-looking edges.
- Acid-free PVA glue is the industry standard because it dries clear and prevents the paper from yellowing over time.
- Always cut paper with a sharp craft knife on a self-healing mat to prevent jagged edges and ensure precision.
- Grain direction matters; paper folds more easily and cleanly when the fold line runs parallel to the paper's grain.
- Start with geometric shapes like cubes or pyramids to master basic tension and structural balance before attempting organic forms.
The bottom line
Creating a paper sculpture requires patience, precision, and the right materials. By selecting high-quality cardstock, scoring your folds, and using archival adhesives, you can transform flat sheets into complex, three-dimensional art. Focus on mastering geometric foundations before advancing to intricate designs. With consistent practice and proper tool maintenance, you will develop the technical skills necessary to build durable and visually striking paper structures with confidence.
People also ask
What is the best type of adhesive for paper sculpture?
PVA glue or archival-grade white glue is ideal because it provides a strong, permanent bond without warping the paper. Avoid using standard glue sticks for structural joints as they often lack the necessary strength.
How do I prevent the paper from curling when I apply glue?
Apply a thin, even layer of adhesive using a small brush or a plastic spreader to avoid oversaturating the fibers. Using too much moisture causes the paper to expand and warp, which ruins the sculpture's shape.
Can I use recycled paper for my sculptures?
Yes, but ensure the paper has enough weight to hold its form. Thin recycled printer paper is difficult to work with, so consider laminating multiple sheets together to create a more rigid material.
Why do my edges look rough after cutting?
Rough edges usually result from using a dull blade or applying too much pressure in a single pass. Change your craft knife blade frequently and use multiple light strokes rather than one heavy, forceful cut.
How do I make curves in my paper sculpture?
Gently pull the paper over the edge of a table or use a cylindrical object like a dowel to curl the material. This technique, known as burnishing, creates smooth, controlled curves without creasing the surface.
Is it necessary to seal the finished sculpture?
Sealing is optional but recommended if you want to protect the piece from dust, moisture, and UV fading. A light coat of matte acrylic spray varnish can preserve the colors and structural rigidity of the paper.
This answer was created with the help of AI research tools and reference sources. Spotted an error? Let us know — we correct mistakes quickly. See our editorial policy.