How do you hold a pencil for drawing?
Short answer
Hold a pencil for drawing by using a relaxed grip, positioning your fingers about one to two inches from the tip. Use your arm and shoulder for broad strokes rather than relying solely on your wrist. This technique increases range of motion, improves line quality, and prevents hand fatigue during long sessions.
On this page
How to hold a pencil for drawing
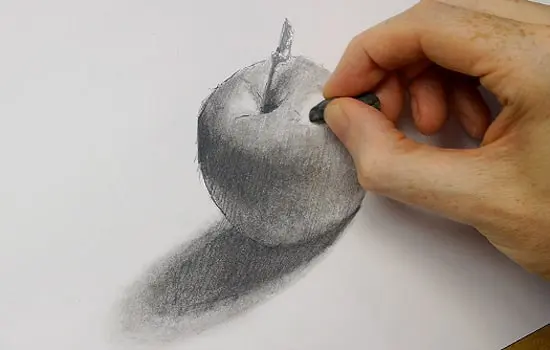
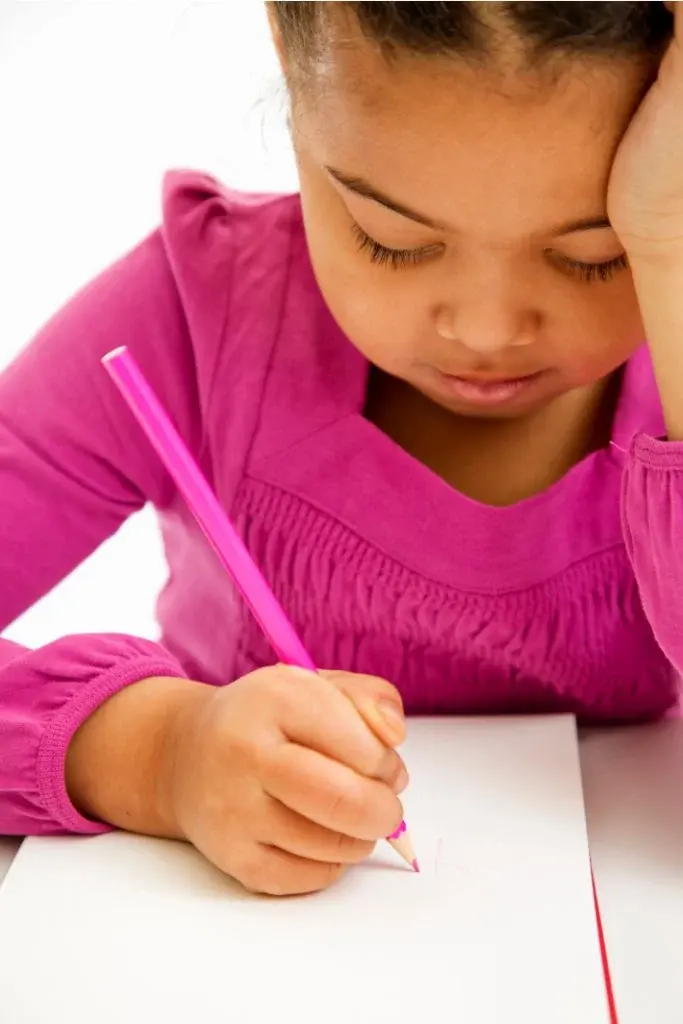
The most effective way to hold a pencil depends on the desired level of detail and the scale of the drawing. For precise, controlled work, use the tripod grip, which is similar to how you hold a pen for writing. Place your thumb and index finger on opposite sides of the pencil, resting the barrel on your middle finger. Keep your grip loose to allow for fluid movement across the paper.
For broader, more expressive strokes, use the overhand grip. Hold the pencil with your palm facing down, gripping the barrel with your thumb and fingers from above. This position encourages you to draw from your shoulder rather than your wrist, which is essential for creating long, sweeping lines. Experimenting with different grips allows you to transition seamlessly between fine detailing and large-scale shading.
Best pencil grips for beginners
Beginners often struggle with tension, which can lead to cramped hands and stiff, hesitant lines. To master the basics, focus on maintaining a light touch that allows the graphite to glide across the surface. If your knuckles turn white or your hand aches after a few minutes, you are likely squeezing the pencil too tightly.
- Tripod Grip: Place the pencil between the thumb and index finger, resting it on the side of the middle finger.
- Overhand Grip: Hold the pencil barrel with the thumb and fingers from the top, keeping the palm open and relaxed.
- Extended Grip: Slide your fingers further up the barrel to increase leverage and lighten the pressure on the paper.
Using these varied grips helps build muscle memory. Practice moving your entire arm while keeping your wrist relatively still to achieve more consistent, professional-looking strokes.
Why hand fatigue happens when drawing
Hand fatigue is a common issue caused by repetitive motion and excessive pressure. When you focus intensely on a small area, you may subconsciously tighten your grip, restricting blood flow and causing strain in the forearm muscles. This tension often results in "heavy" lines that are difficult to erase and can damage the tooth of the paper.
To prevent this, consciously pause every fifteen minutes to stretch your fingers and rotate your wrists. Ensure that your posture is upright, as slouching can lead to tension in the shoulders that travels down the arm to the hand. By consciously relaxing your grip and engaging your larger muscle groups, you can draw for hours without discomfort. Remember that the pencil is an extension of your arm, not a tool that requires a vice-like hold.
Common mistakes when holding a pencil
One of the most frequent errors is "choking up" on the pencil, which means holding it too close to the lead. This limits your perspective and forces you to rely on tiny wrist movements, which often results in cramped, shaky lines. Another mistake is using the wrist as the primary pivot point, which restricts your range of motion to a small arc.
- Holding the pencil too close to the tip, which obscures your view of the drawing.
- Applying too much downward pressure, which creates dark, indented marks that are impossible to remove.
- Locking the wrist, which prevents the fluid, sweeping motions necessary for shading or large forms.
- Ignoring the angle of the pencil, which affects the width and softness of the graphite mark.
Always aim to keep your grip flexible. If you find yourself making these mistakes, physically move your hand further up the pencil barrel to force a change in your drawing mechanics.
How to improve pencil control
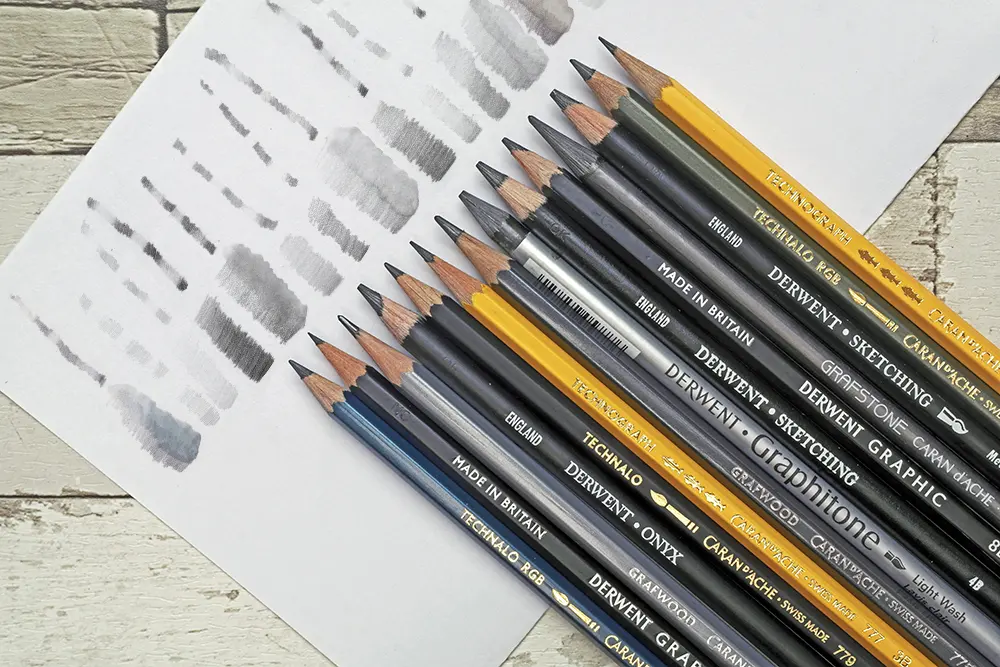
Improving control is a process of refining your coordination between your eyes and your hand. Start by practicing basic shapes, such as circles and parallel lines, using different grips to see how they influence the outcome. Consistent practice helps you understand how much pressure is needed for various shades, from the lightest whisper of gray to the deepest, darkest black.
Focus on the weight of your lines to add depth and dimension to your work. Use a light touch for initial construction lines and increase pressure only when you are ready to define the final contours. By mastering the balance between grip, pressure, and arm movement, you will gain the confidence to execute complex drawings with ease. Over time, these techniques will become second nature, allowing you to focus entirely on your creative vision rather than the mechanics of the tool.
Key facts
- The tripod grip, using the thumb, index, and middle finger, offers the most control for precise, detailed line work.
- An overhand grip, where the pencil rests against the palm, allows for broader, more expressive strokes and shading.
- Holding the pencil further back from the tip reduces pressure, which helps prevent dark, heavy lines that are difficult to erase.
- Artists typically rotate the pencil while drawing to maintain a sharp point, as the lead wears down unevenly on one side.
- Applying too much pressure can damage the tooth of the paper, making it impossible to blend or layer graphite effectively.
- Resting your hand on a clean sheet of scrap paper prevents oils from your skin from smudging your drawing.
The bottom line
Mastering pencil control is fundamental to artistic growth. By alternating between the tripod grip for precision and the overhand grip for shading, you gain versatility in your mark-making. Remember to keep your grip loose to avoid fatigue and use your entire arm to create fluid motions. With consistent practice and a light touch, you will develop the dexterity needed to translate your vision onto the page effectively.
People also ask
Should I use a different grip for sketching versus shading?
Yes, most artists switch grips. The tripod grip is ideal for fine details and outlines, while the overhand grip is better for covering large areas with soft, gestural shading.
How much pressure should I apply to the paper?
Start with a very light touch, almost like brushing the surface. You can always add more pressure later, but heavy indentations are permanent and ruin the texture of the paper.
Is it better to hold the pencil vertically or at an angle?
Holding the pencil at a shallow angle to the paper provides more surface area for shading. A vertical position is reserved for sharp, technical lines.
Why does my hand cramp when I draw for a long time?
Cramping usually occurs because you are gripping the pencil too tightly. Try to relax your knuckles and hold the barrel as loosely as possible while maintaining control.
Does the length of the pencil affect how I should hold it?
A very short pencil can be difficult to hold with an overhand grip, often forcing you into a cramped tripod position. Using a pencil extender can restore the balance of a worn-down tool.
Can I use my arm instead of my wrist to draw?
Drawing from the shoulder rather than the wrist allows for longer, smoother, and more consistent lines. This technique is essential for large-scale drawings and fluid gesture work.
This answer was created with the help of AI research tools and reference sources. Spotted an error? Let us know — we correct mistakes quickly. See our editorial policy.