How do you draw dark values with a pencil?
Short answer
Drawing dark values requires using soft-grade graphite pencils, specifically those labeled 4B to 9B, which contain higher clay-to-graphite ratios. Achieve depth by applying layered pressure, cross-hatching, and utilizing the side of the lead. Avoid over-burnishing the paper, which creates a reflective, metallic sheen that prevents further pigment adhesion and ruins contrast.
On this page
Which pencils are best for dark values?
Graphite pencils are graded on a scale ranging from 9H (hardest, lightest) to 9B (softest, darkest). To achieve deep, rich blacks, you must select pencils from the "B" range. The "B" stands for blackness, indicating a higher concentration of graphite relative to clay. While HB pencils are standard for writing, they are too hard for deep shading and will only produce a light gray tone, no matter how much pressure you apply.
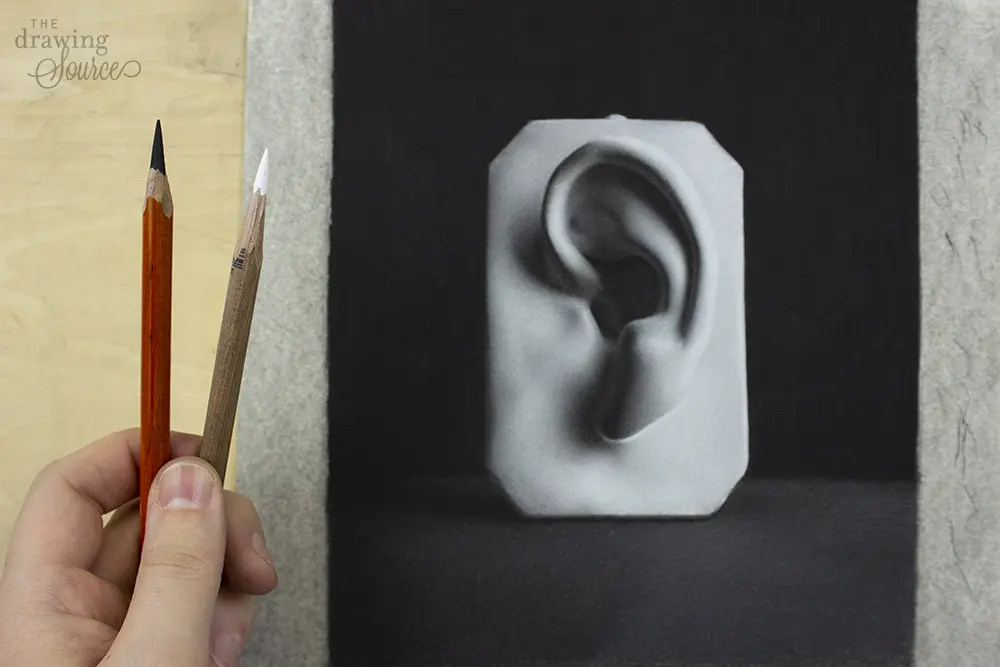
For professional-grade darkness, artists typically keep a set including 4B, 6B, and 8B pencils. The 8B pencil is exceptionally soft and allows for intense, velvety shadows. However, these soft leads wear down quickly and require frequent sharpening. When building a drawing, start with a 2B or 4B to establish the mid-tones before transitioning to the 6B or 8B for the final, darkest accents.
How to layer graphite for depth
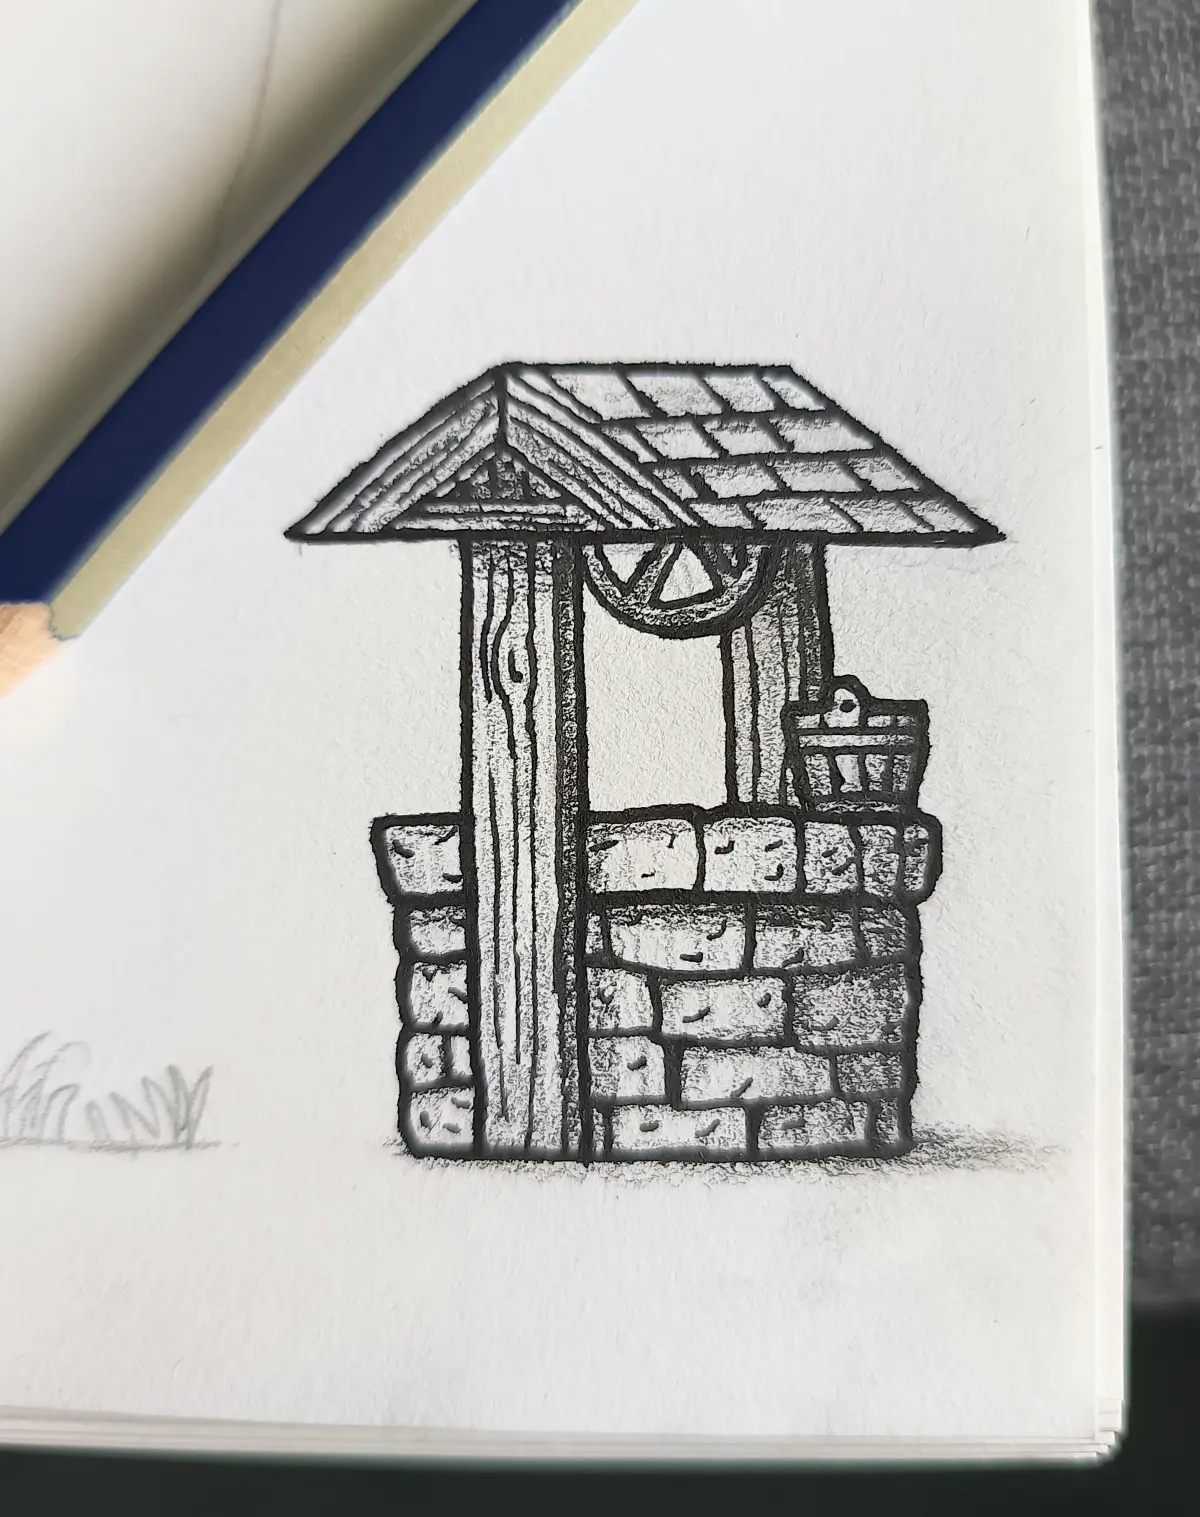
Achieving a true, solid black is rarely possible with a single stroke. Instead, you must build up layers of graphite to fill the "tooth" or texture of the paper. This process involves applying multiple light layers of pigment, rotating the direction of your strokes, and gradually increasing pressure. By overlapping these layers, you create a dense surface that absorbs light rather than reflecting it.
- Begin with a light base layer using a 2B pencil to map out the shadow area.
- Switch to a 4B pencil and apply a second layer, changing your stroke direction to fill the gaps in the paper's grain.
- Use an 8B pencil for the final application, pressing firmly to saturate the darkest points of your drawing.
- Use a blending stump or a soft cloth to gently push the graphite into the paper fibers between layers.
Why graphite becomes shiny when drawing darks
A common frustration for artists is the reflective, metallic sheen that appears when attempting to draw very dark values. This "graphite shine" occurs when the paper’s tooth becomes completely saturated and the graphite begins to sit on the surface as a slick, reflective layer. Once the paper reaches this point of saturation, it can no longer hold additional pigment, making the area appear gray or silver under certain lighting conditions.
To mitigate this, avoid pressing too hard too early in the process. If you force the graphite into the paper too quickly, you crush the paper fibers and create a glossy finish that cannot be darkened further. Instead, use a light, circular motion to build up density slowly. If you notice a sheen developing, stop immediately and move to a different area of the drawing, or consider using a darker medium like charcoal or carbon if extreme blackness is required.
Common mistakes when shading dark values
Many beginners make the mistake of using a single pencil for the entire drawing. Trying to force a hard pencil, such as an HB or 2H, to create a dark value will only result in indentations on the paper and a lackluster gray tone. Furthermore, relying solely on your fingertips to blend shadows is a mistake, as the natural oils from your skin can transfer to the paper, creating uneven patches that resist further graphite application.
- Using a dull pencil point, which prevents precise application of dark values in tight corners.
- Applying too much pressure in the initial stages, which prevents the layering of subsequent tones.
- Forgetting to leave white space for highlights, which makes the overall drawing look muddy and flat.
- Smudging graphite across the entire page by resting your hand directly on the drawing surface.
How to clean up dark shading
Once you have established your dark values, you may find that some graphite has strayed into areas meant to be light. To maintain crisp edges and clean highlights, use a kneaded eraser. Unlike standard rubber erasers, a kneaded eraser can be molded into specific shapes, allowing you to lift graphite delicately without damaging the paper surface. This is essential for creating "subtractive" highlights within a dark shadow.
If you accidentally smudge a dark area, do not try to erase it immediately with a harsh eraser, as this can smear the graphite further. Instead, use a clean, dry brush to gently sweep away loose graphite dust. If a dark value is too intense, you can "lighten" it by dabbing the area with a kneaded eraser to lift off the top layer of pigment. By mastering these techniques of layering, tool selection, and careful erasure, you will gain full control over the tonal range of your drawings.
Key facts
- Use soft-grade pencils labeled B, 2B, 4B, 6B, or 8B, as the "B" stands for blackness and indicates a higher graphite-to-clay ratio.
- Apply pressure gradually, layering multiple light strokes rather than pressing down hard in a single pass to prevent paper damage.
- Hold the pencil at a low angle to the paper to utilize the side of the lead, which covers more surface area and creates denser, smoother tones.
- Avoid using your fingers to smudge graphite, as natural skin oils can create uneven patches and prevent further layering of dark values.
- Utilize cross-hatching, where overlapping sets of parallel lines are drawn in different directions, to build deep, rich shadows efficiently.
- Keep the pencil tip sharp for fine details, but use a duller point or a blending stump to fill in the "tooth" or texture of the paper for solid blacks.
The bottom line
Achieving deep, rich values in graphite drawing requires patience and the correct selection of materials. By utilizing soft-grade B pencils and building up layers through cross-hatching or side-shading, you can create high-contrast images without damaging the paper’s texture. Avoid the temptation to press too hard, as this creates an unwanted metallic sheen. Instead, focus on layering and controlled blending to master the art of shadow.
People also ask
What is the difference between H and B pencils?
H pencils contain more clay, making them harder and lighter, which is ideal for technical drawing and initial sketching. B pencils contain more graphite, resulting in softer, darker marks that are better suited for shading and deep values.
Should I use a blending stump or a tissue to smooth my shading?
A blending stump is preferred because it provides more control and does not leave behind the lint or oils found on tissues. Use it sparingly to push graphite into the paper fibers rather than simply smearing the surface.
Why does my drawing look shiny when I try to make it very dark?
Excessive pressure on soft graphite causes it to become compressed and reflective, creating a metallic sheen. To avoid this, layer your darks slowly and use a matte fixative spray to dull the surface once the drawing is complete.
How do I keep my dark areas from looking muddy?
Muddy drawings often result from over-blending or using a dull pencil on low-quality paper. Keep your strokes intentional and ensure you leave some areas of the paper untouched to maintain a full range of contrast.
Can I use charcoal if pencils are not dark enough?
Yes, charcoal is significantly darker than graphite and can be used alongside pencils for the deepest shadows. However, charcoal is harder to erase, so it is best applied in the final stages of a drawing.
What paper surface is best for achieving dark values?
Paper with a slight texture, known as "tooth," holds more graphite and allows for deeper layering than smooth, hot-pressed paper. A medium-weight drawing paper is generally the most versatile choice for beginners and professionals alike.
This answer was created with the help of AI research tools and reference sources. Spotted an error? Let us know — we correct mistakes quickly. See our editorial policy.