How do you draw loosely?
Short answer
Drawing loosely involves prioritizing gesture, rhythm, and flow over rigid anatomical accuracy. By using long, sweeping lines and holding your drawing tool further back from the tip, you loosen your grip. This technique encourages expressive mark-making, allowing you to capture the essence of a subject rather than obsessing over minute, static details.
On this page
How to hold a pencil for loose drawing
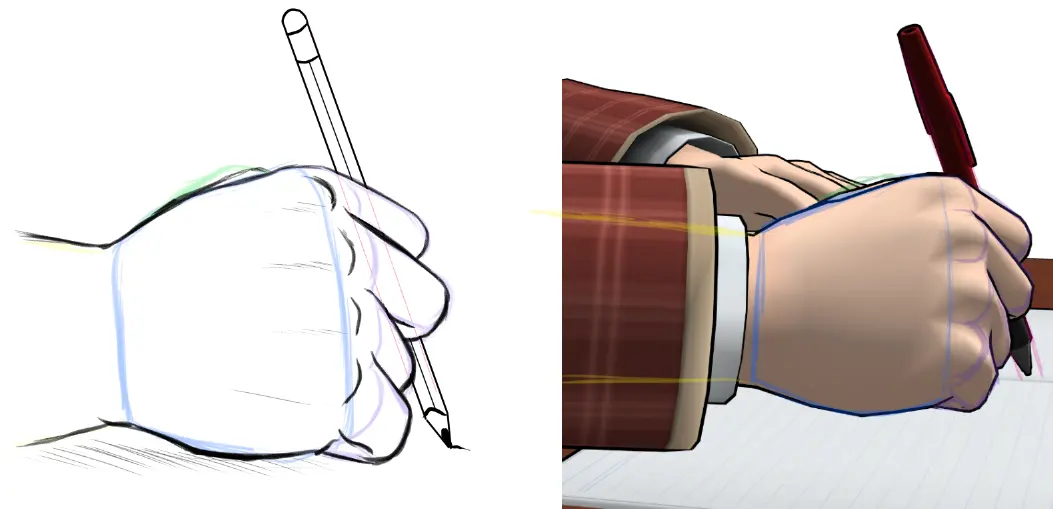
The secret to fluid, expressive sketching begins with how you grip your drawing implement. Most beginners hold a pencil like they are writing a letter, which forces the hand to rely on small, cramped finger movements. To achieve a loose style, you must shift the engagement from your fingers to your shoulder and elbow. By holding the pencil further back from the tip—often near the middle or end—you gain a wider range of motion and reduce the pressure applied to the paper.
This grip adjustment naturally prevents you from focusing on tiny details too early in the process. When you use your entire arm to move the pencil, your lines become more confident and rhythmic. Practice this by drawing large circles or figure-eights across a full sheet of paper without lifting your hand. Focus on the arc of the movement rather than the precision of the line.
- Grip the pencil lightly between your thumb and the first two fingers.
- Position your hand at least three inches away from the lead.
- Keep your wrist stiff and move from the shoulder joint.
- Allow your arm to hover slightly above the page to maintain momentum.
Why loose drawing improves artistic expression
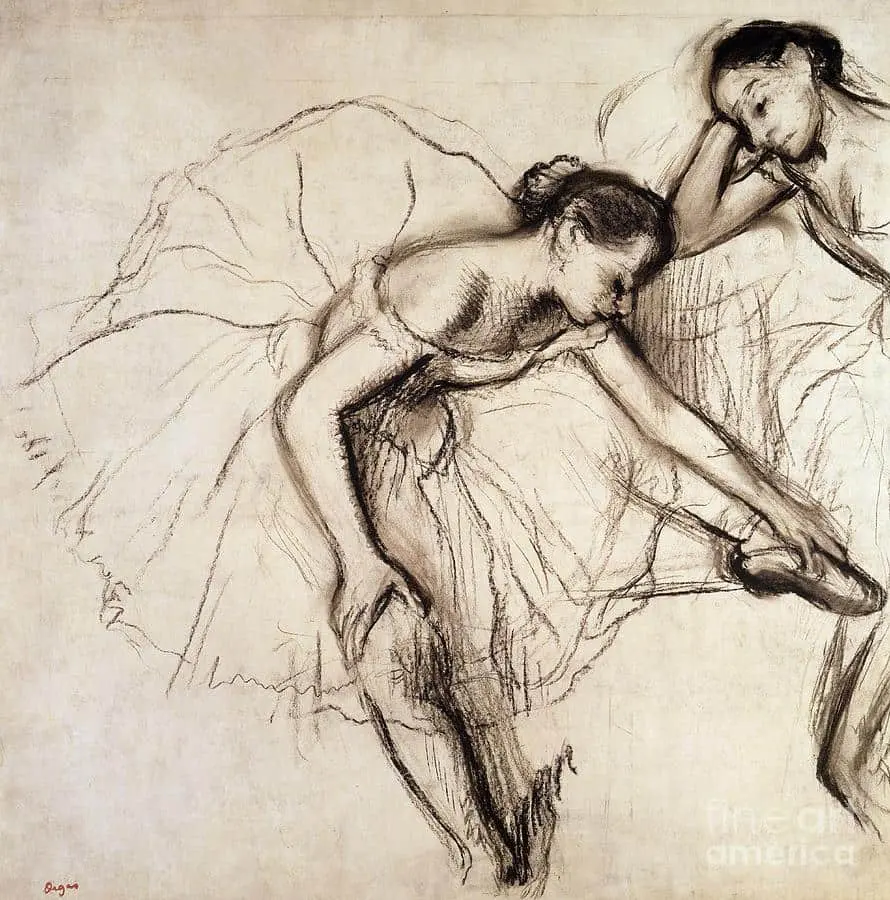
Loose drawing is fundamentally about capturing the "gesture" or the underlying energy of a subject. When an artist draws too tightly, the work often appears stiff, static, or overly calculated. By embracing a looser approach, you allow for "happy accidents," where spontaneous marks create a sense of life that a rigid, measured drawing might lack. This method is heavily influenced by the principles of gestural drawing, a practice popularized in early 20th-century art schools to teach students how to see movement.
This style prioritizes the big picture over the parts. Instead of drawing an eye or a finger, you are drawing the flow of a body or the architecture of a landscape. This shift in perspective helps you avoid the common trap of "symbol drawing," where you draw what you think an object looks like rather than what your eyes actually perceive. The result is a more dynamic, engaging piece of art that feels fresh and immediate.
Common mistakes when trying to draw loosely
The most frequent mistake beginners make is attempting to erase their marks. Loose drawing relies on the accumulation of lines; if you stop to erase every slight deviation, you break your creative flow and tense up your muscles. Another error is pressing too hard on the paper. Heavy pressure creates dark, permanent lines that restrict your ability to adjust the form as the drawing progresses.
- Trying to achieve perfect proportions in the first thirty seconds.
- Holding the pencil too close to the tip, which creates "scratchy" marks.
- Focusing on internal details like wrinkles or patterns before the main shape is established.
- Using a small sketchbook that limits your arm movement and forces a cramped hand position.
- Stopping the movement of the pencil before the line is complete, which creates "hairy" or broken strokes.
How to practice loose sketching exercises
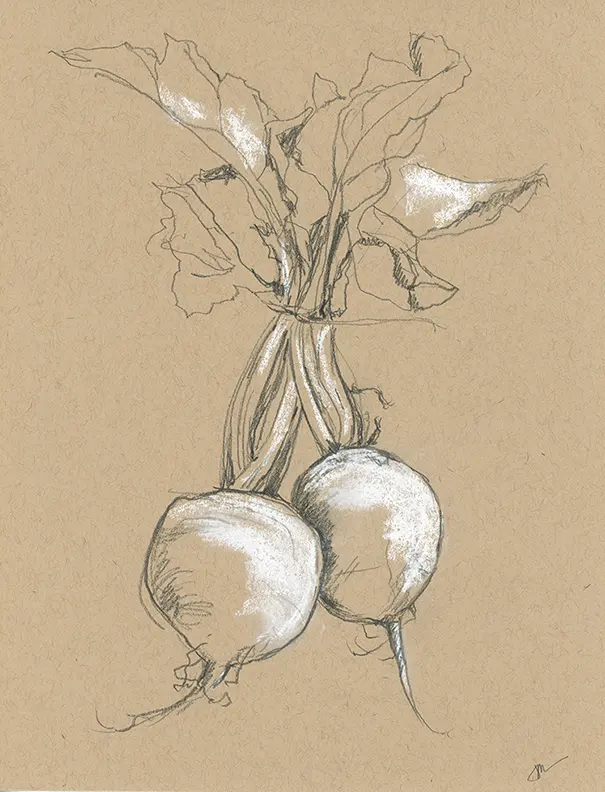
Consistency is the only way to build the muscle memory required for a fluid style. Start by setting a timer for thirty seconds and attempting to draw a complex subject, such as a person sitting in a chair or a houseplant. Because thirty seconds is not enough time to capture details, your brain is forced to prioritize the main silhouette and the primary lines of action. This exercise is a staple in figure drawing classes worldwide.
Another effective drill is "blind contour drawing." In this exercise, you look only at your subject and never at your paper. You move your pencil at the same speed as your eyes trace the edges of the object. Because you cannot see what you are drawing, you stop worrying about the result and focus entirely on the physical sensation of the line. This disconnects your inner critic from your hand, allowing for a much looser, more intuitive output.
Best tools for loose drawing techniques
The materials you choose significantly influence your ability to draw loosely. Hard graphite pencils, such as 2H or 4H, are often too light and encourage a scratchy, precise style. Instead, opt for softer leads like 4B, 6B, or even charcoal sticks. These mediums glide across the paper with minimal friction, allowing you to lay down broad, bold strokes without needing to exert significant physical force.
The surface of your paper also matters. Avoid glossy or highly textured papers that might catch the pencil tip and interrupt your flow. A smooth, medium-weight cartridge paper or newsprint is ideal for practice. Newsprint is particularly useful because its inexpensive nature removes the pressure of "ruining" a good sheet. When you feel that your materials are disposable, you are far more likely to take risks, experiment with bold marks, and maintain the relaxed, confident hand movement that defines a truly loose and expressive drawing style.
Key facts
- Hold your pencil near the back end, away from the tip, to encourage broader, more fluid arm movements.
- Use your entire arm—shoulder and elbow—rather than just your wrist and fingers to create sweeping, expressive lines.
- Limit your drawing time to short intervals, such as 30 to 60 seconds, to prevent over-focusing on minute details.
- Practice "blind contour" drawing, where you look only at the subject and never at your paper, to improve hand-eye coordination.
- Choose softer drawing tools like charcoal, thick graphite sticks, or brush pens that require less pressure to produce bold marks.
- Prioritize capturing the "gesture" or the essential movement of the subject before attempting to define edges or textures.
The bottom line
Drawing loosely is a process of prioritizing rhythm and movement over precise accuracy. By engaging your shoulder, using softer tools, and limiting your time per sketch, you train your hand to respond instinctively to your subject. Embrace the imperfections of your initial marks, as these raw lines often convey more character and energy than a polished, overly detailed drawing ever could. Keep practicing daily to build confidence.
People also ask
Why does my drawing look stiff when I try to be loose?
Stiffness often results from gripping the pencil too tightly or focusing exclusively on small details. Try loosening your grip and standing while you draw to engage your larger muscle groups.
Should I erase my mistakes when practicing loose drawing?
Avoid using an eraser entirely during the initial stages of a sketch. Leaving your "wrong" lines visible helps you see the flow of your process and prevents you from obsessing over perfection.
How do I know when a drawing is finished?
A loose drawing is complete once the primary energy and proportions of the subject are captured. Adding more detail often risks losing the spontaneity that defines the style.
What is the best paper for loose sketching?
Large-format newsprint or smooth cartridge paper works best for loose drawing. Larger surfaces force you to use broader arm movements, which naturally prevents tight, cramped lines.
Can I use color when drawing loosely?
Yes, using watercolor washes or colored pencils can enhance the energy of a sketch. Apply color quickly and avoid filling in every shape to maintain a sense of openness.
How often should I practice to improve my looseness?
Consistent, short daily sessions are more effective than long, infrequent ones. Spending 15 minutes each day on gesture sketches will build muscle memory and confidence faster than a single weekly class.
This answer was created with the help of AI research tools and reference sources. Spotted an error? Let us know — we correct mistakes quickly. See our editorial policy.