How do you photograph the northern lights?
Short answer
Photographing the northern lights requires a camera with manual controls, a sturdy tripod, and a wide-angle lens with a fast aperture. You must shoot in total darkness, using long exposures of 5 to 20 seconds and a high ISO setting. Patience and clear, cold, light-pollution-free skies are essential for success.
On this page
What equipment do I need for aurora photography?
To capture the aurora borealis, you need a camera that allows full manual control over exposure settings. A DSLR or mirrorless camera is ideal because it enables you to adjust the shutter speed, aperture, and ISO independently. You should pair this with a wide-angle lens that has a large aperture, ideally f/2.8 or wider, to gather as much light as possible. A focal length between 14mm and 24mm is generally preferred to capture the vast scale of the sky.
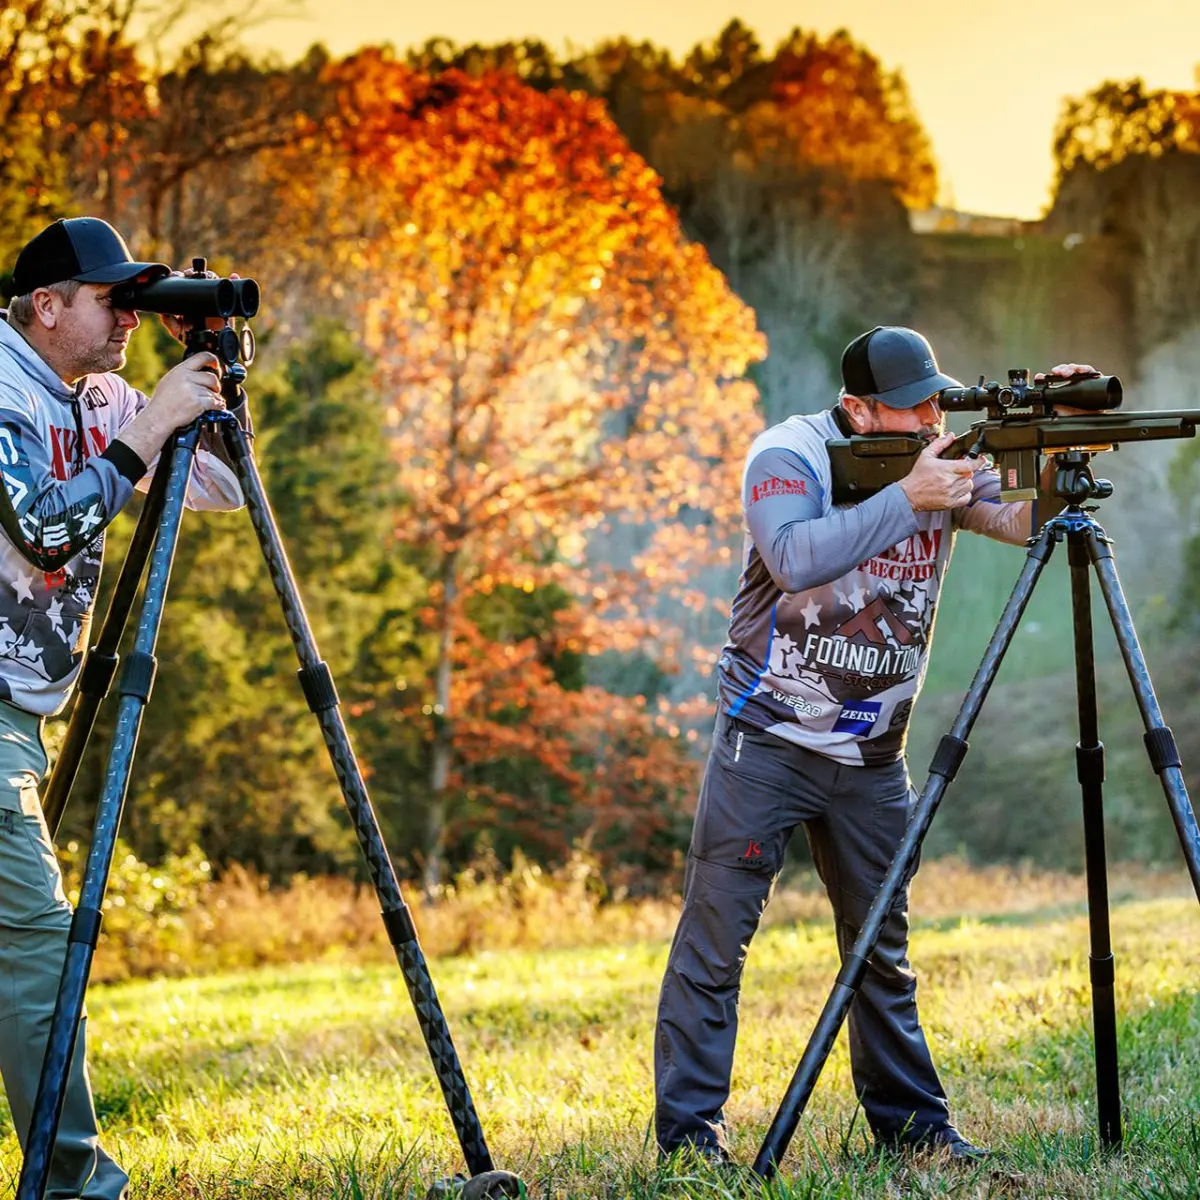
Stability is the most critical factor for long-exposure photography. Because the camera must remain perfectly still for several seconds, a heavy-duty tripod is mandatory. Lightweight travel tripods may vibrate in windy conditions, leading to blurry images. You should also bring extra batteries, as cold temperatures drain power significantly faster than usual. Keeping spare batteries in an inside pocket close to your body heat will help them last longer throughout the night.
Best camera settings for northern lights
Achieving the right exposure requires balancing three variables: aperture, shutter speed, and ISO. Start by setting your lens to its widest aperture, such as f/2.8. This allows the maximum amount of light to hit the sensor. You should set your camera to manual focus mode, as autofocus will fail in the dark. Focus your lens on a distant star or a bright light on the horizon until the stars appear as sharp, tiny points of light.
- Set your camera to Manual (M) mode.
- Open your aperture to the lowest f-number available.
- Choose an ISO between 800 and 3200 depending on the aurora's brightness.
- Set your shutter speed between 5 and 20 seconds.
- Use a two-second self-timer to prevent camera shake when pressing the shutter button.
If the aurora is moving quickly, use a shorter exposure time, such as 5 to 10 seconds, to maintain detail in the light curtains. If the lights are faint and stationary, you can extend the shutter speed to 20 or 30 seconds to capture more color and intensity.
Where and when to see the northern lights
The aurora borealis occurs in the "auroral zone," a ring-shaped region centered on the magnetic North Pole. Prime locations include northern Scandinavia, Iceland, Canada, and Alaska. You must travel during the darker months, typically from late September to late March, when there is enough nighttime darkness to see the lights. Avoid the days surrounding a full moon, as the bright lunar glow can wash out the subtle colors of the aurora.
Check space weather forecasts before heading out, as solar activity dictates the intensity of the display. Websites and mobile applications that track the Kp-index provide real-time data on geomagnetic activity. A Kp-index of 3 or higher is often sufficient for a visible display in high-latitude regions. Always scout your location during the daylight hours to identify potential hazards, such as uneven terrain or bodies of water, and to ensure you have an unobstructed view of the northern horizon.
How to compose an aurora photograph
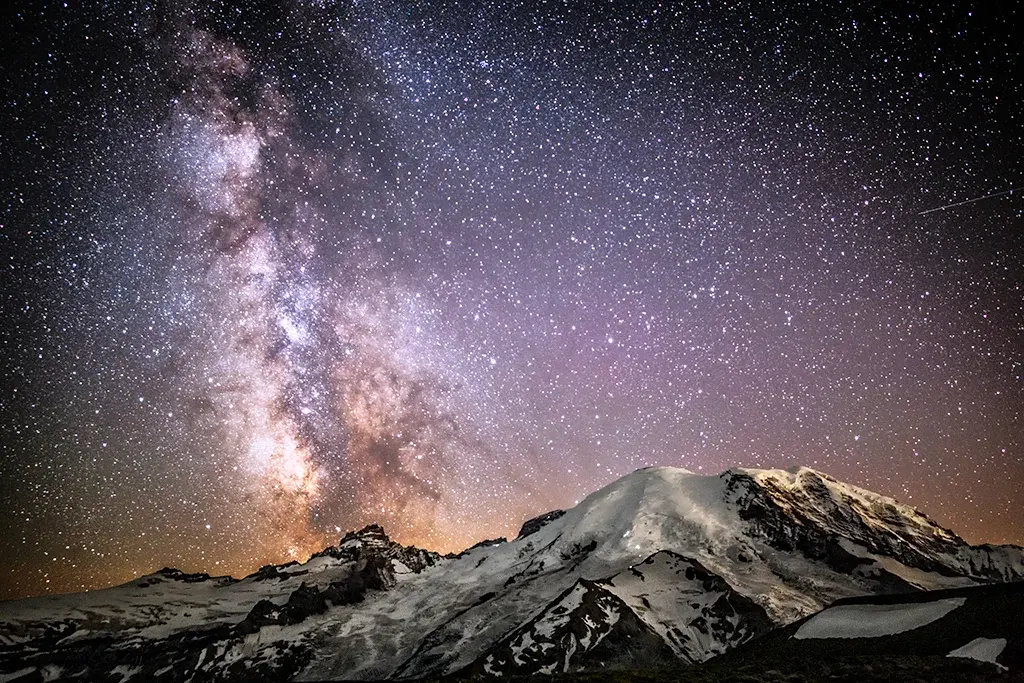
A photo of just the sky can often lack scale and context. To create a compelling image, include a foreground element such as a mountain, a frozen lake, a cabin, or a silhouette of a tree. These elements provide a sense of depth and help the viewer understand the massive scale of the aurora. Use the "rule of thirds" to position your horizon line, ensuring the sky occupies the majority of the frame if the aurora is particularly active.
- Use a wide-angle lens to capture both the sky and the landscape.
- Position yourself so the foreground subject is not too close to the camera, which prevents distortion.
- Incorporate reflections in water or ice to double the visual impact of the lights.
- Experiment with vertical orientations to capture the height of the light pillars.
By including terrestrial features, you transform a simple record of a light phenomenon into a professional-looking landscape photograph that tells a story.
Common mistakes when photographing the aurora
The most frequent mistake is failing to turn off image stabilization on your lens or camera body. When the camera is mounted on a tripod, the stabilization mechanism can actually hunt for movement that isn't there, resulting in blurry images. Another common error is relying on the camera's LCD screen to judge exposure. Because your eyes adjust to the dark, images often look brighter on the screen than they actually are. Always check your camera's histogram to ensure the data is balanced and not underexposed.
Finally, many beginners forget to dress for the environment. You will spend hours standing still in sub-zero temperatures, which is significantly colder than walking or hiking. Wear multiple layers, insulated boots, and gloves that allow you to operate camera dials without exposing your skin to the metal. If you neglect your comfort, you will likely pack up too early and miss the best displays, which often occur in the middle of the night.
Key facts
- Use a sturdy tripod to keep your camera perfectly still during long exposures.
- Set your lens to its widest aperture, typically f/2.8 or lower, to capture maximum light.
- Use a manual focus setting and focus on a bright star or distant light source.
- Set your ISO between 800 and 3200 depending on the intensity of the aurora.
- Shoot in RAW format to allow for greater flexibility during post-processing.
- Use a shutter speed between 5 and 20 seconds to balance light intake and motion.
The bottom line
Capturing the northern lights requires patience, preparation, and the right technical settings. By using a sturdy tripod, a wide-aperture lens, and manual exposure controls, you can effectively record the elusive dance of the aurora. Remember to monitor local weather and geomagnetic forecasts, dress for extreme cold, and keep spare batteries warm. With practice and the correct equipment, you will successfully document this spectacular natural phenomenon in vivid detail.
People also ask
Do I need a professional camera to photograph the northern lights?
You do not need a professional camera, but you do need one with manual settings. A mirrorless or DSLR camera that allows you to control aperture, shutter speed, and ISO is essential for capturing the faint light of the aurora.
What time of year is best for aurora photography?
The best time is during the dark months, typically from late September to late March. You need clear, dark skies away from light pollution to see the lights clearly.
Why do my photos look blurry or out of focus?
Blurry photos are usually caused by camera shake or improper focus. Always use a tripod and a remote shutter release or timer to prevent vibrations, and ensure your lens is set to manual focus.
How cold does it get when photographing the lights?
Temperatures often drop well below freezing during peak viewing times. You must dress in layers and carry extra batteries, as cold weather drains lithium-ion batteries significantly faster than normal temperatures.
What is the Kp index?
The Kp index is a scale from 0 to 9 that measures geomagnetic activity. A higher Kp index indicates a stronger chance of seeing the northern lights at lower latitudes.
Should I use a flash to light up the foreground?
Avoid using your camera's built-in flash, as it will wash out the aurora and ruin your night vision. Instead, use a dim headlamp or moonlight to subtly illuminate the landscape if necessary.
This answer was created with the help of AI research tools and reference sources. Spotted an error? Let us know — we correct mistakes quickly. See our editorial policy.