How do you draw a lemur?
Short answer
Drawing a lemur requires capturing its distinct primate features: large, expressive eyes, a slender body, and a characteristically long, ringed tail. Begin by sketching simple geometric shapes to establish the proportions of the head and torso. Focus on the elongated snout and pointed ears to achieve an accurate, recognizable lemur silhouette.
On this page
How to sketch lemur proportions
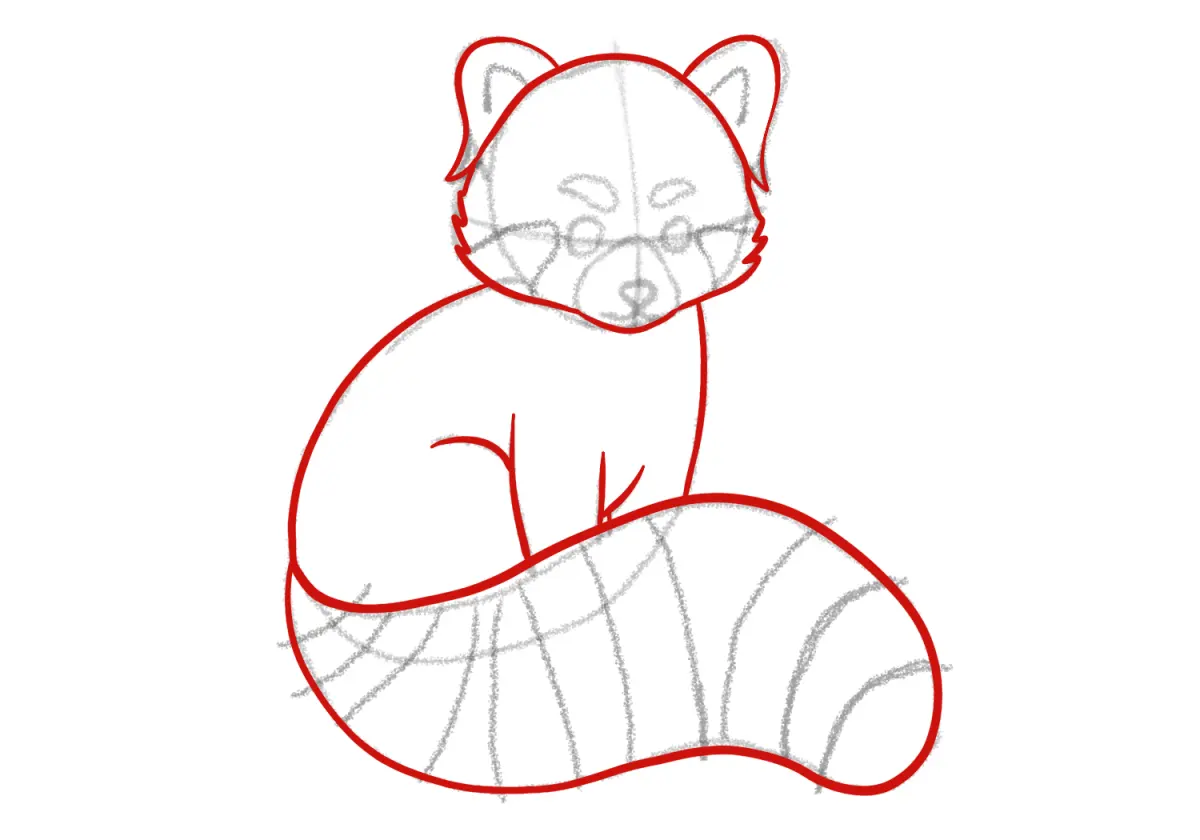
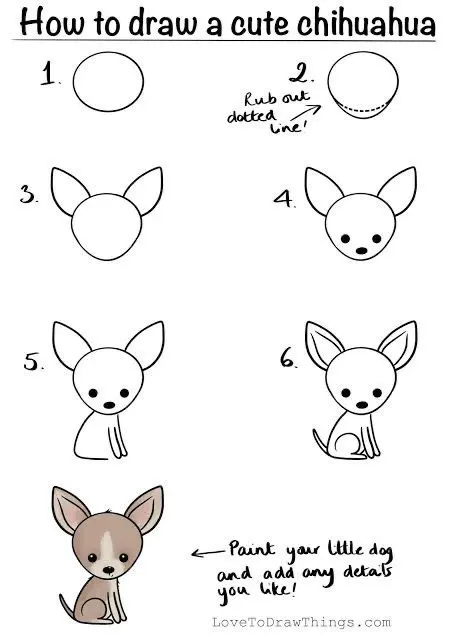
To draw a lemur accurately, you must first establish the skeletal structure using basic shapes. Start with a medium-sized circle for the head and a larger, oval shape for the main body. Connect these with a curved line to represent the spine, allowing for the lemur's natural, slightly hunched posture. Lemurs are arboreal, so their limbs are typically long and slender, designed for gripping branches.
Once the frame is set, add guidelines for the limbs. Lemurs have relatively long hind legs compared to their forelimbs, which aids in their signature leaping movement. Use thin rectangles to map out the arms and legs, ensuring the joints are placed correctly. Keep your lines light so you can easily erase them later. By establishing these proportions early, you ensure the final drawing looks balanced and anatomically plausible rather than disjointed or cartoonish.
Best drawing techniques for beginners
Beginners should focus on building the form from the inside out rather than jumping straight into details. Start by sketching the core shapes, then refine the outline to reflect the lemur's fur texture. Use short, quick pencil strokes to suggest the fluffiness of the coat, especially around the neck and cheeks. This creates a sense of volume and life that smooth, hard lines cannot replicate.
- Draw a circle for the head and divide it with a cross to align the facial features.
- Sketch the large, circular eyes, which are a hallmark of nocturnal and diurnal lemur species alike.
- Add the pointed ears near the top of the head, ensuring they are symmetrical.
- Extend the muzzle slightly forward, creating a triangular shape that tapers toward the nose.
- Draw the long, thick tail, which should be roughly the same length as the body.
Why lemur eyes are essential
The most striking feature of a lemur is its large, forward-facing eyes, which provide depth perception for leaping through trees. When drawing them, place the eyes centrally on the face, spaced far enough apart to accommodate the bridge of the nose. Use a dark, solid pupil and add a small white highlight to suggest moisture and depth. This simple detail brings the entire drawing to life and gives the animal an alert, inquisitive expression.
Surround the eyes with dark, circular patches of fur, which are common in many species like the ring-tailed lemur. These markings act like natural goggles, emphasizing the size and intensity of the eyes. Keep the surrounding fur strokes soft and radiating outward to blend the markings into the face naturally. If the eyes look flat, increase the contrast between the dark pupils and the lighter iris to create a more compelling focal point.
Common mistakes when drawing lemurs
A frequent error is drawing the tail too thin or too short. A lemur’s tail is a crucial tool for balance and communication, often serving as a rudder while the animal is in mid-air. Ensure the tail has significant thickness at the base and tapers gradually toward the tip. If you are drawing a ring-tailed lemur, remember to space the rings evenly, making them slightly wider in the middle of the tail and thinner toward the end.
Another common mistake is neglecting the hands and feet. Lemurs have dexterous, hand-like paws with elongated fingers designed for gripping branches. Avoid drawing simple rounded paws; instead, define the individual fingers and the opposable thumb. If the lemur is perched on a branch, show the fingers wrapping around the wood. This interaction between the animal and its environment adds realism and context to the composition, preventing the lemur from appearing as if it is floating in empty space.
How to add realistic fur textures
To finish your drawing, focus on the direction of the fur growth. Fur does not grow uniformly; it follows the contours of the body, radiating from the center of the chest and down the limbs. Use a sharp pencil to create overlapping, directional strokes that follow these natural lines. In areas of shadow, press harder to create deeper, darker marks, while using lighter pressure on the highlights to suggest the sun hitting the lemur's coat.
- Use a soft graphite pencil for the dark rings on the tail to ensure a deep, rich tone.
- Leave small gaps between strokes to mimic the look of individual hairs rather than a solid block of color.
- Vary the length of your strokes to show the difference between short facial fur and the longer, shaggier fur on the body.
- Use a kneaded eraser to lift graphite and create thin, light-colored hairs for a realistic finish.
By layering these textures carefully, you transform a basic sketch into a detailed, lifelike portrait of this unique primate. Focus on maintaining the flow of the fur, as this is what gives the lemur its soft, organic appearance. With patience and attention to these fine details, your drawing will successfully capture the essence and character of the animal.
Key facts
- Lemurs are strepsirrhine primates characterized by their long, often ringed tails and reflective eyes.
- Focus on the elongated snout and large, circular eyes to capture the lemur’s distinct facial structure.
- The body shape is typically slender with long, agile limbs designed for leaping between trees.
- Use a series of overlapping circles to map out the head, chest, and hips before refining the outlines.
- Hands and feet are highly specialized with opposable thumbs, which should be drawn with five distinct digits.
- Fur texture is best rendered with short, directional strokes rather than solid blocks of color.
The bottom line
Drawing a lemur requires balancing its delicate, primate-like features with its unique, elongated proportions. By starting with basic geometric shapes for the head and limbs, you establish a sturdy foundation. Emphasizing the large, expressive eyes and the characteristic long tail will immediately make your subject identifiable. Focus on capturing the natural, agile posture of these creatures to bring your drawing to life with accuracy and grace.
People also ask
What is the most recognizable feature of a ring-tailed lemur?
The most iconic feature is the long, bushy tail adorned with alternating black and white rings. When drawing, ensure the tail is significantly longer than the body to maintain proper proportions.
Should I draw the lemur sitting or climbing?
Lemurs are arboreal, so drawing them clinging to a branch is a natural pose. Position the hands and feet to grip the wood firmly to show their specialized anatomy.
How do I make the eyes look realistic?
Lemurs have large, forward-facing eyes with a reflective layer called the tapetum lucidum. Use a bright white highlight against a dark iris to give them an alert, nocturnal appearance.
What is a common mistake when sketching lemur ears?
Beginners often draw ears too small or too high on the head. Lemur ears are relatively large, rounded, and positioned slightly to the sides of the skull.
How do I represent the fur properly?
Avoid drawing individual hairs everywhere, which can look messy. Instead, group fur into clumps and shade the edges to suggest volume and softness.
Do all lemurs have the same body shape?
No, lemurs vary greatly in size and build, ranging from the tiny mouse lemur to the larger indri. Research the specific species to determine if you need a compact or elongated frame.
This answer was created with the help of AI research tools and reference sources. Spotted an error? Let us know — we correct mistakes quickly. See our editorial policy.