What are good drawing exercises for beginners?
Short answer
Beginners should focus on exercises that improve hand-eye coordination and spatial awareness. Essential practices include contour drawing, gesture drawing, and negative space studies. By dedicating 15 to 30 minutes daily to these techniques, you will develop the fundamental muscle memory and observational skills necessary to translate three-dimensional objects onto a two-dimensional surface.
On this page
How to improve hand-eye coordination for drawing
Hand-eye coordination is the foundational skill that bridges the gap between seeing an object and accurately recording it on paper. Beginners often struggle because they draw what they think they see rather than what is actually in front of them. To overcome this, practice blind contour drawing, where you focus entirely on the subject without looking down at your paper. This forces your brain to synchronize your hand movements with the visual data your eyes are collecting.
- Select a simple object, such as a piece of fruit or a mug.
- Place your pencil on the paper and lock your eyes onto the edge of the object.
- Move your eyes slowly along the contour of the object while simultaneously moving your hand to trace the shape on the page.
- Do not lift your pencil or glance at your drawing until you have completed the full outline.
This exercise is not about producing a masterpiece but about training your brain to trust your eyes. You will likely find that your first attempts look distorted or messy, which is perfectly normal. The goal is to build a direct neural pathway between your visual perception and your motor skills. Over time, your lines will become more confident and accurate as your brain stops relying on symbolic representations of objects.
Why gesture drawing is essential for beginners
Gesture drawing is the practice of capturing the movement, weight, and essence of a subject in a very short amount of time. Instead of focusing on fine details or shading, you are looking for the "flow" of the form. This technique is commonly used in life drawing classes to help artists understand anatomy and pose dynamics. By limiting your time to 30, 60, or 90 seconds per sketch, you prevent yourself from getting bogged down in unnecessary details.
- Use loose, fluid lines to map out the center of gravity and the main curves of the subject.
- Focus on the "line of action," which is the primary curve that defines the pose.
- Keep your hand moving constantly, using light pressure to allow for quick corrections.
- Avoid erasing; if a line is wrong, simply draw over it with a darker, more accurate stroke.
By practicing these quick sketches, you learn to prioritize the most important aspects of a form. This builds a sense of rhythm and energy in your work that static, detailed drawings often lack. It also helps you overcome the fear of making mistakes, as the temporary nature of the exercise encourages experimentation and speed over perfection.
Best drawing exercises for beginners to practice daily
Consistency is the most critical factor in artistic growth. Daily practice sessions should be short and focused, preventing burnout while building steady progress. One effective routine involves combining observational studies with technical drills. By rotating through different exercises, you keep your practice fresh and challenge your brain to solve different spatial problems each day.
- Spend 10 minutes on blind contour drawings to warm up your hand.
- Spend 10 minutes on gesture drawings to practice capturing movement.
- Spend 10 minutes on value studies, where you shade a simple geometric shape to understand light and shadow.
These exercises cover the three pillars of drawing: accuracy of form, fluidity of motion, and understanding of light. If you find yourself struggling with a specific area, such as perspective or anatomy, dedicate a week to focusing exclusively on that topic. Remember that drawing is a skill, not a talent, and every minute spent practicing builds the muscle memory required for more advanced work.
Common mistakes when learning to draw
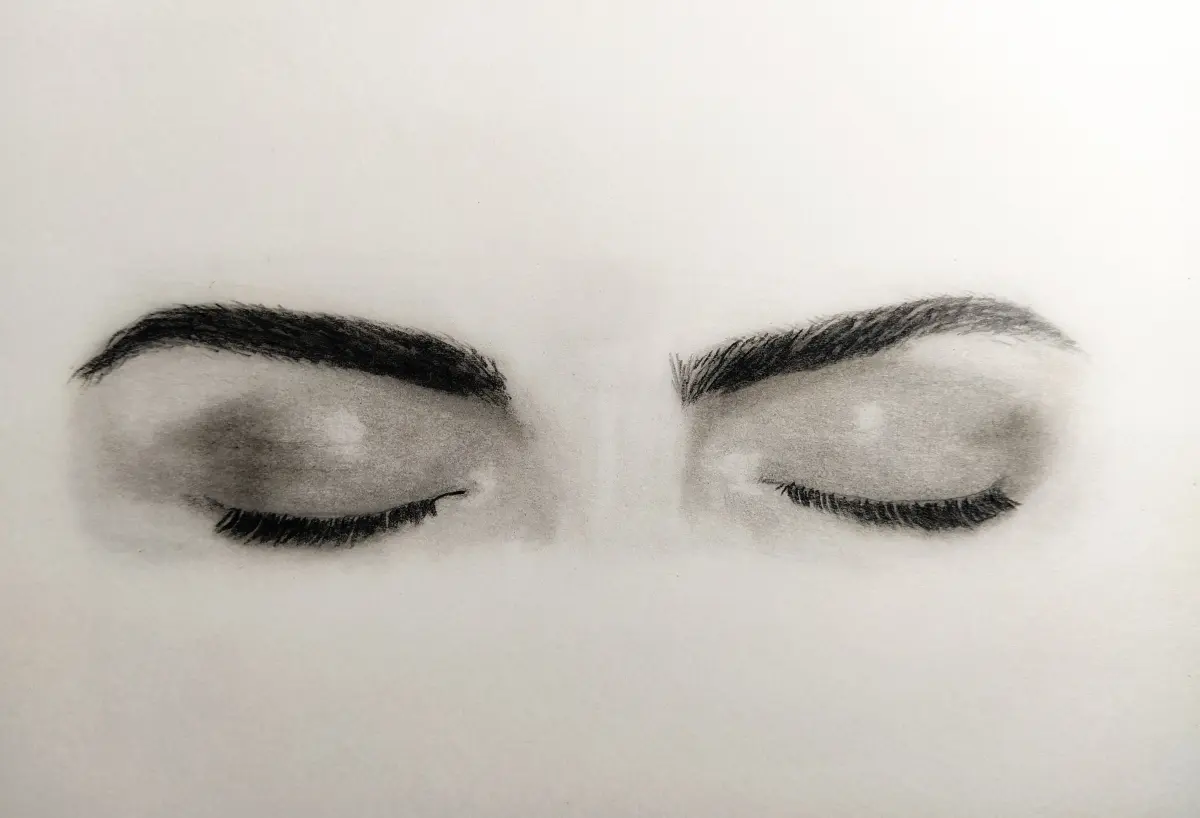
Many beginners fall into the trap of drawing symbols instead of reality. For example, when drawing an eye, a novice might draw an almond shape with a circle inside, which is a symbolic representation rather than an accurate observation. Another frequent error is using overly heavy lines for the entire drawing. This flattens the image and removes the sense of depth, making the subject appear cartoonish or two-dimensional.
- Avoid pressing too hard with your pencil; start with light, sketchy lines that can be easily adjusted.
- Do not ignore the negative space, which is the empty area around your subject.
- Stop trying to finish a drawing in one sitting; sometimes stepping away allows you to see errors you previously missed.
- Resist the urge to smudge your shading with your fingers, as this creates a muddy, unprofessional appearance.
Instead of smudging, learn to use hatching and cross-hatching to build value. These techniques provide a cleaner look and give you more control over the transitions between light and dark. By identifying these common pitfalls early, you can consciously adjust your habits and accelerate your development as an artist.
How to use negative space to improve accuracy
Negative space is the area surrounding the subject of your drawing. By focusing on the shapes created by this empty space rather than the object itself, you bypass your brain’s tendency to categorize what you see. This technique is highly effective for improving proportions and spatial relationships. When you draw the shape of the air between a chair's legs, for instance, you are forced to observe the exact angles and distances involved.
To practice this, look at a complex object and try to draw only the holes or the gaps within and around it. You will find that the object itself begins to emerge on your paper as a result of the surrounding boundaries. This method is particularly useful when drawing subjects with challenging perspectives or complex structures. It forces you to look at the relationship between different points in space, which is the secret to creating drawings that look grounded and realistic.
Key facts
- Draw for at least 15 minutes daily to build muscle memory and observational skills.
- Use a 2B pencil for general sketching because it offers a versatile range of light and dark tones.
- Practice "blind contour drawing" by sketching an object without looking down at your paper to strengthen hand-eye coordination.
- Hold your pencil further back from the tip to encourage loose, fluid arm movements rather than stiff wrist motions.
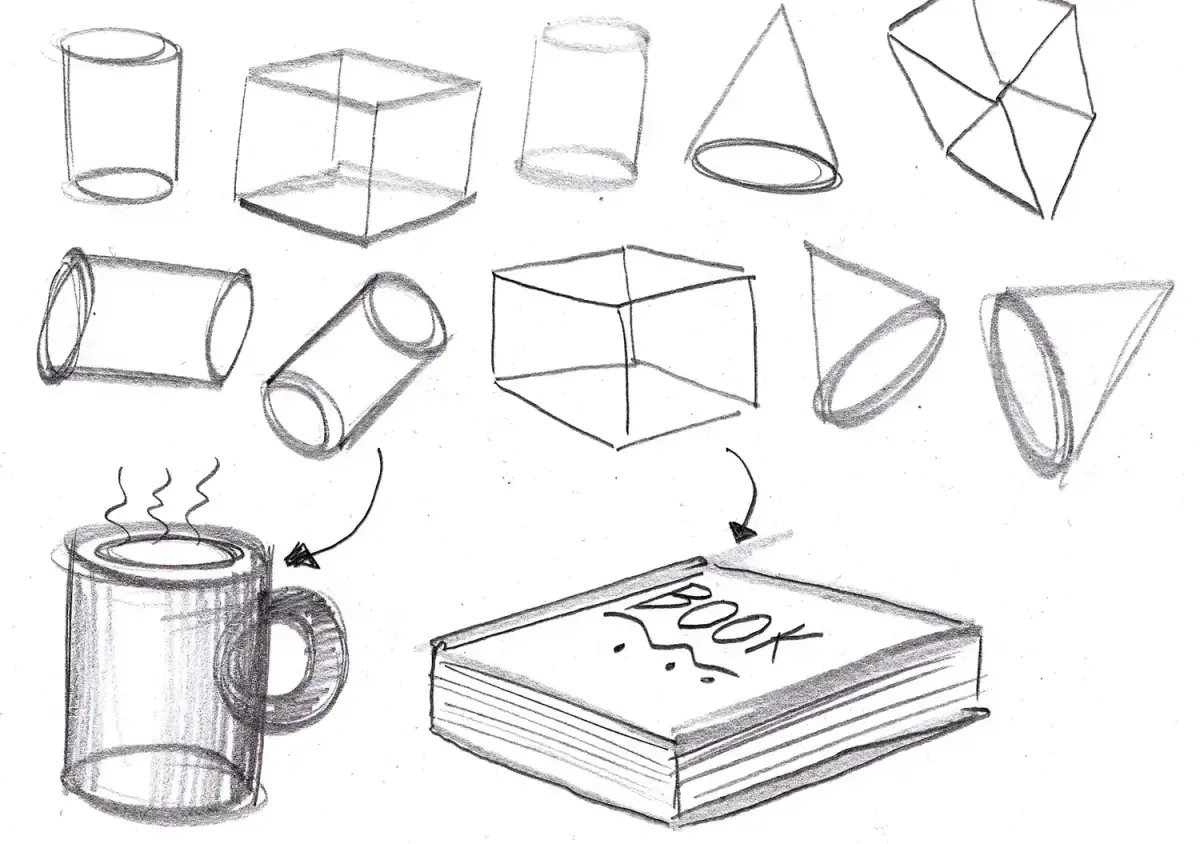
- Focus on breaking complex subjects into basic geometric shapes like spheres, cubes, and cylinders before adding details.
- Keep a dedicated sketchbook to track your progress and revisit past drawings to identify areas for improvement.
The bottom line
Mastering drawing is a journey of refining how you perceive the world rather than just moving a pencil. By focusing on fundamental shapes, consistent daily practice, and proper hand mechanics, you will build the necessary foundation for more complex art. Avoid the urge to rush into intricate details; instead, prioritize accurate proportions and light values. With patience and regular repetition, your technical proficiency will steadily improve.
People also ask
Should I start with graphite or charcoal?
Graphite is recommended for beginners because it is less messy and easier to erase. Charcoal is better suited for expressive, large-scale shading once you have mastered basic pencil control.
How do I stop my drawings from looking flat?
You must learn to identify light sources and apply a full range of values, from deep shadows to bright highlights. Adding cast shadows beneath objects creates the illusion of depth and physical presence.
Is it necessary to learn perspective early on?
Understanding basic one-point and two-point perspective is essential for drawing accurate environments. It provides the structural foundation required to make objects look like they occupy three-dimensional space.
What is the best way to hold a pencil?
Avoid the "writing grip" for drawing, as it creates tight, restricted lines. Instead, hold the pencil loosely between your thumb and fingers to allow for broader, more natural strokes.
How long does it take to become good at drawing?
Skill development depends on consistent practice rather than innate talent. Most dedicated beginners see significant improvement in their proportions and shading techniques within three to six months of daily work.
Should I trace images to learn?
Tracing can help you understand shapes, but it does not teach observational skills. It is better to draw from life or reference photos to train your brain to interpret complex visual information.
This answer was created with the help of AI research tools and reference sources. Spotted an error? Let us know — we correct mistakes quickly. See our editorial policy.