How do you draw clouds for beginners?
Short answer
Drawing clouds requires observing organic shapes rather than rigid lines. Focus on building volume through soft, rounded edges and light-to-dark shading. By using a light touch with a graphite pencil or blending tool, you can create the illusion of atmospheric depth and fluffy texture essential for realistic, three-dimensional cloud formations.
On this page
How to draw realistic clouds for beginners
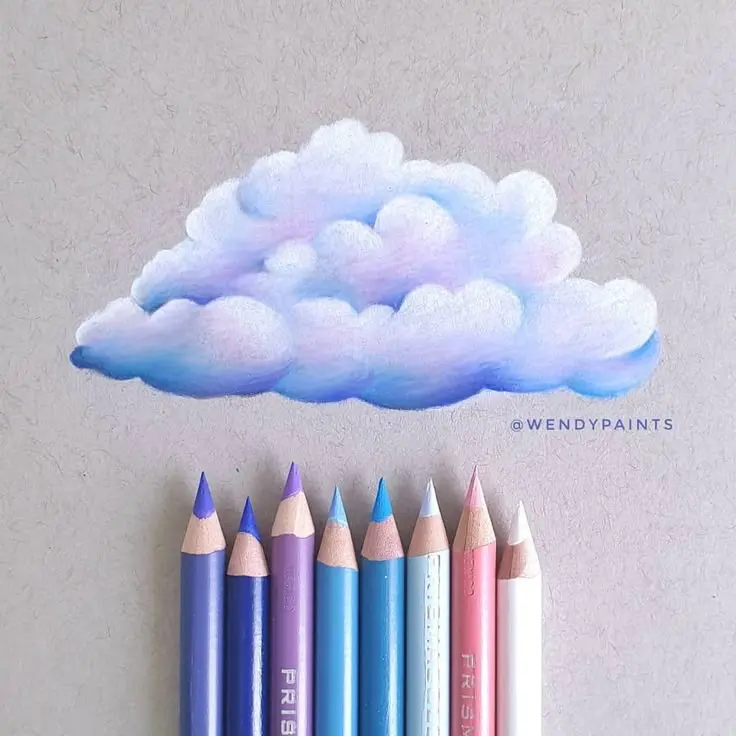
To draw a cloud, start by visualizing it as a collection of overlapping spheres or rounded mounds. Clouds are rarely uniform, so avoid drawing perfect circles or symmetrical shapes. Instead, use a light hand to map out the general silhouette, keeping the bottom edge relatively flat while making the top sections appear billowy and uneven. This foundational shape provides the structure needed to define the cloud's mass.
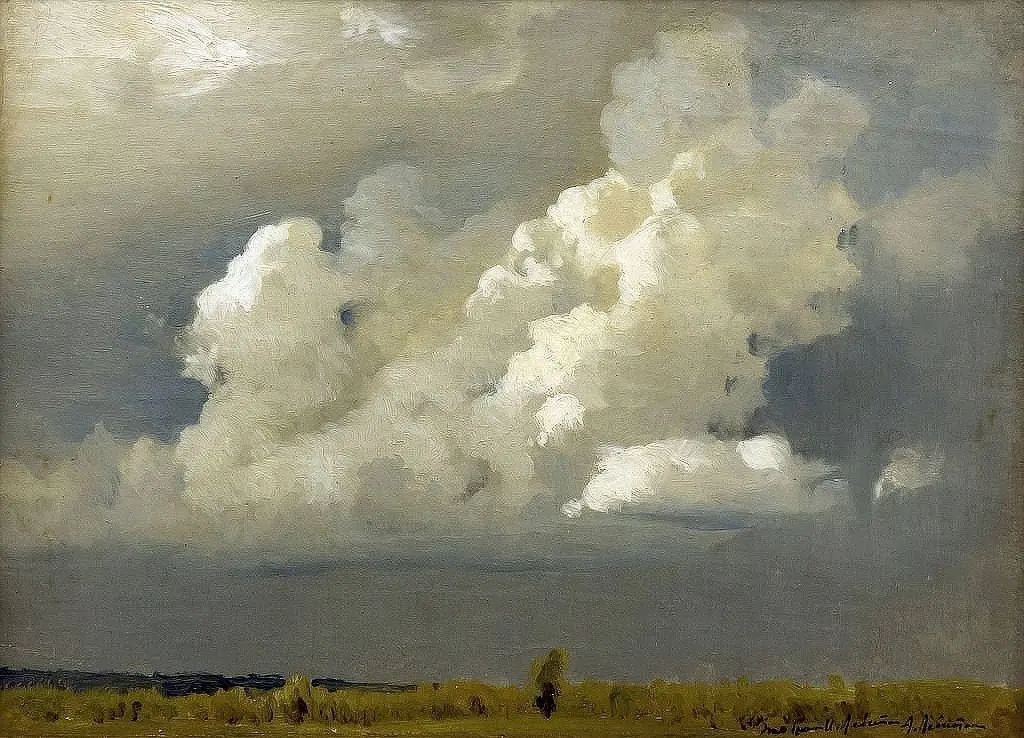
Once the outline is established, focus on the internal structure. Clouds gain their realistic appearance through variations in light and shadow. The sun usually hits the top of the cloud, making those areas the brightest, while the underside remains in shadow. Use a blending stump or a soft tissue to smudge your pencil marks, creating smooth transitions that mimic the vaporous nature of water droplets in the sky.
- Sketch a light, loose outline of the cloud's main body using a hard pencil like an H or HB.
- Identify where the light source is located to determine which parts of the cloud should remain white.
- Apply soft, circular shading to the shadowed areas, gradually deepening the tone toward the base.
- Use an eraser to lift highlights and refine the edges, ensuring the transitions look soft and airy.
What tools are best for drawing clouds
The quality of your drawing depends largely on the tools you select for blending and shading. For beginners, a standard graphite pencil set is sufficient, but incorporating specific blending tools will significantly improve your results. A blending stump, also known as a tortillon, allows you to move graphite across the paper without the oils from your fingers interfering with the texture. This creates the soft, diffused look characteristic of cumulus clouds.
Additionally, the type of paper you choose plays a vital role in how your clouds appear. Smooth, cold-press paper is ideal because it allows the graphite to glide evenly, preventing harsh, scratchy lines that can ruin the ethereal quality of the sky. You should also keep a kneaded eraser nearby. Unlike standard block erasers, a kneaded eraser can be molded into specific shapes, allowing you to "draw" with light by lifting graphite away from the paper to create crisp highlights.
- Graphite pencils (HB for outlines, 2B or 4B for shadows)
- Blending stump or tortillon for smooth transitions
- Kneaded eraser for lifting highlights and correcting mistakes
- Smooth-surface drawing paper or sketchbook
- Soft tissue or chamois cloth for large, light shading areas
Why clouds look different in drawings
Clouds are categorized by their altitude and physical structure, which dictates how they should be rendered on paper. Cumulus clouds, the most recognizable "puffy" variety, require a focus on rounded, volumetric shapes and distinct shadows. In contrast, stratus clouds appear as thin, horizontal layers that cover the sky like a blanket. When drawing these, you should use long, sweeping strokes rather than rounded clusters to capture their flat, expansive nature.
Cirrus clouds, found at very high altitudes, look like wispy, delicate strands of hair. To draw these, use a very light touch and quick, flicking motions with your pencil. Because they are composed of ice crystals rather than dense water droplets, they lack the heavy shadows found in lower-altitude clouds. Understanding these physical differences allows you to move beyond basic shapes and create dynamic, accurate skies that reflect the actual behavior of weather patterns.
Common mistakes when drawing clouds
One of the most frequent errors beginners make is outlining the entire cloud with a dark, heavy line. In nature, clouds do not have fixed borders; they are soft masses of vapor that blend seamlessly into the surrounding sky. By drawing a hard, continuous line around your cloud, you inadvertently make it look like a solid object, such as a rock or a balloon. Always keep your edges soft and broken to maintain the illusion of transparency.
Another common mistake is applying uniform shading across the entire cloud. If the shading is too even, the cloud will appear flat and lack depth. Remember that clouds are three-dimensional, meaning they have crevices, peaks, and valleys. You must vary the pressure of your pencil to create a range of values, from pure white highlights to deep, soft grays in the shadowed recesses. If your cloud looks like a flat shape, add more contrast to the bottom sections to push them into the background.
How to improve your cloud drawing skills
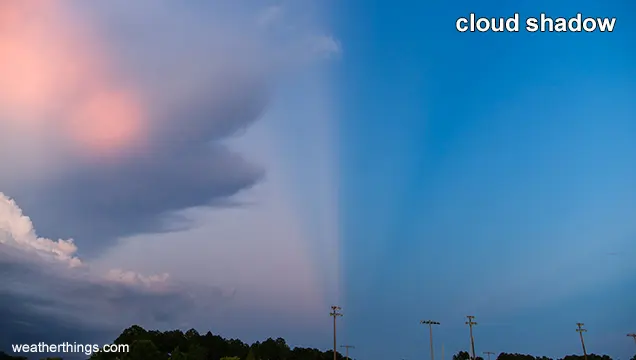
Consistent practice is the most effective way to improve your ability to capture the complexities of the sky. Spend time observing real clouds during different times of the day. Notice how the light changes during sunrise and sunset, casting warm hues and long shadows that alter the perceived depth of the clouds. Sketching from life, even for just ten minutes a day, helps train your eye to see the subtle gradations of gray that differentiate a realistic cloud from a cartoonish one.
Finally, do not be afraid to experiment with negative space. Sometimes, the most effective way to draw a cloud is to shade the sky around it, leaving the white of the paper to represent the brightest highlights of the vapor. This technique, often used by landscape artists, emphasizes the contrast between the dark, heavy atmosphere and the light, airy clouds. By focusing on the interplay between light and shadow, you will eventually develop a natural intuition for drawing clouds that look both accurate and artistically compelling.
Key facts
- Clouds are not solid objects; they are masses of water droplets or ice crystals suspended in the atmosphere.
- Use a light touch with your pencil to create soft, rounded edges rather than sharp, rigid outlines.
- Vary the size and spacing of cloud clusters to avoid a repetitive, unnatural pattern across your paper.
- Apply shading primarily to the bottom of the cloud to suggest depth and a light source from above.
- Use a kneaded eraser to lift graphite and create bright, white highlights within the cloud mass.
- Observe real clouds to understand how they cluster in layers rather than floating as isolated, identical shapes.
The bottom line
Drawing realistic clouds requires shifting your focus from rigid outlines to soft, layered volumes. By using a light touch, varying your shapes, and utilizing an eraser to carve out highlights, you can transform simple graphite marks into atmospheric depth. Remember that clouds are fluid, not fixed, so prioritize organic, asymmetrical forms over perfect geometry to achieve a natural look that enhances your landscape compositions effectively.
People also ask
What is the best pencil grade for drawing clouds?
An HB or 2B pencil is ideal for beginners because these grades allow for both light sketching and moderate shading. Harder leads like 4H are too faint, while very soft leads like 6B can become messy quickly.
How do I make clouds look fluffy instead of flat?
Focus on overlapping rounded shapes rather than drawing a single continuous outline. By layering these soft curves, you create the illusion of volume and three-dimensional form.
Should I use a blending stump to smooth out my clouds?
A blending stump is a helpful tool for softening transitions between shadows and highlights. Use it gently to smudge your graphite, but avoid over-blending, which can make the clouds look like gray smudges rather than vapor.
How do I show that a cloud is in shadow?
Identify where the sun is positioned and shade the underside of the cloud furthest from that light source. Use a slightly darker tone at the base and fade it upward to create a realistic gradient.
Is it better to draw clouds with ink or graphite?
Graphite is recommended for beginners because it is forgiving and easy to erase. Ink is permanent and requires advanced techniques like cross-hatching or stippling to achieve the soft, ethereal texture of a cloud.
Why do my clouds look like cartoon shapes?
This usually happens when you draw perfect circles or uniform "cotton ball" shapes. To fix this, introduce irregular, asymmetrical edges and let the clouds taper off at the sides to mimic natural atmospheric dispersion.
This answer was created with the help of AI research tools and reference sources. Spotted an error? Let us know — we correct mistakes quickly. See our editorial policy.