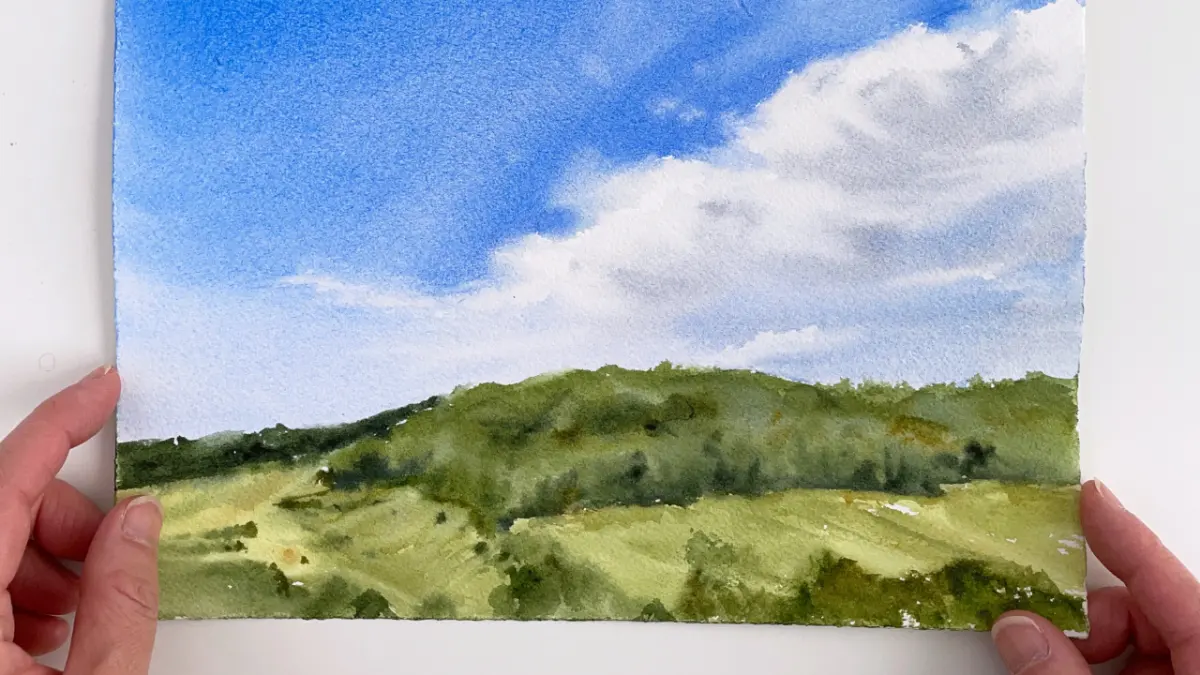
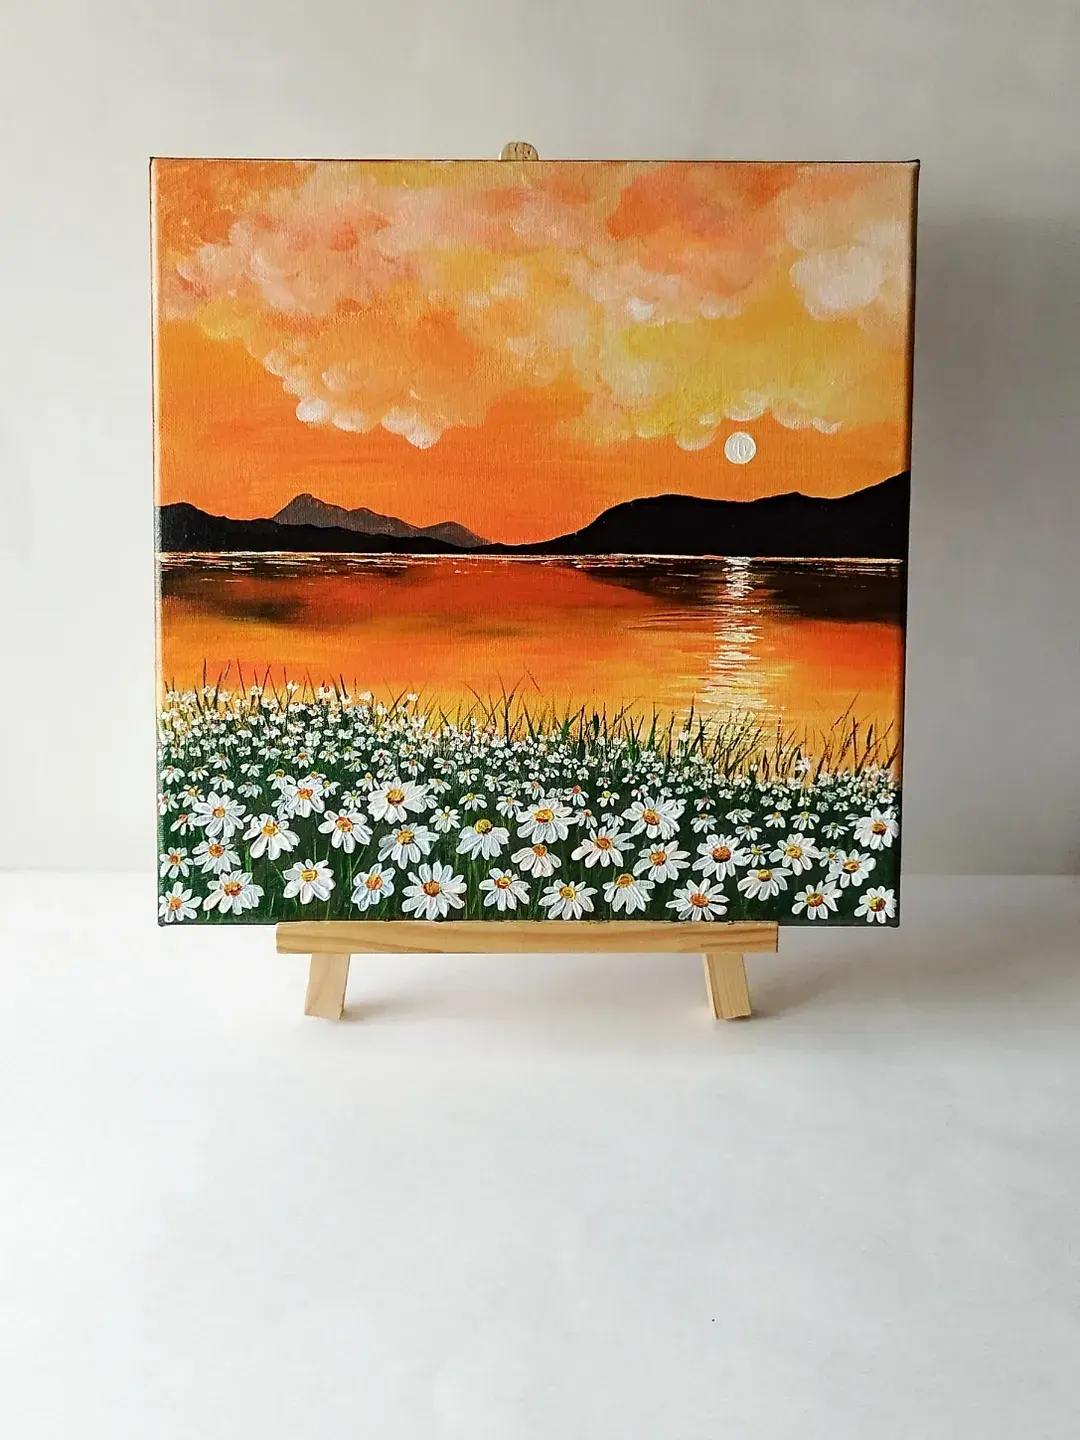
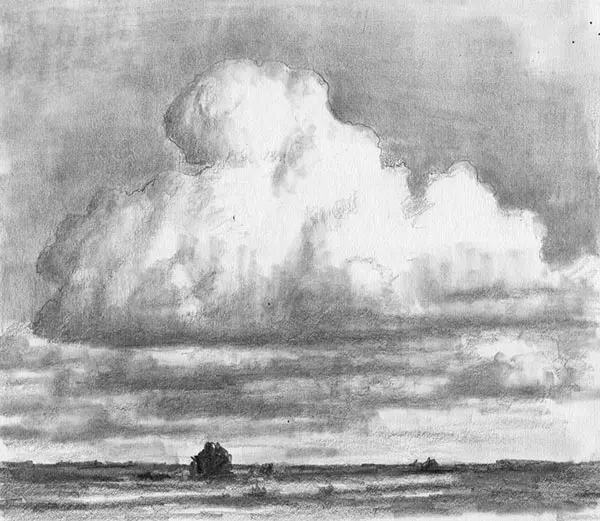
How do you paint clouds in oil?
Short answer
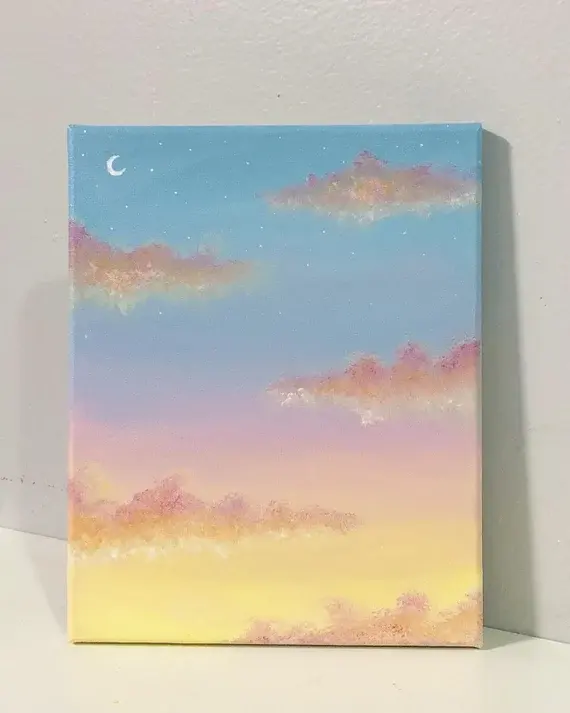
Painting clouds in oil requires layering thin glazes over a solid base. Start by establishing the sky’s color, then use opaque white mixtures to build up the highlights of the clouds. Focus on soft, feathered edges by blending into the wet paint, capturing the volume and atmospheric perspective of the sky.
On this page
How to prepare the canvas for painting clouds
Begin by applying a thin, neutral-toned wash of acrylic or oil paint to your canvas, often called an imprimatura. A light gray or warm ochre works best to neutralize the stark white of the primer, allowing you to judge your values more accurately. Once this base layer is dry, map out the general composition of your clouds using a light touch of diluted paint. Avoid heavy lines, as these can be difficult to cover later.
When preparing your palette, organize your colors from dark to light. For the sky, mix a range of blues using ultramarine or cerulean, and prepare a separate pile for your cloud whites. It is essential to have a variety of whites, such as titanium for bright highlights and zinc for more transparent, airy effects. Ensure your brushes are clean and that you have plenty of medium, such as linseed oil or a dedicated alkyd medium, to adjust the consistency of your paint.
What are the best techniques for painting cloud shapes
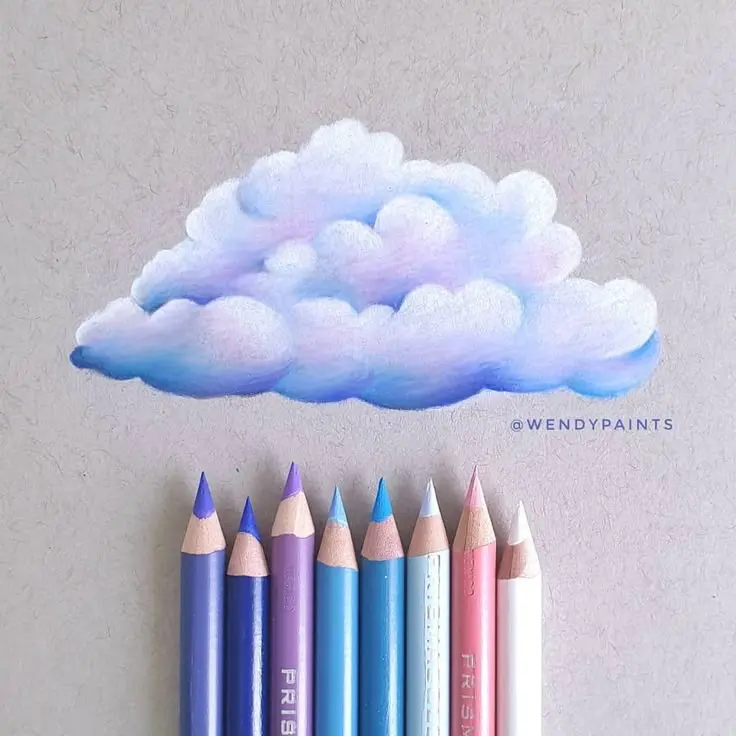
Clouds are three-dimensional forms that require careful attention to light and shadow. Start by painting the darkest parts of the clouds first, which are typically the undersides where light does not reach. Use a mixture of your sky color plus a touch of burnt umber or alizarin crimson to create a soft, muted shadow tone. Once the shadows are established, you can begin to layer the lighter, sunlit portions of the cloud.
- Apply the shadow color in loose, organic shapes that follow the perspective of the sky.
- Use a clean, dry brush to soften the edges of these shapes while the paint is still wet.
- Apply the highlight colors using a "scumbling" technique, where you drag a drier, thicker paint over the surface.
- Vary the thickness of your paint to create a sense of depth and movement within the cloud formation.
How to blend edges for a realistic look
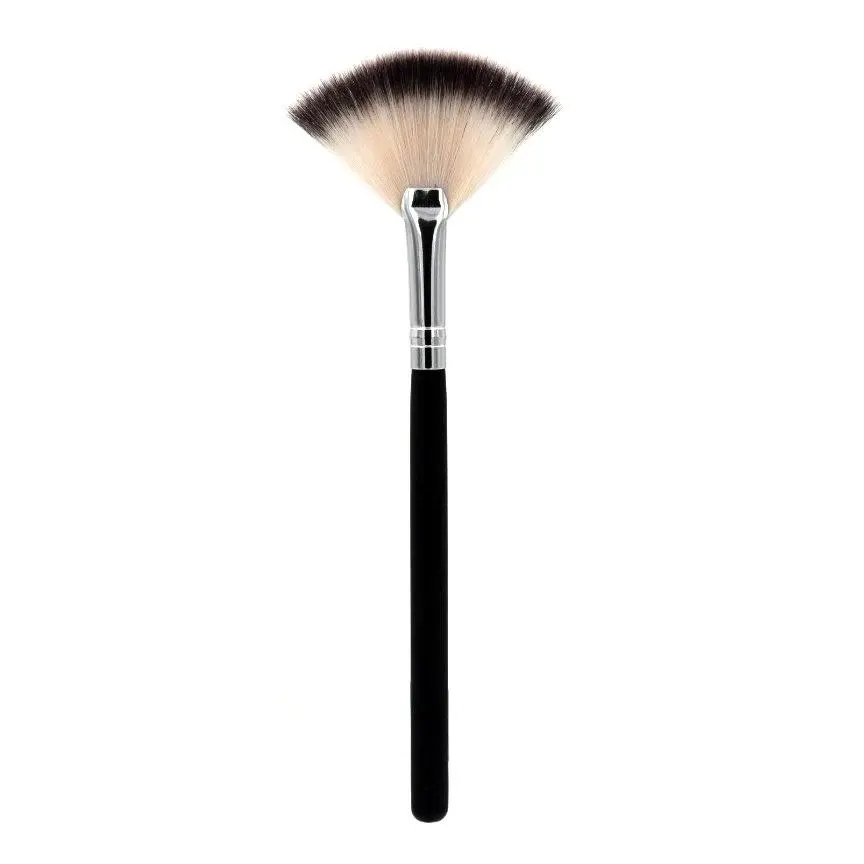
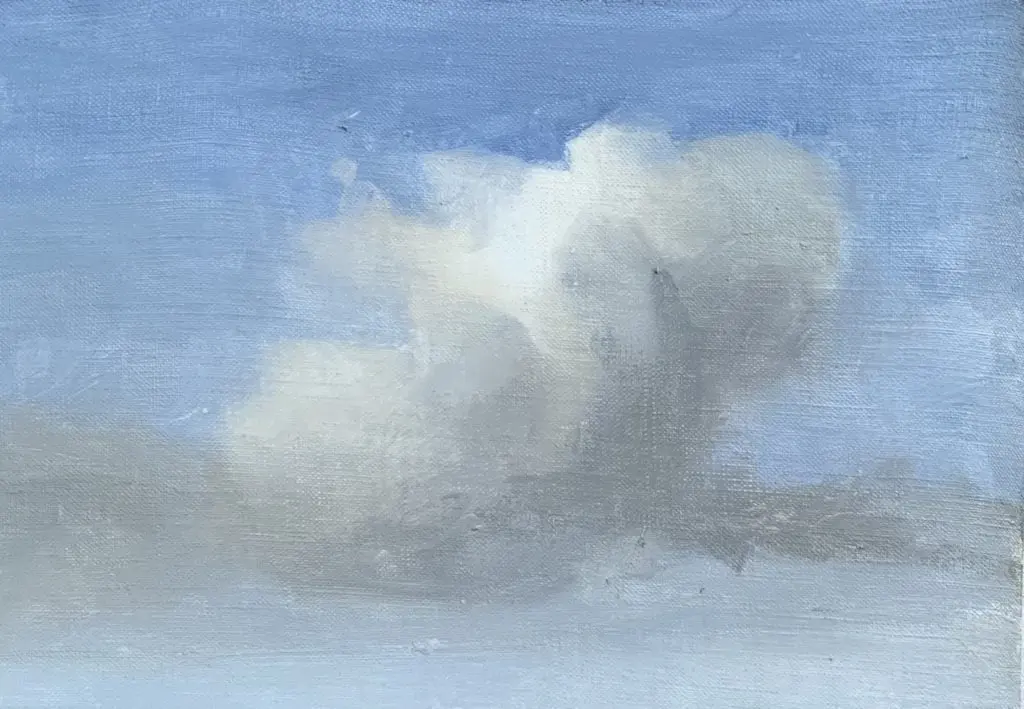
The hallmark of a realistic cloud is its soft, diffused edge. Because clouds are composed of water vapor, they rarely have hard, defined outlines. To achieve this, use a clean, soft-bristled brush—often called a "fan brush" or a "mop brush"—to gently tap or sweep across the transition zones between the cloud and the sky. This technique, known as feathering, removes the visible brushstrokes and integrates the cloud into the atmosphere.
Work quickly while the paint is still wet, as oil paint becomes more difficult to blend as it begins to set. If you find the edges are becoming too muddy, wipe your brush frequently with a clean cloth. You can also use a "dry brush" technique to lift off excess paint, which helps to create the wispy, translucent appearance often seen in high-altitude cirrus clouds. Always maintain a light touch, as heavy pressure will smear the colors into a flat, unintentional mess.
Why clouds look flat or muddy
Many beginners struggle with clouds that appear flat or dull, which usually stems from over-blending or using too many colors. If you mix too many pigments together, you create a neutral gray that lacks vibrancy. Instead, try to keep your color mixtures clean by using only two or three pigments at a time. Additionally, ensure that your sky color is slightly darker than the brightest parts of your clouds; if the sky and clouds are the same value, the clouds will lose their three-dimensional form.
Common issues that lead to muddy paintings include:
- Using a dirty brush that carries dark pigment into your light cloud mixtures.
- Overworking the paint, which grinds the pigments together until they lose their clarity.
- Failing to account for the light source, resulting in shadows that do not match the direction of the sun.
- Using too much medium, which can cause the paint to become transparent and slide around the canvas uncontrollably.
How to fix common mistakes when painting clouds
If you find that your clouds look like static objects rather than shifting vapors, you have likely made the edges too uniform. Nature is rarely symmetrical or perfectly rounded. Introduce variety by making some clouds thinner and more transparent, while others appear dense and heavy. If you have made a mistake, do not be afraid to wipe the area clean with a palette knife or a rag dipped in a small amount of solvent. This "reset" allows you to re-apply the paint with a fresh perspective.
Focus on the following steps to correct your composition:
- Check your values by squinting at your canvas to see if the contrast between light and shadow is sufficient.
- Adjust the color temperature by adding a touch of warm yellow or orange to the sunlit edges of the clouds.
- If the clouds feel disconnected, glaze a thin, transparent layer of your sky color over the edges to push them back into the distance.
- Step back from your easel frequently to view the painting from a distance, as this helps you see the overall structure rather than just the details.
Key facts
- Use a limited palette of titanium white, ultramarine blue, and burnt umber to maintain color harmony.
- Paint the sky background first, working from the darkest areas at the top to lighter hues near the horizon.
- Apply cloud shapes with a "scumbling" technique, using a dry, stiff-bristled brush to drag paint lightly over the surface.
- Keep edges soft by using a clean, soft-haired brush to blend the boundaries between the cloud and the sky.
- Add depth by placing the darkest shadows on the undersides of the clouds before applying the brightest highlights.
- Avoid over-blending, as this creates a muddy appearance; leave visible brushstrokes to suggest texture and movement.
The bottom line
Painting clouds in oil requires a balance of soft edges and deliberate structure. By establishing the sky’s gradient first, you create a foundation for light to interact with vapor. Focus on the interplay between shadow and highlight, using soft brushes to blend transitions and palette knives for texture. With practice, you will master the atmospheric depth necessary to make your skies feel truly expansive and alive.
People also ask
What is the best brush shape for painting clouds?
Filbert brushes are ideal because their rounded edges create soft, organic transitions that mimic the natural form of clouds. A larger brush helps establish base shapes, while a smaller one adds detail.
How do I prevent my colors from turning gray?
Clean your brush thoroughly between applications or use separate brushes for the sky and the clouds. Mixing too many colors on the canvas will lead to muddiness, so apply paint decisively.
Should I paint clouds while the sky is still wet?
Yes, painting "wet-on-wet" allows you to blend the edges of the clouds into the sky seamlessly. This technique is essential for capturing the soft, diffused look of atmospheric vapor.
How do I create the illusion of distance in clouds?
Clouds near the horizon should be smaller, flatter, and cooler in color, often leaning toward violet or gray. Clouds higher up appear larger, warmer, and more defined with greater contrast.
What is the secret to realistic cloud highlights?
Apply your brightest white highlights only at the very end of the process. Place them on the top edges of the clouds where the light source hits, ensuring they remain opaque and crisp.
Can I use a palette knife for clouds?
A palette knife is excellent for creating sharp, textured edges on cumulus clouds. It allows for thick, impasto applications that catch the light and add a sculptural quality to the painting.
This answer was created with the help of AI research tools and reference sources. Spotted an error? Let us know — we correct mistakes quickly. See our editorial policy.