How do you draw gems?
Short answer
Drawing gems requires establishing a rigid geometric structure before applying light and shadow. By mapping out symmetrical facets and identifying a single light source, you create the illusion of depth and transparency. Focus on high-contrast values, crisp edges, and reflected light to mimic the crystalline structure of precious stones like diamonds or sapphires.
On this page
How to structure gem shapes
The foundation of a realistic gem drawing is precise geometry. Most faceted gemstones, such as the classic round brilliant cut, rely on a central point called the culet, from which all other facets radiate. To begin, draw a horizontal oval or circle to represent the girdle, which is the widest part of the stone. From this perimeter, draw lines converging toward the center to create the pavilion facets.
Maintaining symmetry is essential for a professional look. If the facets are uneven, the stone will appear distorted rather than crystalline. Use a ruler or a light guide grid to ensure that the angles of your facets match on opposite sides. Once the skeletal structure is complete, you can refine the shapes to ensure they connect logically. Remember that every line you draw represents a physical edge where light will change direction.
- Sketch the girdle as a perfect ellipse or circle.
- Mark the central culet point slightly below the girdle.
- Draw straight, clean lines connecting the girdle to the culet.
- Add secondary lines to create smaller triangular and kite-shaped facets.
Best tools for drawing gems
Achieving the sharp, clean lines necessary for gemstones requires specific drawing implements. Graphite pencils are excellent for beginners because they allow for easy blending and erasure. Use a hard lead, such as an H or 2H, for the initial structural lines to keep them faint. For the final shading, transition to softer leads like 2B or 4B to achieve deep, rich blacks that define the gem’s brilliance.
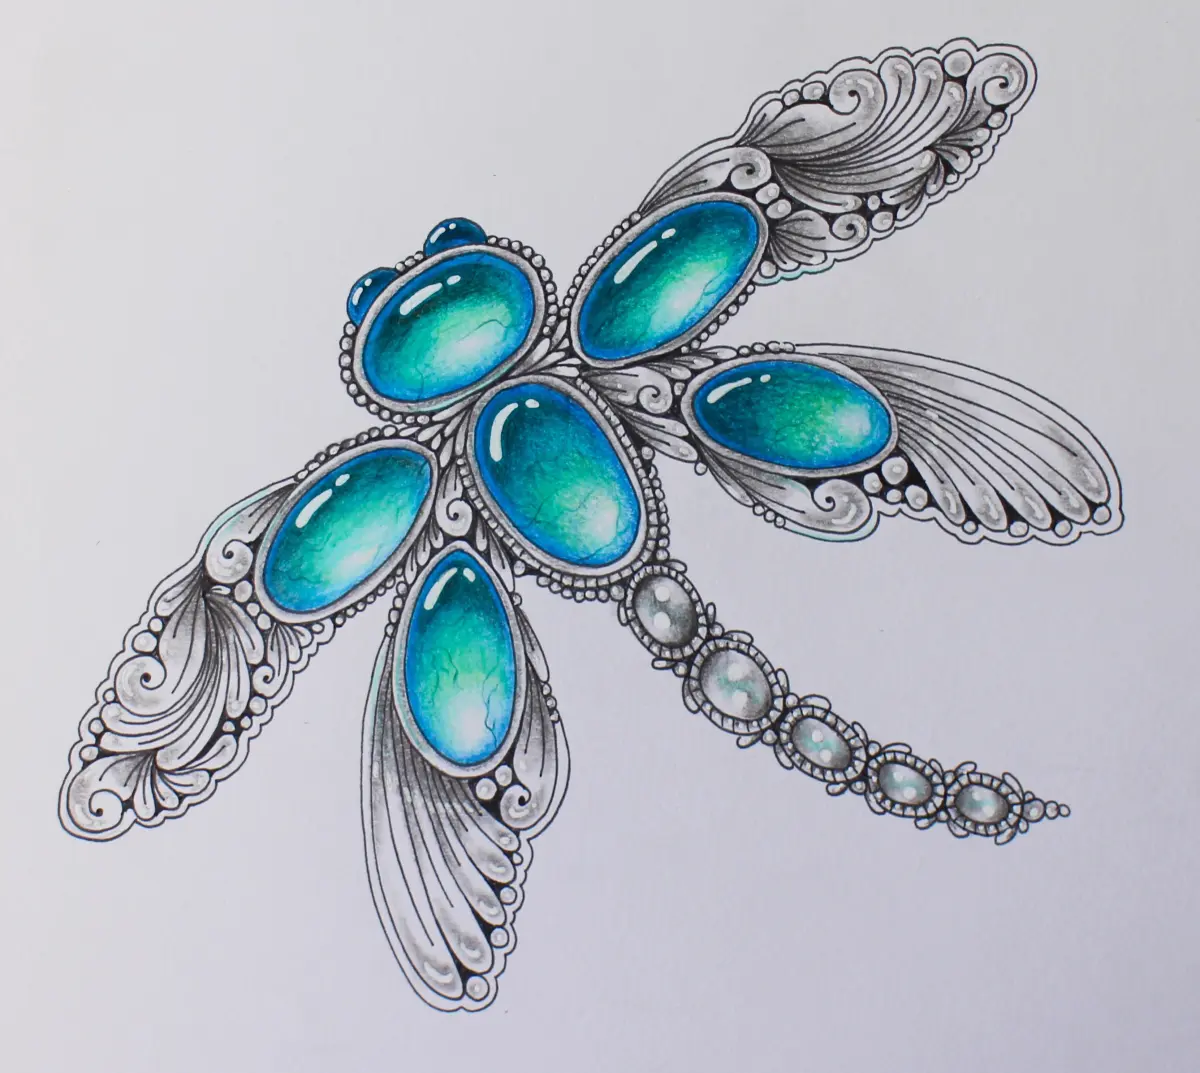
For those working in color, alcohol-based markers or colored pencils provide the best results. Markers allow for smooth, flat gradients that mimic the internal glow of a stone, while colored pencils are ideal for layering and adding sharp highlights. Regardless of the medium, a kneaded eraser is an indispensable tool. It allows you to lift pigment to create the crisp, white highlights that signify the surface reflection of a polished gem.
- Hard graphite pencils (H, 2H) for light structural lines.
- Soft graphite pencils (2B, 4B) for deep shadows.
- Kneaded eraser for precise highlight removal.
- Smooth-surface paper to prevent unwanted texture.
Why high contrast is important
The visual appeal of a gem comes from its ability to refract and reflect light. To replicate this on paper, you must push your value range to the extreme. A gem should contain pure white highlights, deep black shadows, and a full spectrum of mid-tones in between. If your drawing lacks dark values, the stone will appear flat and dull rather than sparkling and three-dimensional.
When shading, avoid soft, blurry gradients. Gemstones are composed of flat surfaces meeting at sharp angles, meaning the transitions between light and dark should be abrupt. Place your darkest values directly next to your brightest highlights to create the "snap" that defines a polished surface. This high-contrast technique tricks the human eye into perceiving depth and transparency, making the drawing feel like it is glowing from within.
Common mistakes when drawing gems
One of the most frequent errors is failing to account for a consistent light source. If your highlights are scattered randomly across the facets, the gem will lose its structural integrity. Before you begin shading, decide where the light is coming from and ensure all primary highlights are placed on the facets facing that direction. Consistency in light placement is the single most important factor for realism.
Another common mistake is drawing all facets with the same level of darkness. In nature, some facets will be in shadow while others catch direct light or internal reflections. If you shade every facet identically, the drawing will look like a flat, patterned shape. Vary your pressure and layering to ensure that each facet has a distinct value, which helps the viewer understand the complex, multi-sided geometry of the stone.
How to add realistic reflections
Adding internal reflections is the final step in bringing a gem to life. Once your base shading is complete, look at the facets that are not directly hit by the light source. These areas should contain subtle, distorted reflections of the surrounding environment or the other facets within the stone. Use a sharp, light-colored pencil or a white gel pen to add tiny, precise dots or lines of reflected light.
These small details suggest that the gem is transparent and that light is bouncing around inside the crystal structure. Do not overdo these reflections, as they can quickly clutter the drawing and obscure the main shape. Focus on placing them near the edges of the facets where the light would naturally bounce. By carefully balancing these internal lights with your deep shadows, you create a convincing illusion of a precious, multifaceted gemstone that possesses weight, clarity, and brilliance.
Key facts
- Facets are flat surfaces that create the geometric patterns seen on cut gemstones.
- Symmetry is essential; ensure that the left and right sides of the gem mirror each other perfectly.
- Use a sharp, hard-lead pencil to create crisp edges that define the crystalline structure.
- Light hits a gem at a single point, creating a bright highlight known as a "table" reflection.
- Contrast is key; use deep, dark shading for the underside and light, crisp whites for the top facets.
- Always draw a central axis line first to maintain balance across the entire shape.
The bottom line
Drawing gems requires a balance of geometric precision and artistic contrast. By establishing a clear central axis and maintaining strict symmetry, you create the structural foundation necessary for a realistic look. The final step involves applying high-contrast shading to mimic light refraction. Mastering these steps allows you to transform simple polygons into brilliant, sparkling jewels that appear to catch the light from every possible angle.
People also ask
What is the best way to shade a gemstone?
Use a high-contrast technique by leaving the top facets nearly white while making the internal facets very dark. This simulates the way light enters and reflects off the internal surfaces of a stone.
How do I make a gem look three-dimensional?
Focus on the "table," which is the large flat top facet, and give it a slight perspective tilt. By varying the thickness of your lines, you create a sense of depth and weight.
Should I use color when drawing gems?
Color is effective if you use a gradient, starting with a deep, saturated hue at the edges and fading to a light tint in the center. Avoid using solid, flat colors, as they make the gem look like plastic.
How do I draw a round brilliant cut?
Start with a circle, then draw a smaller octagon inside it to represent the table. Connect the corners of the octagon to the outer circle to create the primary facets.
What are the most common mistakes beginners make?
The most frequent error is drawing asymmetrical facets that make the gem look lopsided. Another mistake is using too much gray tone, which kills the "sparkle" that comes from high contrast.
Do I need a reference photo to draw a gem?
Reference photos are highly recommended because gemstones have complex light refraction patterns that are difficult to visualize from memory. Look at a photo of a diamond or sapphire to understand how light travels through the stone.
This answer was created with the help of AI research tools and reference sources. Spotted an error? Let us know — we correct mistakes quickly. See our editorial policy.