How do you ink a drawing?
Short answer
Inking is the process of applying permanent ink over a preliminary pencil sketch to define lines, add contrast, and prepare artwork for reproduction. Artists use technical pens, brushes, or dip pens to trace their outlines, subsequently erasing the graphite underneath to reveal a clean, high-contrast image ready for scanning or coloring.
On this page
What tools are needed for inking?
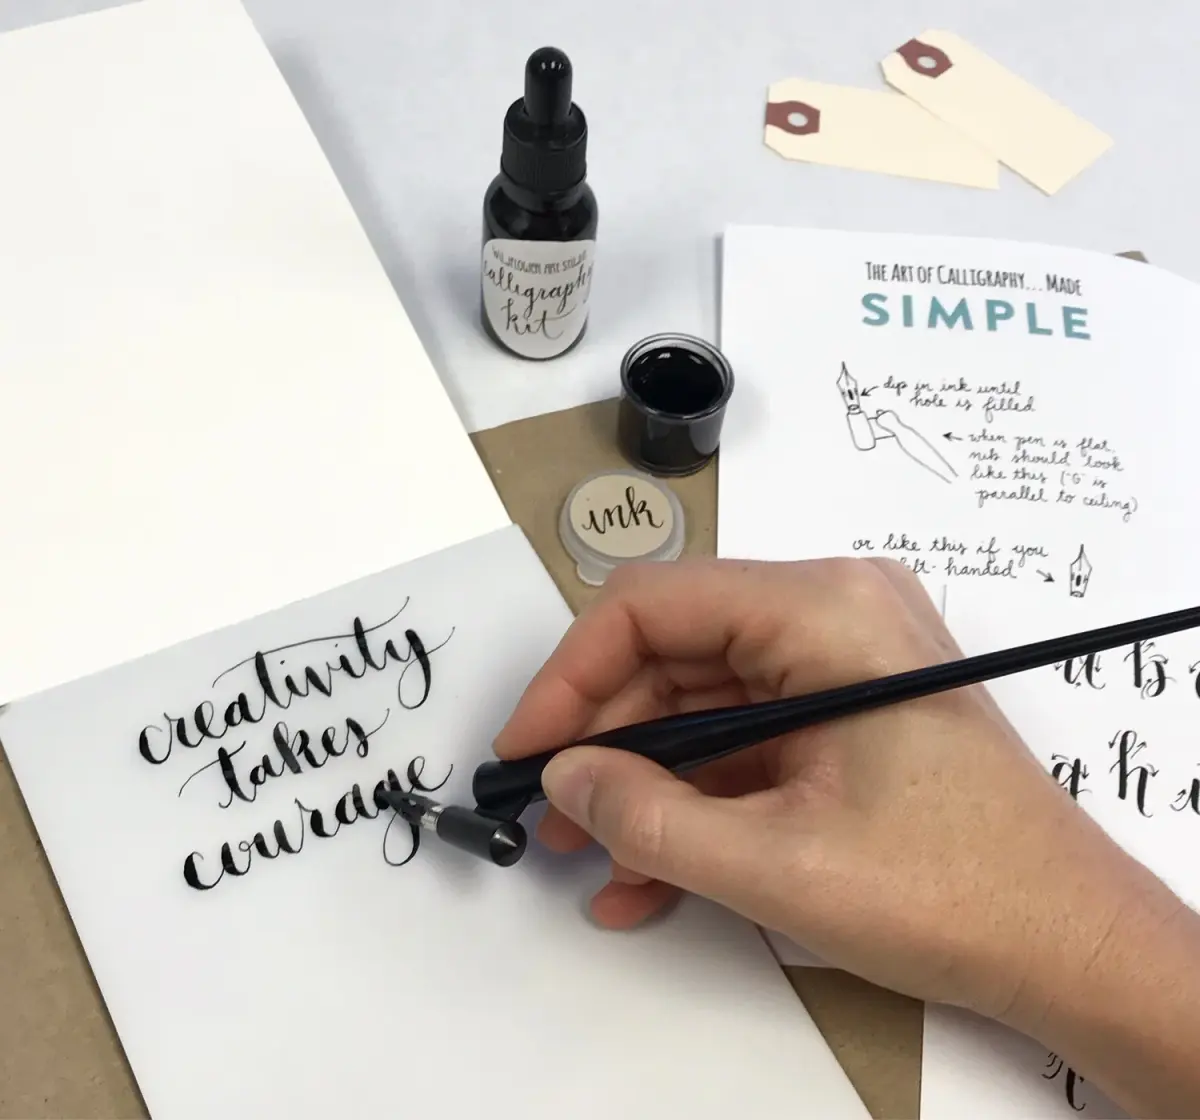
The choice of tools significantly influences the final aesthetic of the drawing. Beginners often start with fineliners, which contain felt or plastic tips that provide a consistent line width. Brands like Sakura Pigma Micron or Staedtler Pigment Liners are industry standards because their archival, waterproof ink prevents smearing when erased or colored. For those seeking more expressive line variation, dip pens with interchangeable nibs allow artists to control line thickness through pressure.
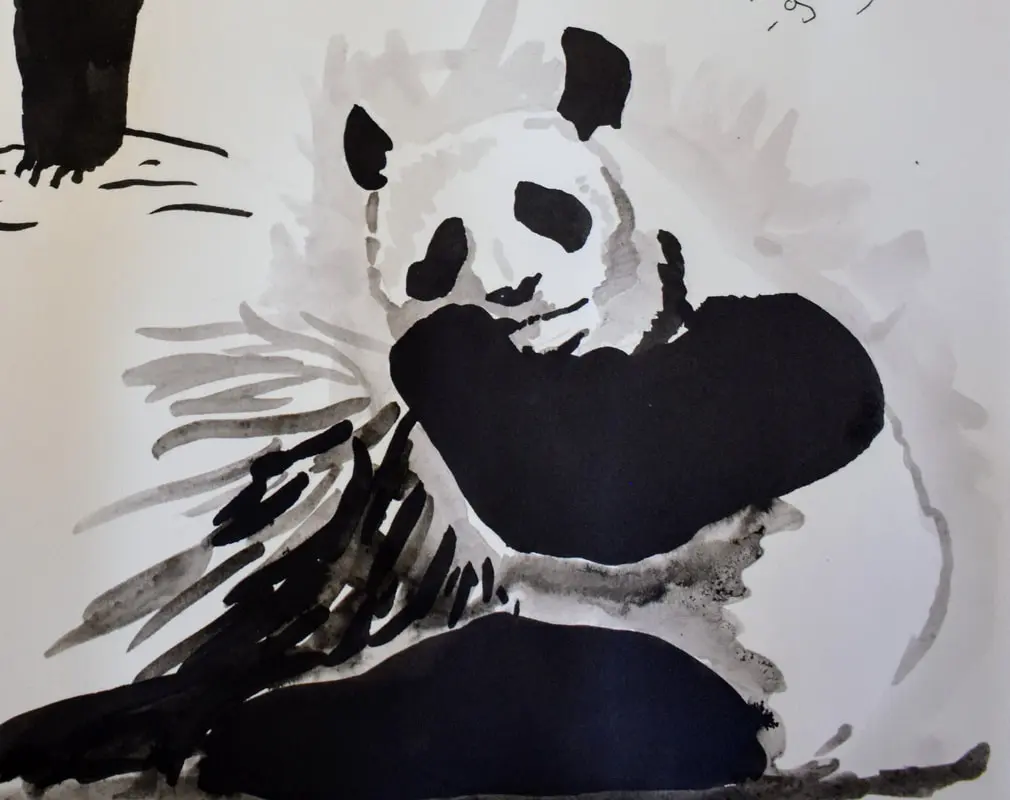
Brushes, particularly sable hair or high-quality synthetic rounds, offer the most dynamic range. They can transition from hair-thin lines to bold, sweeping shapes in a single stroke. Regardless of the tool, the paper choice is vital. Smooth, non-porous surfaces like Bristol board or high-quality marker paper prevent the ink from bleeding or "feathering" at the edges. Using the right combination of tools ensures that the final ink lines remain sharp and professional.
How to prepare a drawing for inking
Preparation is the most critical stage to ensure the final result is clean and accurate. Once the pencil sketch is complete, it is essential to lighten the graphite lines using a kneaded eraser. If the graphite is too dark or thick, it may smudge into the ink or remain visible after the final cleanup. A light, ghost-like sketch provides enough guidance without cluttering the final piece.
Before applying ink, ensure the paper is free of dust and oil from your hands. Many professionals place a clean sheet of scrap paper under their drawing hand to prevent skin oils from resisting the ink or causing smudges. If you are working on a complex composition, follow these preparation steps:
- Complete the full pencil layout, including all shadows and textures.
- Use a kneaded eraser to lift excess graphite until the lines are faint.
- Secure the paper to a flat surface with drafting tape to prevent shifting.
- Test your pen on a separate scrap of the same paper to ensure the flow is consistent.
How to ink a drawing step by step
The actual inking process requires patience and a steady hand. Most artists begin by outlining the primary subjects or the "silhouette" of the drawing. By establishing the main shapes first, you create a framework that makes adding smaller details less intimidating. Work from the top of the page to the bottom if you are right-handed, or the opposite if left-handed, to avoid dragging your hand through wet ink.
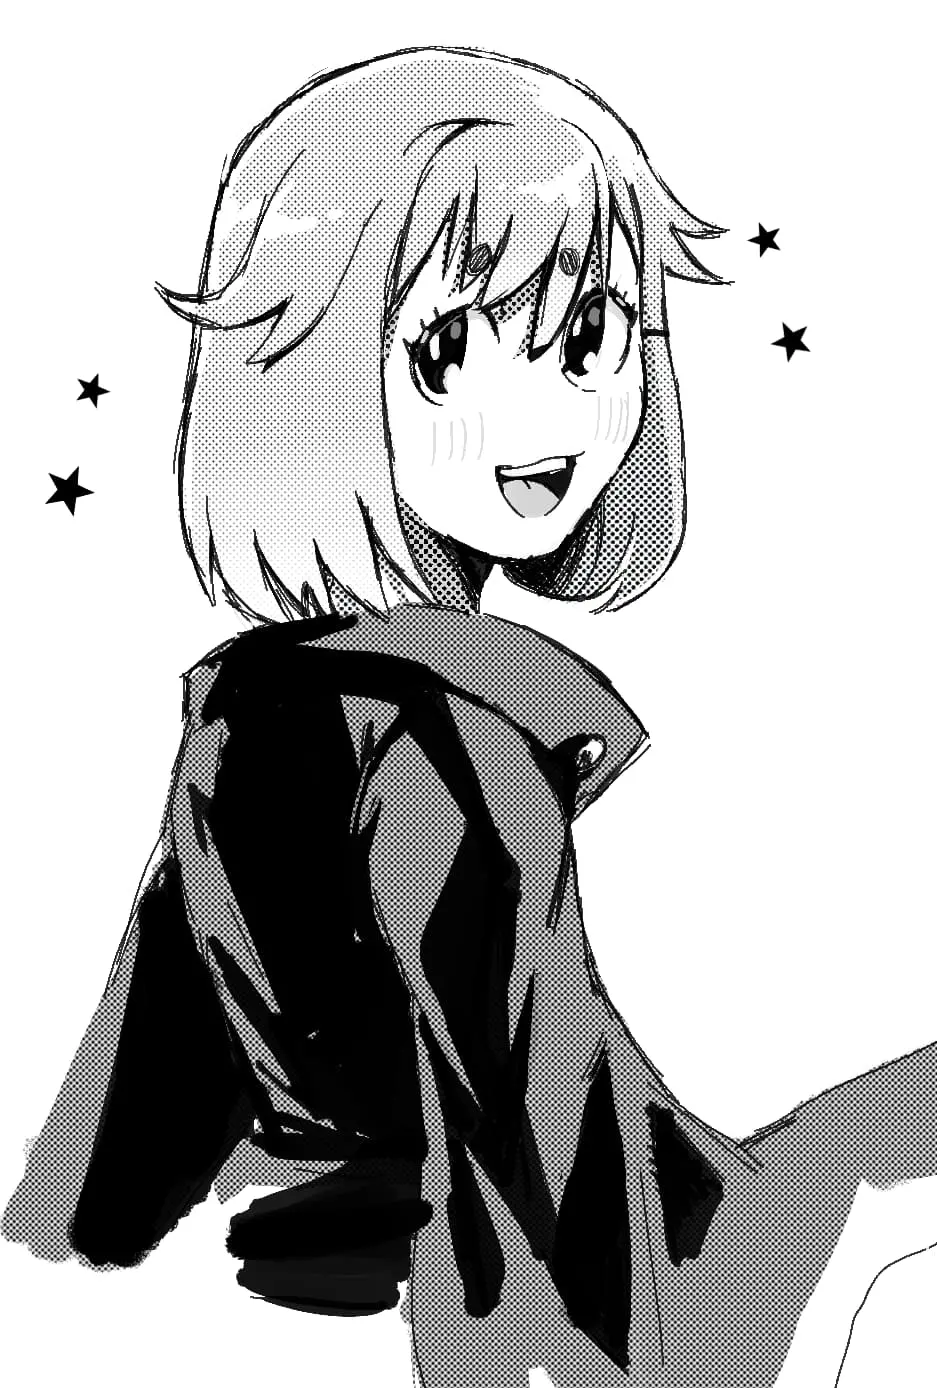
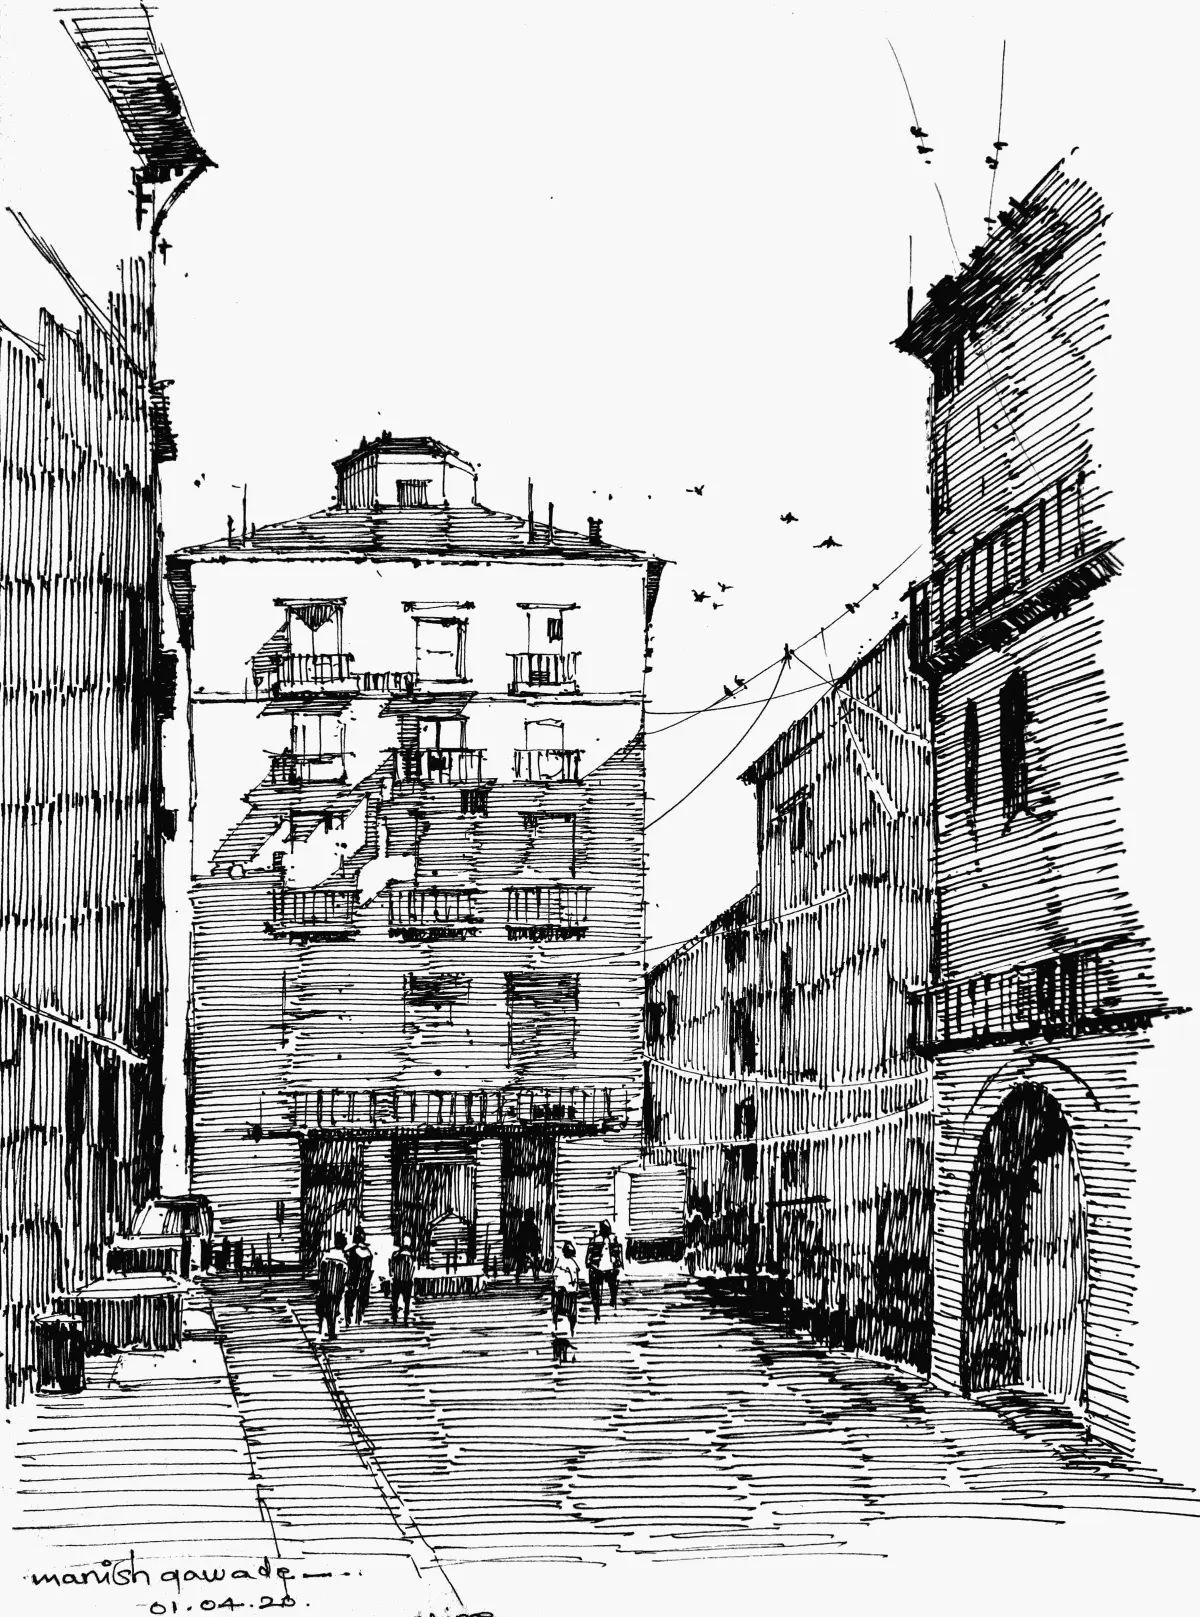
Focus on line weight to create depth and visual interest. Thicker lines should be used for the outer edges of objects or areas in shadow, while thinner lines are reserved for internal details and highlights. This technique, known as "weighting the line," prevents the drawing from looking flat. Follow these technical guidelines for the best results:
- Start with the most important outlines to define the composition.
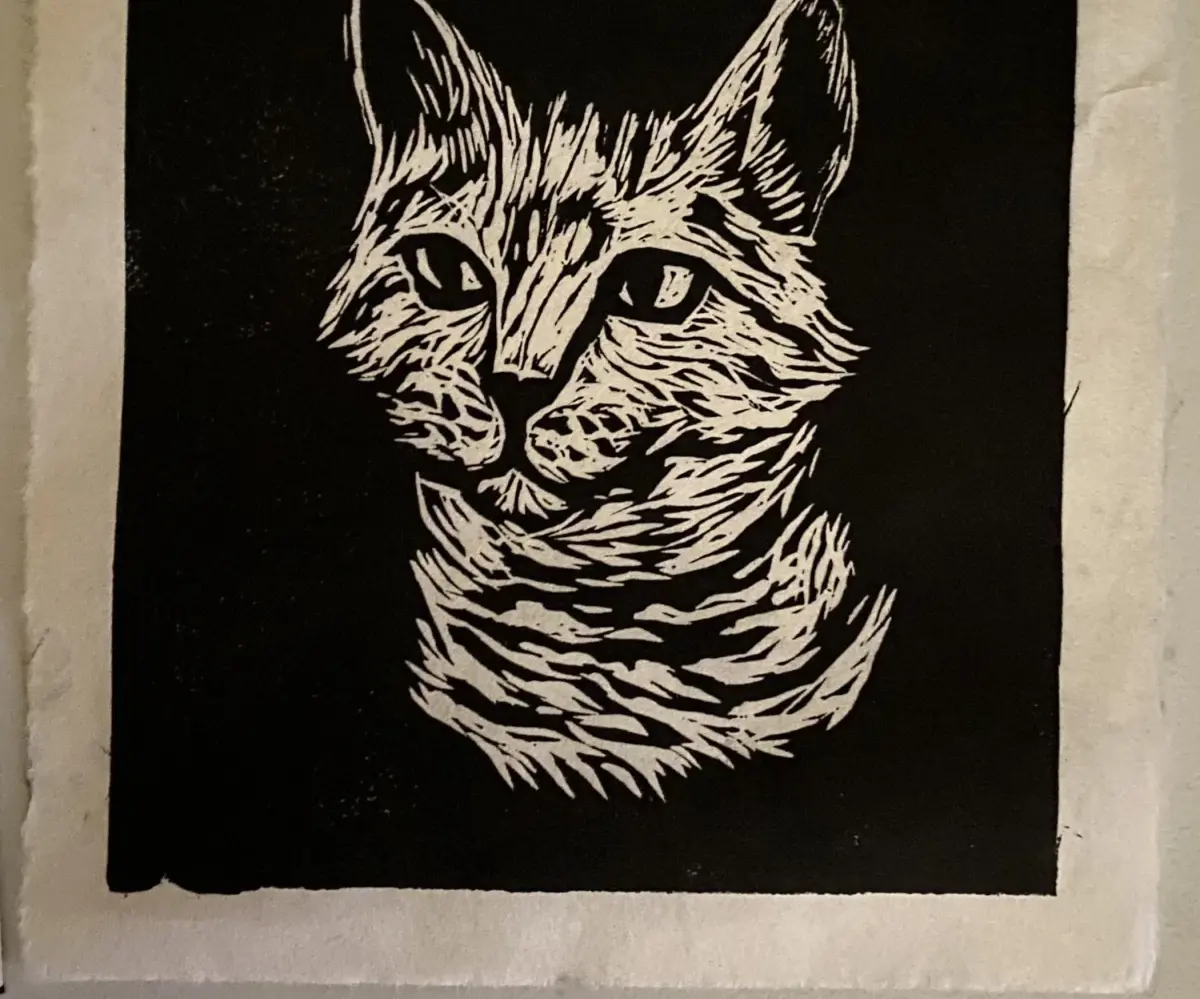
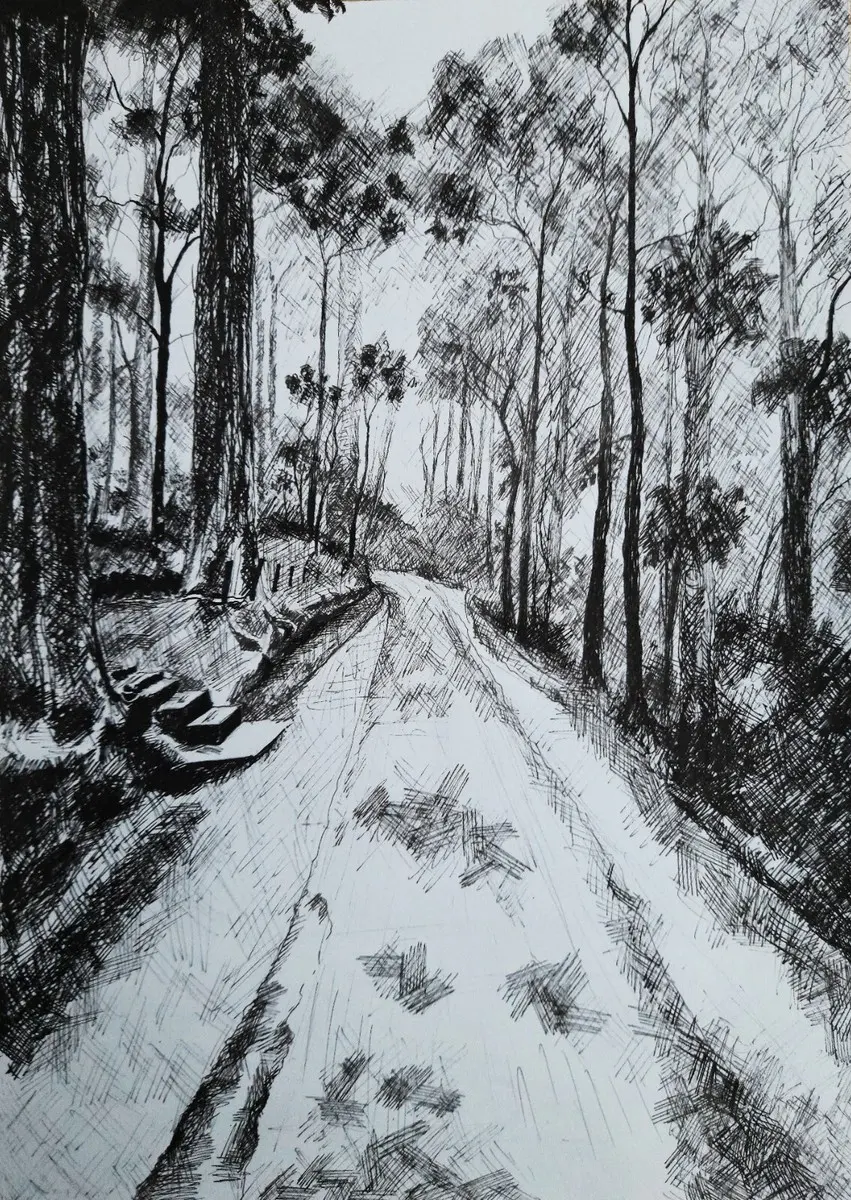
- Add secondary details and textures, such as cross-hatching for shadows.
- Allow the ink to dry completely for at least ten to fifteen minutes.
- Erase all remaining graphite marks gently using a soft white vinyl eraser.
Common mistakes when inking drawings
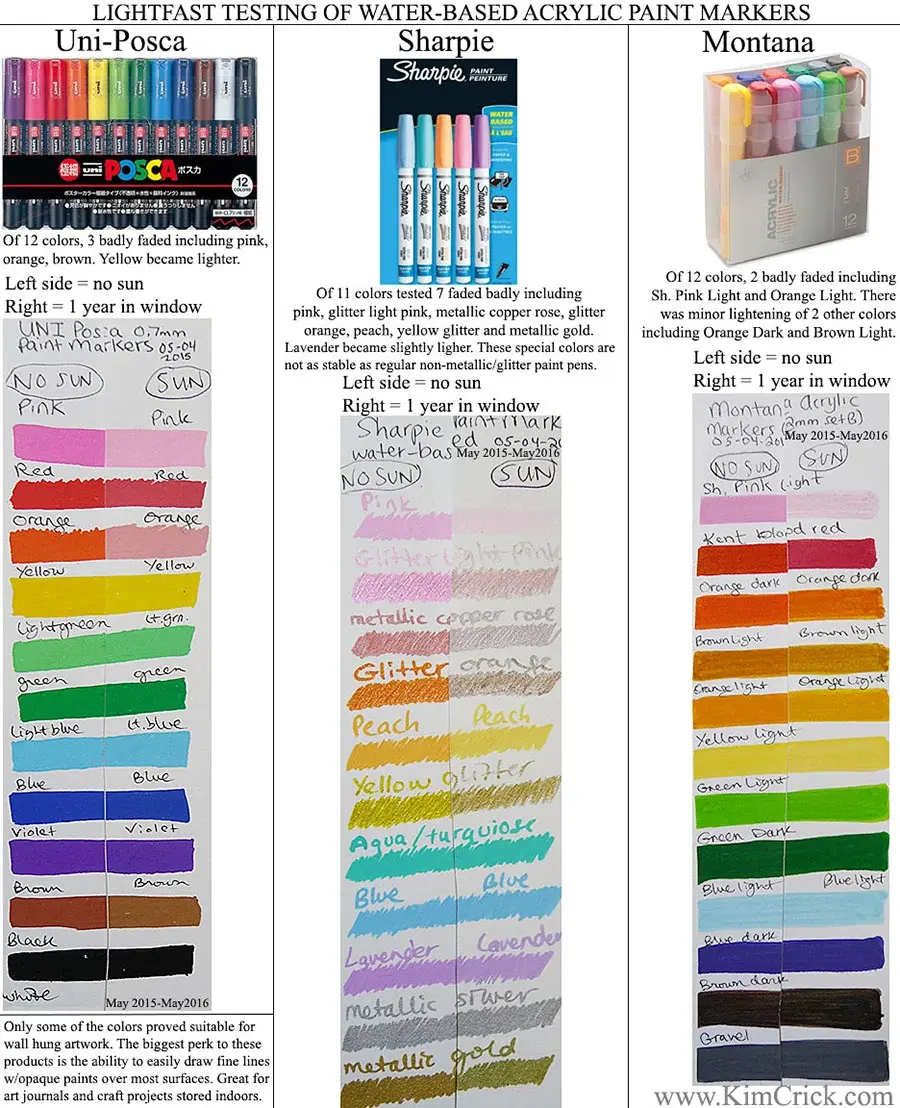
One of the most frequent errors is rushing the drying time. Even if ink appears dry on the surface, the pigments may still be wet deep in the paper fibers. Smearing is a common consequence of impatience, which can ruin hours of work. Another frequent mistake is using the wrong type of ink for the medium. If you plan to add watercolor or alcohol markers later, you must use waterproof, pigment-based ink. Dye-based inks will bleed and ruin the colors.
Artists also often struggle with "hesitation marks," which occur when the pen stops mid-stroke, causing a blob of ink to pool. To avoid this, keep the pen moving at a consistent speed. If you find your lines look shaky, try using your shoulder rather than just your wrist to pull the lines. This creates smoother, more confident strokes that look much more professional than short, choppy lines.
How to maintain your inking equipment
Proper maintenance extends the life of your tools and ensures consistent performance. For technical pens, always replace the cap immediately after use to prevent the nib from drying out. If a nib becomes clogged, you can gently clear it with a damp cloth or a specialized cleaning solution. Never leave dip pen nibs sitting in water, as this will cause them to rust and ruin the metal finish.
For brush users, cleaning is even more critical. After each session, rinse brushes with lukewarm water and a mild soap, reshaping the bristles before laying them flat to dry. Never leave a brush standing on its bristles in a jar, as this will permanently deform the shape. By treating your pens and brushes with care, you ensure that every line you ink remains as crisp and precise as the very first one you drew.
Key facts
- Use waterproof India ink for traditional drawing, as it remains permanent once dry and resists smudging.
- Technical pens, such as the Rotring Isograph, provide consistent line widths, while dip pens offer variable line weight based on pressure.
- Always ink from the top-left to the bottom-right if you are right-handed to prevent smearing your work.
- Bristol board is the preferred surface because its smooth, dense fibers prevent ink from bleeding or feathering.
- Allow ink to dry for at least 30 minutes before using a kneaded eraser to remove underlying pencil sketches.
- Use a light box or a window to trace your final lines onto a clean sheet if your original pencil sketch is heavily smudged.
The bottom line
Inking is the essential process of refining a pencil sketch into a permanent, high-contrast final image. By selecting the correct waterproof ink and smooth-surfaced paper, you can achieve professional results. Focus on consistent pressure, maintain your tools diligently, and allow adequate drying time before erasing. With practice, mastering line weight and texture will elevate your drawings, providing the clarity and visual impact required for finished artwork.
People also ask
Can I use regular ballpoint pens for inking?
While possible, ballpoint ink is often oil-based and may not be archival or waterproof. It also lacks the deep, rich black pigment found in professional-grade drawing inks.
What is the difference between a brush pen and a fine liner?
Fine liners have rigid tips that produce uniform lines ideal for technical detail and cross-hatching. Brush pens feature flexible, hair-like tips that allow for expressive, calligraphic line variation.
Why is my ink bleeding into the paper?
Bleeding usually occurs because the paper is too absorbent or the ink is too thin. Ensure you are using high-quality, non-porous paper specifically labeled for ink or markers.
How do I fix a mistake made with ink?
Traditional artists often use opaque white gouache or correction fluid to paint over errors. Alternatively, you can incorporate the mistake into the design or digitally edit the scan later.
Is it better to ink before or after coloring?
Inking is almost always done before coloring to establish the structure of the piece. If you color first, you risk smearing the ink or having the colors bleed into the lines.
How do I clean my technical pens?
You must disassemble the pen and flush the nib unit with warm water or specialized pen cleaner. Never let ink dry inside the nib, as it will permanently clog the delicate internal mechanism.
This answer was created with the help of AI research tools and reference sources. Spotted an error? Let us know — we correct mistakes quickly. See our editorial policy.