How do you screen print at home?
Short answer
Screen printing at home involves creating a stencil on a fine mesh screen, then forcing ink through the open areas onto a fabric or paper surface. By using a light-sensitive emulsion, you can transfer intricate designs onto your substrate. With basic supplies like a frame, squeegee, and ink, you can produce professional-quality prints.
On this page
What supplies do I need to screen print at home?
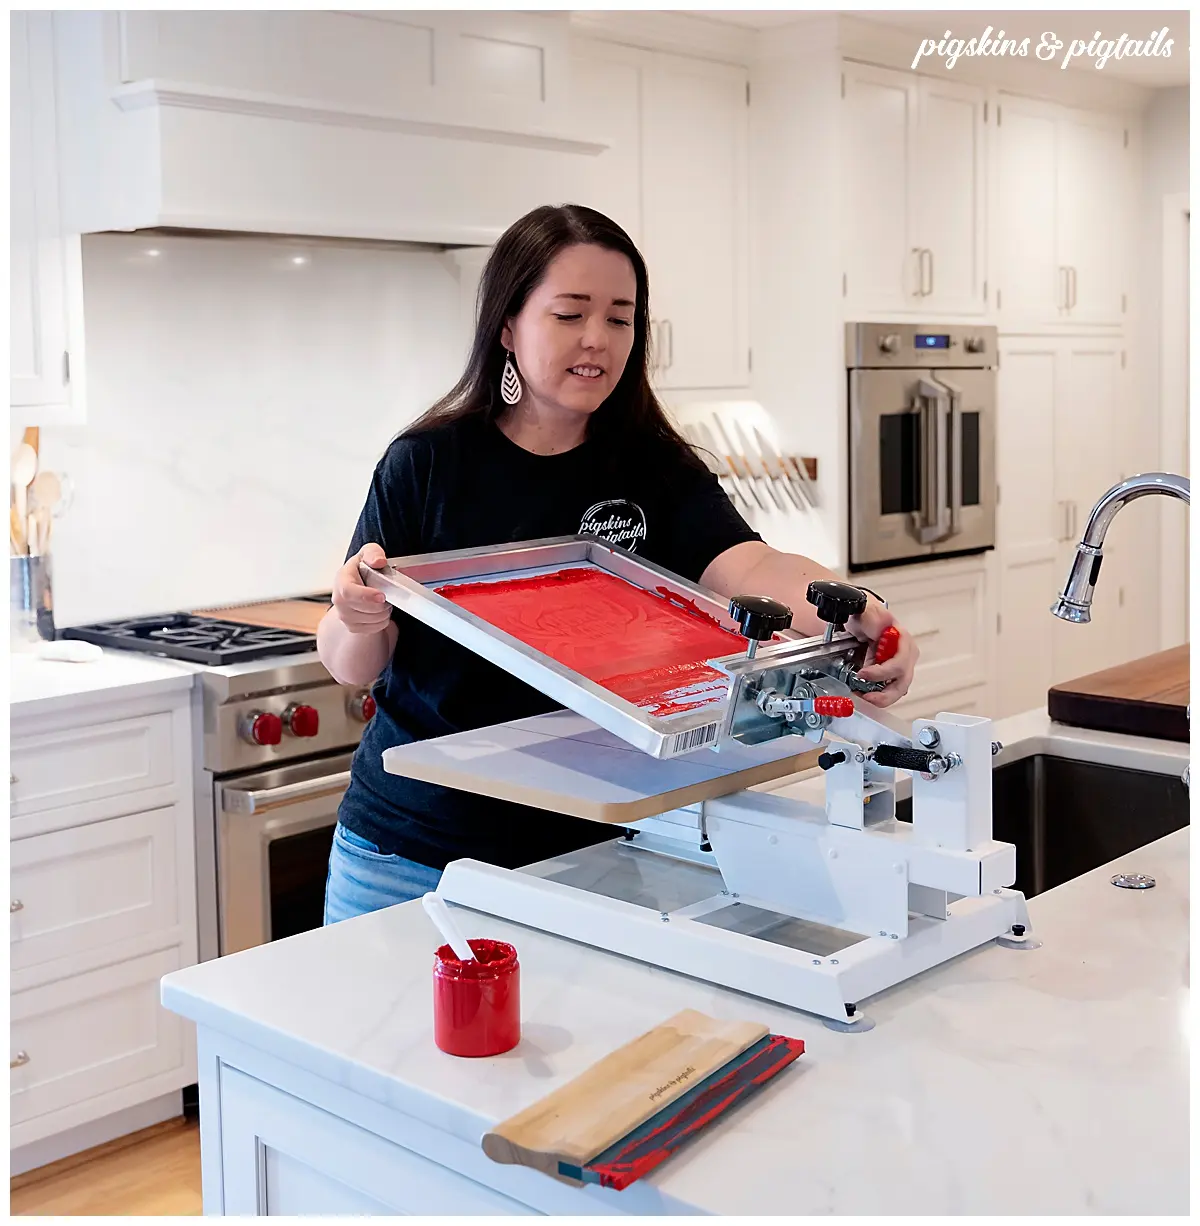
To begin screen printing, you must assemble a specific set of tools designed for transferring ink to a surface. The most essential item is a screen, which consists of a wooden or metal frame with a tightly stretched polyester mesh. You will also need a squeegee, which features a rubber blade used to push the ink across the screen. For the stencil process, you require a photo emulsion and a sensitizer, which react to light to block specific areas of the mesh.
Beyond these technical components, you need a workspace that allows for controlled lighting and easy cleanup. Water-based screen printing ink is recommended for beginners because it is easier to clean with soap and water than oil-based alternatives. You will also need a light source, such as a high-wattage bulb or a dedicated exposure unit, to harden the emulsion. Finally, gather masking tape to seal the edges of your screen and a flat surface to act as your printing bed.
How to prepare a screen for printing
Preparing your screen is the most critical phase of the process, as it determines the clarity of your final design. Start by applying a thin, even layer of light-sensitive emulsion to both sides of the dry screen using a scoop coater. You must perform this step in a dark room or a space with very low light to prevent the emulsion from hardening prematurely. Once coated, place the screen in a flat, dark area to dry completely for several hours.
After the screen is dry, you are ready to expose your design. Follow these steps to complete the stencil:
- Print your design in solid black ink onto a transparent film.
- Place the transparency against the mesh side of the screen.
- Expose the screen to your light source for the time specified by the emulsion manufacturer.
- Wash the screen with a gentle stream of water to reveal the open areas where the ink will pass.
How to print a design onto fabric
Once your screen is dry and the stencil is clear, you can begin the printing process. Lay your fabric or paper flat on a stable surface, ensuring there are no wrinkles. Place the screen directly on top of the substrate, aligning it carefully with your desired print location. Apply a bead of ink along the top edge of the screen, ensuring you have enough to cover the entire width of your design.
Hold the squeegee at a 45-degree angle and pull it toward you with firm, consistent pressure. This motion forces the ink through the open mesh and onto the surface below. Lift the screen carefully to reveal your print, then set it aside to dry. If you are printing on fabric, you must heat-set the ink once it is dry to ensure it remains permanent through future wash cycles. Use a household iron on a medium setting, moving it over the design for three to five minutes.
Common mistakes when screen printing
Beginners often encounter issues that can be easily avoided with better preparation and technique. One frequent error is applying too much or too little emulsion, which results in uneven stencils or pinholes. If your emulsion is too thick, it will not wash out properly; if it is too thin, the light will not harden it effectively. Always use a scoop coater to ensure a uniform application across the entire surface of the mesh.
Another common problem is "bleeding," which occurs when ink seeps under the edges of the stencil. This usually happens if the screen is not pressed firmly against the fabric or if too much ink is used. Ensure your printing surface is perfectly flat and that you use a consistent, smooth motion with your squeegee. If the ink begins to dry inside the mesh during a long printing session, it will clog the screen and ruin subsequent prints. Keep a damp cloth nearby to wipe away any excess ink buildup between prints.
How long does it take to screen print at home?
The time required for screen printing depends on the complexity of your design and your drying environment. Preparing and coating the screen takes about 20 minutes, but the drying time can range from two to six hours depending on humidity. Exposure times are usually short, often between 30 seconds and 5 minutes, but you must strictly adhere to the manufacturer's instructions for your specific emulsion. Once you have a prepared screen, the actual printing process is quite fast, taking only seconds per item.
If you are working on a multi-color project, the timeline increases significantly because each color requires its own screen and a drying stage between layers. Plan for at least one full day if you are a beginner, as you will need time to troubleshoot and clean your equipment. Proper cleaning is essential; if you leave ink on the screen for too long, it will permanently clog the mesh. By dedicating a weekend to your first project, you can comfortably manage the drying and setup times without feeling rushed or overwhelmed.
Key facts
- Screen printing uses a mesh screen to transfer ink onto a substrate, except in areas made impermeable to the ink by a blocking stencil.
- A squeegee is essential for pushing ink through the open mesh areas of the screen onto your fabric or paper.
- Emulsion is a light-sensitive liquid that hardens when exposed to UV light, allowing you to create detailed stencils.
- Always use water-based inks for home projects as they are easier to clean up and do not require harsh chemical solvents.
- A standard mesh count of 110 is ideal for beginners because it allows enough ink to pass through for bold, opaque designs.
- Proper curing is mandatory; you must heat-set your ink using an iron or heat press to ensure the design remains permanent after washing.
The bottom line
Screen printing at home is an accessible craft that transforms basic textiles into custom art through simple mechanical pressure. By mastering the balance of ink viscosity, screen tension, and proper heat curing, you can achieve professional-grade results. Start with simple paper stencils to learn the process before advancing to light-sensitive emulsion techniques. With patience and attention to detail, you can create durable, high-quality prints in your own workspace.
People also ask
Can I screen print without using light-sensitive emulsion?
Yes, you can use the paper stencil method, where you cut shapes out of cardstock and place them between the screen and the fabric. This is a great entry-level technique that requires no chemicals or darkroom setups.
How do I prevent ink from bleeding under the edges of my stencil?
Ensure your screen is pressed firmly and evenly against the fabric surface during the print stroke. Using too much ink or applying excessive pressure can cause the ink to seep under the stencil edges.
What is the best fabric to start with for screen printing?
100% cotton is the industry standard for beginners because it absorbs ink well and holds heat-set designs securely. Avoid synthetic fabrics like polyester, which may require specialized inks and higher curing temperatures.
How many times can I reuse a screen?
A properly cleaned screen can be reused hundreds of times if the mesh remains taut and free of tears. After printing, wash the ink off immediately with water to prevent it from drying and clogging the mesh.
Why is my design blurry after I lift the screen?
This is often caused by "off-contact," which occurs when the screen does not snap back quickly enough after the squeegee passes. Ensure your screen is positioned slightly above the fabric surface so it only touches during the stroke.
Can I print multiple colors on one shirt?
Yes, but you must use a separate screen for each color and allow the ink to dry between layers. Registering or aligning these screens perfectly requires practice and careful measurement to ensure the colors do not overlap incorrectly.
This answer was created with the help of AI research tools and reference sources. Spotted an error? Let us know — we correct mistakes quickly. See our editorial policy.