How do you draw a camera?
Short answer
Drawing a camera involves breaking the complex device into simple geometric shapes like rectangles, cylinders, and circles. By establishing a central perspective box, you can map out the lens, viewfinder, and shutter button. Focus on maintaining consistent proportions and adding mechanical details like grips and dials to create a realistic, three-dimensional representation.
On this page
How to draw a camera for beginners
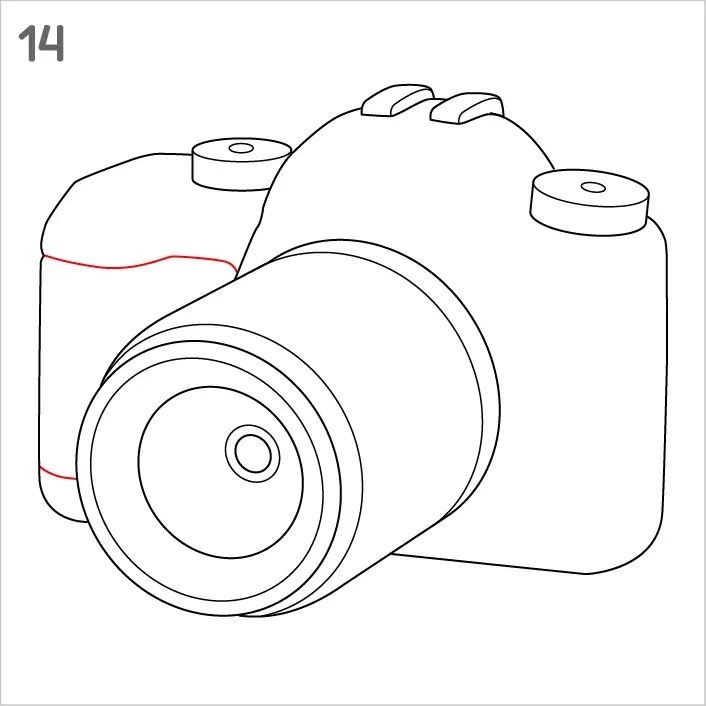
The most effective way to draw a camera is to start with a basic rectangular prism. This box represents the main body of the camera, providing a foundation for all other features. Use a light pencil to sketch the perspective lines, ensuring the sides converge toward a vanishing point if you want a dynamic angle. Keep the lines faint so they can be easily erased or covered later by darker, more defined strokes.
Once the body is established, you can add the lens assembly. A camera lens is essentially a series of cylinders protruding from the front of the body. Start by drawing a large circle on the front face of your rectangle, then extend it outward as a cylinder. You can add smaller, concentric circles inside this shape to represent the glass elements and the focus ring. This layered approach ensures that your camera looks symmetrical and structurally sound before you commit to permanent ink or heavy shading.
How to add realistic details to a camera drawing
Details transform a simple box into a recognizable piece of technology. Focus on the top plate, where the shutter button, mode dial, and flash hot shoe are located. These small components should be drawn as smaller geometric shapes—rectangles for the hot shoe and tiny cylinders for the dials. Pay attention to the spacing between these items, as crowding them too much can make the camera look like a toy rather than a functional tool.
Adding texture and mechanical features is the next step in achieving realism. You can indicate the rubberized grip on the side of the camera body by adding a series of small, vertical indentations. Consider adding these specific elements:
- Shutter button: A small, slightly raised cylinder near the right index finger position.
- Mode dial: A notched circle with small markings or letters around the edge.
- Viewfinder: A small, rectangular protrusion on the back or top of the body.
- Lens markings: Thin, parallel lines around the lens barrel to suggest focus or zoom rings.
How to use shading to create depth
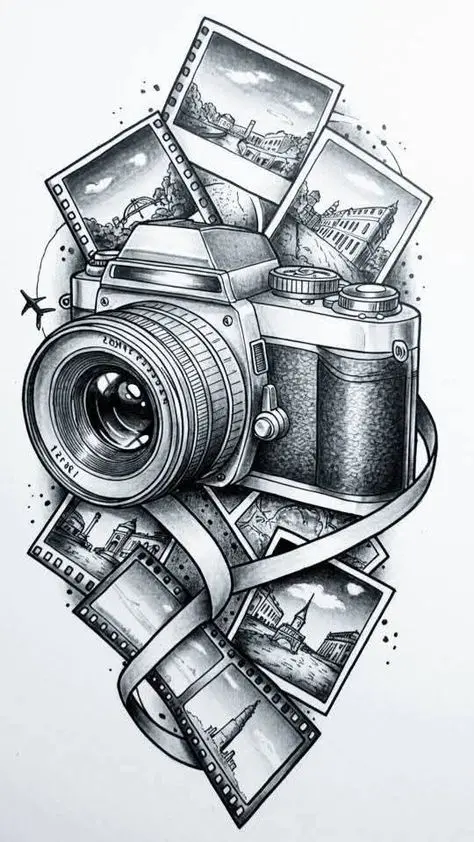
Shading is essential for making a flat drawing appear three-dimensional. Because cameras are typically made of hard materials like plastic, metal, and glass, they feature sharp highlights and deep shadows. Identify where your light source is coming from and apply darker tones to the opposite side of the camera body. Use a blending stump or a soft pencil to create smooth transitions across the curved surfaces of the lens.
Reflections on the lens glass are particularly important for a professional look. Leave a small, white area on the lens surface to represent a highlight, as this suggests the reflective quality of glass. Underneath the camera, add a soft cast shadow to ground the object on a surface. This technique prevents the camera from looking like it is floating in space and provides a sense of weight and physical presence.
Common mistakes when drawing a camera
A frequent error is failing to maintain consistent perspective across all components. Beginners often draw the camera body from one angle but draw the lens as if it is viewed head-on. This mismatch makes the drawing look distorted or "broken." Always ensure that the circular lens is drawn as an ellipse that matches the perspective of the rectangular body. If the body is tilted, the lens must be tilted at the exact same degree.
Another common mistake is ignoring the thickness of the camera edges. Cameras are not paper-thin; they have depth, buttons that protrude, and seams where different parts of the casing meet. If you draw the camera as a perfectly smooth, featureless block, it will lose its mechanical character. Remember these steps to avoid a flat look:
- Outline the main body with slightly rounded corners rather than sharp, perfect 90-degree angles.
- Add a thin line or "seam" where the lens mount meets the camera body.
- Ensure that buttons and dials have a visible height, casting a tiny shadow on the body itself.
How to refine your camera drawing
Refining your work involves cleaning up construction lines and enhancing contrast. Use a kneaded eraser to lift away any heavy graphite marks from your initial layout phase. Once the drawing is clean, go back over the edges with a darker pencil to sharpen the silhouette. This contrast between the crisp outer edges and the softer internal shading is what gives professional illustrations their clarity and visual impact.
Finally, consider the scale of your drawing. If you are drawing a DSLR, the body should be significantly larger than the lens assembly. If you are drawing a compact point-and-shoot, the lens might be smaller or even retractable. Comparing your drawing to a real camera or a high-quality photograph can help you spot errors in proportion that might not be obvious while you are focused on small details. Take a step back frequently to view the entire composition, as this will help you maintain the overall balance of the piece until the drawing is complete.
Key facts
- Start by drawing a simple rectangle to represent the camera body, which provides the foundational perspective for your sketch.
- Use a circle or a smaller rectangle centered on the body to act as the lens, as this is the most recognizable feature of any camera.
- Add a smaller rectangle on top of the main body to represent the viewfinder or the flash housing.
- Keep your lines light and thin during the initial sketch so you can easily erase mistakes or refine the proportions later.
- Use a ruler to ensure your straight edges are crisp, which helps the camera look professional rather than hand-drawn.
- Focus on adding small details like buttons, a shutter release, and a textured grip to give the drawing a realistic appearance.
The bottom line
Drawing a camera is a rewarding exercise in geometric construction and perspective. By breaking the device down into basic shapes like rectangles and circles, you can build a convincing structure before adding intricate details. Remember to prioritize symmetry and light-source consistency to create a professional look. With practice, you will master the balance between technical precision and artistic flair, resulting in a realistic, recognizable camera sketch.
People also ask
How do I make the lens look three-dimensional?
Draw a series of concentric circles inside your main lens shape to create depth. Adding a small white highlight on one side of the lens suggests a glass reflection and makes it look solid.
What is the best way to draw the camera strap?
Attach the strap to the sides of the camera body using small loops or rectangles. Draw the strap with a slight curve to show it hanging naturally due to gravity.
Should I use shading in my camera drawing?
Yes, shading is essential for realism. Apply darker tones to the side of the camera opposite your light source to create volume and contrast.
How do I draw a vintage camera versus a modern one?
Vintage cameras often feature boxy, metallic bodies with bellows or circular lenses. Modern cameras are typically sleeker with rounded edges, ergonomic grips, and larger digital screens on the back.
What are common mistakes beginners make when drawing cameras?
A common error is drawing the lens off-center, which makes the camera look lopsided. Another mistake is forgetting the thickness of the camera body, making it look like a flat piece of paper.
How can I draw a camera screen on the back?
Draw a large rectangle on the rear face of the camera body. Add a thinner border around it to represent the screen frame and include a few tiny squares inside to simulate menu buttons.
This answer was created with the help of AI research tools and reference sources. Spotted an error? Let us know — we correct mistakes quickly. See our editorial policy.