How do you draw a pearl?
Short answer
Drawing a realistic pearl requires capturing its spherical shape and unique luster through careful shading. You must establish a strong light source, preserve a crisp white highlight, and use soft transitions between midtones and deep shadows. By layering graphite or color, you create the illusion of a reflective, three-dimensional orb.

On this page
How to draw a realistic pearl shape
The foundation of a convincing pearl is a perfect circle. Because pearls are organic gems, they are rarely geometrically perfect, but for a drawing, a clean circular outline provides the best structure. Use a compass or trace a circular object if you struggle with freehand sketching. Lightly sketch the outline with a hard pencil, such as an H, to ensure the lines remain faint and easily erasable.
Once the circle is set, you must define the light source. A pearl’s appearance is defined by how light hits its curved, nacreous surface. Decide where the light originates—for instance, the top-right corner—and mark a small, irregular shape on the opposite side of the highlight to serve as the reflected light. Keeping these boundaries clear is essential for maintaining the pearl's volume.
Best shading techniques for beginners
Shading is the process of turning a flat circle into a sphere. Start by applying a light layer of graphite across the entire shape, excluding the area where the highlight will remain pure white. Use a blending stump or a soft tissue to smooth out the graphite, ensuring there are no harsh pencil strokes visible on the surface.
To achieve a professional look, follow these steps:
- Identify the brightest highlight and keep it completely white or use a kneaded eraser to lift the pigment.
- Apply a medium gray tone to the midsection of the pearl to establish the base color.
- Darken the side opposite the light source to create a deep shadow, which gives the object weight.
- Add a subtle "reflected light" patch near the bottom edge to simulate how the pearl bounces light from the surface beneath it.
Why pearls look reflective
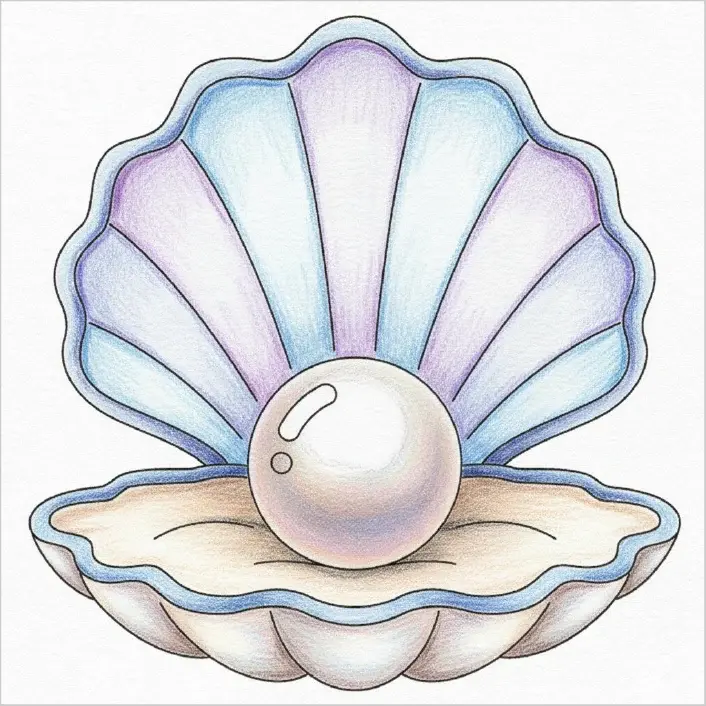
Pearls are composed of nacre, a substance that creates an iridescent, pearlescent luster. Unlike matte objects, pearls reflect their surroundings and light sources simultaneously. To capture this, your drawing must include a high contrast between the brightest white highlight and the darkest shadow. If the transition between these tones is too gradual, the pearl will look like a dull stone rather than a lustrous gem.
When drawing, remember that the highlight is usually a sharp, crisp shape rather than a blurry smudge. Use a sharp eraser to carve out this highlight after you have finished shading the surrounding area. This technique creates the "wet" or "glossy" look characteristic of high-quality pearls. Avoid over-blending, as this can make the surface appear dusty or flat, effectively killing the reflective quality you are trying to capture.
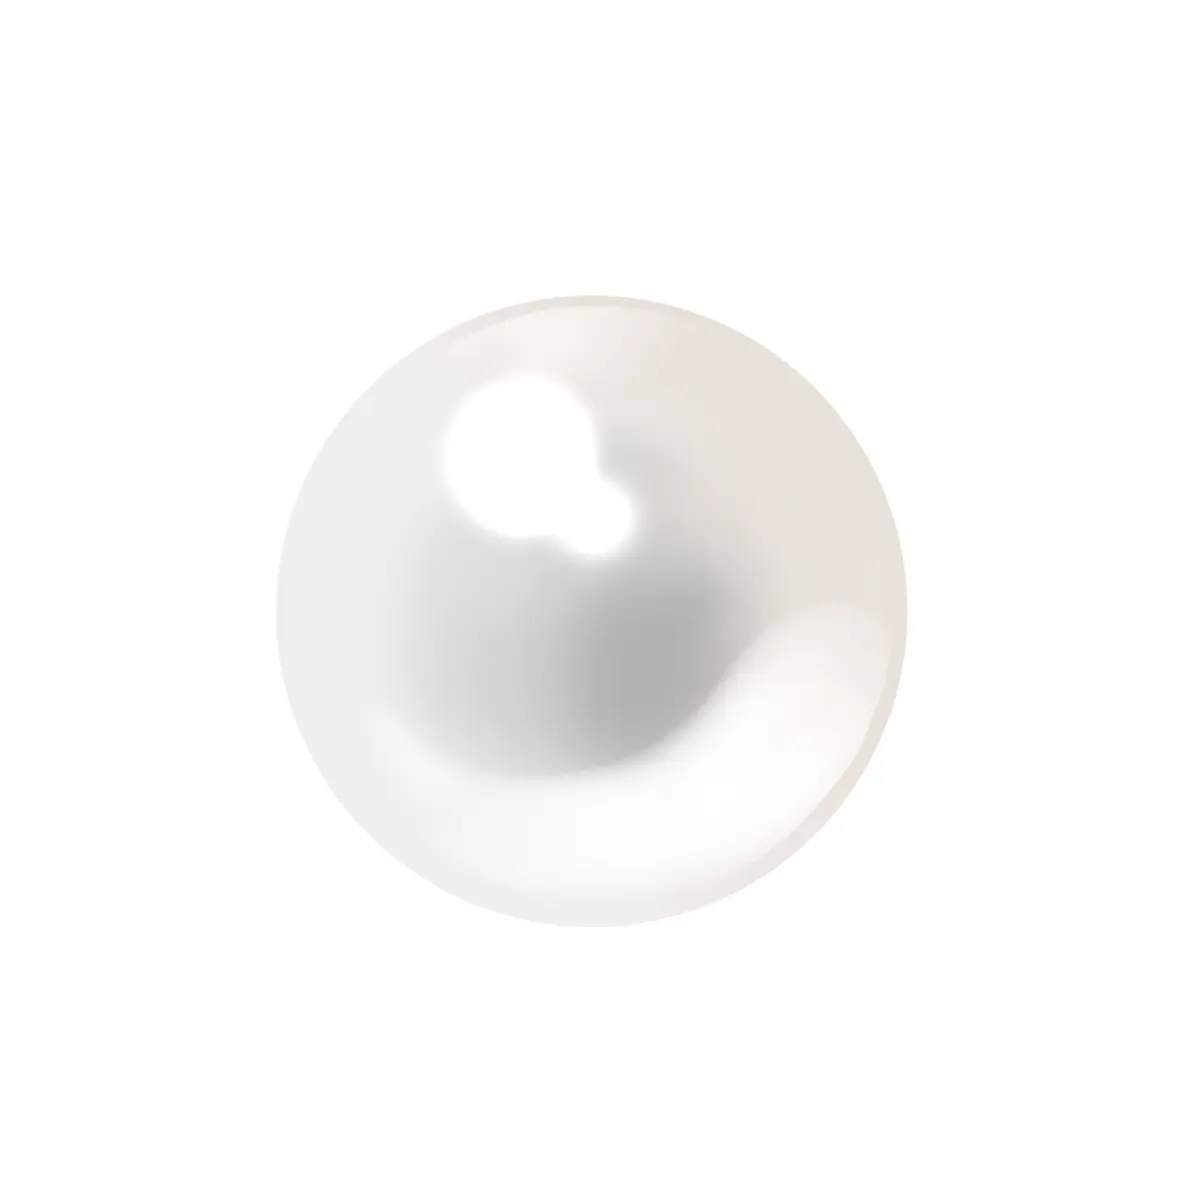
Common mistakes when drawing pearls
A frequent error is placing the highlight in the center of the sphere. On a curved surface, the highlight should follow the contour of the object and usually appears slightly off-center. Another mistake is using uniform shading throughout the entire pearl. If the entire surface is the same shade, the pearl loses its depth and appears two-dimensional. Always ensure there is a clear gradation from light to dark.
Avoid these common pitfalls to improve your results:
- Using a heavy hand with dark pencils too early in the process.
- Forgetting to leave a space for the reflected light at the bottom.
- Creating a highlight that is perfectly round, which looks unnatural.
- Neglecting to draw a subtle cast shadow beneath the pearl to ground it on a surface.
- Using a smudge-heavy technique that obscures the crisp edges of the highlight.
How to add texture and detail
Once the basic shading is complete, you can add final details to enhance the realism. Pearls often have tiny surface imperfections or subtle color shifts. If you are working in color, use soft blues, pinks, or yellows to suggest the iridescence of the nacre. Apply these colors in very light, translucent layers, allowing the underlying graphite or base color to show through.
Use a sharp, pointed eraser to create tiny "sparkle" points if the pearl is meant to look wet or highly polished. You can also add a very thin, dark line at the very bottom edge of the pearl where it touches the surface to create a contact shadow. This small detail anchors the pearl in space, preventing it from appearing as if it is floating. By focusing on these minute adjustments, you transform a simple shaded circle into a convincing, luminous gem that catches the viewer's eye.
Key facts
- A pearl is not a perfect sphere; it usually has slight irregularities and subtle surface bumps.
- Use a light source from one side to create a bright highlight (specular reflection) on the upper curve.
- The shadow side of a pearl should transition through a soft gradient rather than a harsh line.
- A "cast shadow" should be drawn beneath the pearl, mirroring its rounded shape on the surface it rests upon.
- Use a white gel pen or an eraser to pull out the brightest white spot after shading the rest of the sphere.
- Layering colors or graphite values creates the iridescent, pearlescent sheen characteristic of natural gems.
The bottom line
Drawing a realistic pearl requires focusing on the interplay of light and shadow rather than just the outline. By establishing a bright specular highlight, a soft gradient across the sphere, and a reflected light source at the base, you create the illusion of depth and luster. Practice layering your tones to achieve a smooth, polished finish that captures the organic, iridescent beauty of this unique gemstone.
People also ask
What pencil grade is best for drawing pearls?
An HB pencil is ideal for the initial outline, while a 2B or 4B pencil is better for building the deep, soft shadows. Using a range of grades helps achieve the smooth transitions necessary for a realistic metallic or lustrous look.
How do I make a pearl look shiny instead of matte?
The secret to shine is high contrast between the brightest highlight and the deepest shadow. Keep the transition between these points smooth and avoid using pure black, opting instead for dark grays to maintain a soft, organic appearance.
Should I use a blending stump?
Yes, a blending stump or a soft cloth is essential to smudge graphite into a seamless gradient. This removes harsh pencil strokes and mimics the smooth, polished surface of a biological gem.
Why does my pearl look like a flat circle?
A circle becomes a sphere only when you include a cast shadow and a reflected light source. Ensure there is a light area on the bottom edge of the shadow side to show the pearl is catching light from the surface below.
How do I draw a string of pearls?
Draw a faint guideline first to ensure the pearls follow a natural, graceful curve. Vary the sizes slightly, as natural pearls are rarely identical, and remember to connect them with small, dark knots between each bead.
Can I use colored pencils for pearls?
Colored pencils are excellent for capturing the subtle pink, cream, or blue undertones of pearls. Use light pressure to layer colors, and always reserve the brightest white areas by not applying any pigment there at all.
This answer was created with the help of AI research tools and reference sources. Spotted an error? Let us know — we correct mistakes quickly. See our editorial policy.